Discussion and technical advice the SW20 MR2. 3S-GTE, 3S-GE, 3S-FE etc
Anything and everything to do with maintenance, modifications and electrical is in here for the Mk2.
Been a fan of the MR2 for many years. A boss of mine had one years back and always loved the styling, but never thought to own one...until November.
Browsing autotrader and came across a rev2 tubby for under £800 and thought fancy something I can tinker with at weekends and use on track days. so took the punt based on being told engine had new clutch, cambelt and water pump and main issues were body finish and brakes. As always no guarantees, but thought I would take the punt.
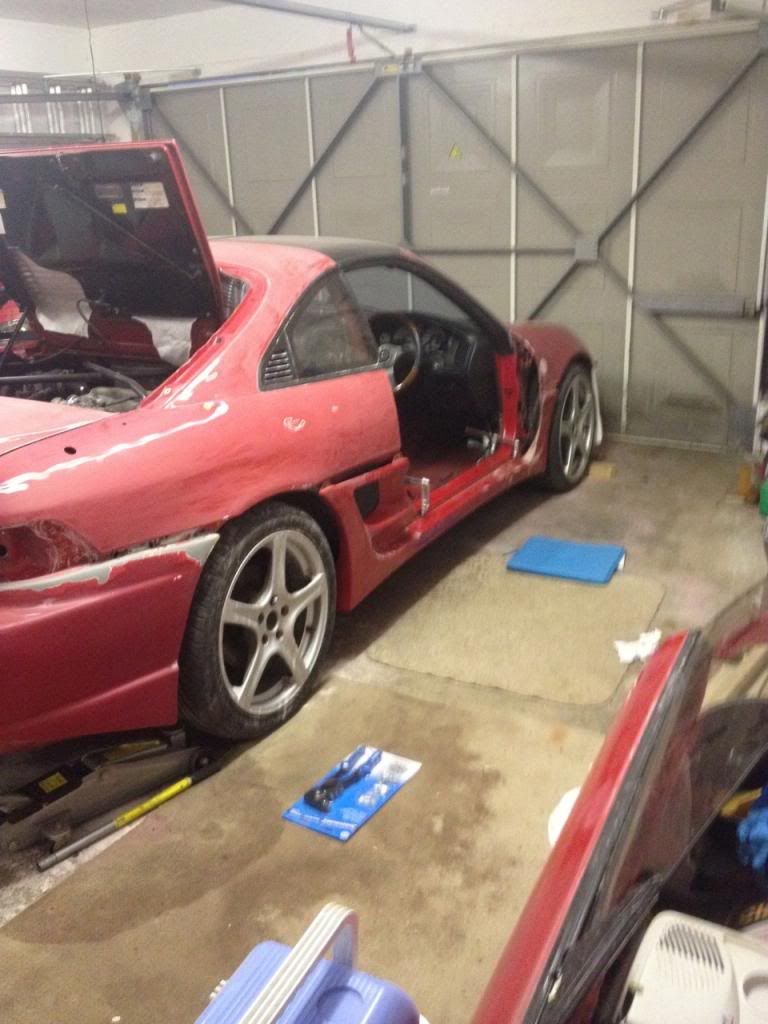
Got home and started the strip down. Close up finish is real bad but otherwise appeared sound.
Plan of attack was just to take apart and see what I had got myself into...
1st Job....sort out the sills on both sides then new front end......
Fixed the links for you
Looks like your going to get your hands dirty, it does look like a good project though, have fun and looking forward to the end results
Did you manage to get the border bumper fitted...
I've still got your old bumper gathering dust in my workshop
Good to see you have started a thread for your tubby...
Thanks Martin. How Should I be posting in future? Would not want you having to fix my future posts
Hey Phil. Playing catchup. Be good to see the old bumper after you finish the planned mod. Been meaning to start a thread for some time. Lots of help along the way from members already to my various posts for help...great forum!
When posting a link to an image you need to put it in
for example
This will make the image appear rather than just the link.. There is a handy litlte button under the subject. if you just highlight the link and click it they will pop up.
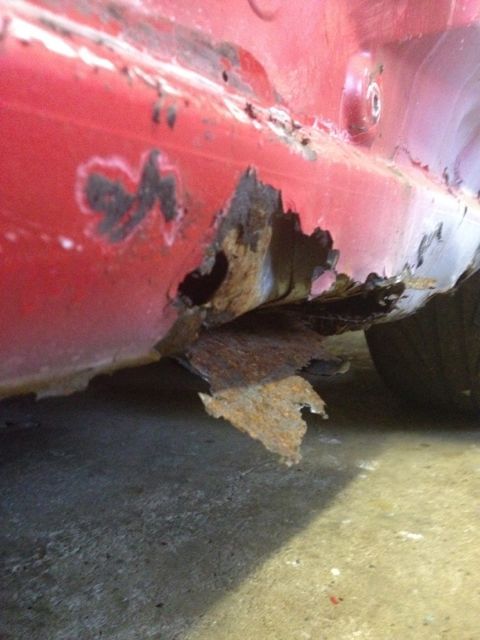
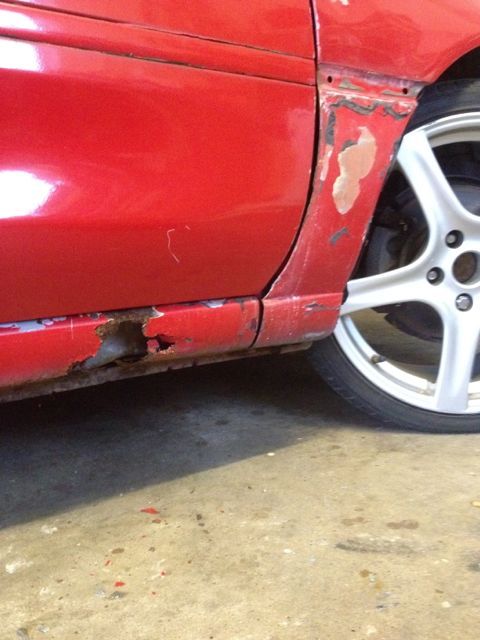
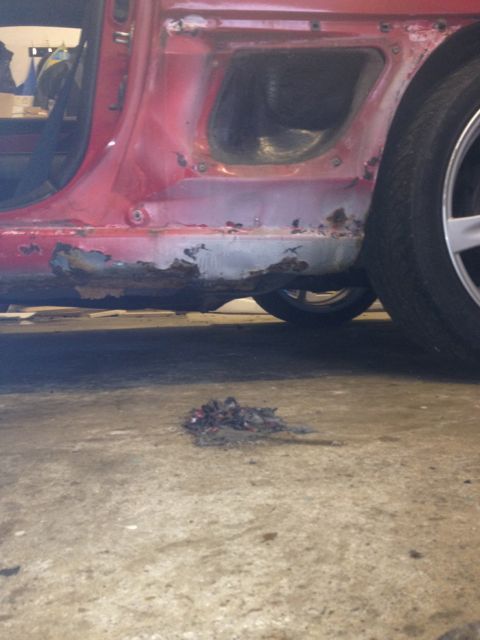
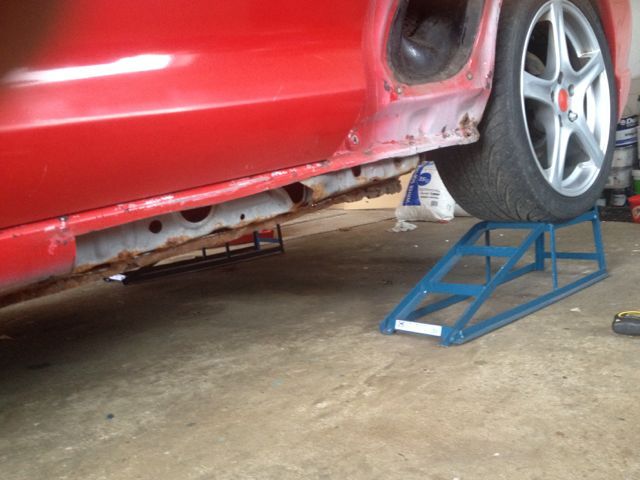
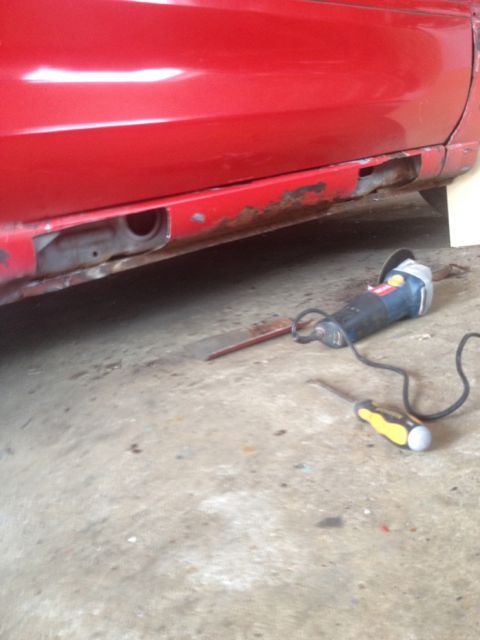
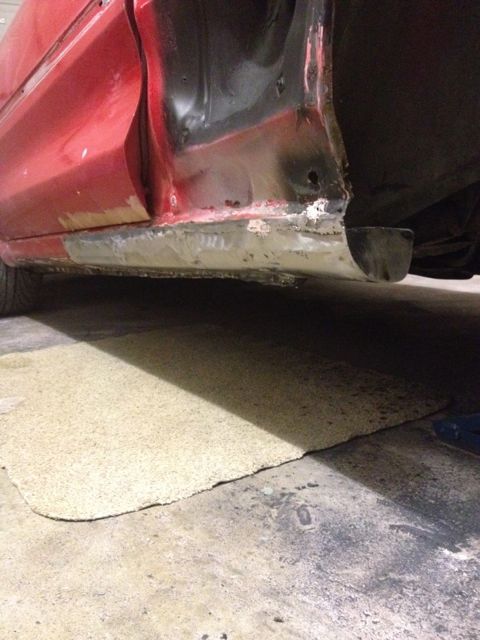
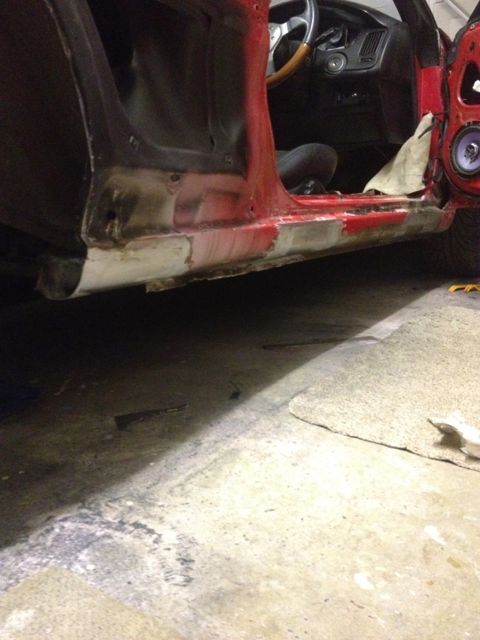
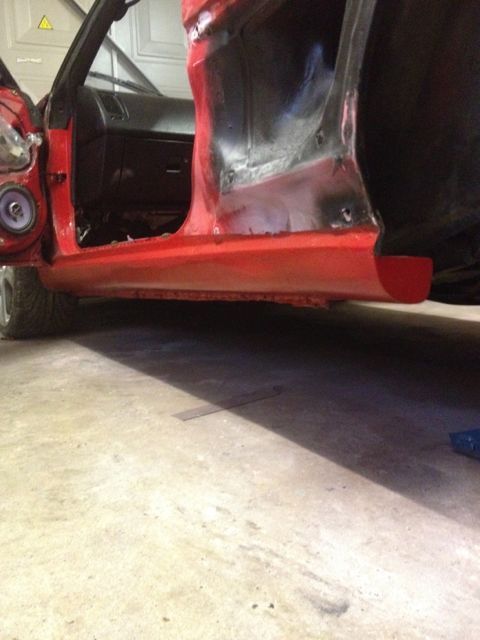
Removed the side skirts to reveal the sills. Got busy with a screwdriver and started to make a lot of holes, both sides.
Out with the disc cutter to remove offending rot
Happy with the result given home garage setup. Objective was to stop the rot and ensure it was solid and treated...at least for now. It all gets covered back up with the side skirts so did not need it to be showroom!
next was engine service. Fluids, filters, plugs etc. Also sorted some crazy wiring to the rear light clusters and in the frunk to horns and old spots. General tidy up.
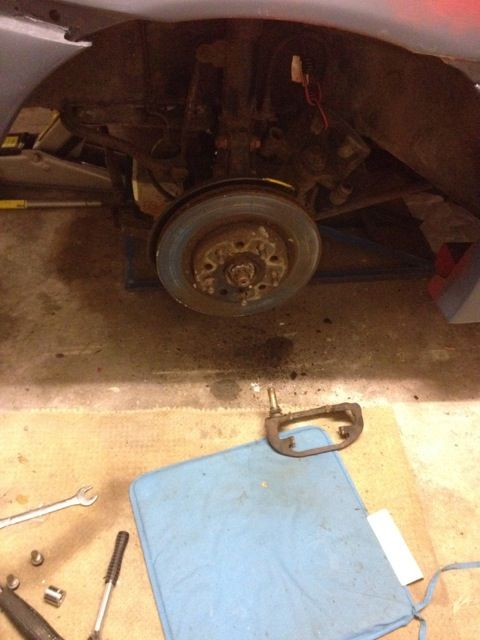
Now off to attack the brakes!
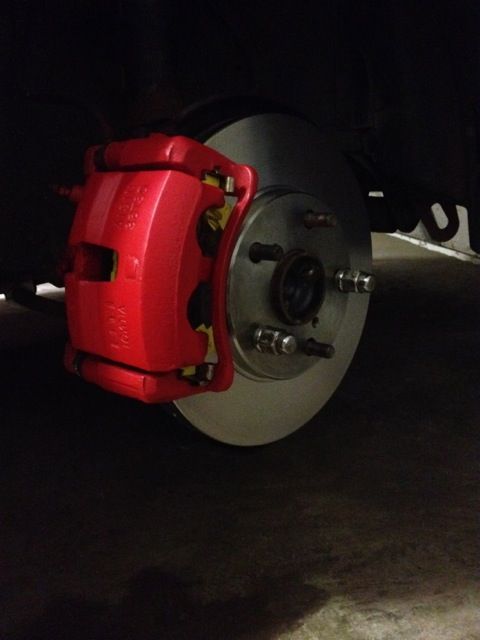
Still playing catchup with my posts.... Moved on to brakes. As the car had sat for about a year I did not have high hopes and on the drive home it was pulling all over the place, so suspected one or two callipers had seized.
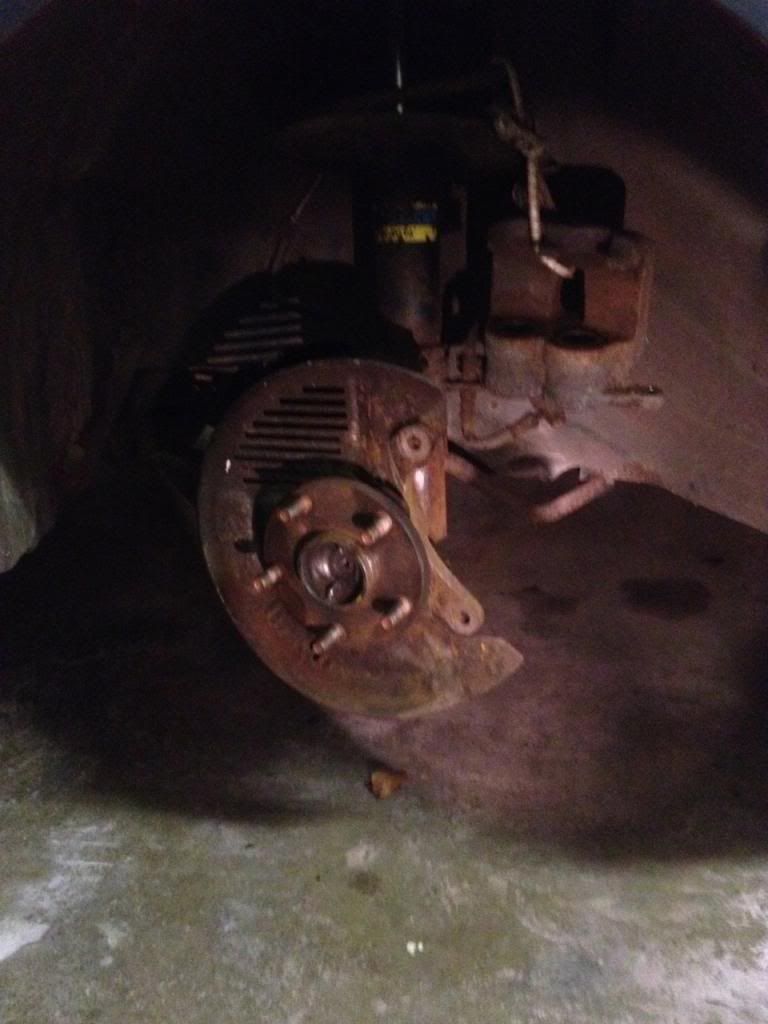
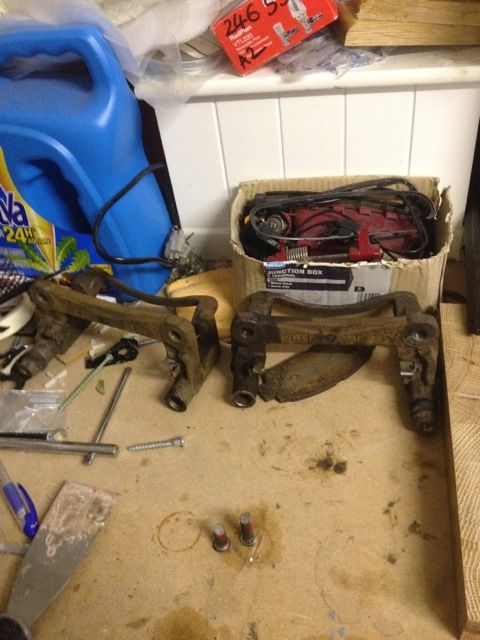
As it turns out every corner was in a similar condition. Ended up having to re-con the sliders, but fortunately all pistons worked ok.
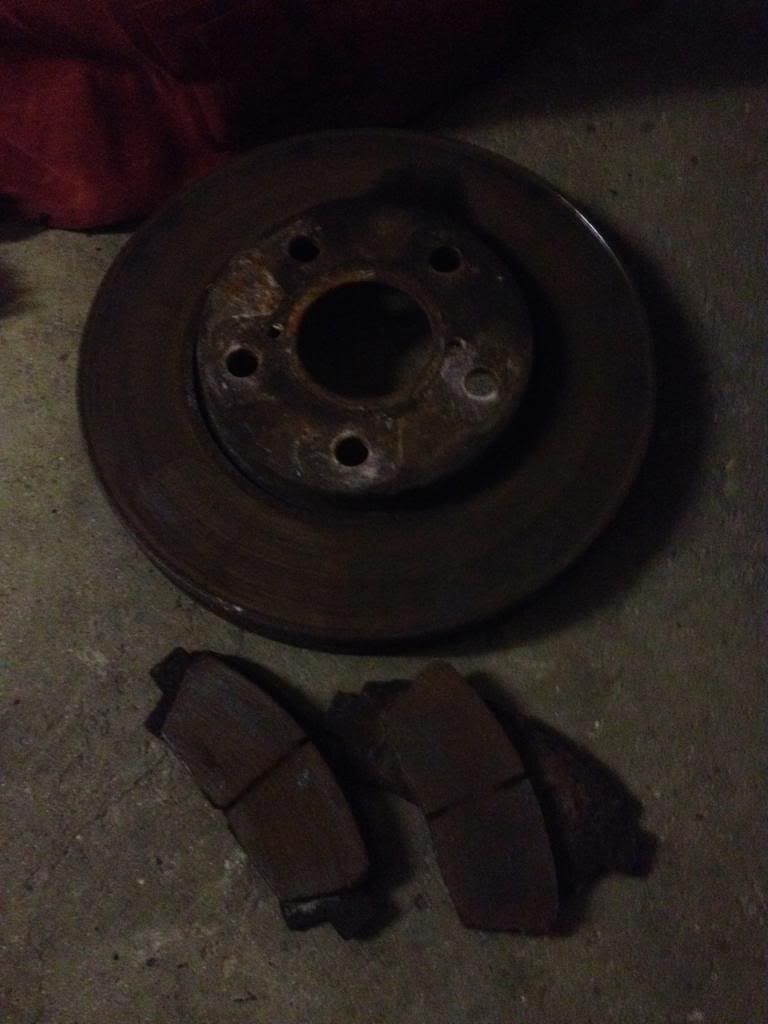
After a few hours of reading the various posts on the forum I decided to go ahead and replace all with OEM discs and yellow stuff pads. Seems to be the consensus choice for a 1st time out track car.
While I was at it I bought some v.h. temp paint to tidy up to look of the callipers and sliders.
Fingers crossed the choices pay of when I finally get the car to the track!
Spotted PP Cage for sale on forum, thanks George_M for sorting me out
Also want to credit Ashley for a top thread on how to fit these.
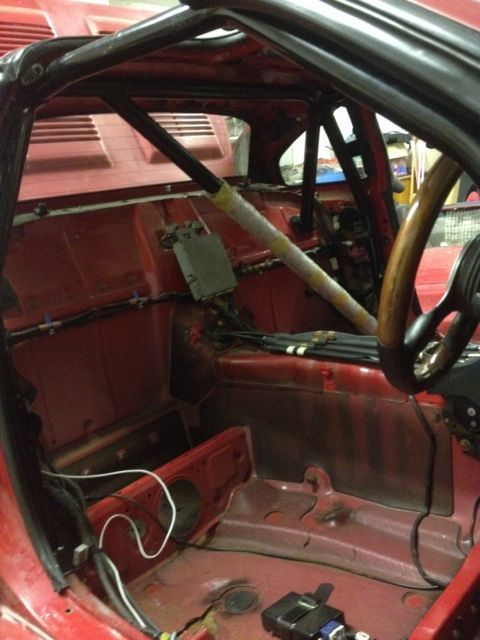
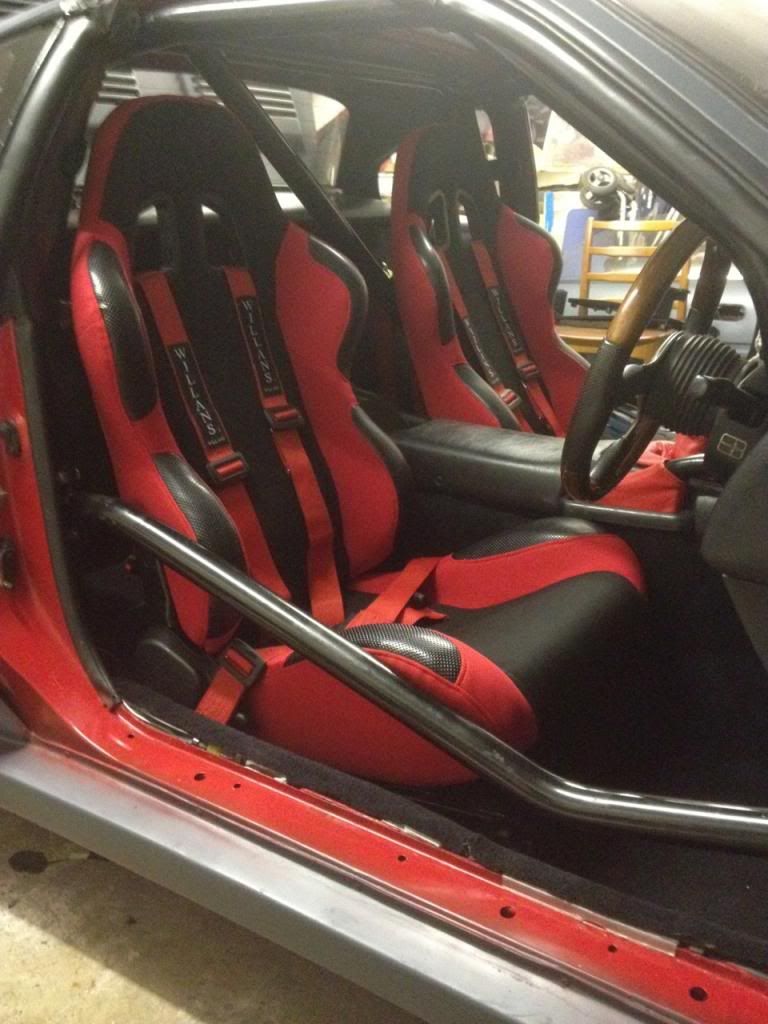
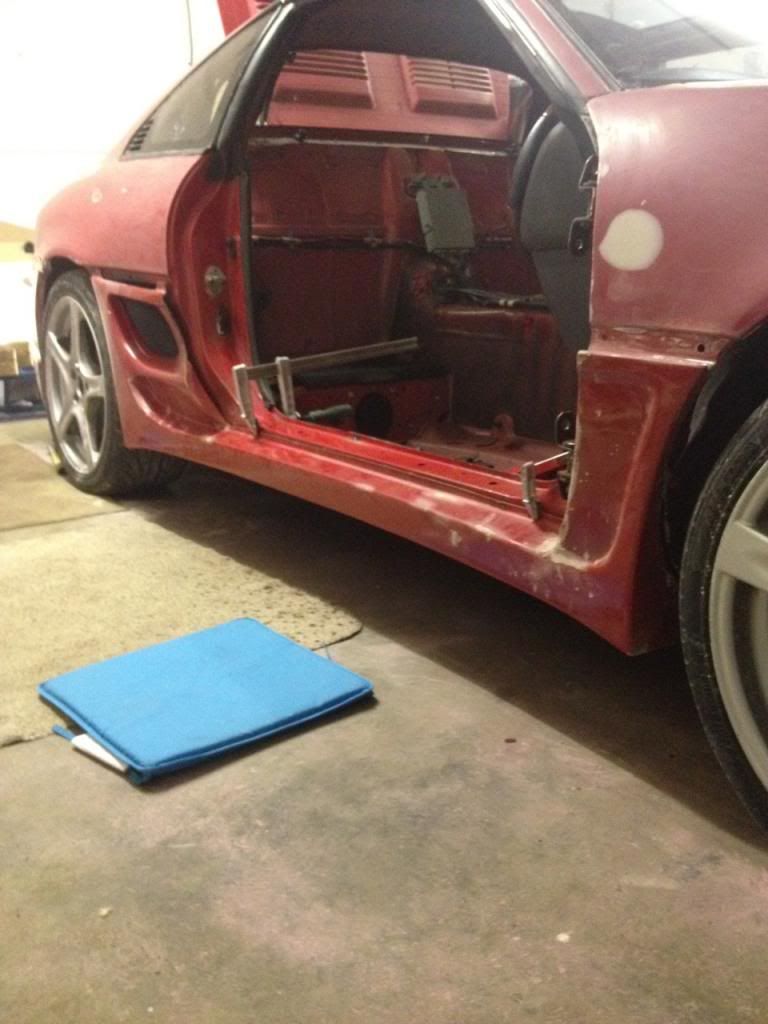
Striped out the interior and made a trial fit, marked out the positions and made pilot hole's etc.
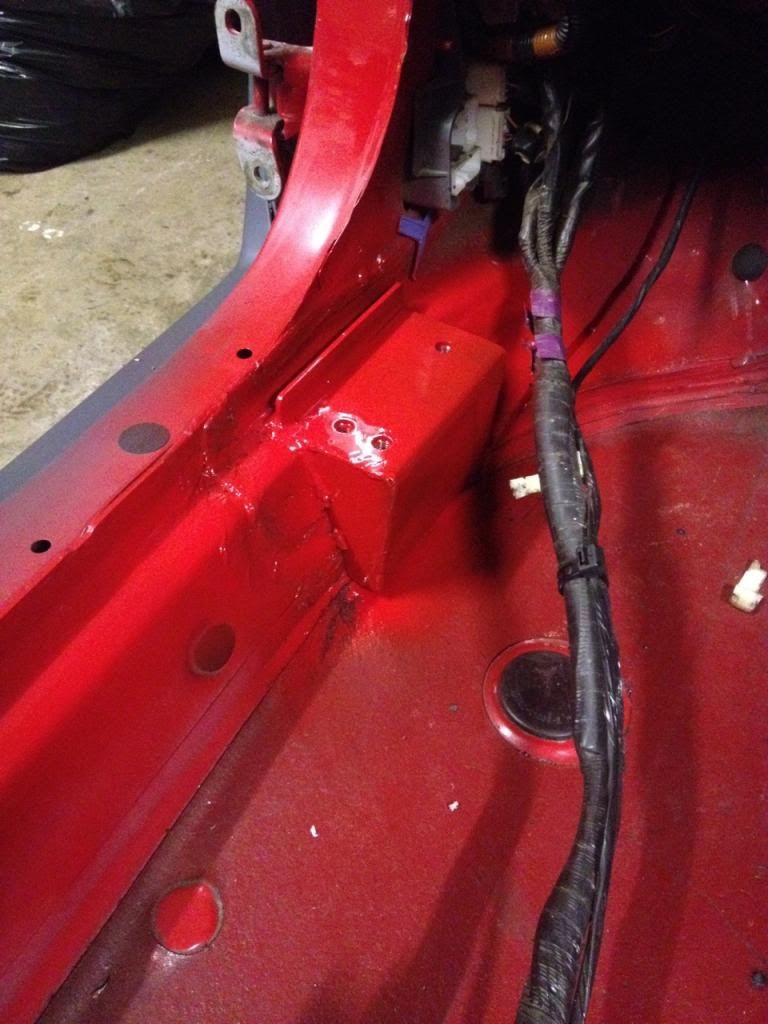
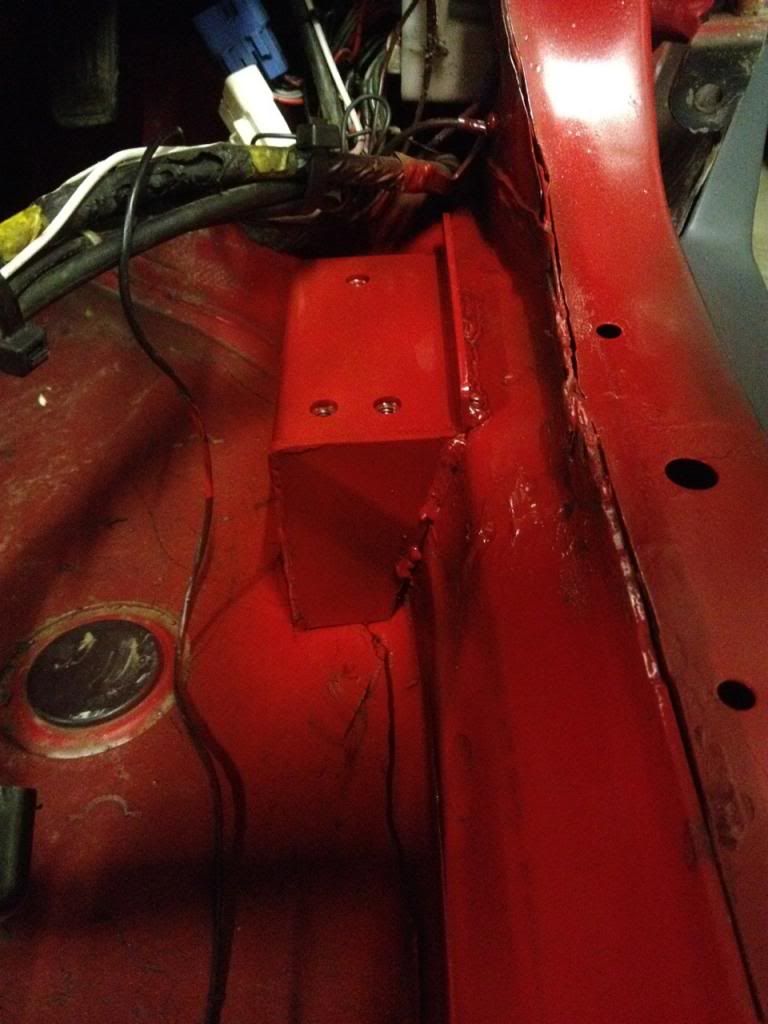
Back out with the Mig and sorted the base plates, fabricated a few extra plates just to tidy and then re-finished in factory red.
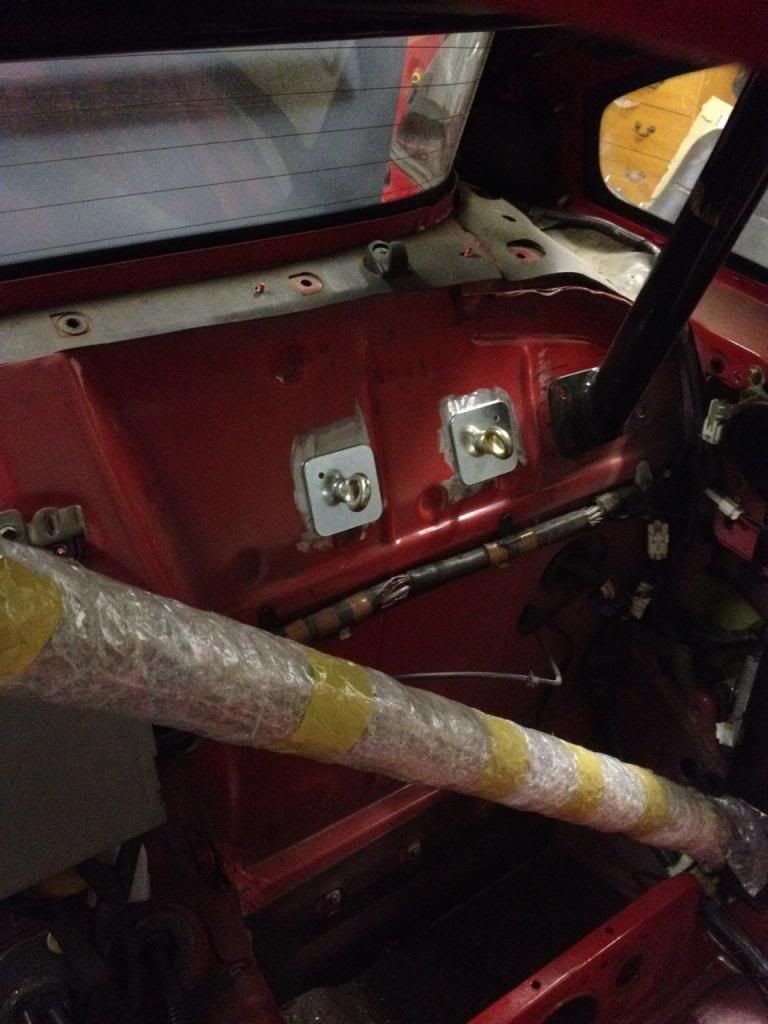
Also went ahead and welded in the race harness eyelet brackets and then fitted and bolted in the roll cage. Had to make a few last minute mods to the headlining etc to get it all to fit snug!
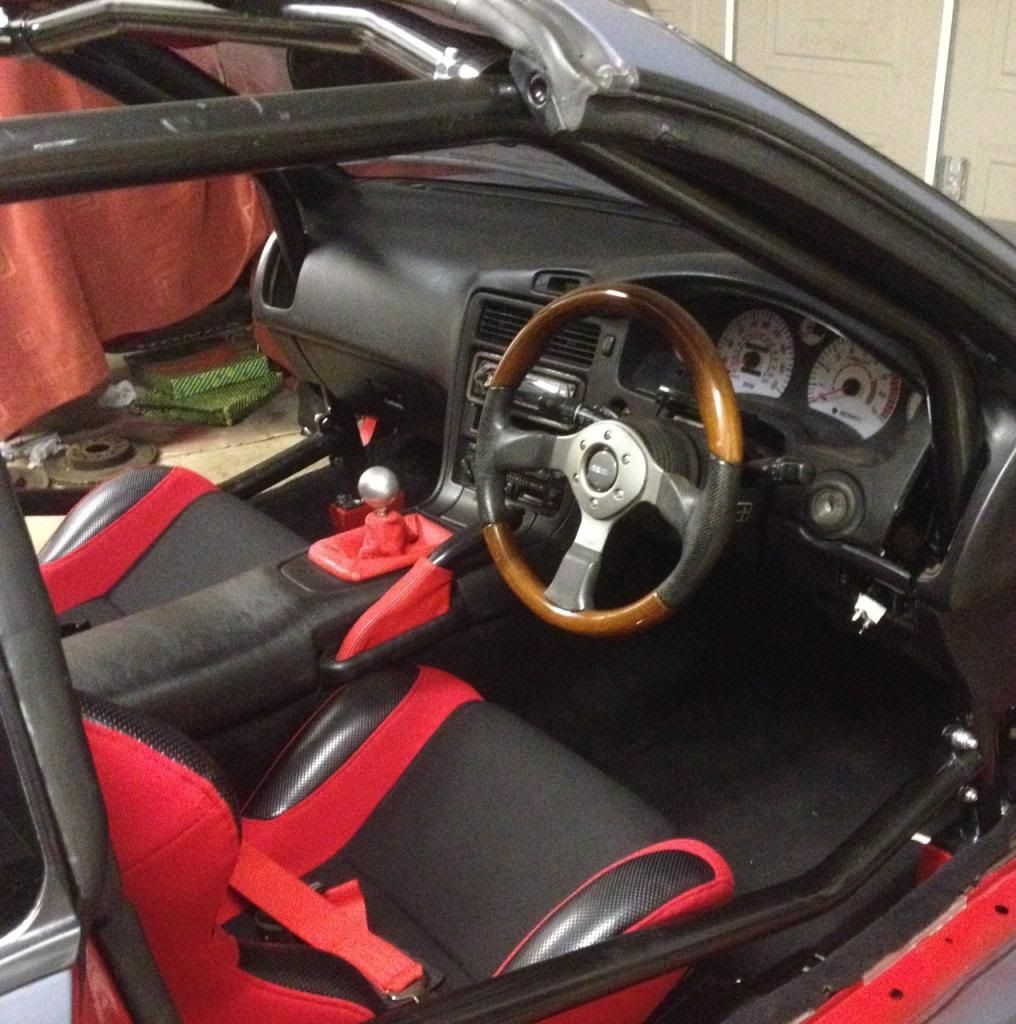
Then in with the interior and the new bucket seats. Had to build the subframes though as not sold with any . Then managed to get the T-bar glass back into position, again with a few mods.
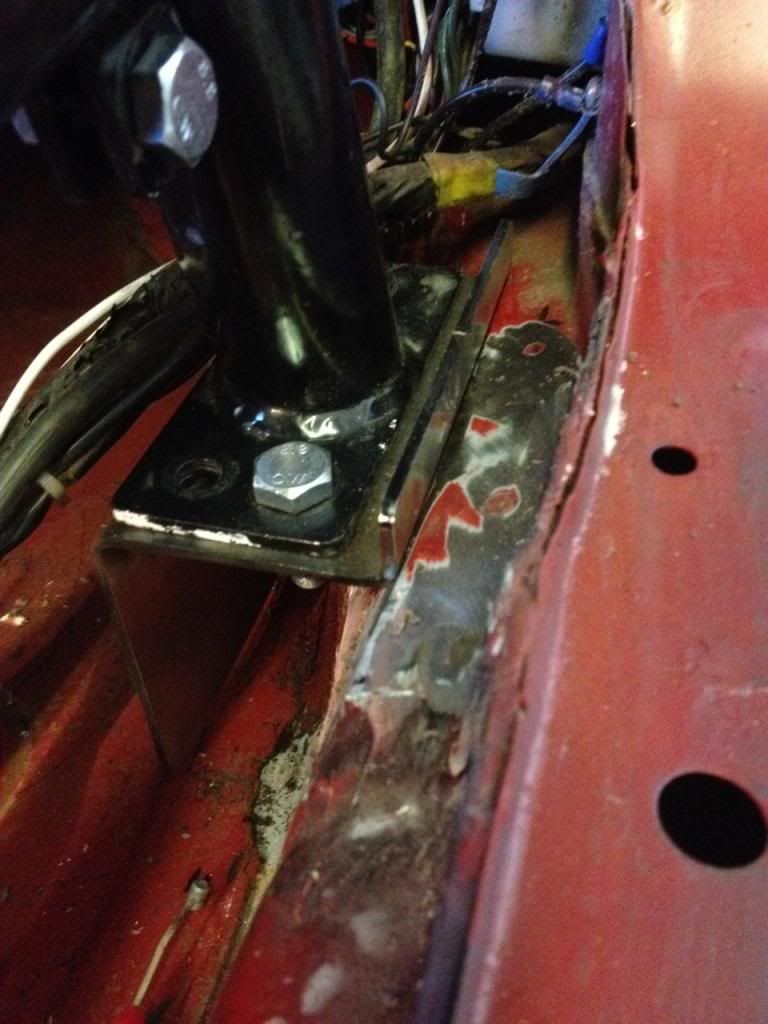
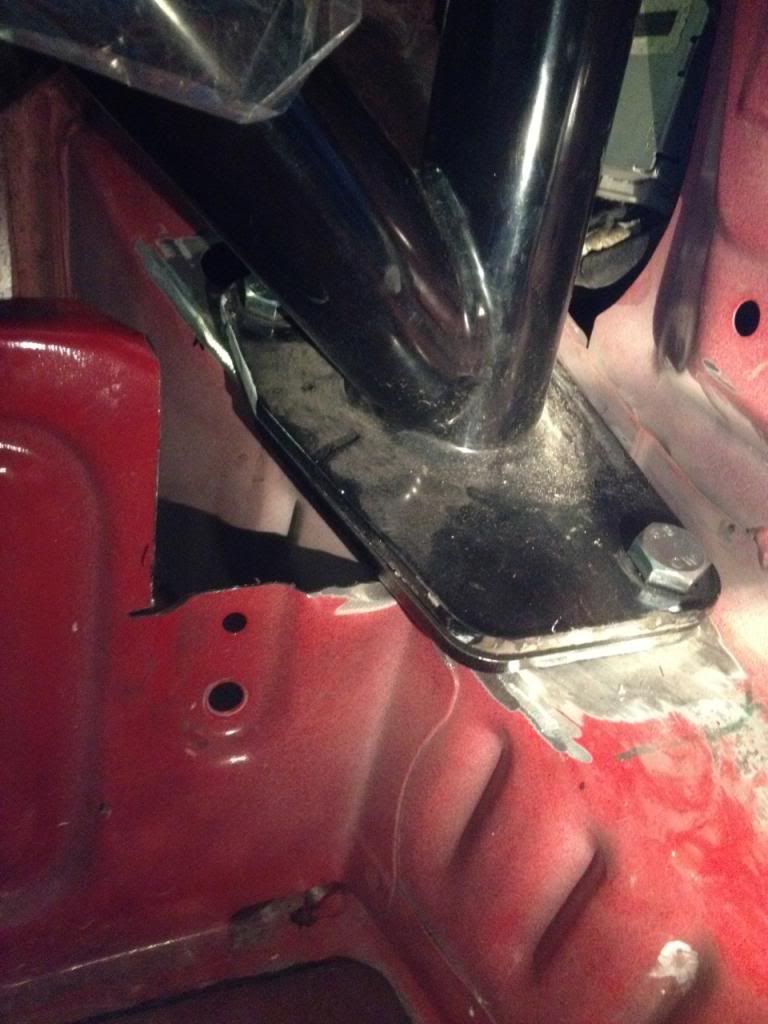
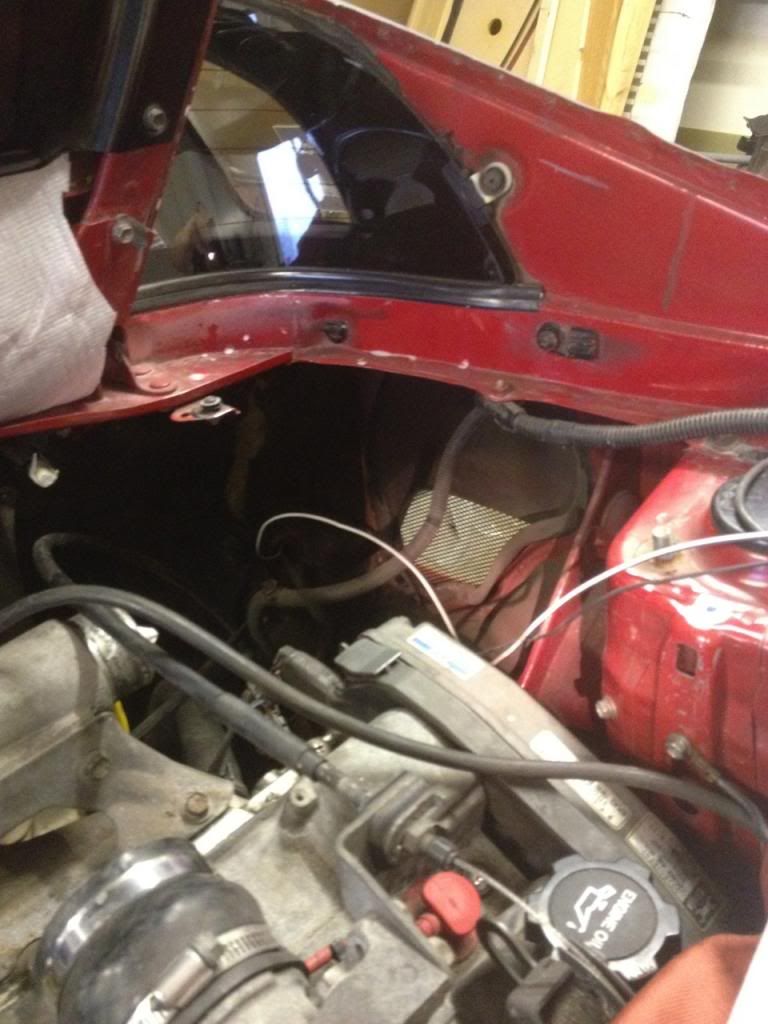
Only challenge was to bolt the back plates of the cage where they meet the fire wall. Looks like I would need to remove the intercooler to be able to bolt them in on the drivers side to complete the install
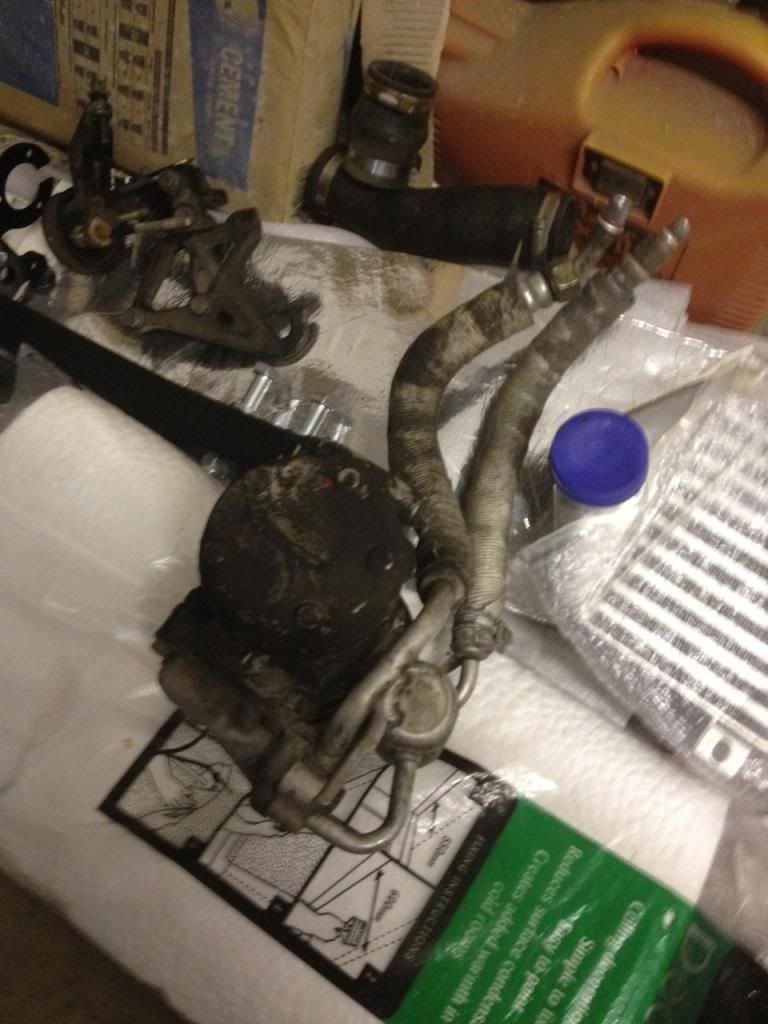
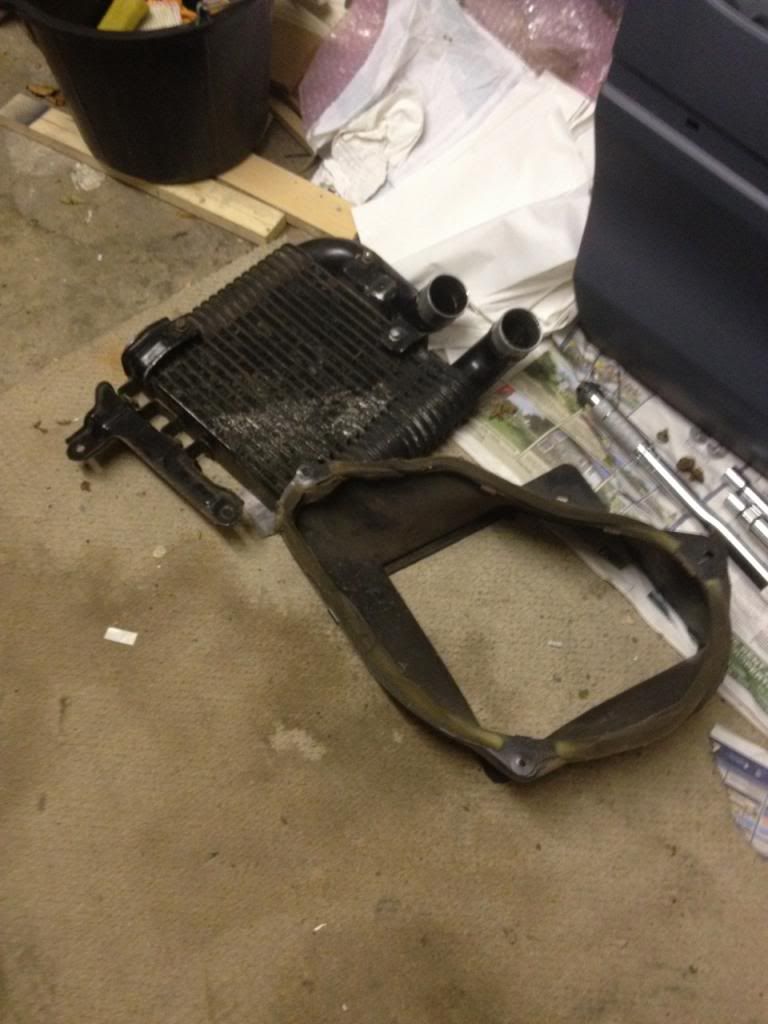
In order to finish the roll cage installation I needed to remove the Intercooler. Decided that I might as well upgrade it given the effort to take the factory one out.
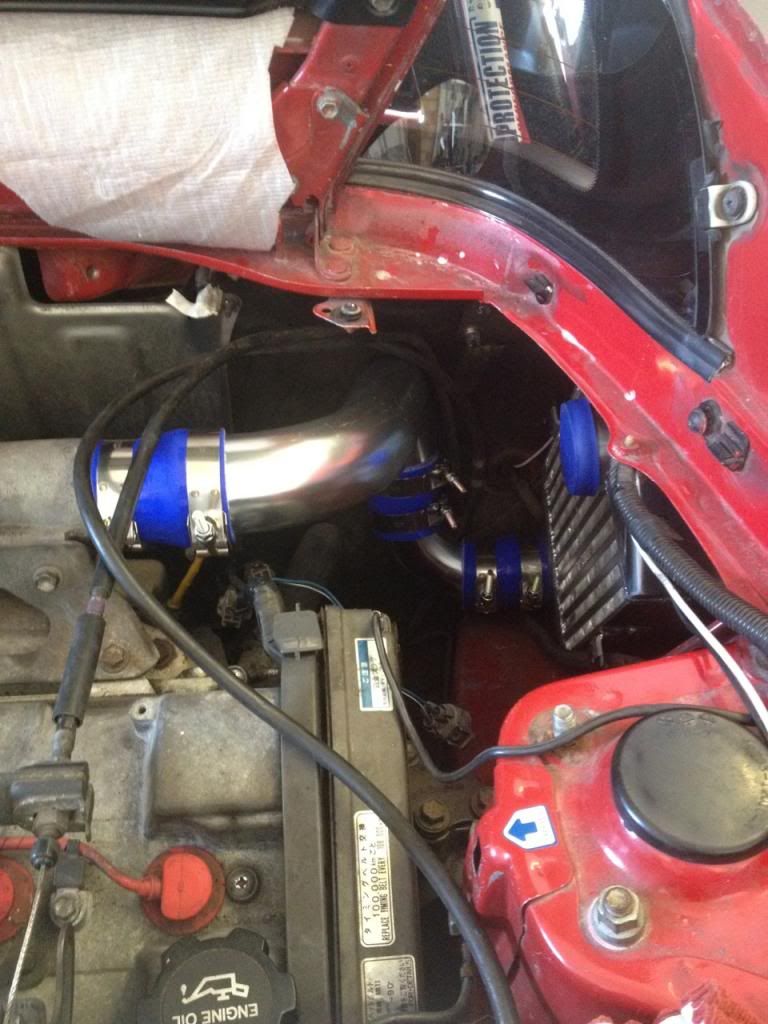
Decided that in order to give me as much room as possible I would go ahead and remove the AC pump and pulleys while at it. Made a whole load of difference, created plenty of space and the IC and plastic shroud came out fairly easily after.
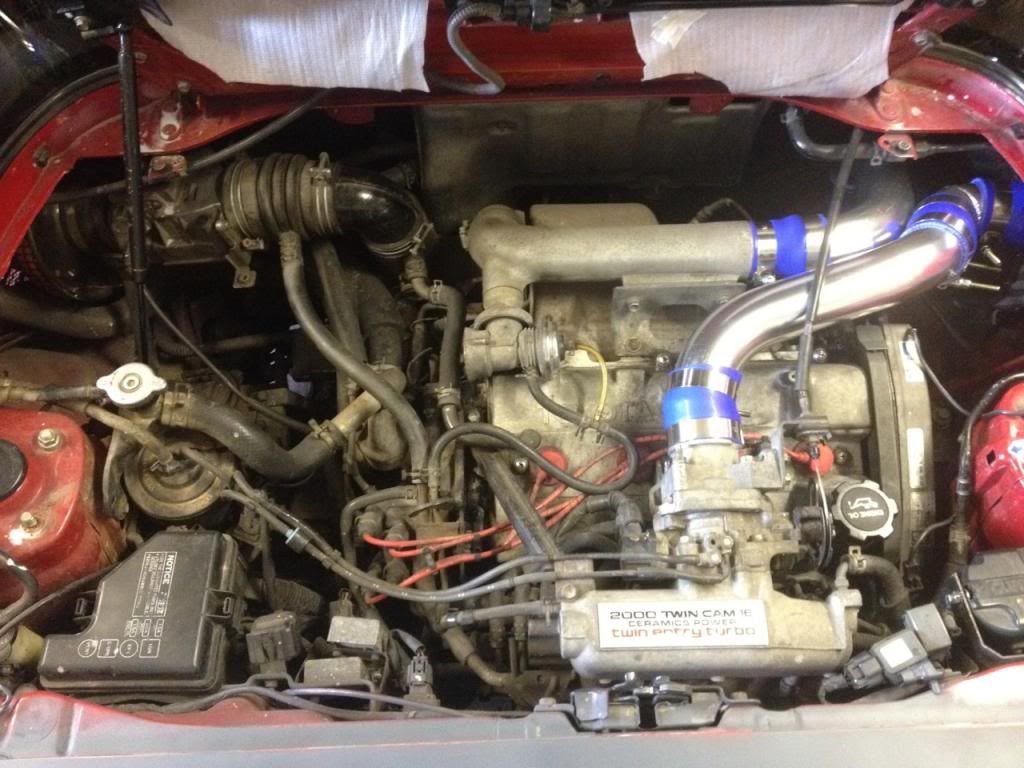
Completed the roll cage install with firewall bolts and spreader plate then made up a new shroud for the upgraded IC and bolted it in. Took some playing around with the pipes and clips but got there in the end.
Quick run up and all appears good...time will tell, once I finally get it out onto the road.
Lucked out with the HKS BOV, came with the car. Immediately liked the sound
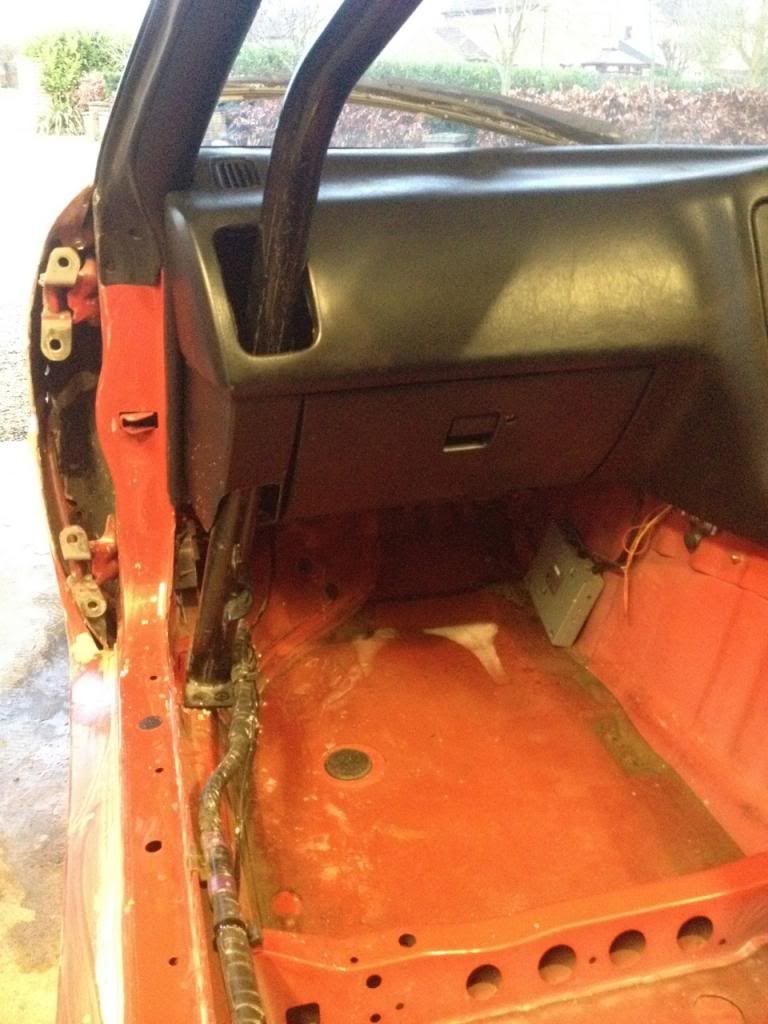
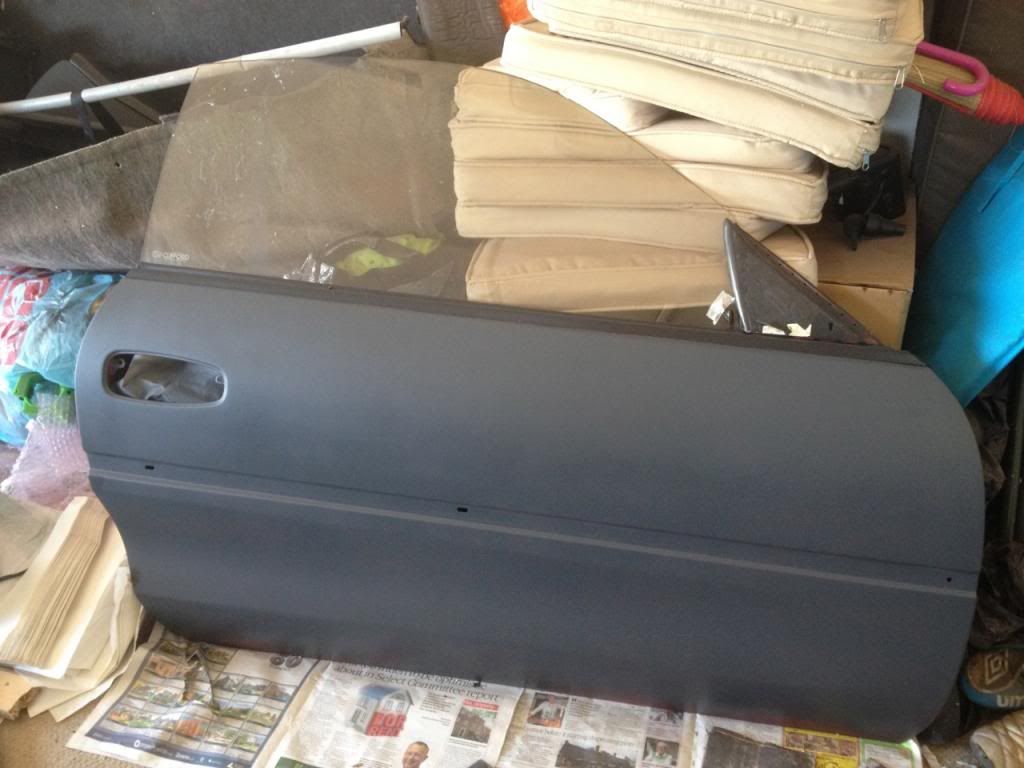
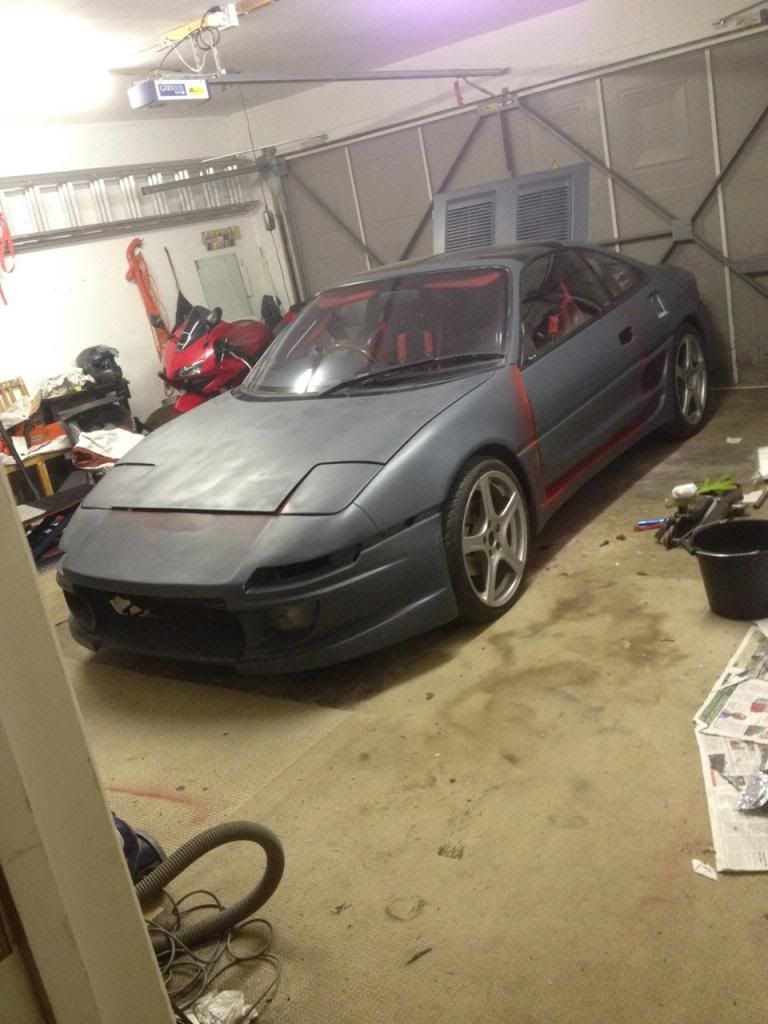
With interior sorted and IC in place remaining time was spent getting the body into shape.
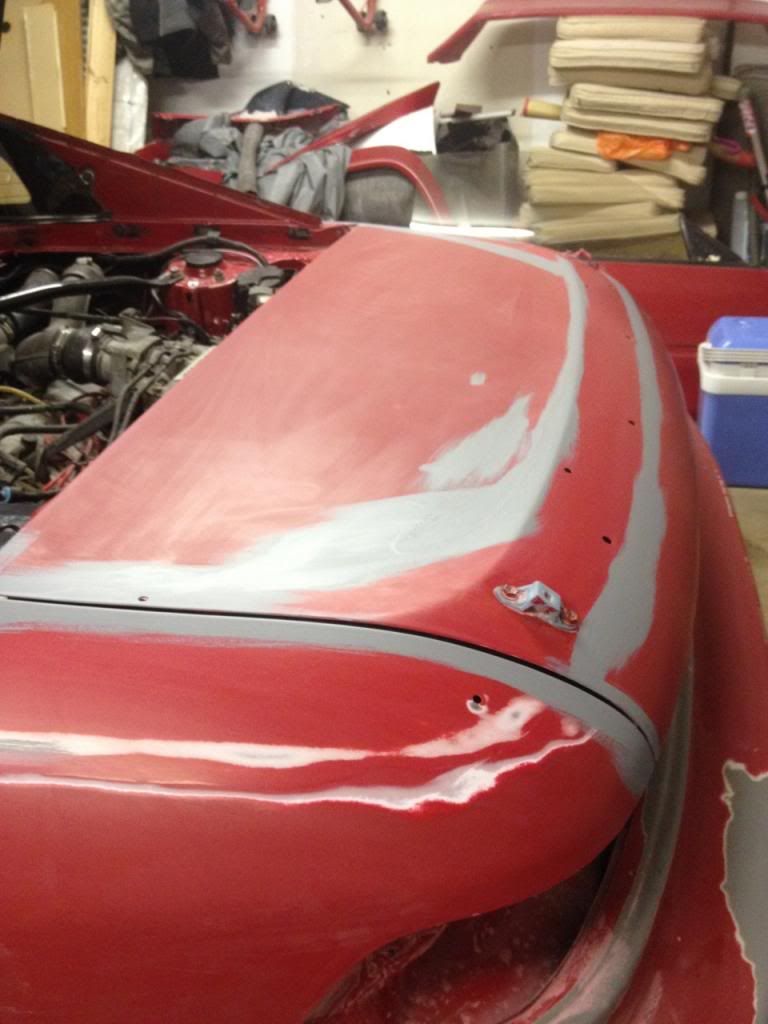
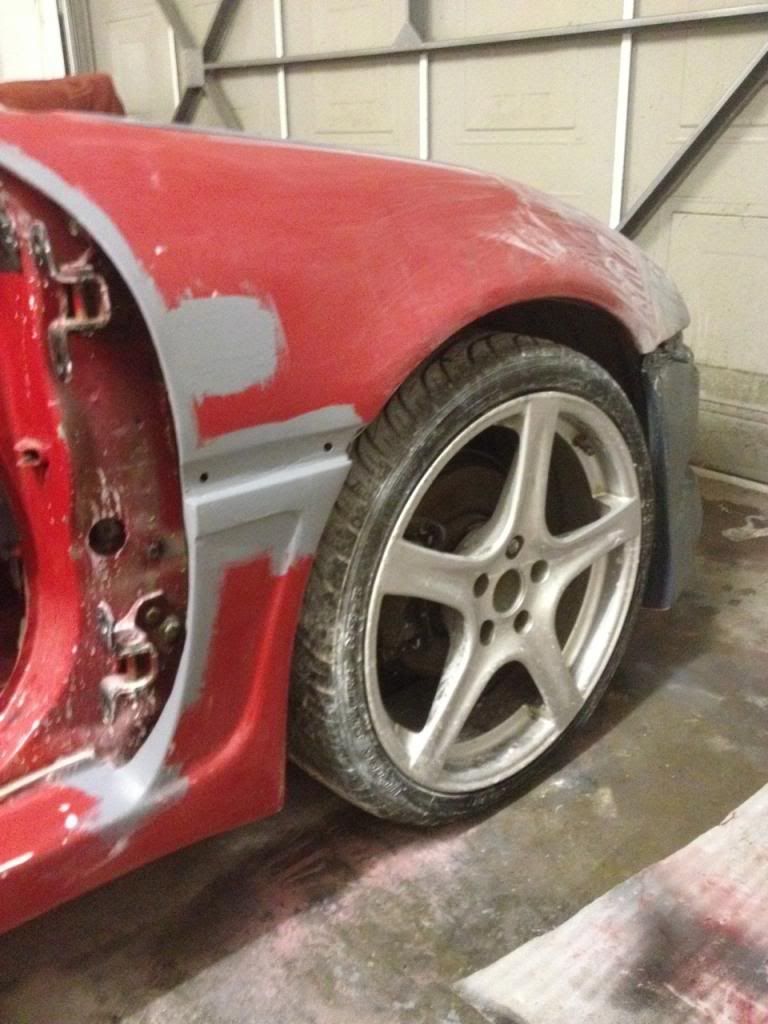
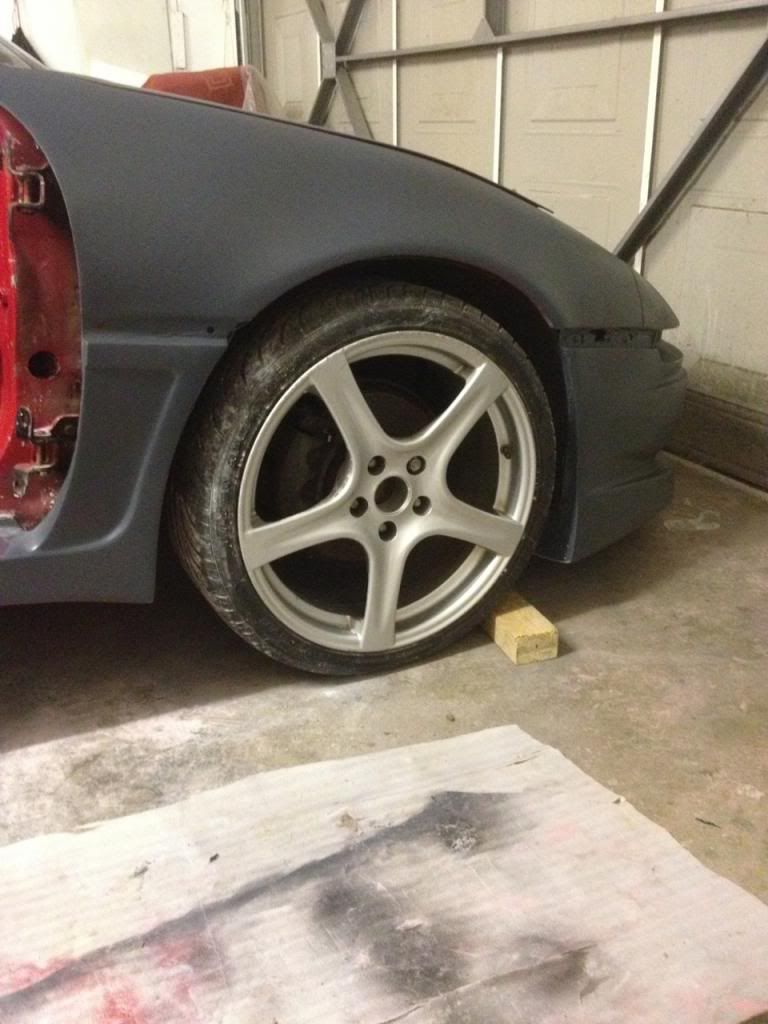
Refitted the side skirts and front bumper with bond and rivets. Used up a tin of P38 sorting out all of the deep scuff's, scrapes and dents, then spent HOURS with various grit wet n dry and filler primer to get best finish possible.
Got some grey primer rattle cans and prepared the front bumper, then got carried away and decided to do the lot then used 800 grit to flatten smooth.