BEFORE YOU START TO READ, NOTICE YOUR REACTION TO THE TITLE.

I GUARANTEE IT WILL CHANGE AT THE END OF THE READ.
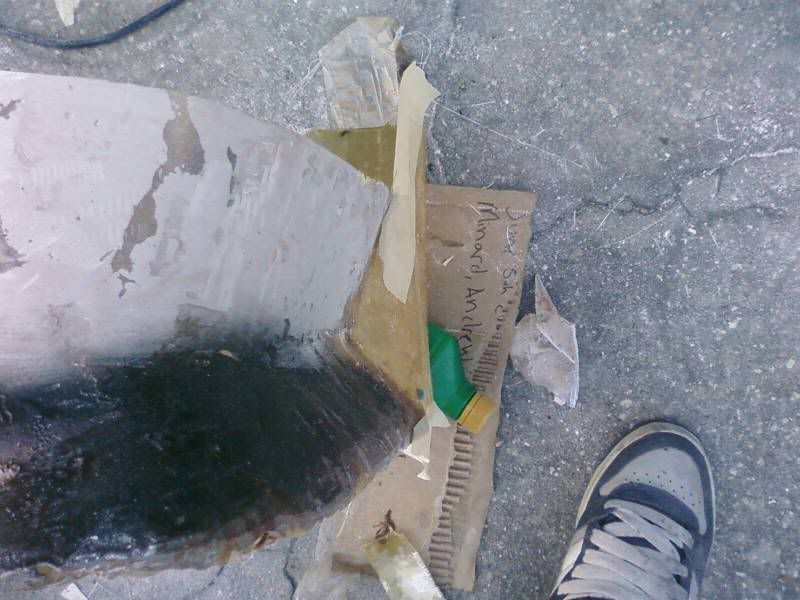
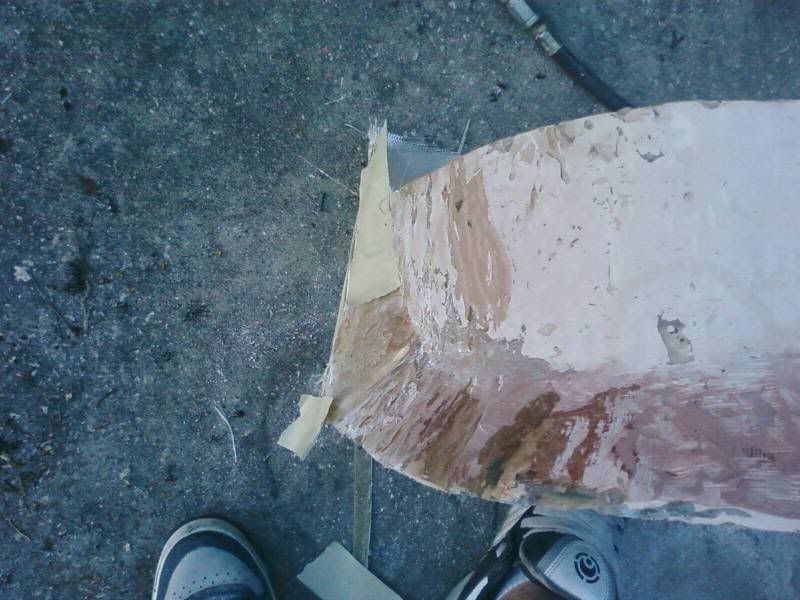
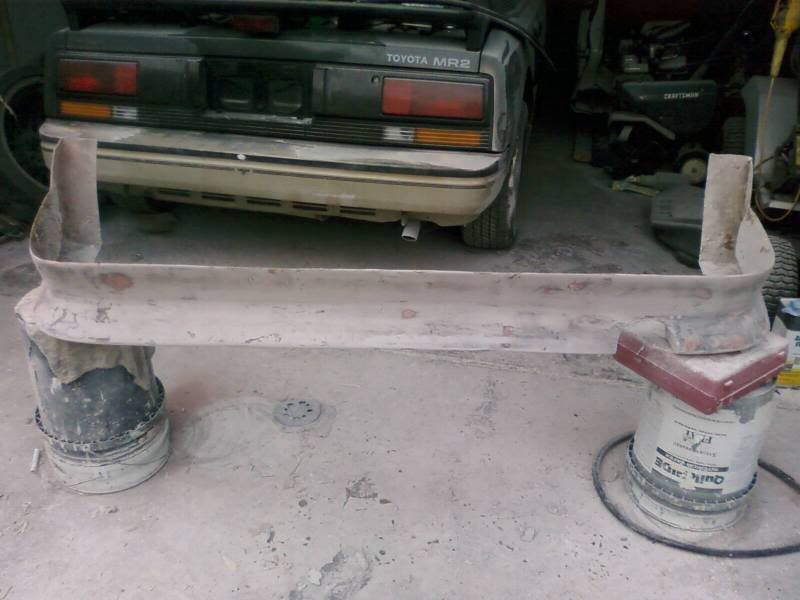
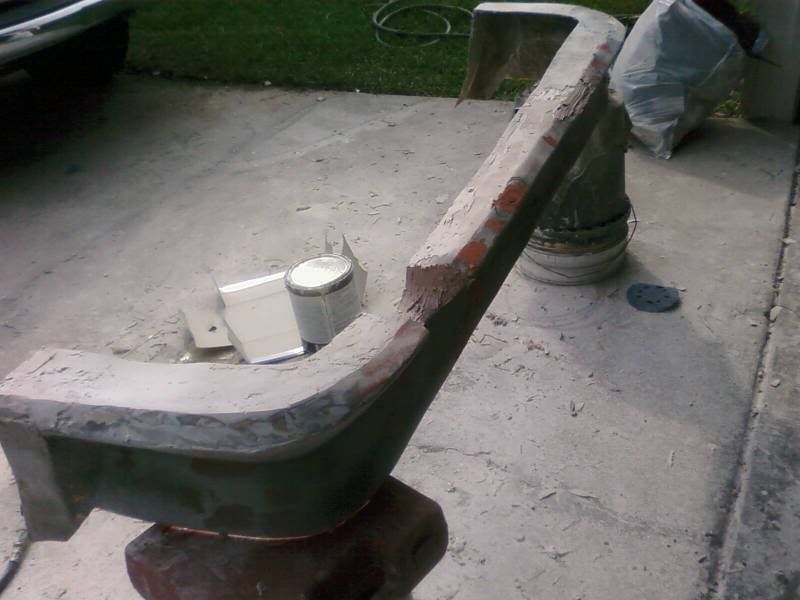
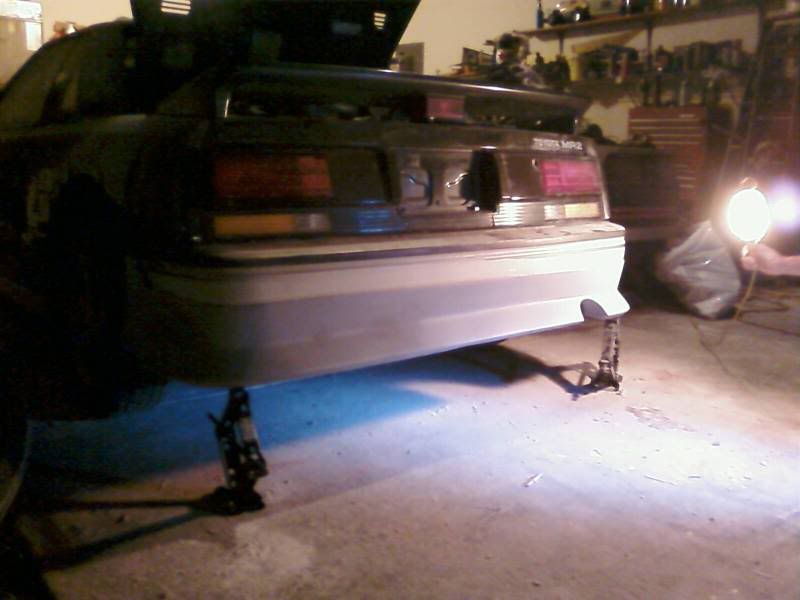
The lip was made by myself.
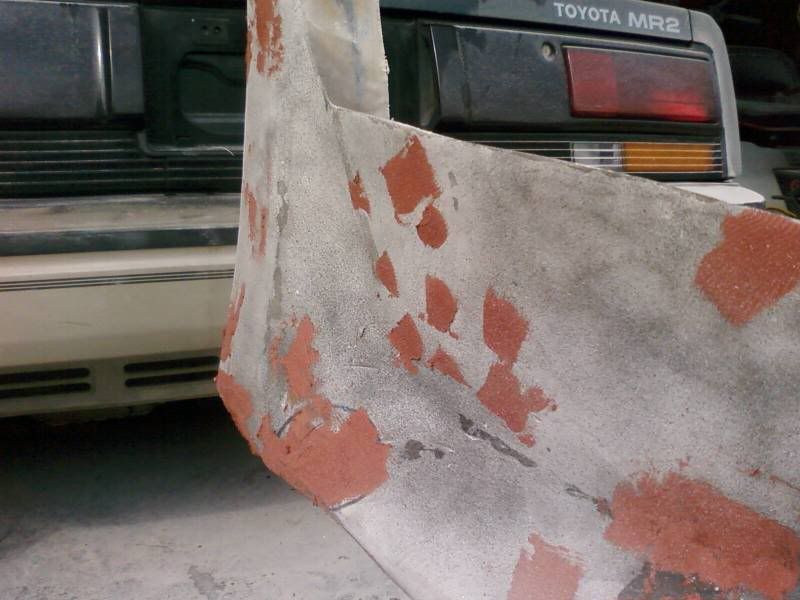
I have been doing glass for about 6 years now and this was the first time I used carboard as a base to get the general shape of the lip.
First I sketched out the design on paper.
It was nothing fancy just something to use as a loose guide.
I changed a few things as I went.
Next the design will dictate what materials you need to use as a base.
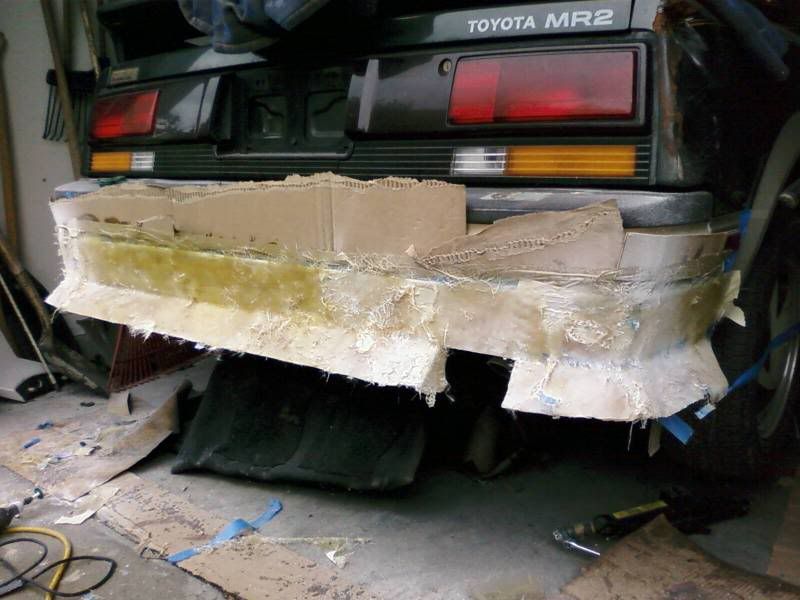
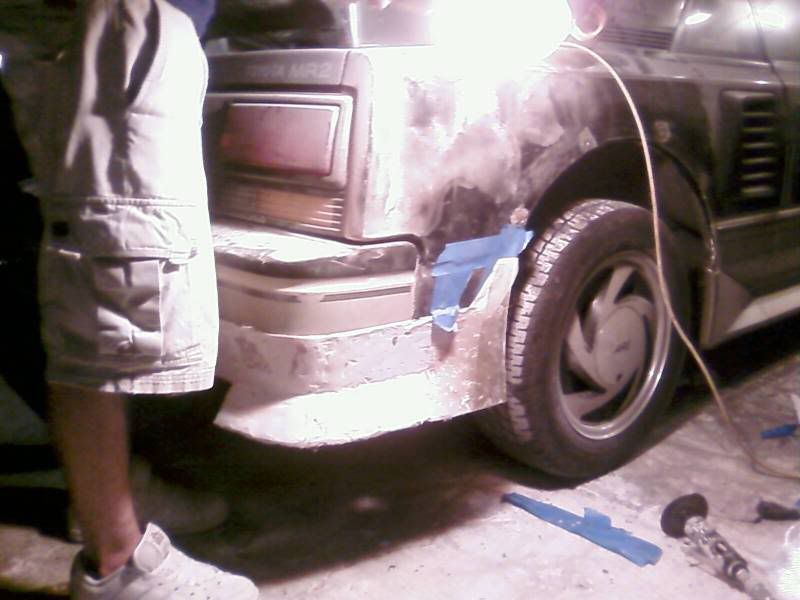
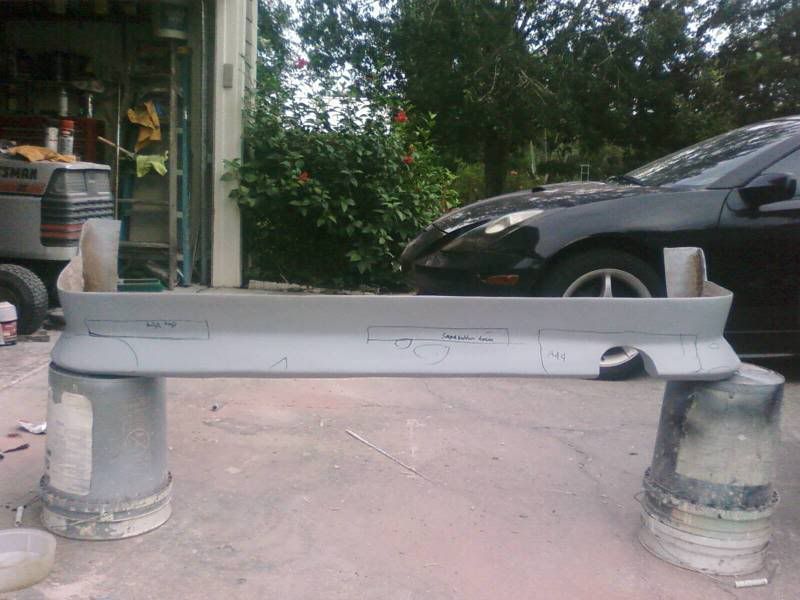
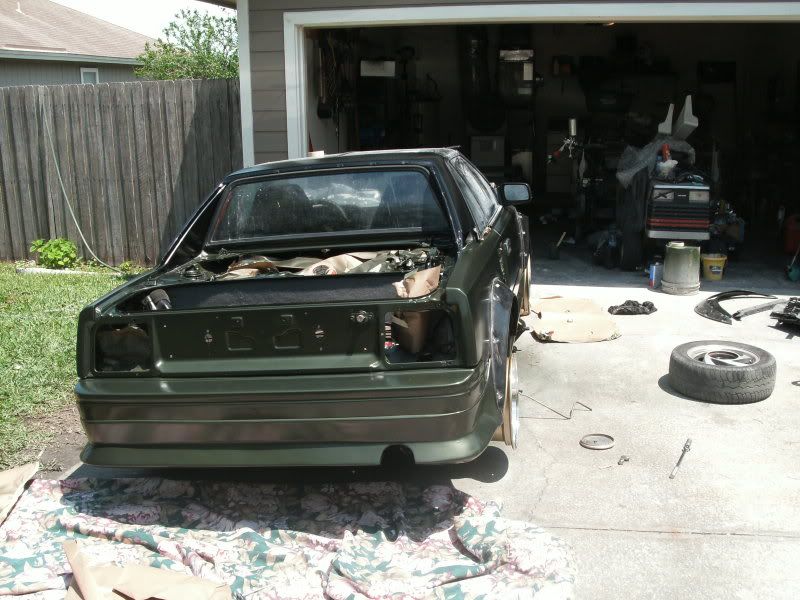
Since the mr2 is boxy and the lip will be somewhat as well.
I went for a 240sx looking rear lip.
Just something simple and flows nicely.
I chose to use cardboard since imo is the best for a boxy design.
Now that we are about to begin here are some quick tips.
-Wear old clothes
-Spend the extra few bucks to get the latex gloves, if you get resin on your hands it takes some time to get off your hands.
Eventually it will turn black from dirty sticking to it and you will look like you never take a shower.
-Design ahead and plan everything out, if you dont you will waste product, money and time.
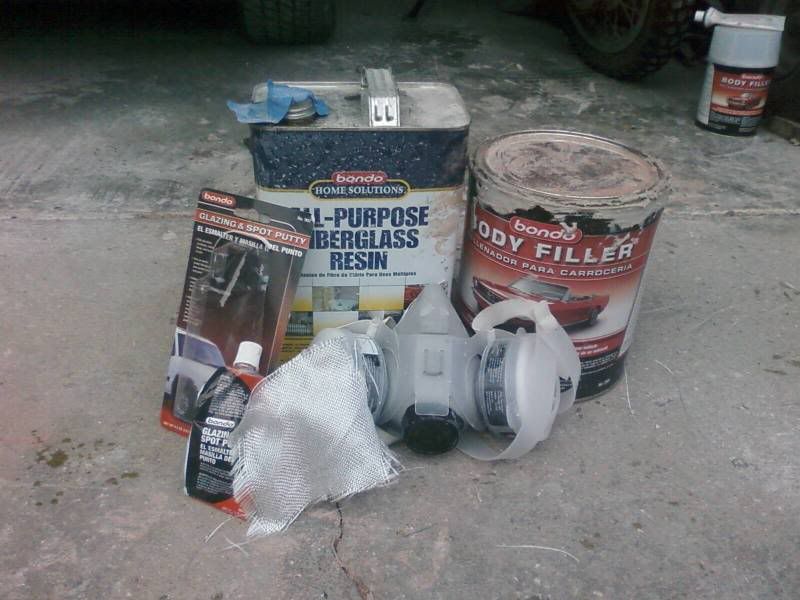
Materials you will need and where to buy:
-Masking tape
(I like to use the blue painters tape)
anywhere
-disposable paint brushes
homedepot, lowes, ace
-1.3-1.5 gallons of resin
(polyester is what I used for this)
homedepot, lowes or auto supply store
-bondo
(2 tubs is what I used)
I used the cheaper filler for this.
I usually use ragegold or dynalite
homedepot, auto parts store, walmart
-bondo spreaders
homedepot, lowes, walmart, auto parts store
-spot putty/glazing
walmart, autopart store
-respirator
(not recommended, but you will get a headache from bondo and resin if you dont have one)
homedepot, lowes possibly walmart
-spray glue
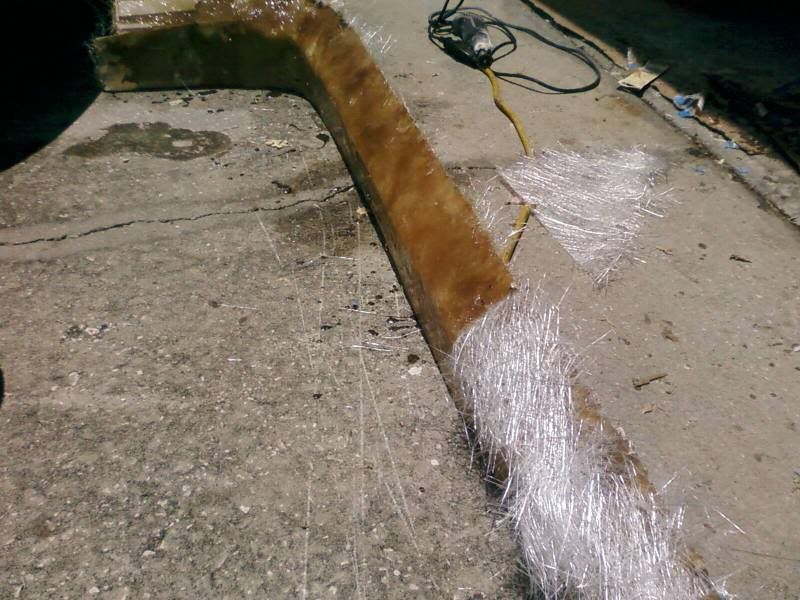
-chop matt
-fiberglass cloth
both dry fiberglass
homedepot, lowes, walmart
-Sander
-low grit paper, 60,80
mid grit 120
high
320, 400 600
My advice is to buy all this stuff off the internet, that way you get more for your money and you have more of a selection.
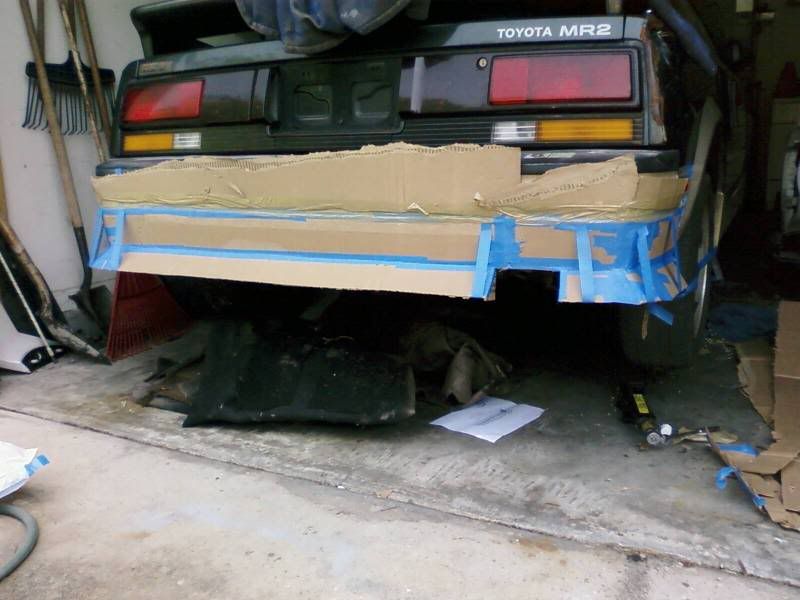
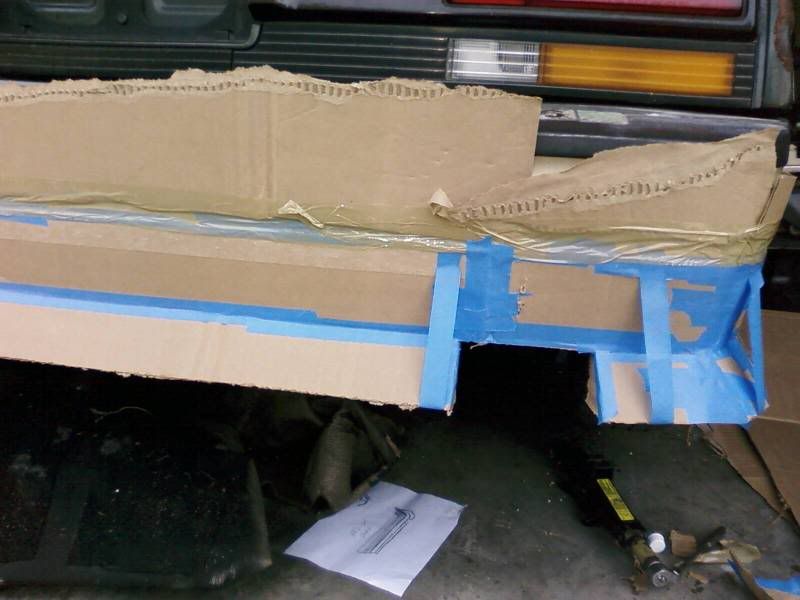
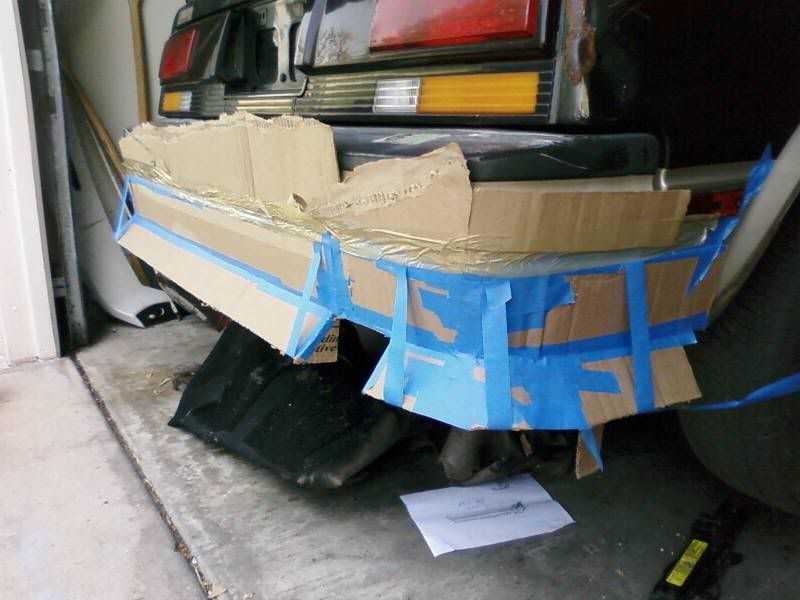
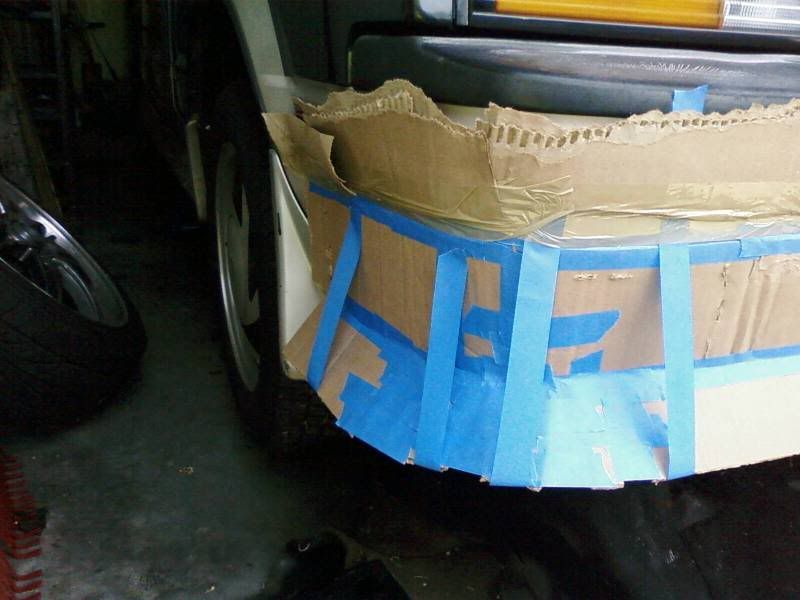
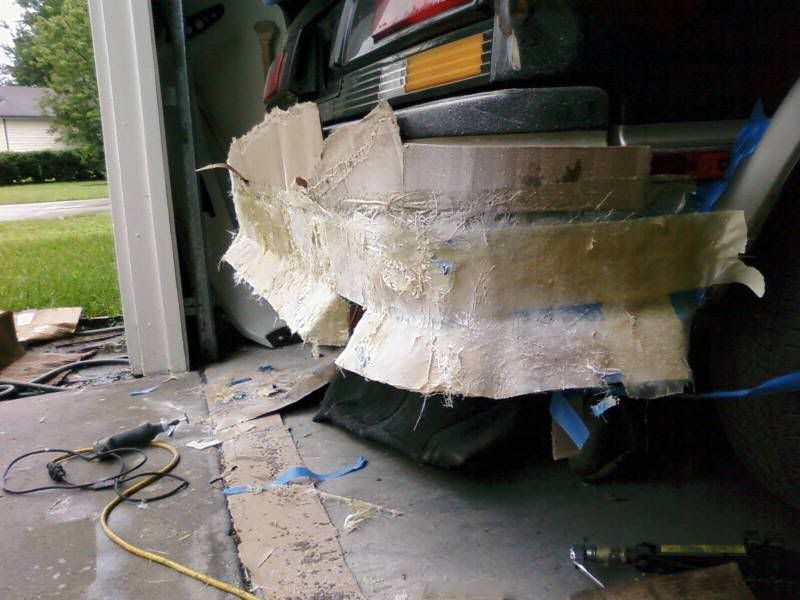
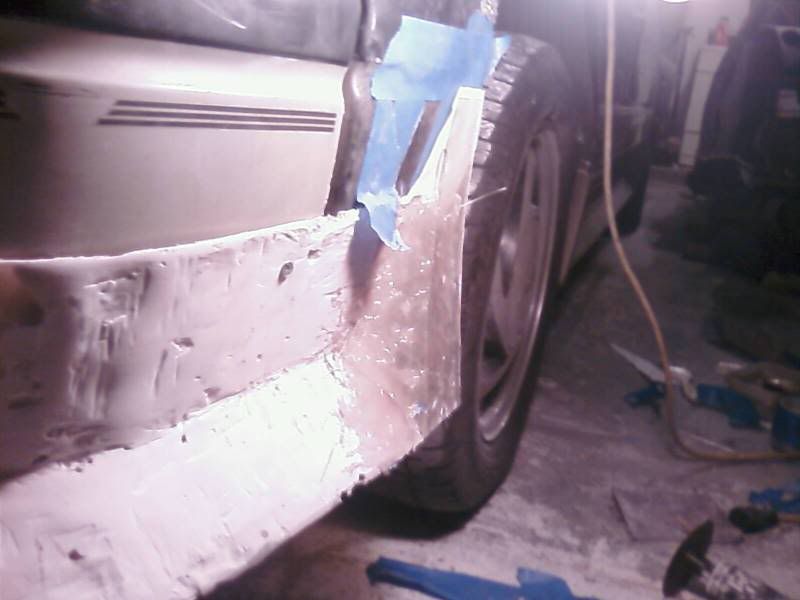
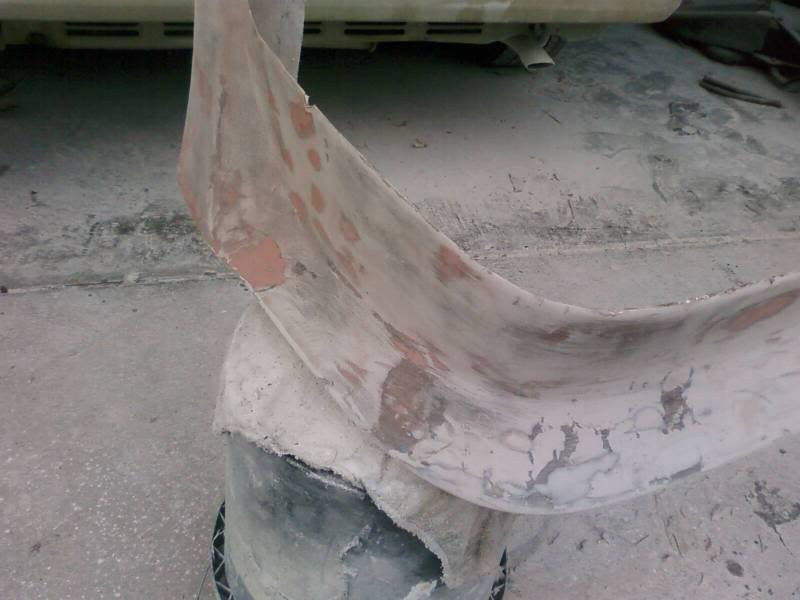
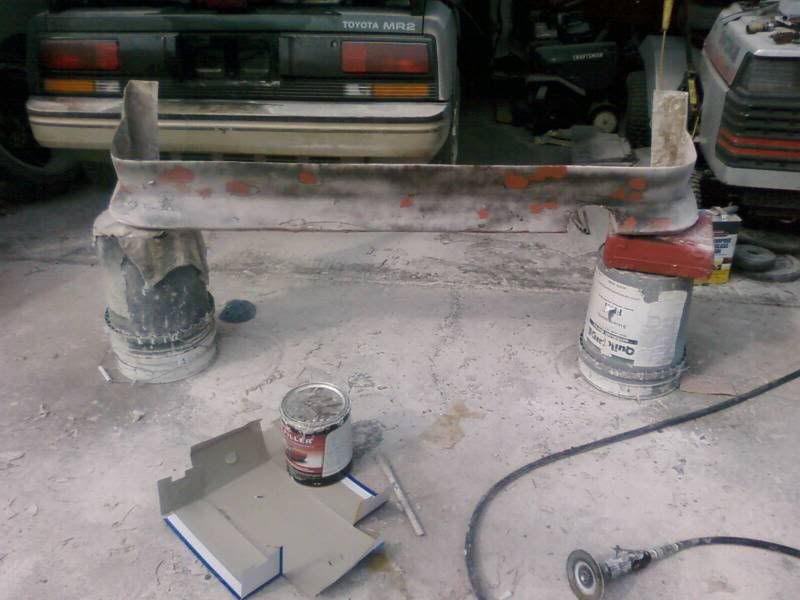
I built the whole lip out of CB
(cardboard) first.
I then put CB above the lip so no resin got on the bumper.
Then cover the whole lip in tape.
Put alittle car wax on the lip.