
.
.
.
.
.Part 1:
My rev3 turbo has had a respray at some point in its life and so, whilst the paint work is faded and stained in places, I could see the potential when I bought it.
I did my research
(which included pm'ing JOHNM400 who is in the trade
- thanks for the help, John

) and bought me tools
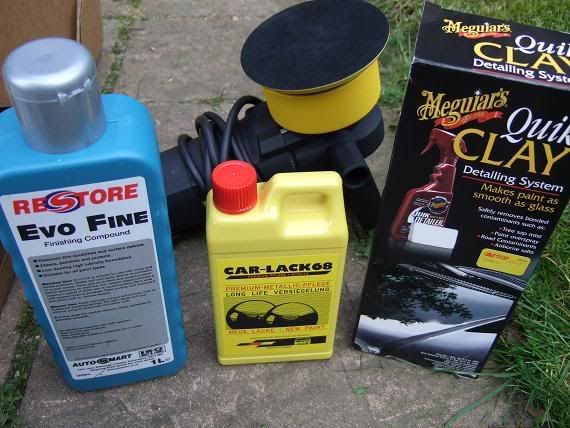
the EVO Fine compound breaks down as it is used to give progressively less cut.
This allows for paint correction, swirl removal and a finish shine in one step.
It works pretty well when applied by hand
(as I discovered when doing a quick spruce up for the Duxford show), but really comes into its own when used with the G220 polisher.
I decided to tackle the car panel by panel so as not to pressure myself into trying to finish the whole in one go.
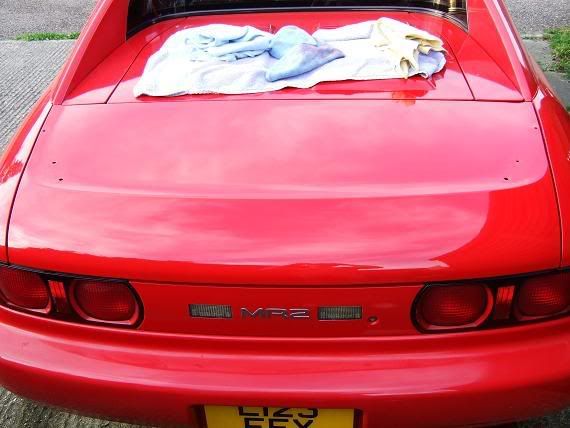
I did the spoiler and boot today.
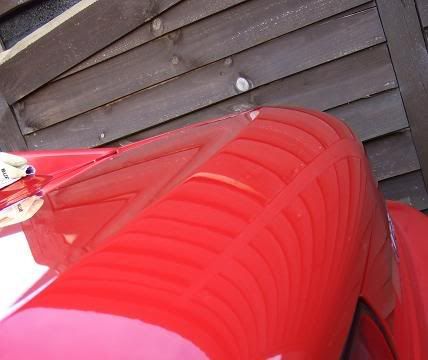
The spolier has a coat of lacquer and so didn't need much work, but the boot lid was a bit faded and had some serious staining on it.
I removed the spoiler and did this separately.
First I washed with a Meguiars Gold class
(and wash mit), then clayed and then washed again.
Then I got to work with the polishing using a hard foam polishing pad on the G220.
Once I had achieved a nice rich colour and mirror finish I applied the Carlack Long Life sealant wax
- there is no way I was going to go to all the trouble of restoring the paint and then have it fade again by just using a normal wax.
Carlack is an acrylic sealant with UV protection.
I've not used the Carlack before, but it can be layered to give even more protection
(it's supposed to last up to a year) and it has filler properties to help give a flatter, deeper finish the more you use it.
So, I'll be topping it up every time I wash the car.
Warning, though: the sealant is a b1tch to buff off.
You think that it's all gone until you look carefully.
This is not like wax
- which is the whole point, I guess.
This is supposed to provide durable paint protection and I hope it does the job.
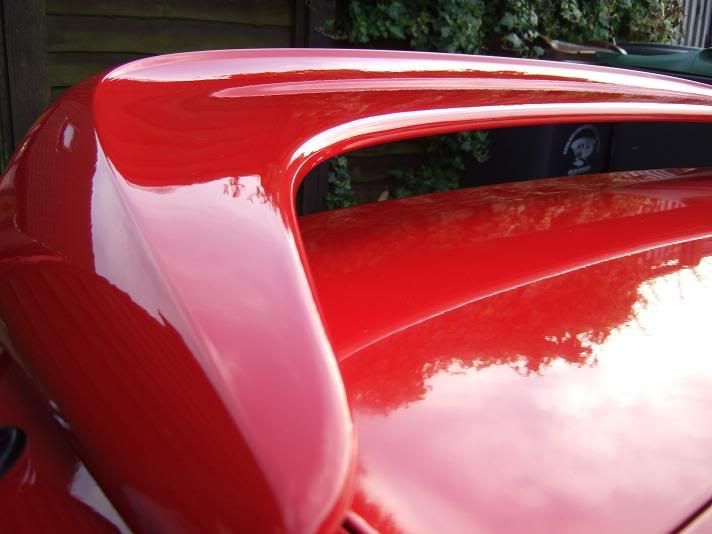
So with the boot and spoiler done, I'm delighted with the results.
Apart from the fact that the respray job isn't factory quality, the finish is awesome
- in fact I doubt the paint has ever looked this good.
Rear bumper next, which is very faded.
Thanks for reading.
See you for part 2
Matt