Rev4 Turbo *mini photoshoot*
Moderators: IMOC Moderators, IMOC Committee Members
Re: Rev4 Turbo *mini photoshoot*
Hi Jim, wheels look fantastic. I've been considering buying new rpf1's for a while now too. Where did you get them from? I've been looking into having them shipped over from the states.
-
Race Idiot
- Posts: 2589
- Joined: Wed Jan 25, 2006 10:48 pm
- Location: Hertfordshire
Re: Rev4 Turbo *mini photoshoot*
Stupid question about that rad, is that the same dimensions as the oem one? What make is it?
Re: Rev4 Turbo *mini photoshoot*
Race Idiot wrote:Stupid question about that rad, is that the same dimensions as the oem one? What make is it?
just a mr2 ebay rad.
i think stock is like 32mm ish from what i measured.
so good 20% thicker.
Re: Rev4 Turbo *mini photoshoot*
Few more bits and pieces sorted
New rad looks nice!
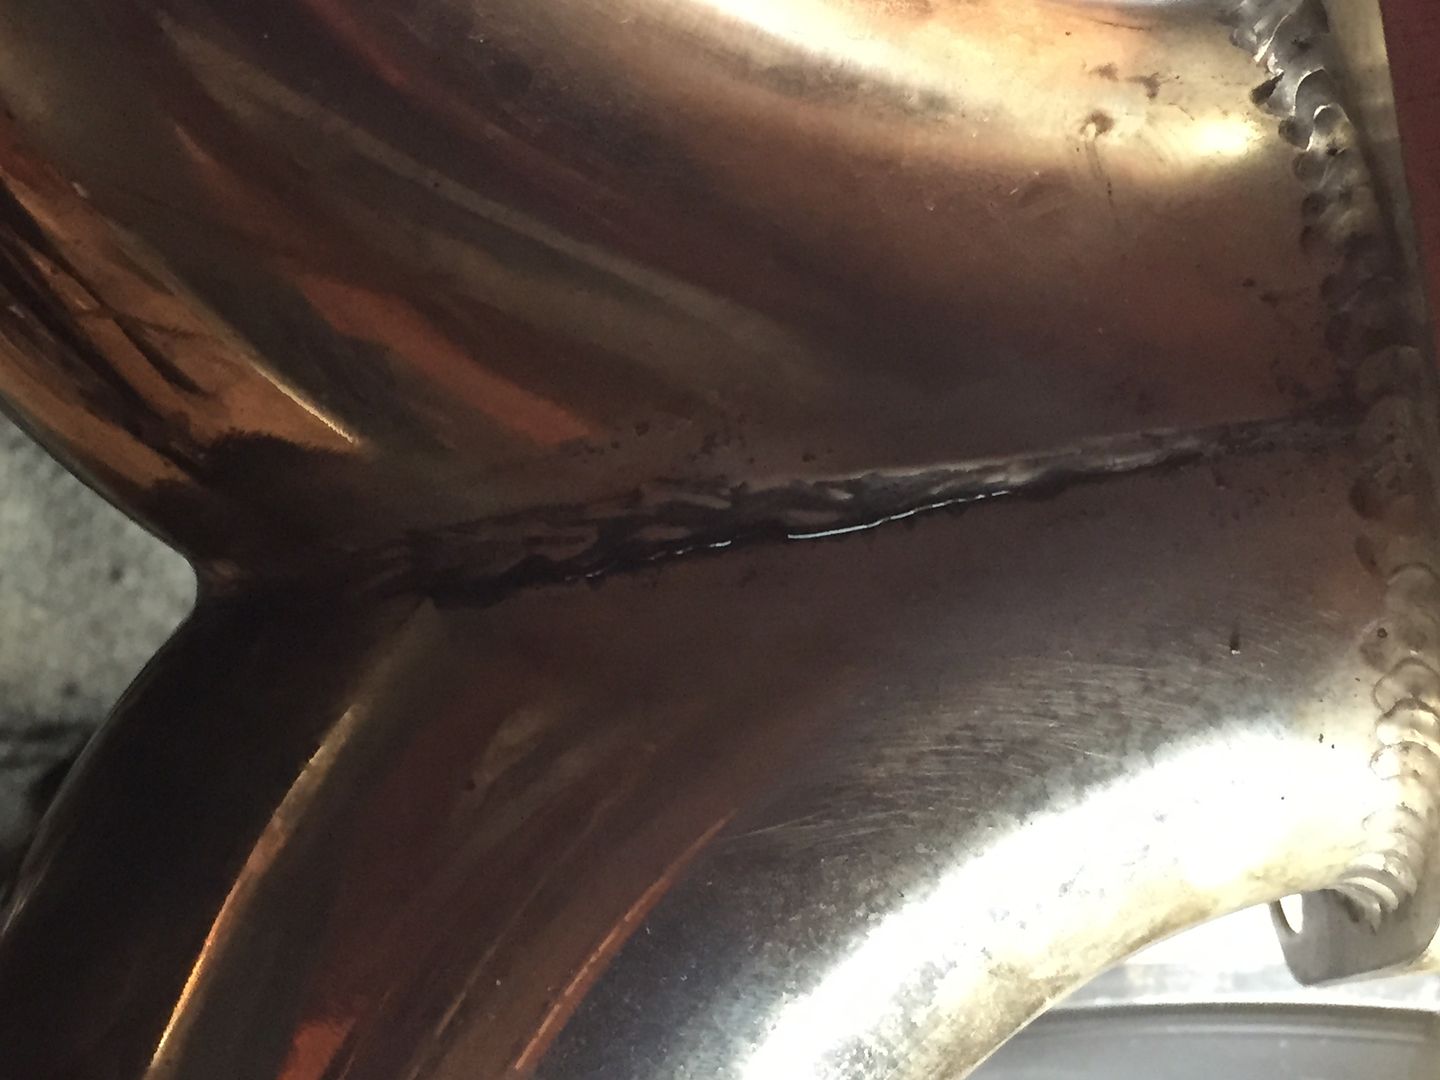
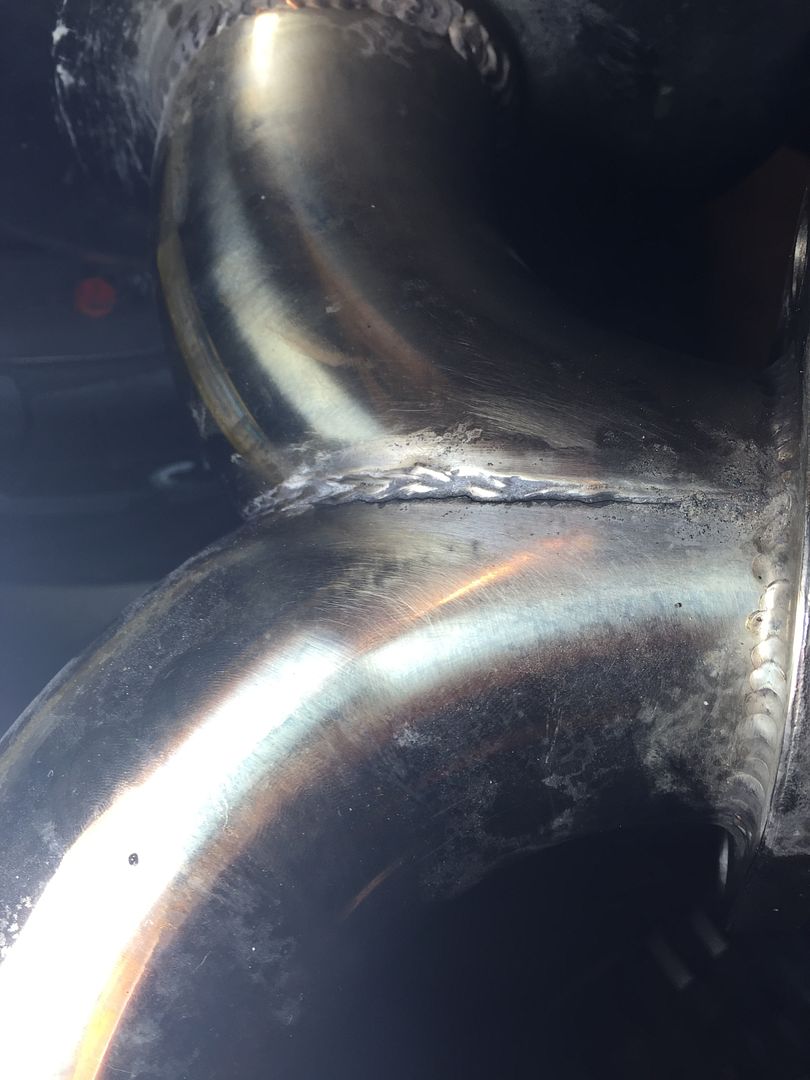
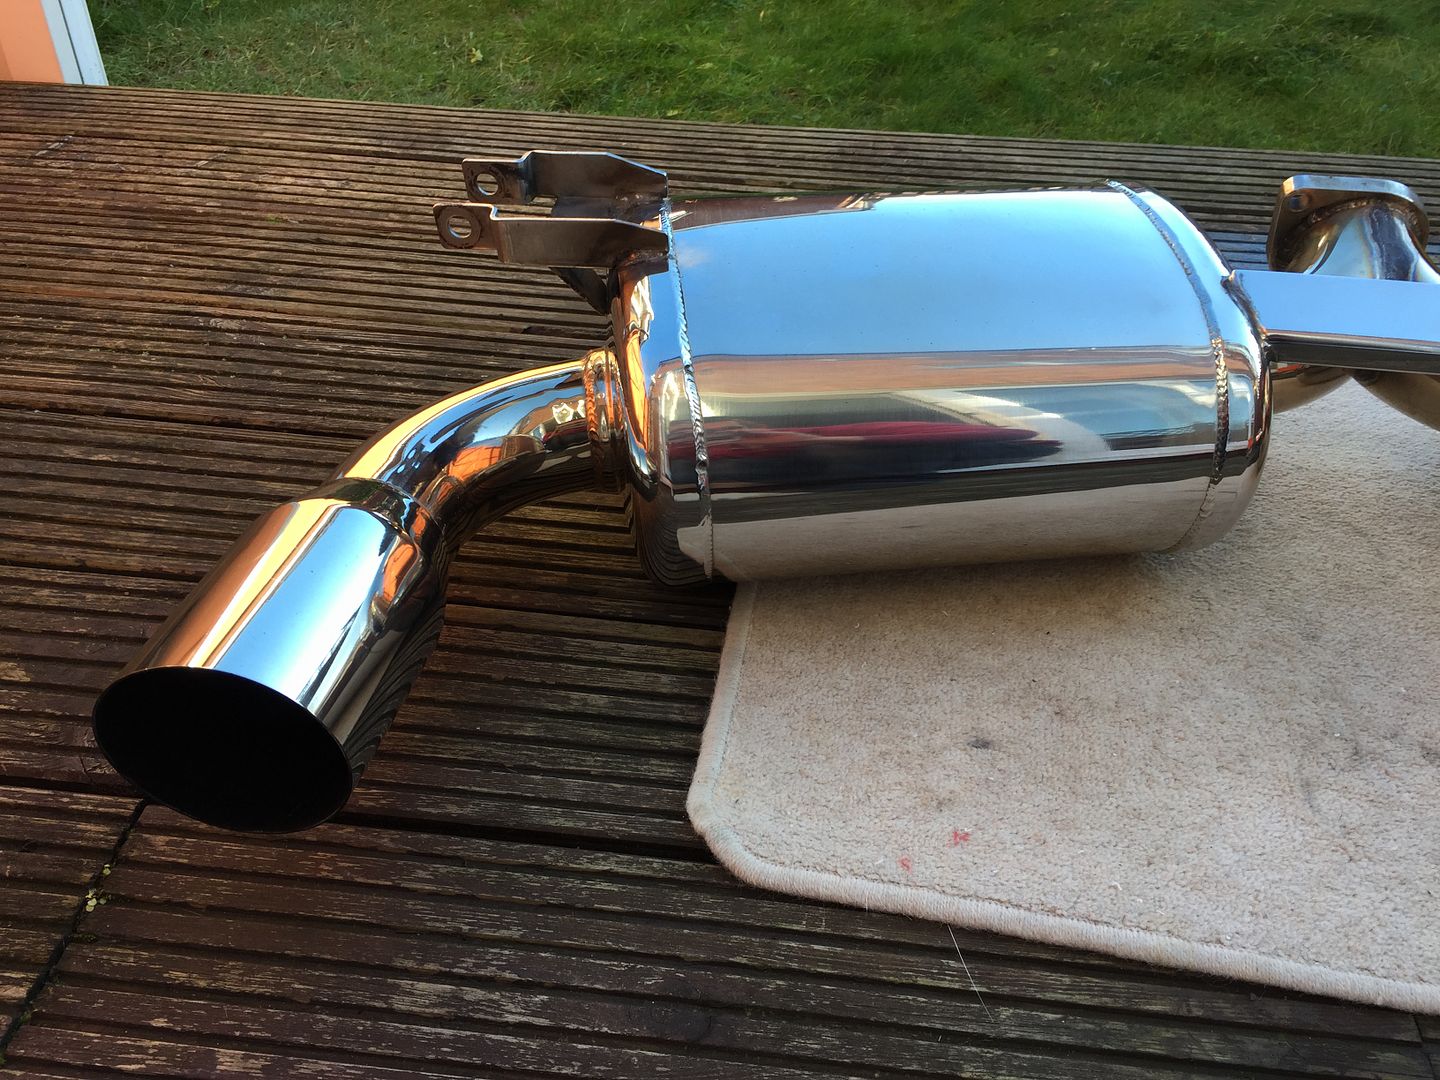
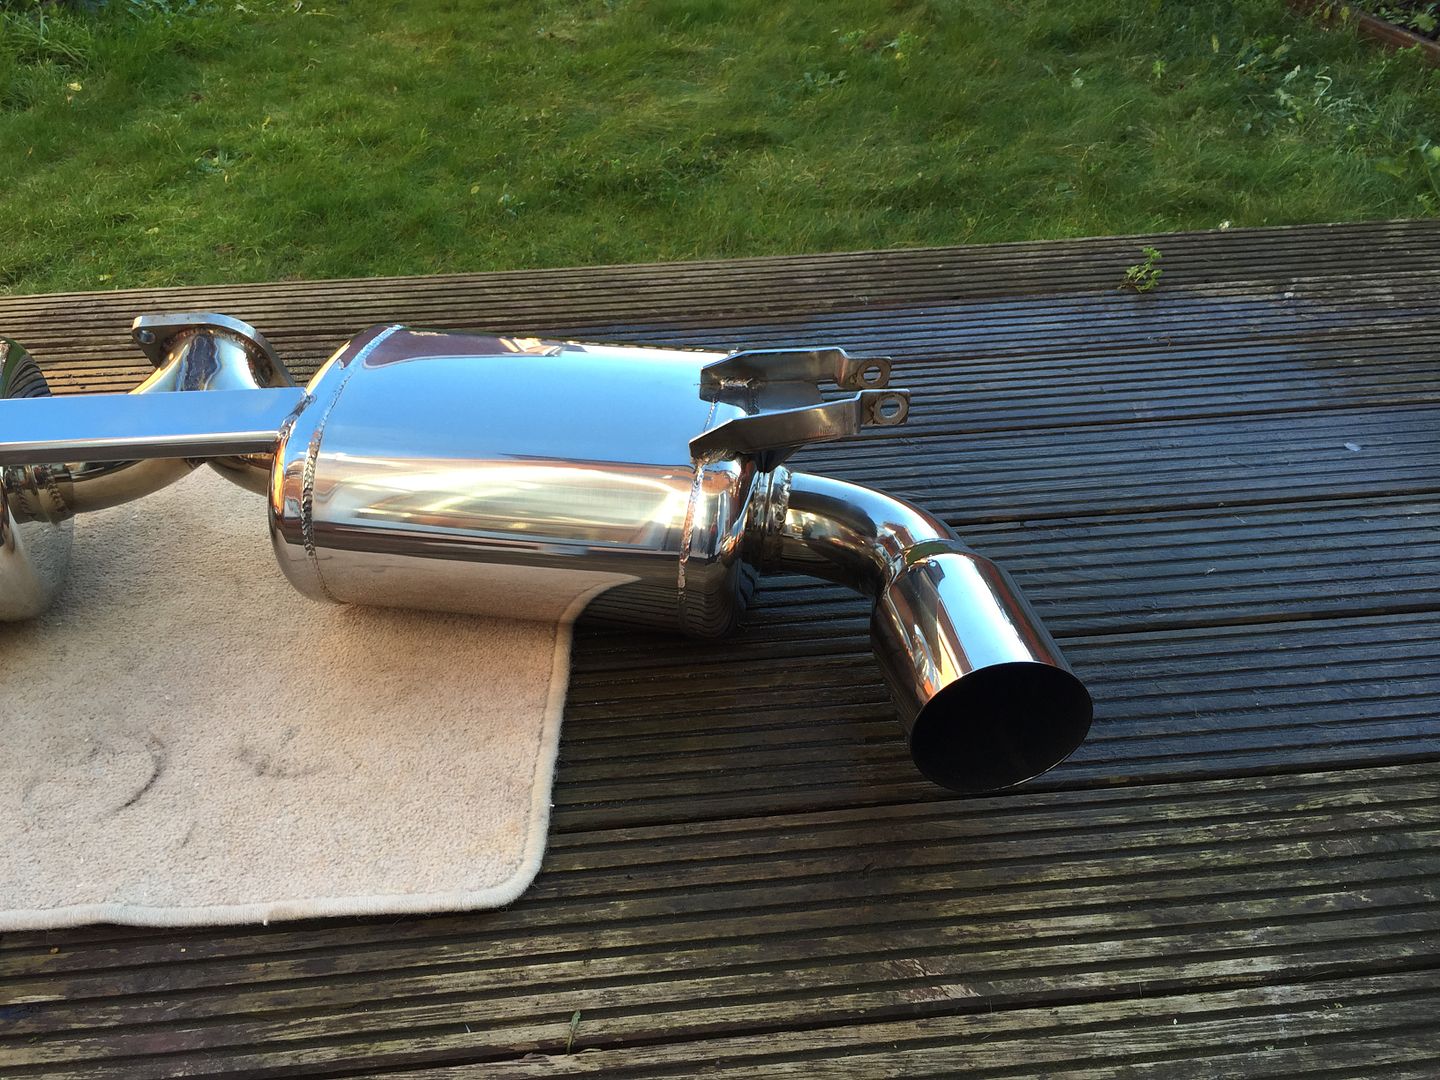
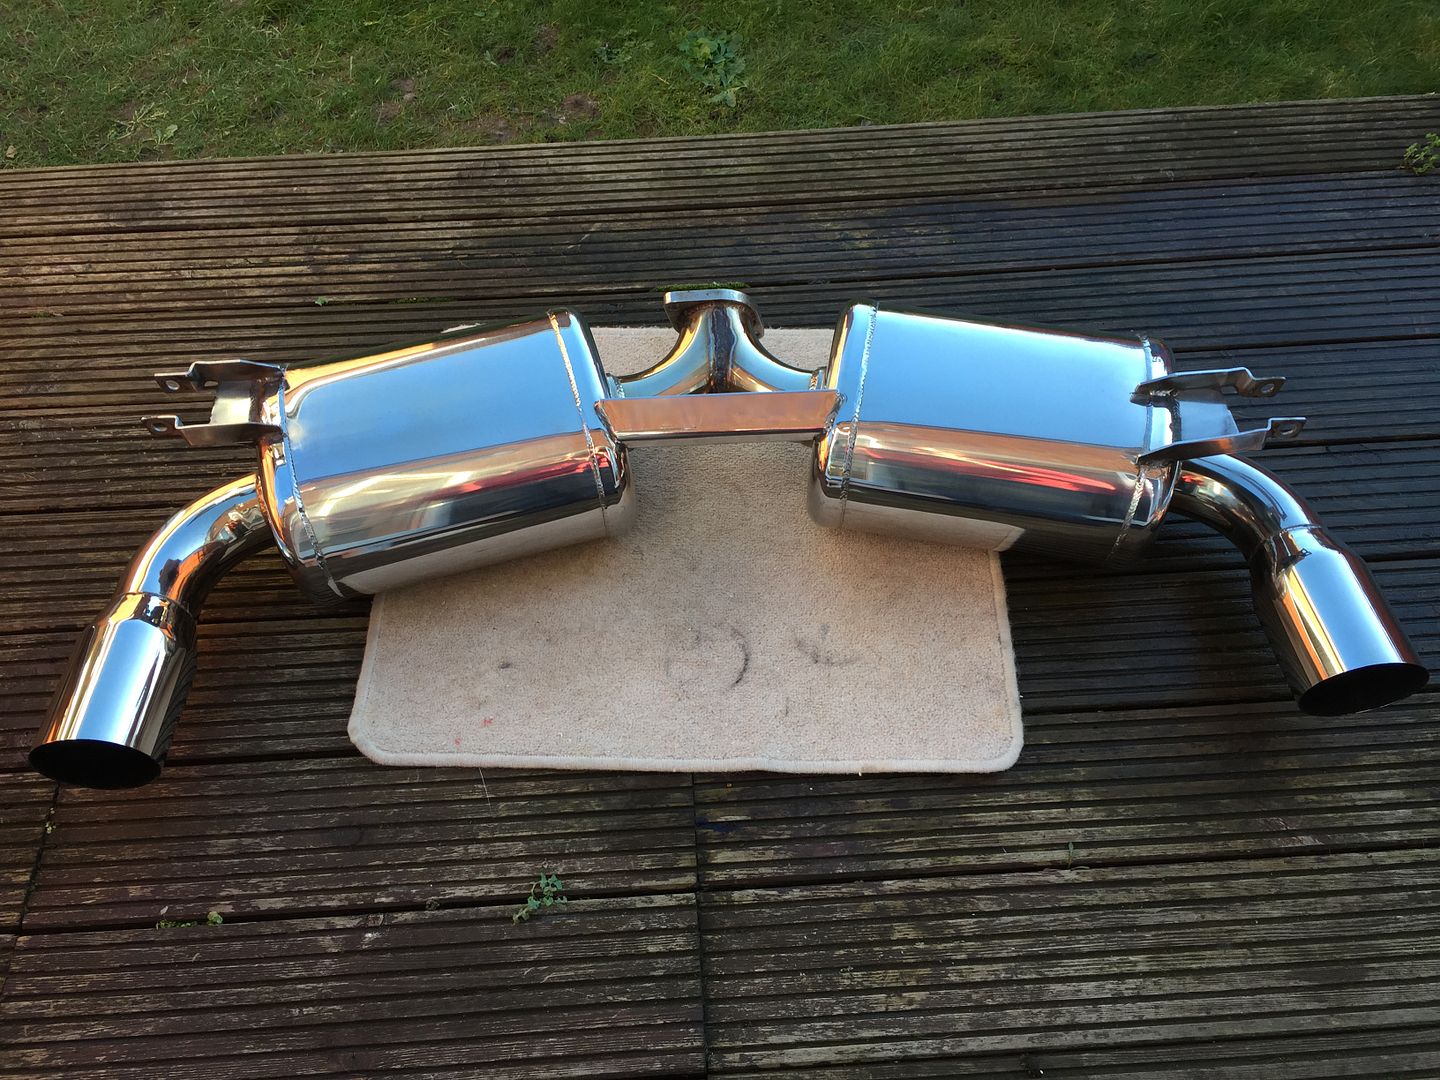
Discovered my berk exhaust had a couple of cracks on the Y section.
Popped that off and got it rewelded all the way around.
Good time to give it a good clean too! Still looks great!
Needed a clean
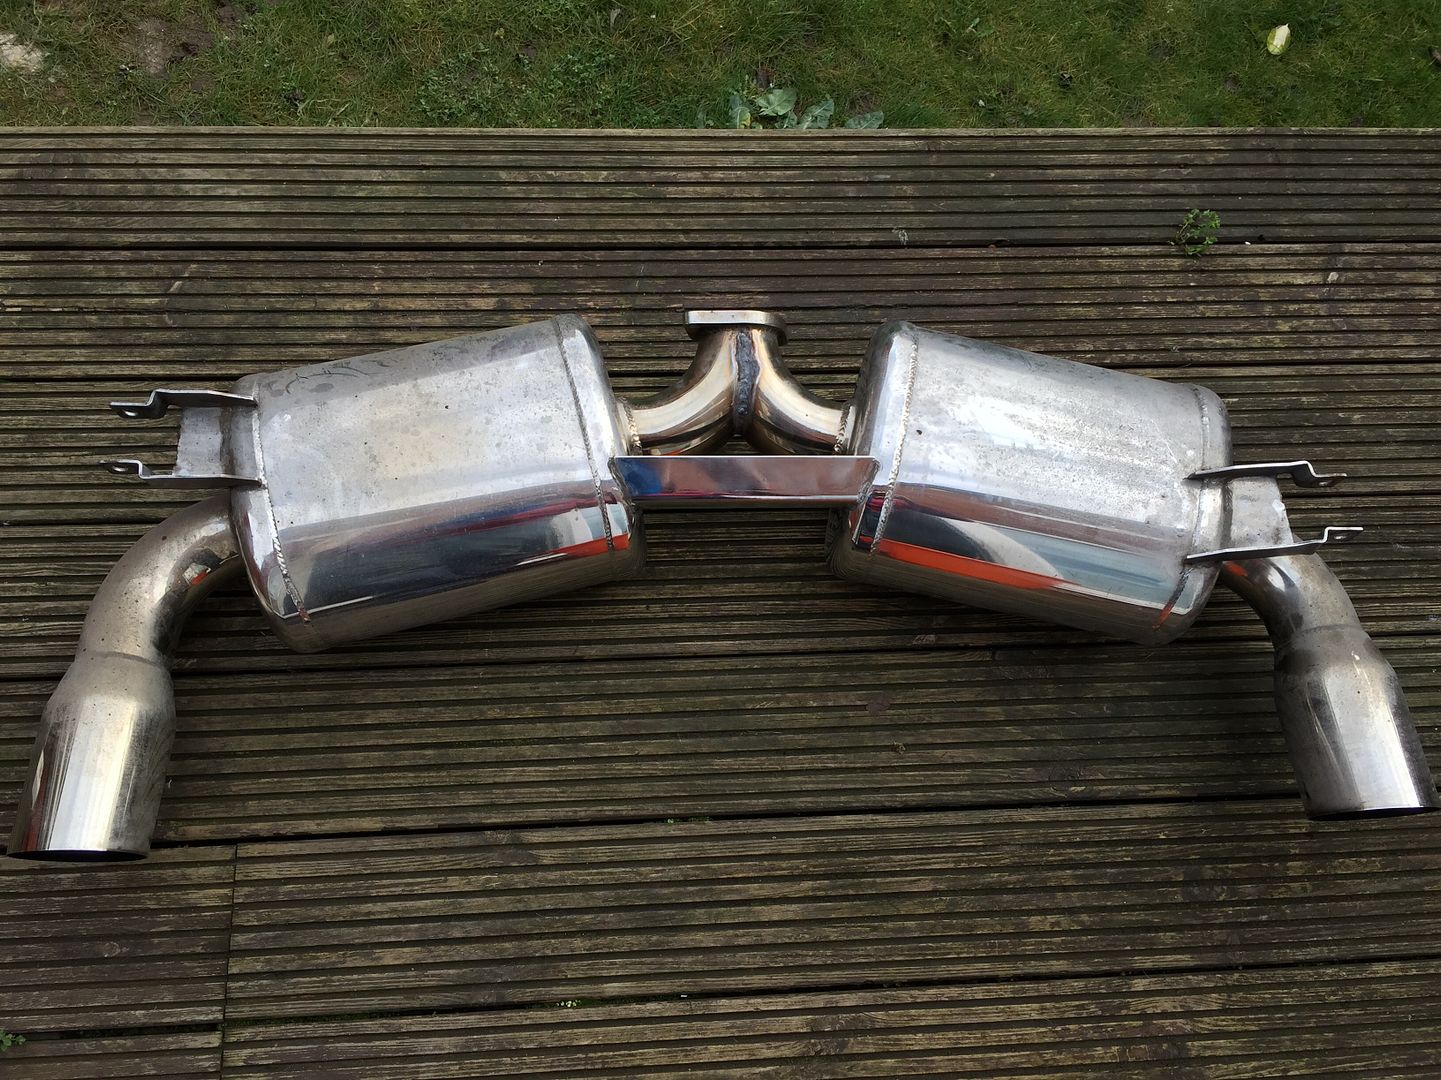
Shiny!
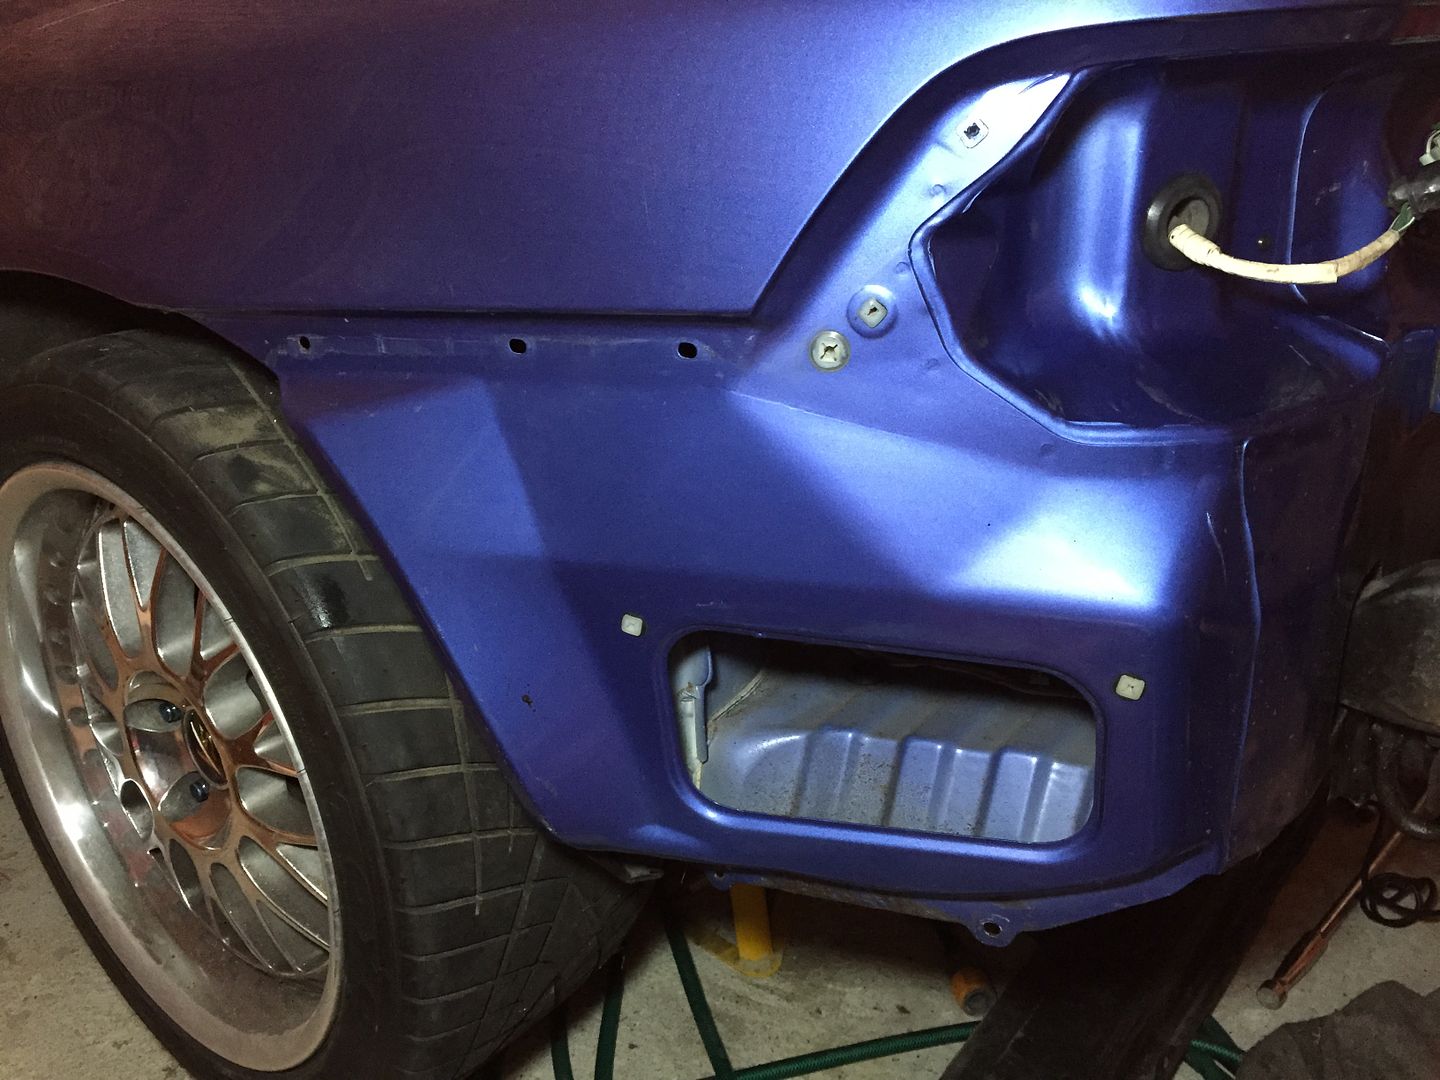
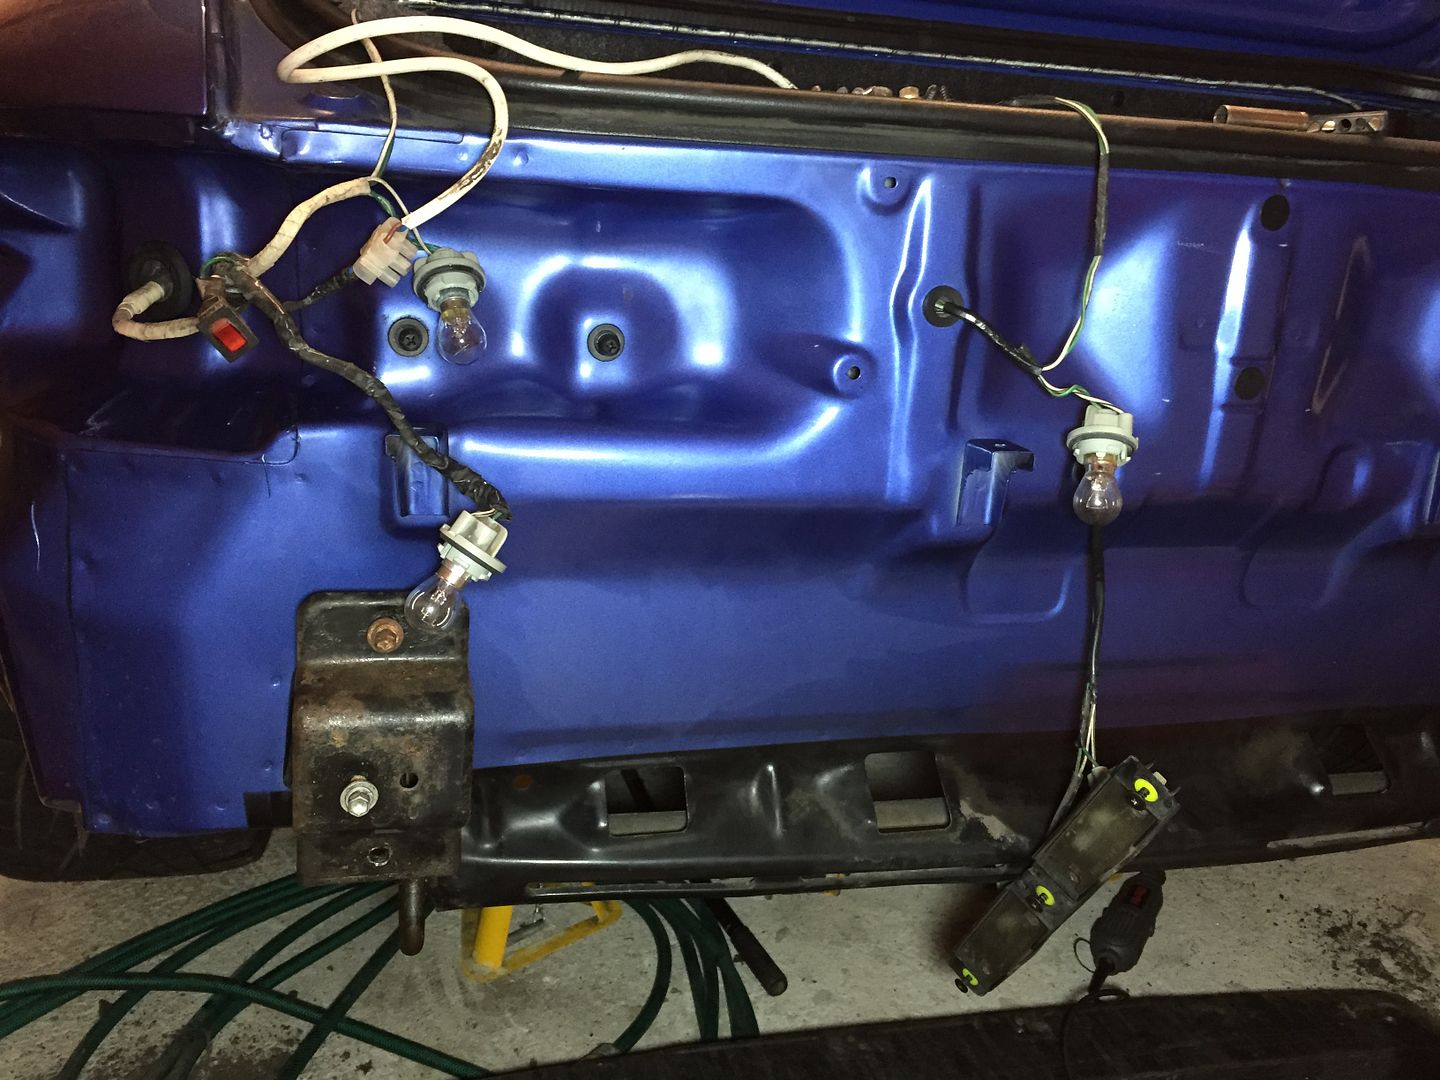
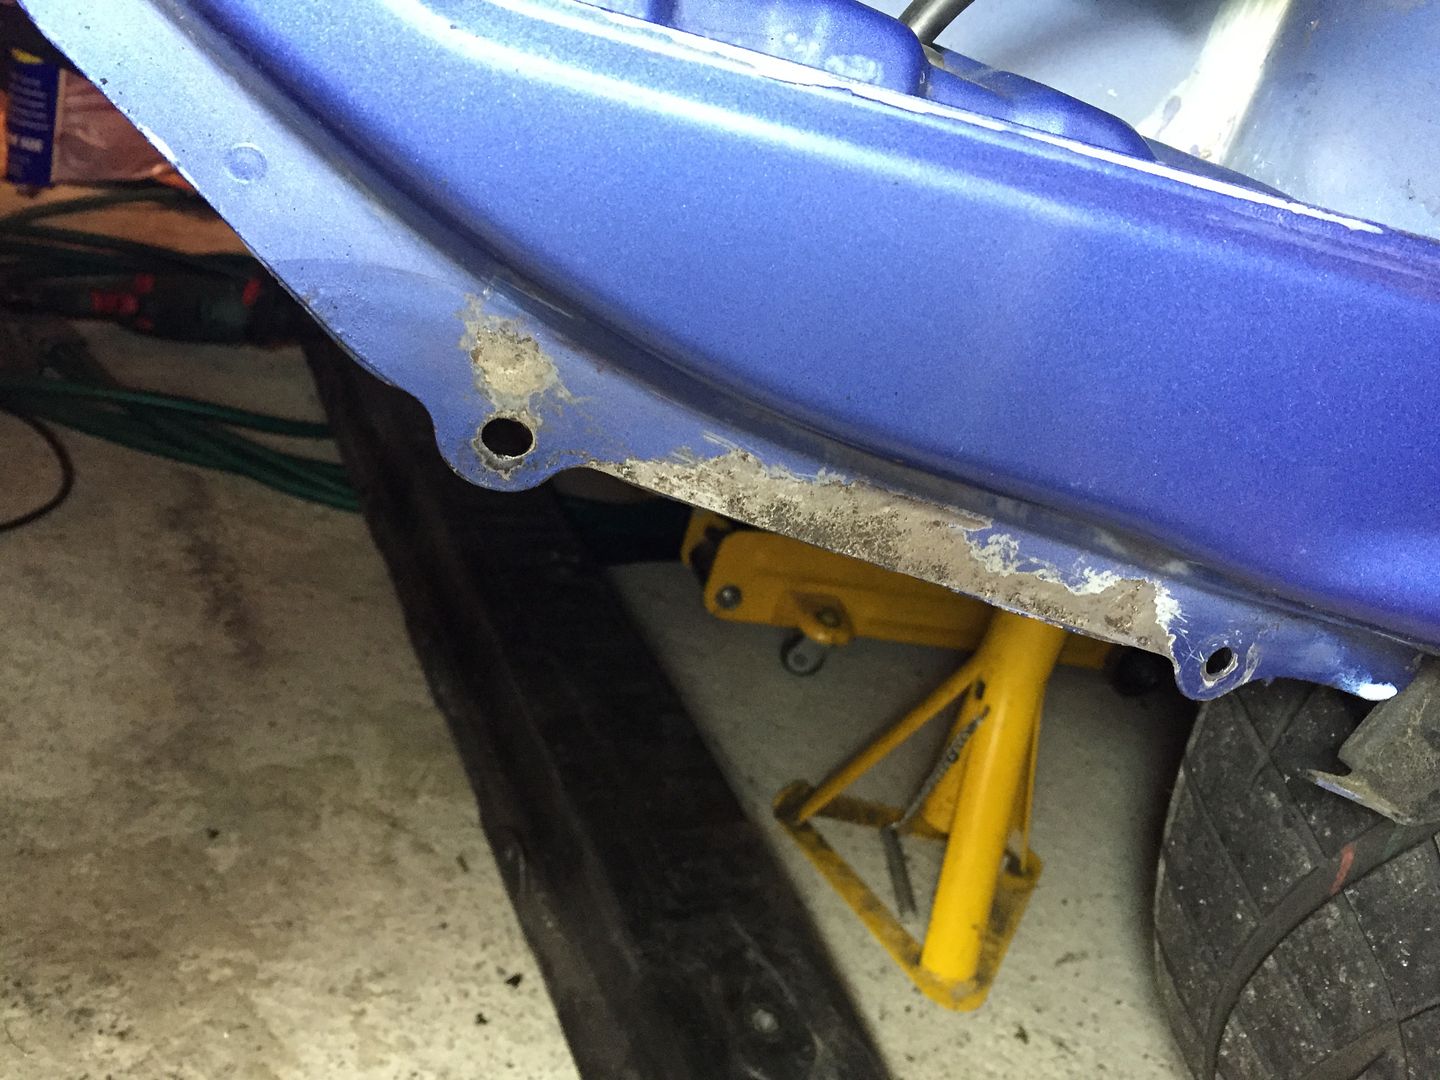
Next up, given the exhaust was off i thought now would be a good time to grind off the rear bumper grill, made sense to remove the bumper for access but seems was a little ott now i come to think of it!
But having said that it revealed something i could never have seen.
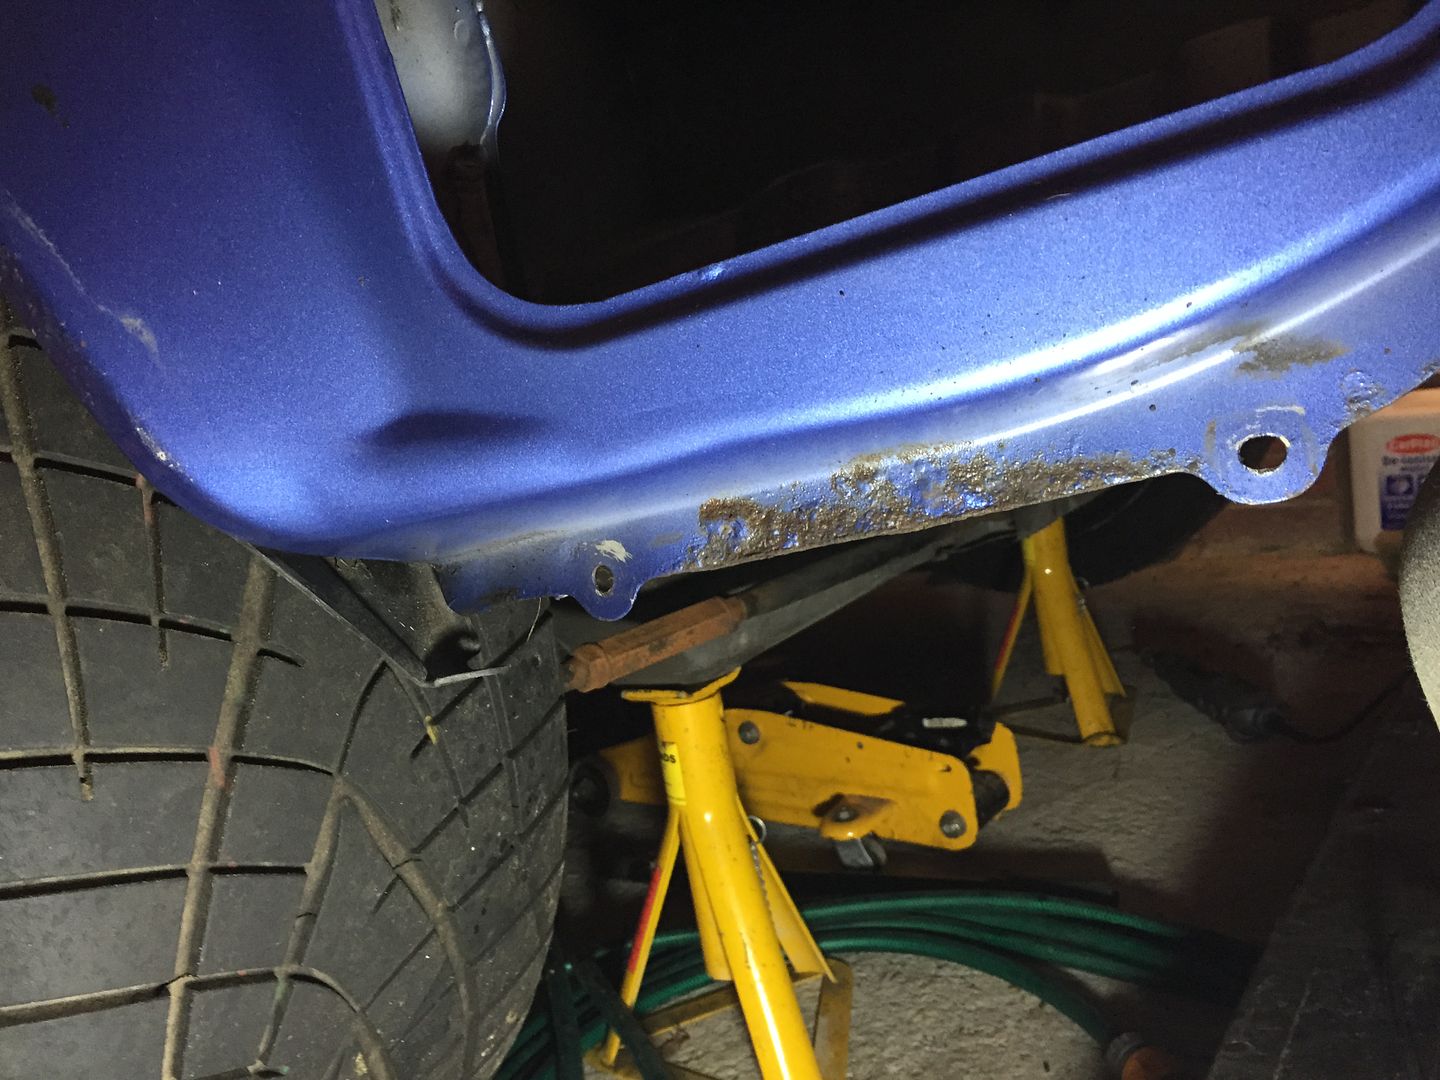
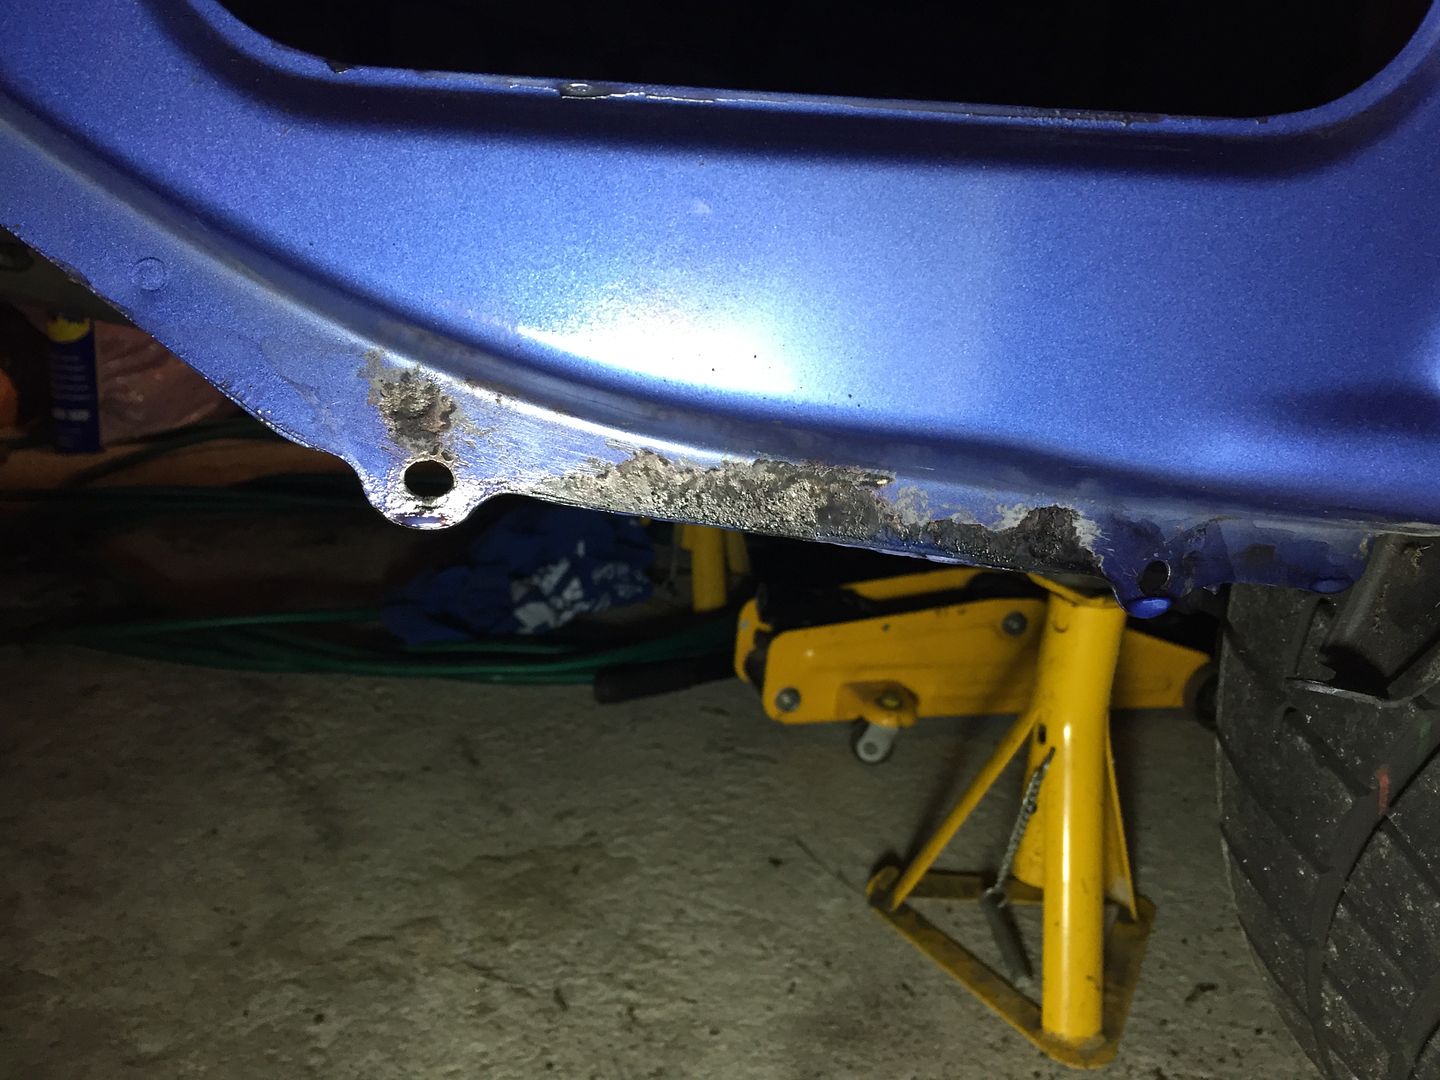
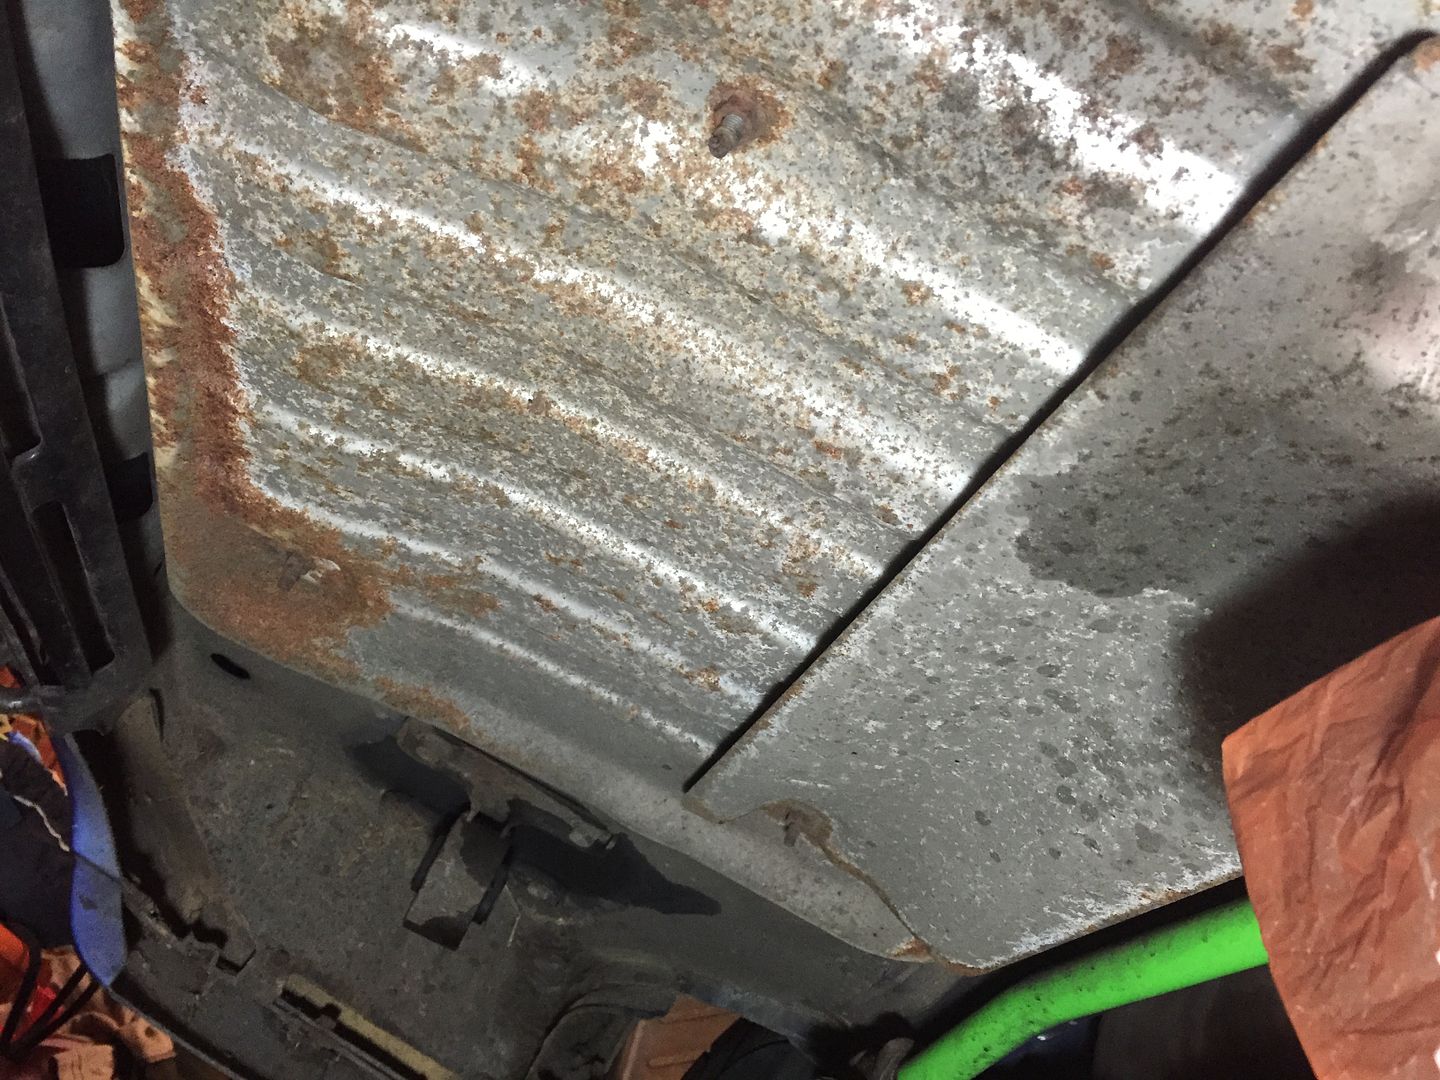
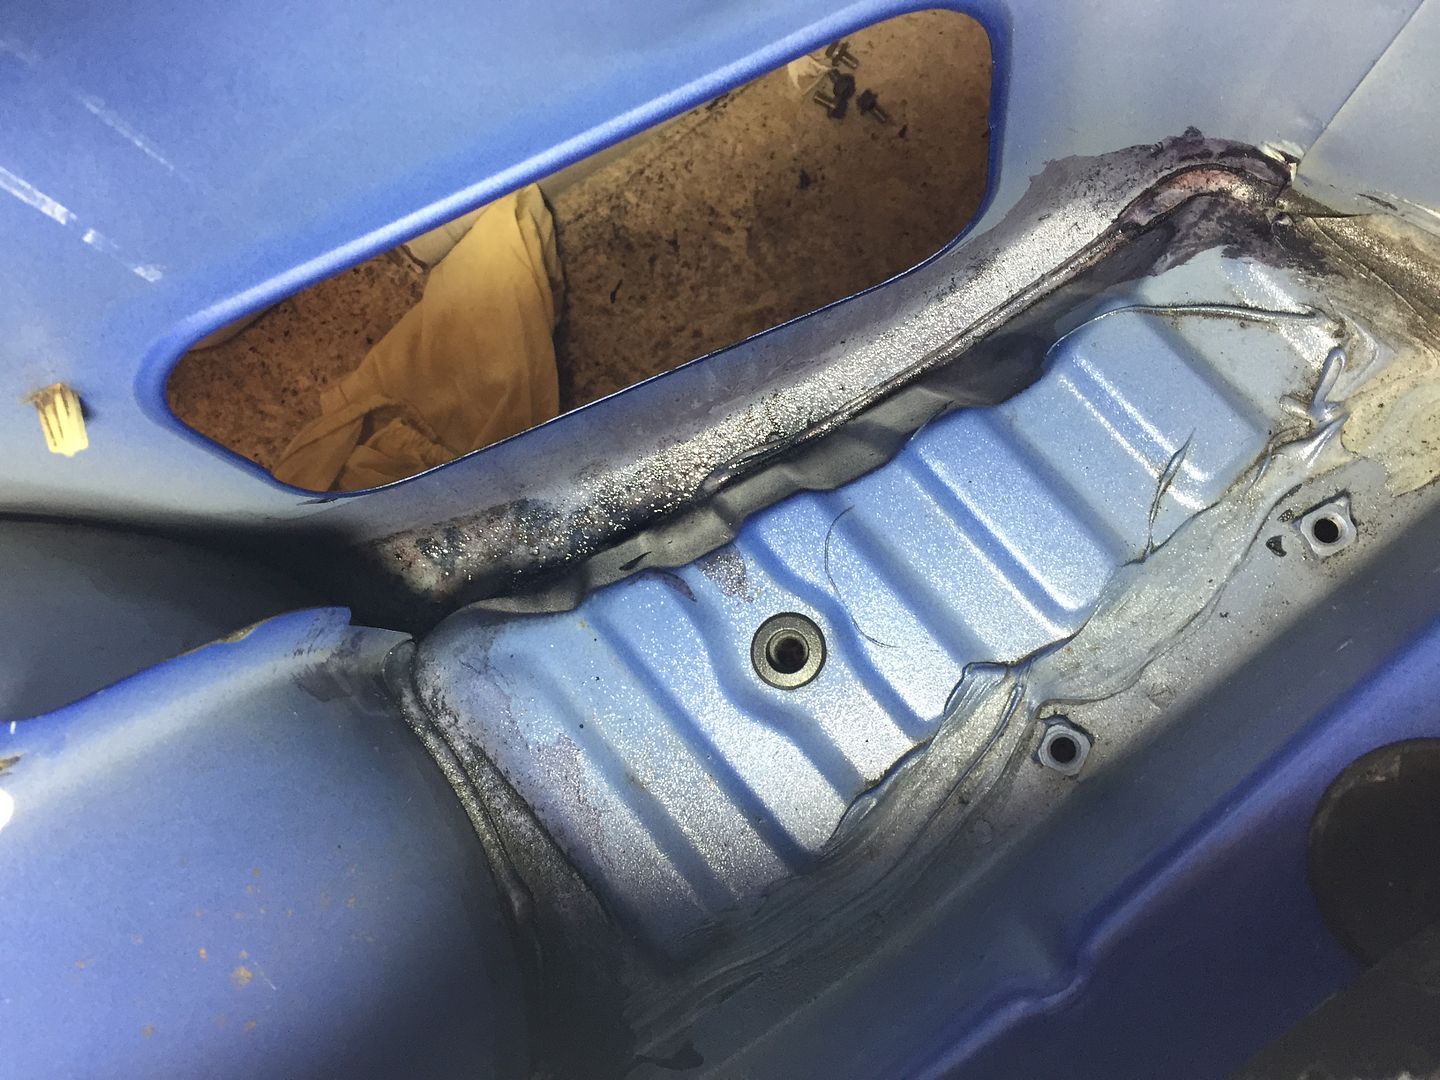
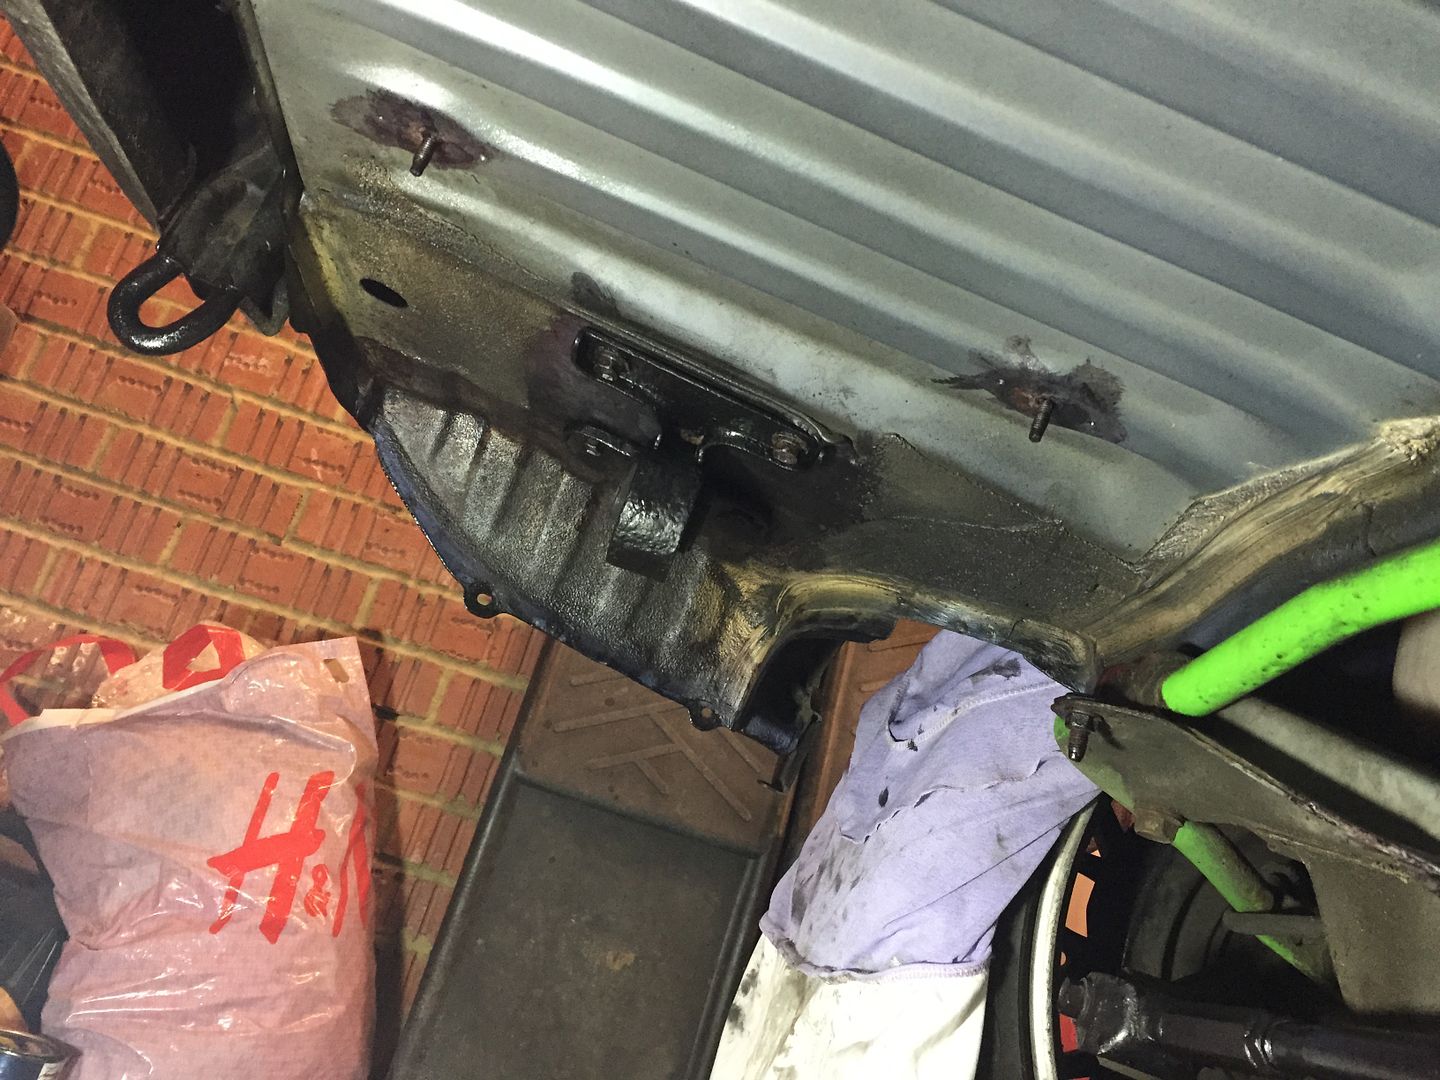
The lower chassis where the bumper bolts the edges and the area behind the vents had a bit of surface rust.
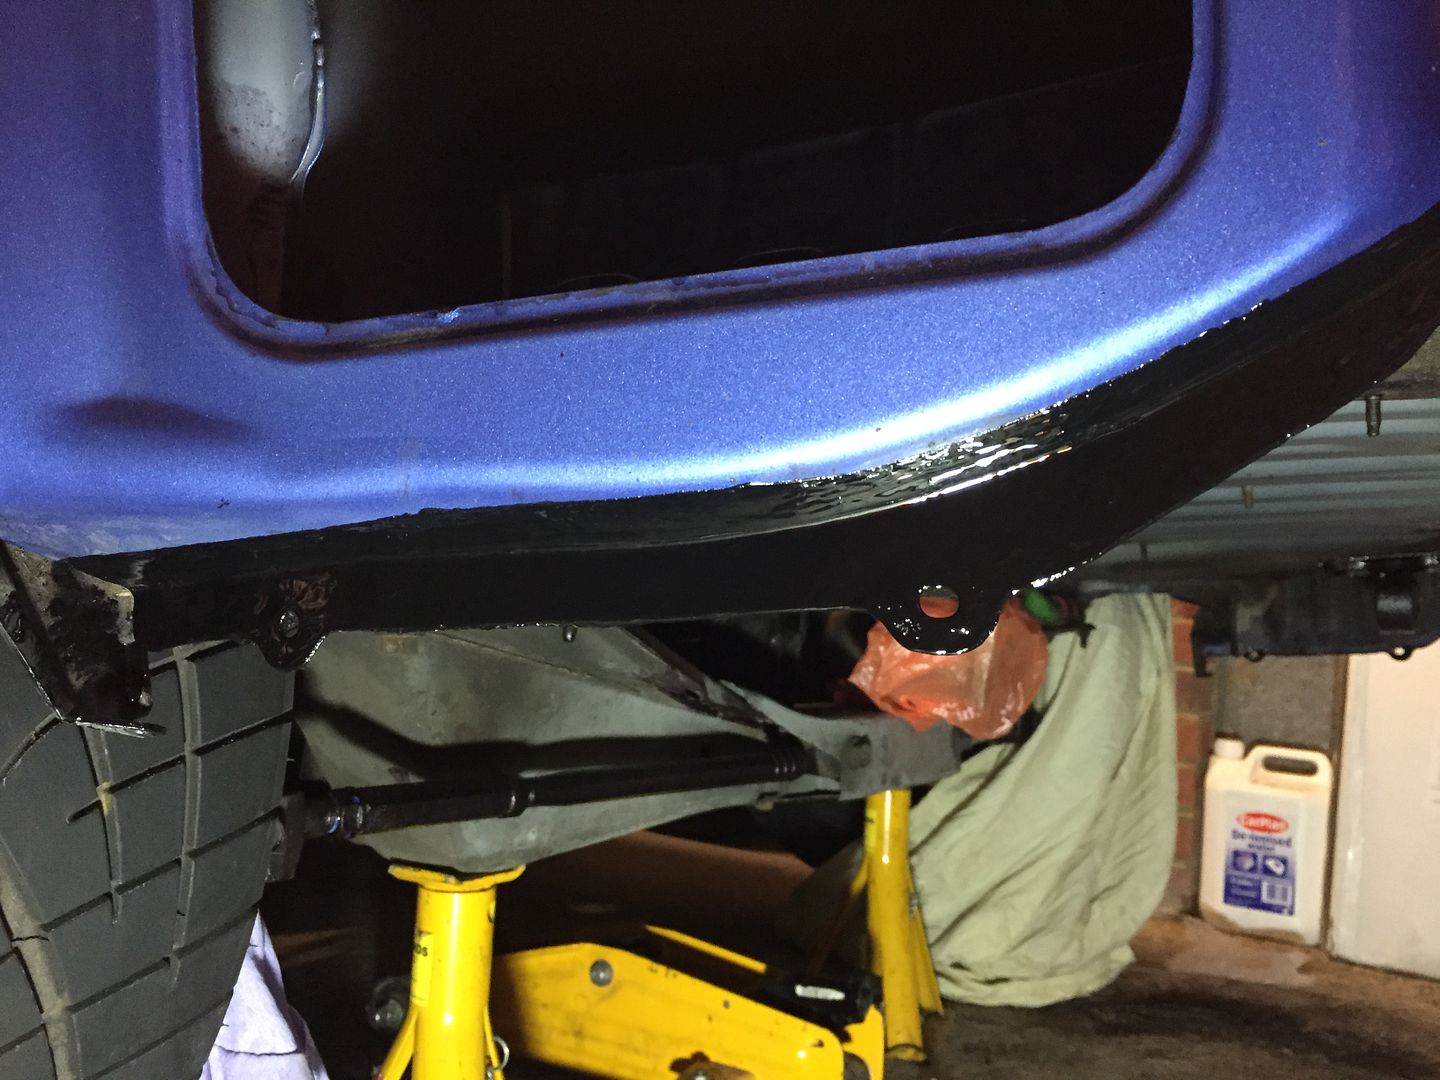
Ground these down and treated it with some kurust. Has done the trick.
I then repainted with some hammerite.
All in good nik back there
Found a connector block for the 4 light mod, not a fan of this type of electrical connector so wired in some spade connectors instead.
One thing that is cool is the switch you can see can be used for either oem lighting or the 4 light mod, handy!
Kurust
Painted
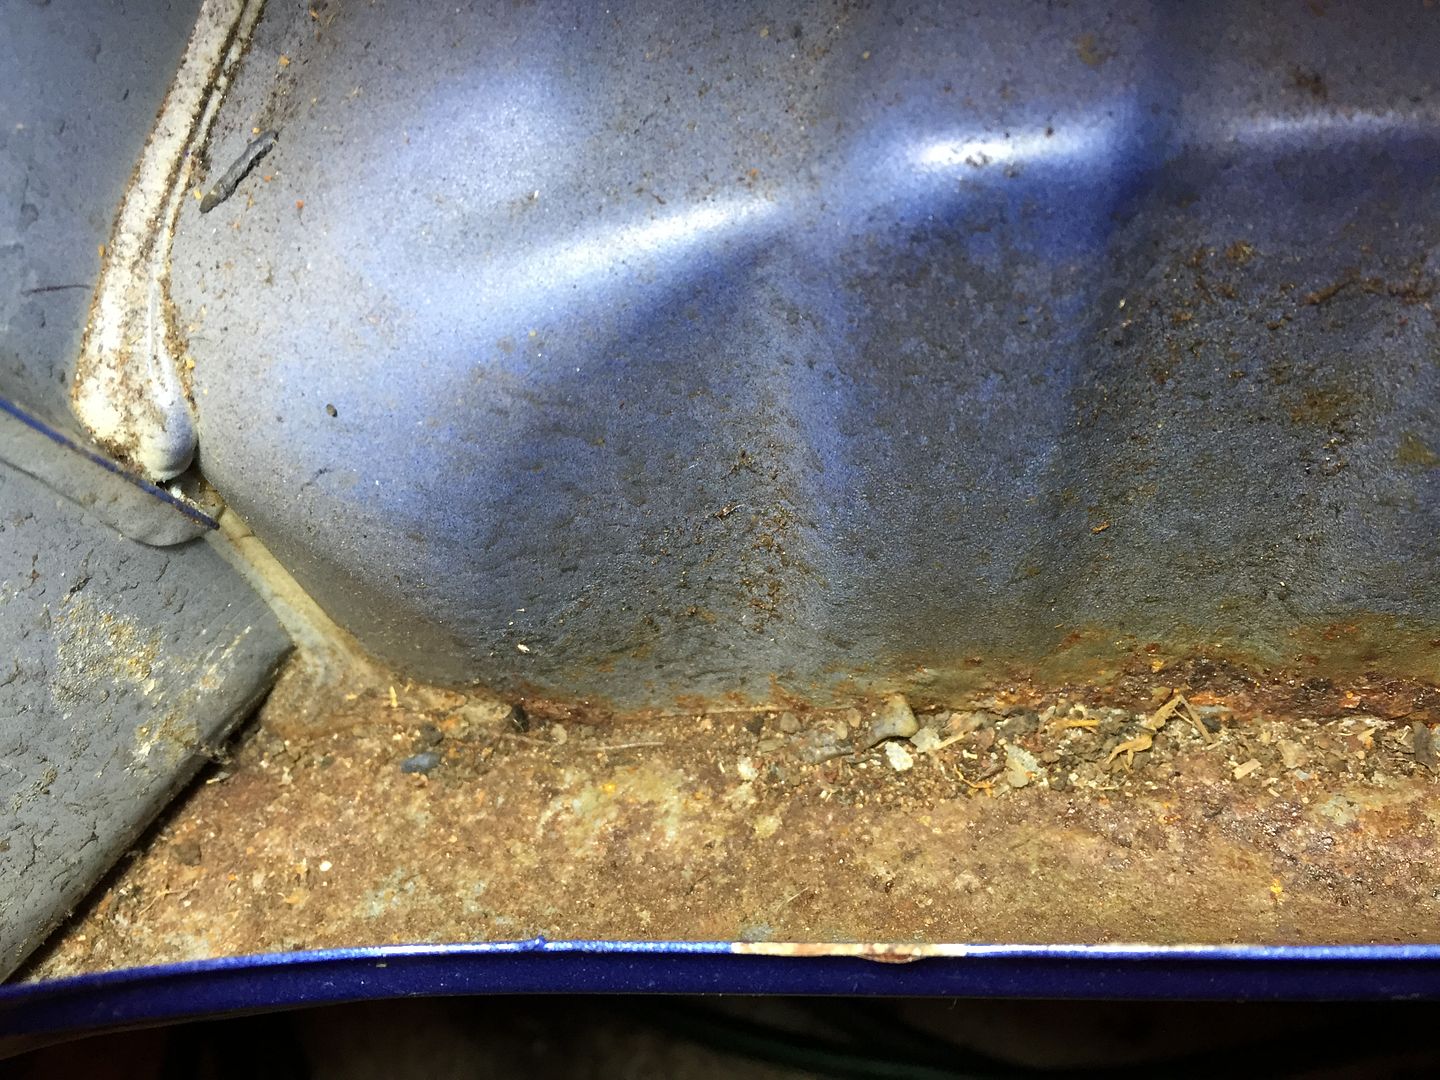
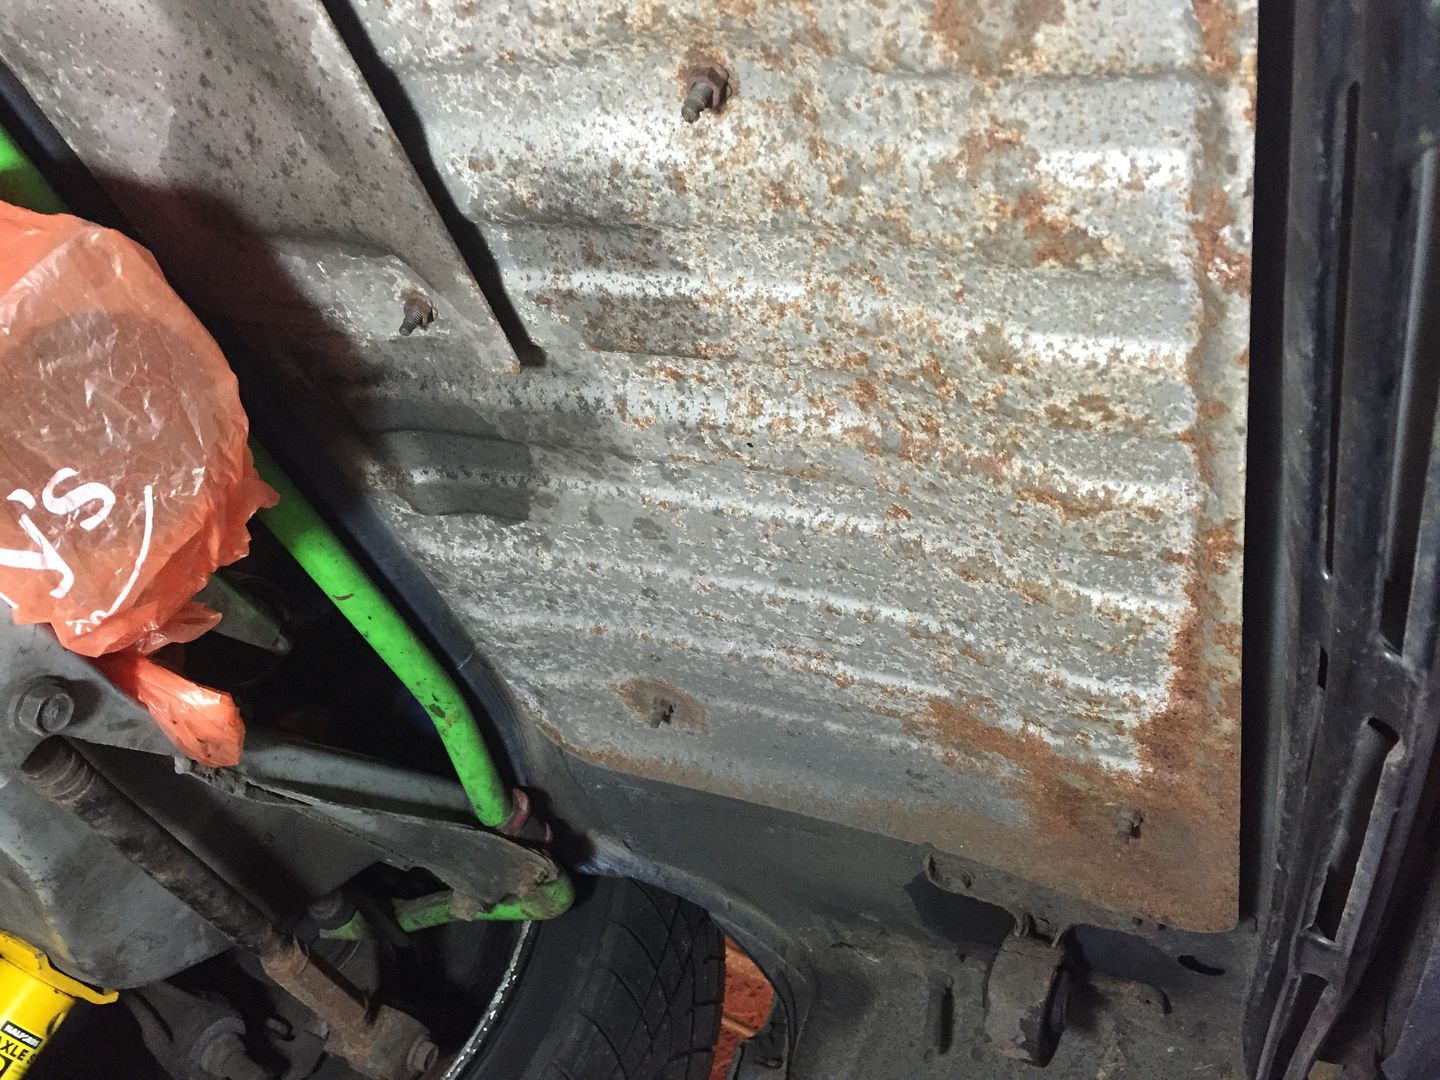
Also decided to remove the heatshields under the boot as they were looking a little rusty.
Made sense to treat/clean the entire rear section now. A small job now turned into something bigger!
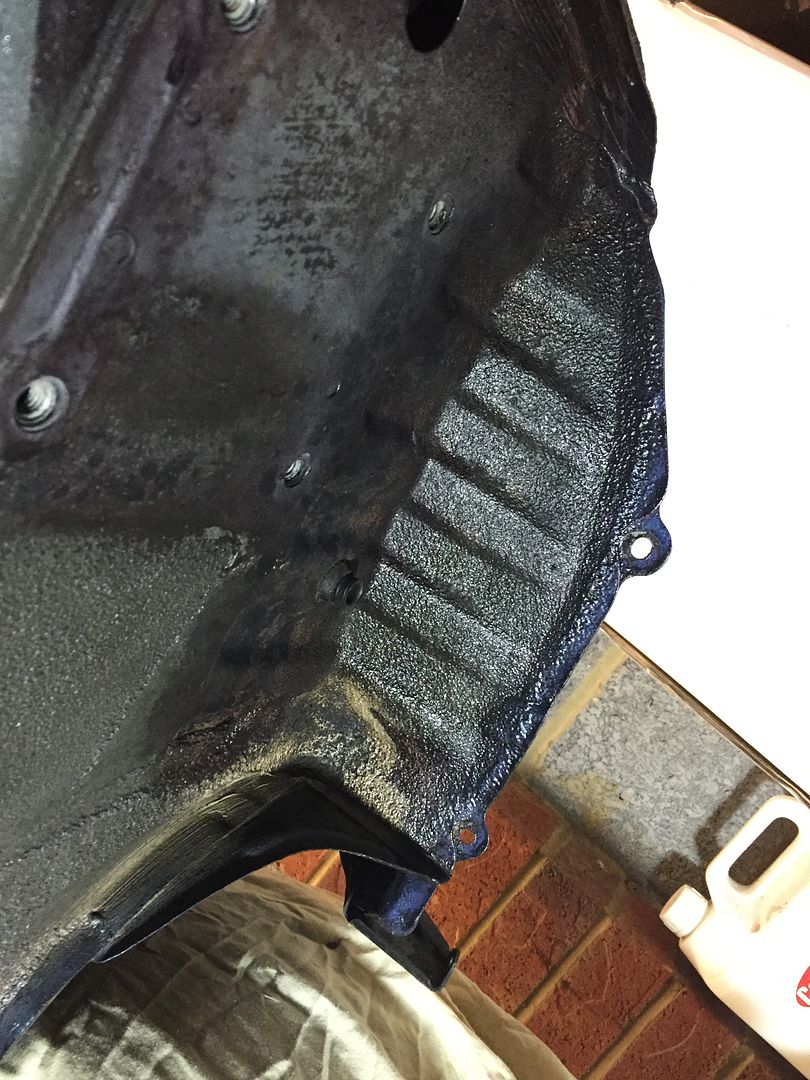
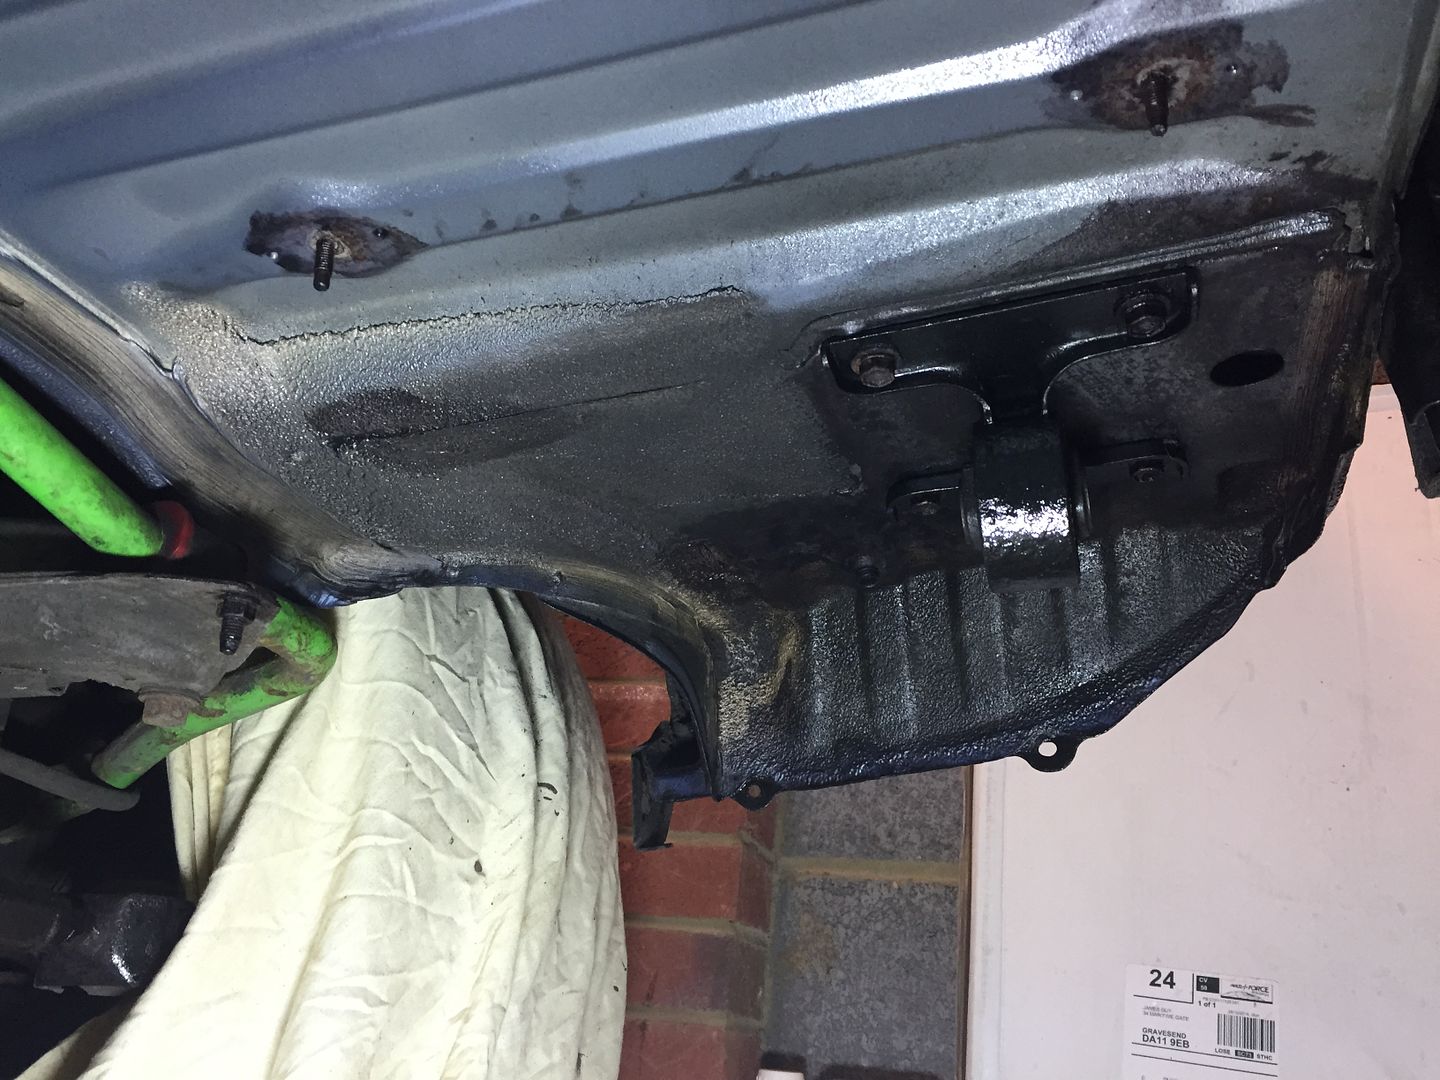
So cleaned it all up, kurust and also sealed everything with the recommended dynax UC. A clear underseal!
Before
After a clean/kurust/dynax UC
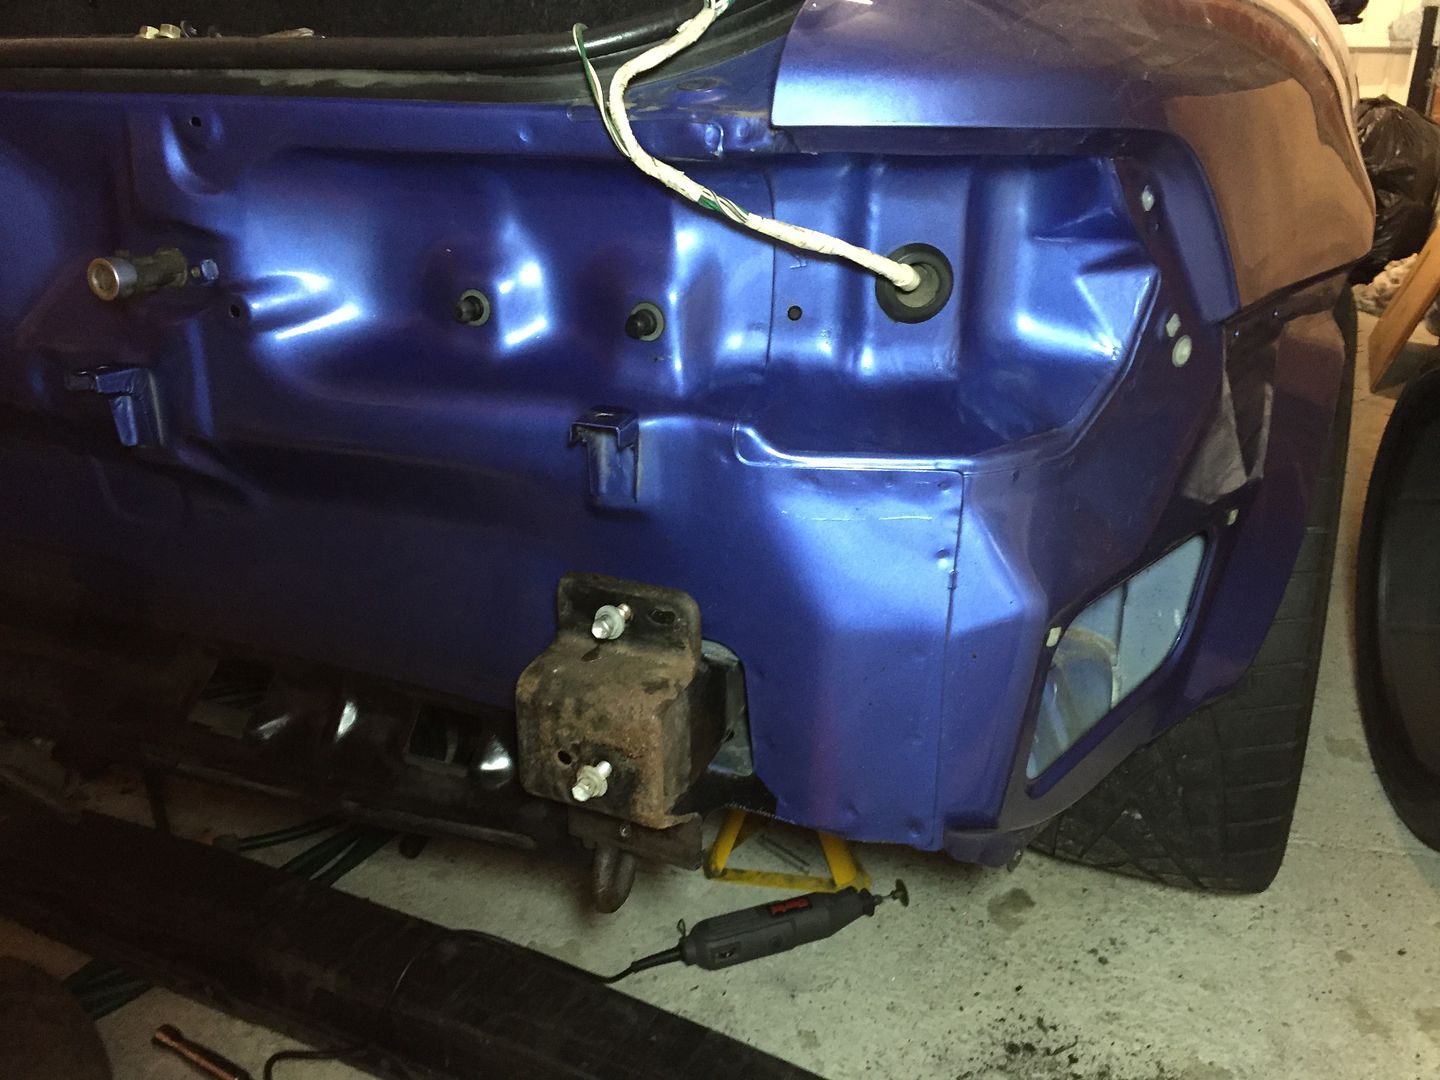
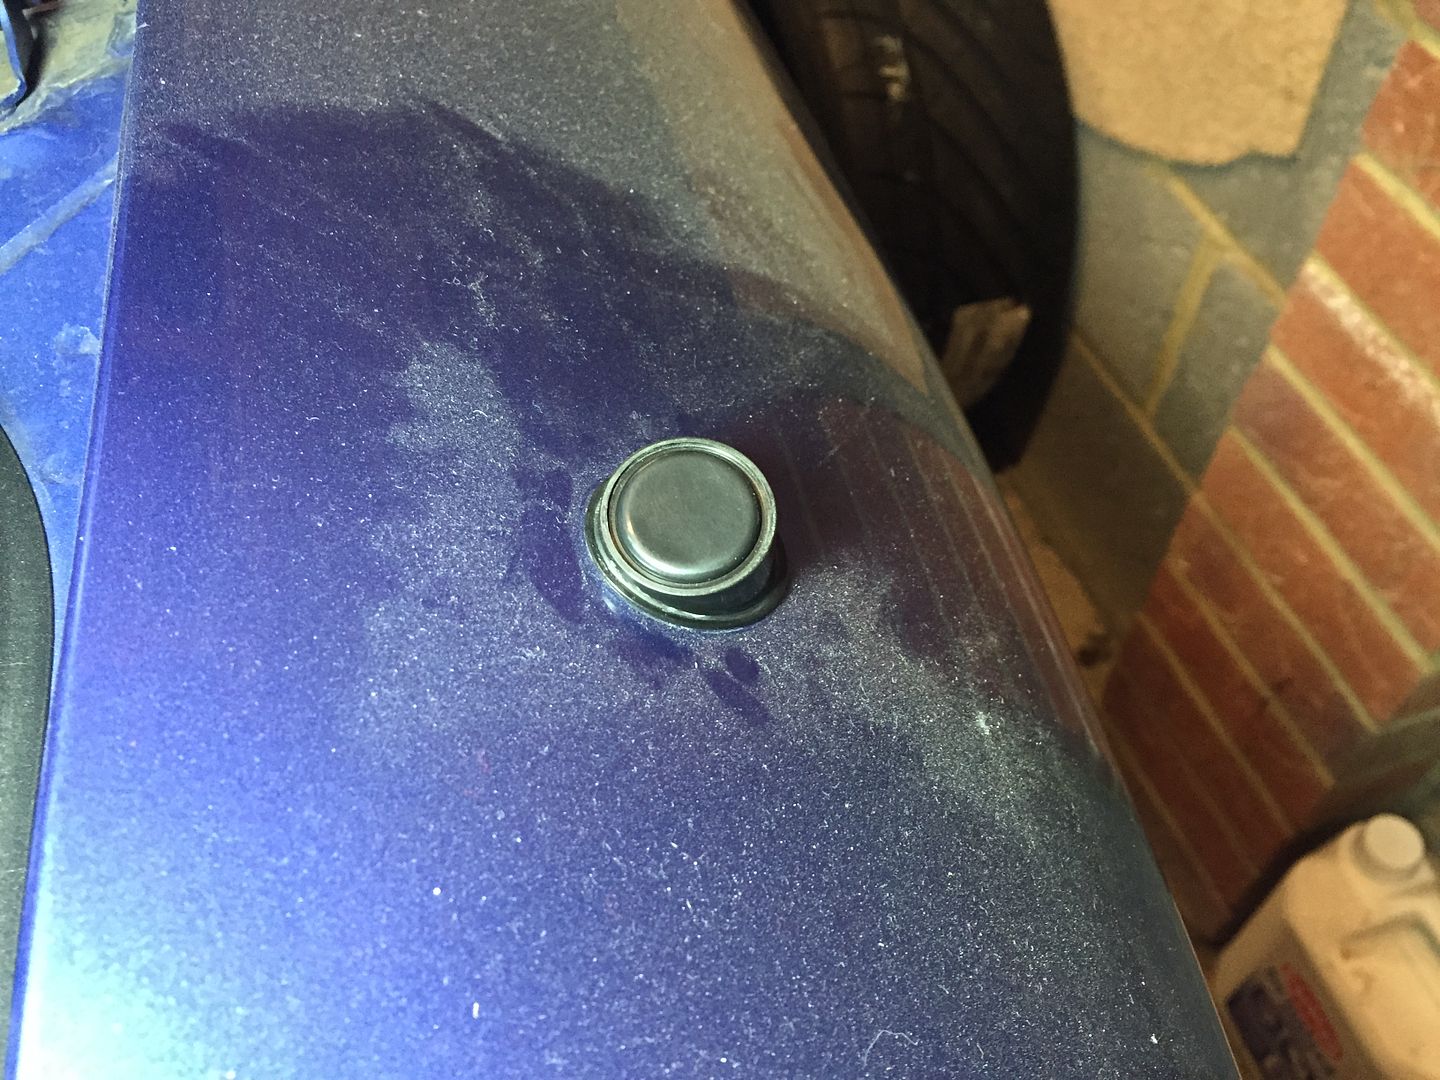
Removed my aerial in prep for that being filled. For now got hold of a suitably sized grommet and popped that in the outer oem grommet, looks pretty good.
Ignore the dust!
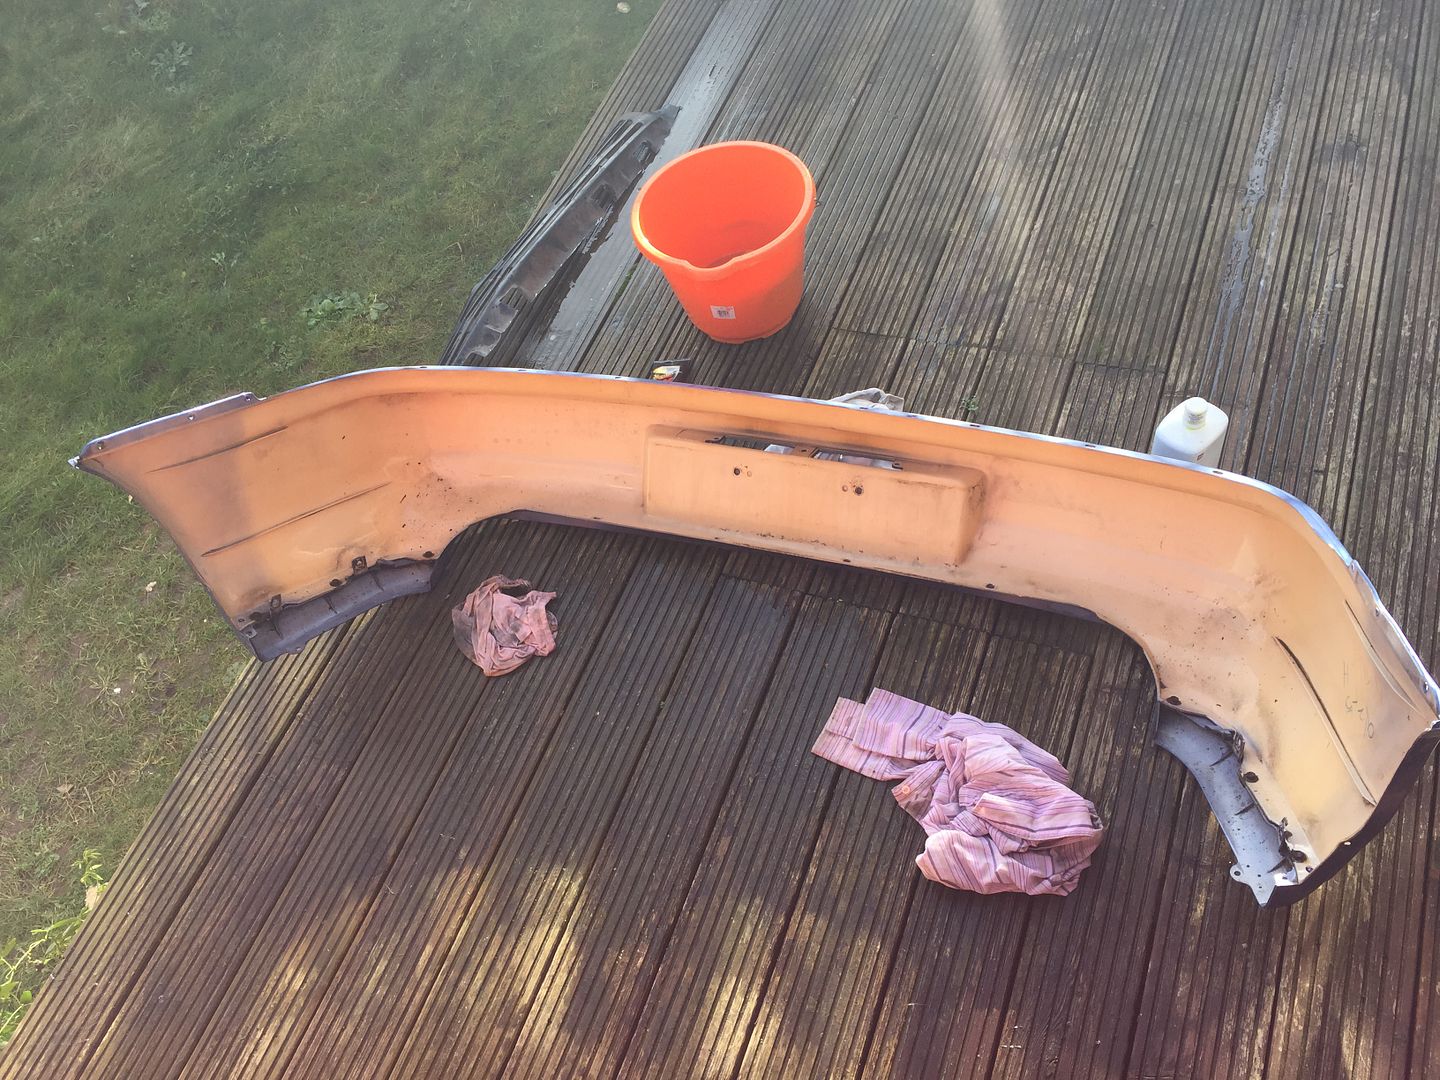
Cleaned the bumper, was filthy
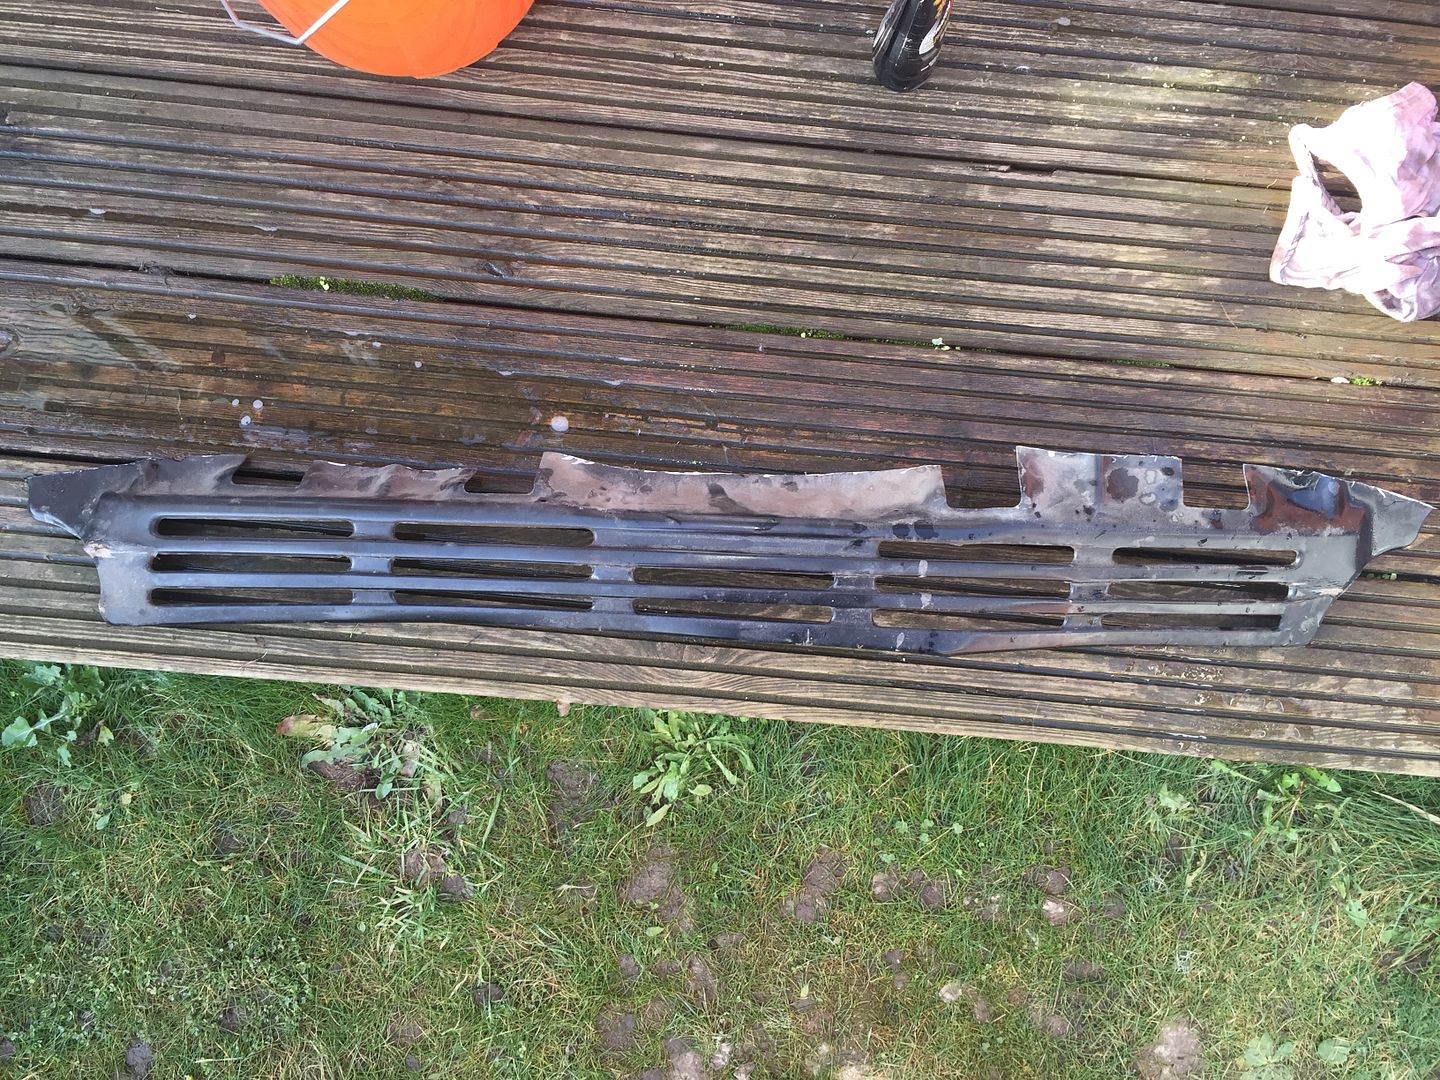
Grill finally off!
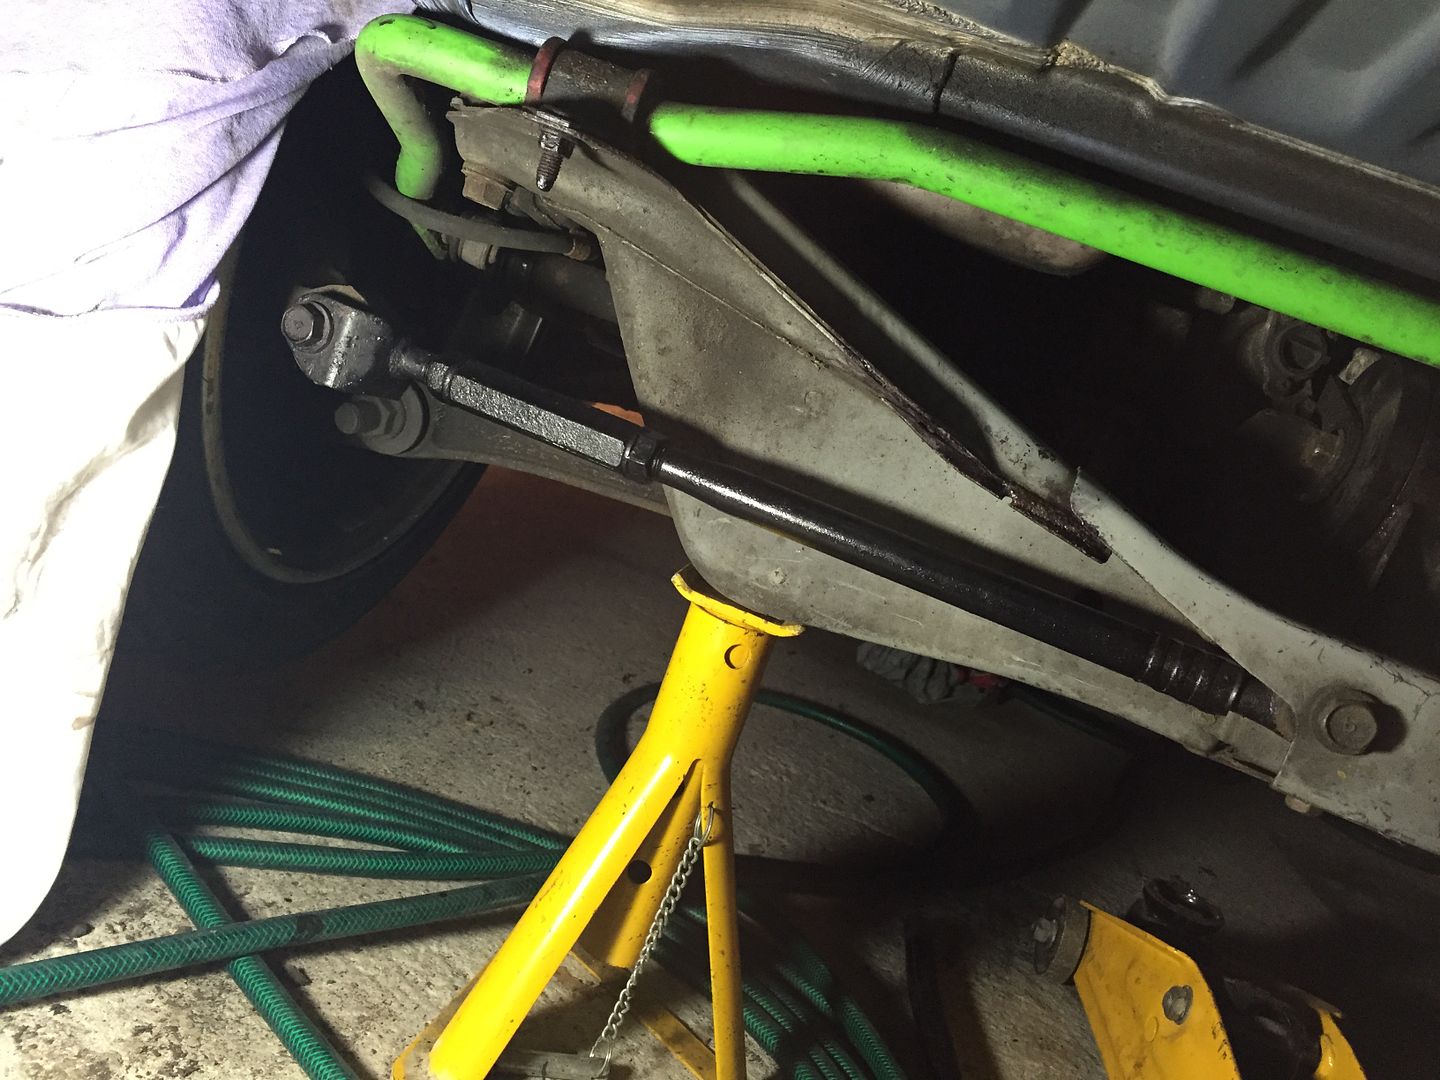
Also found another good use for the kurust, can turn all your suspension bits nice and black.
Removed 5kg with all these items, all at the heaviest end of the car, every llttle helps.
Thats ni on 55kg lost now, even more once the enkeis go on.
New rad looks nice!

Discovered my berk exhaust had a couple of cracks on the Y section.
Popped that off and got it rewelded all the way around.
Good time to give it a good clean too! Still looks great!


Needed a clean

Shiny!


Next up, given the exhaust was off i thought now would be a good time to grind off the rear bumper grill, made sense to remove the bumper for access but seems was a little ott now i come to think of it!
But having said that it revealed something i could never have seen.
The lower chassis where the bumper bolts the edges and the area behind the vents had a bit of surface rust.
Ground these down and treated it with some kurust.
I then repainted with some hammerite.
All in good nik back there

Found a connector block for the 4 light mod, not a fan of this type of electrical connector so wired in some spade connectors instead.
One thing that is cool is the switch you can see can be used for either oem lighting or the 4 light mod, handy!


Kurust

Painted

Also decided to remove the heatshields under the boot as they were looking a little rusty.
Made sense to treat/clean the entire rear section now.
So cleaned it all up, kurust and also sealed everything with the recommended dynax UC.
Before


After a clean/kurust/dynax UC


Removed my aerial in prep for that being filled.
Ignore the dust!

Cleaned the bumper, was filthy

Grill finally off!

Also found another good use for the kurust, can turn all your suspension bits nice and black.

Removed 5kg with all these items, all at the heaviest end of the car, every llttle helps.
Thats ni on 55kg lost now, even more once the enkeis go on.
Re: Rev4 Turbo *mini photoshoot*
love your attention to detail mate car is looking awesome and considering what your last 1 looked like this is only going to get better 
what anti roll bars are those?
do you plan on putting the heat sheild back on or is it not needed? 
what anti roll bars are those
do you plan on putting the heat sheild back on or is it not needed
Re: Rev4 Turbo *mini photoshoot*
the track cars run without afaik, so i thought why not.
i know ash mentioned to not put anything to heavy in the boot now, but i only keep a few tools, so should be fine.
if im honest, i couldnt be bothered cleaning and painting them, so i thought id leave them out.
ill see how i go.
they are ST antiroll bars, 24mm and 22mm apparently.
huge things, the fronts even come with support plates.
one of the biggest you can get afaik.
Re: Rev4 Turbo *mini photoshoot*
Great efforts Jim, love how you're keeping it simple and concentrating on the things to keep your car alive for the long term
And yeah- unless you need to transport your girlfriend's suitcase in the boot, then you don't need the heatshields...although I never actually measured the temperatures without them...might be worth checking before you sling the carpet back in...
And yeah- unless you need to transport your girlfriend's suitcase in the boot, then you don't need the heatshields.
Re: Rev4 Turbo *mini photoshoot*
cheers
though doesnt look particularly pretty under there, will do the job as is never seen after all.
first time ive had the back bumper off on any of my 2's, i didnt realise the rear crash bar is some sort of lightweight hardened plastic?
not metal by looks and feel anyways.
though doesnt look particularly pretty under there, will do the job as is never seen after all.
first time ive had the back bumper off on any of my 2's, i didnt realise the rear crash bar is some sort of lightweight hardened plastic?
not metal by looks and feel anyways.
Re: Rev4 Turbo *mini photoshoot*
Yeah- doesn't seem up to much does it?! But then the boot is your crumple zone...
The front crash bar on the other hand...talk about a heavy chunk of metal!
The front crash bar on the other hand.
Re: Rev4 Turbo *mini photoshoot*
pleasantly surprised though, having a light bar back there.
felt pretty solid to me though.
yeh front is pretty heavy

felt pretty solid to me though.
yeh front is pretty heavy
Re: Rev4 Turbo *mini photoshoot*
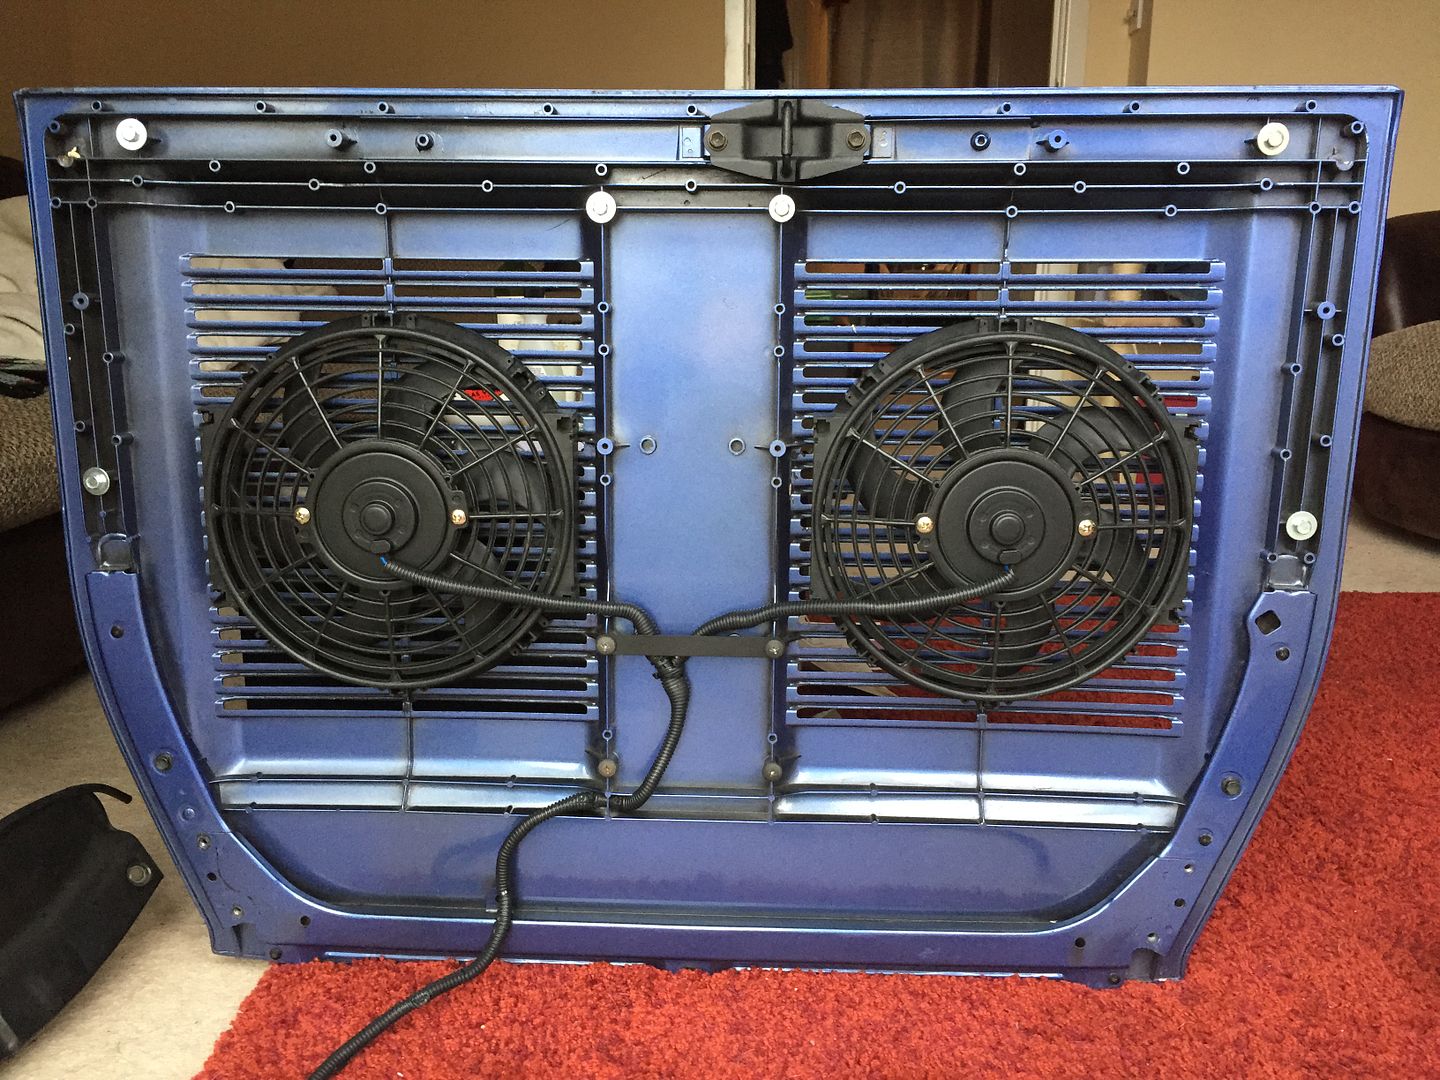
Few more bits done
Finally got round to fitting my 2 switchs for the Water Injection and my engine bay fans in a better more easy to reach location. These switches were out of sight, but I've finally decided where to put them, on the din blanking plate.
Also decided to remove the rain tray completely as was suffering a bit of vibration on one of the fans, so got some hardcore glue, made a little plate to hold the wires in and stuck em down!
Saved another 2kg by removing the tray
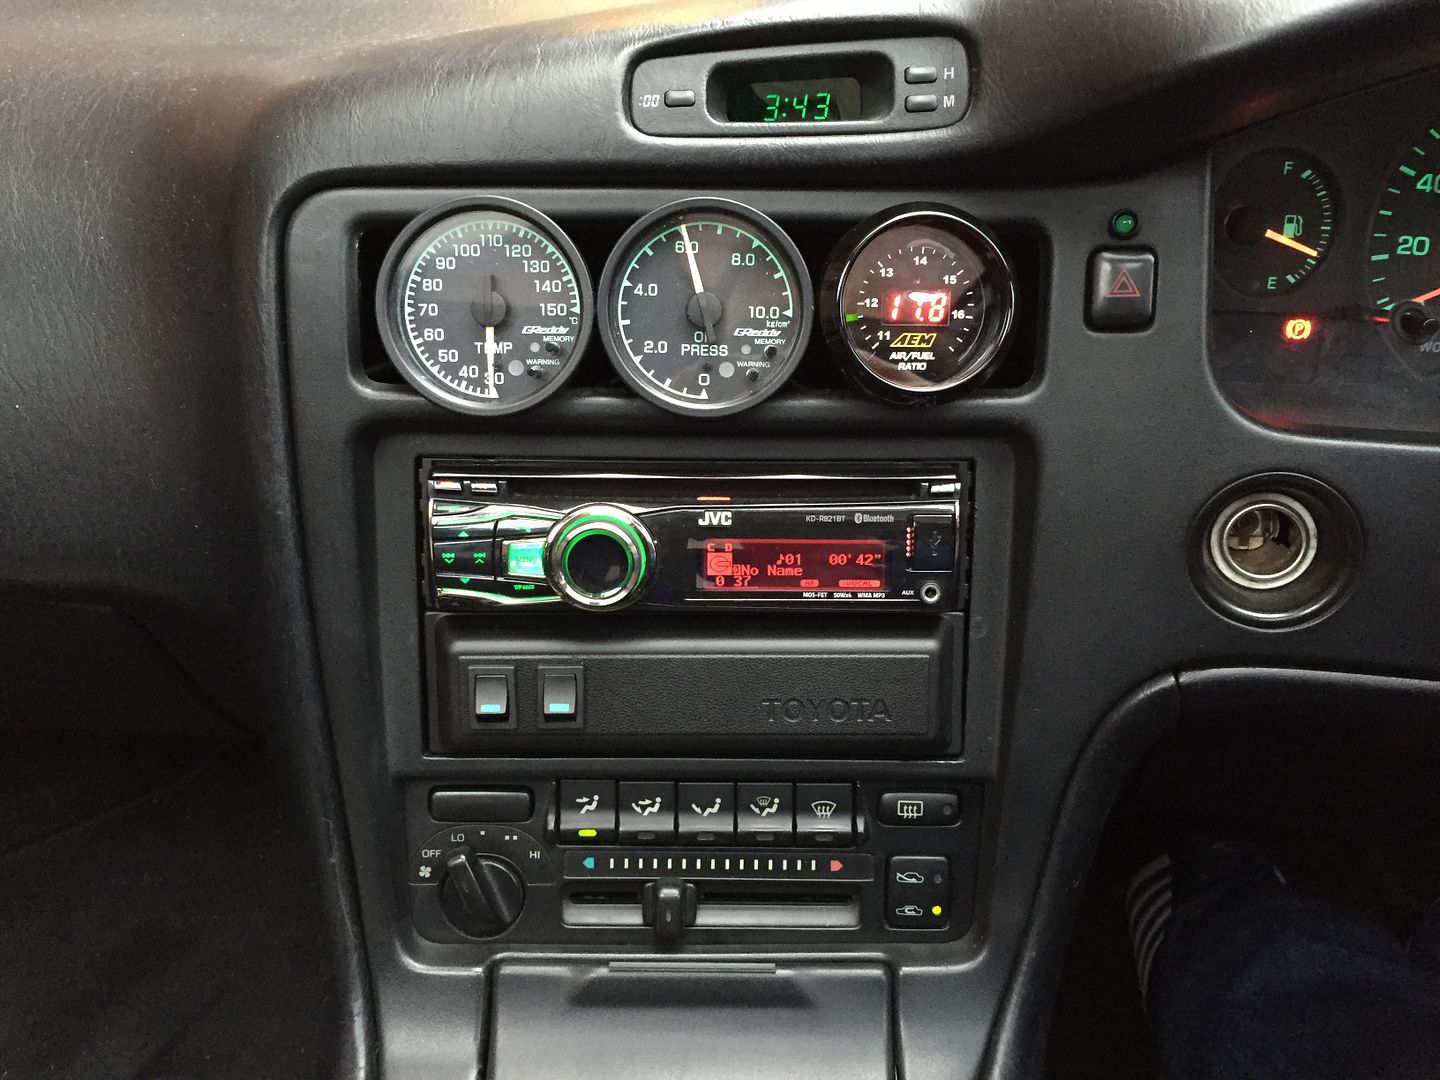
Finally got round to fitting my 2 switchs for the Water Injection and my engine bay fans in a better more easy to reach location.
Also decided to remove the rain tray completely as was suffering a bit of vibration on one of the fans, so got some hardcore glue, made a little plate to hold the wires in and stuck em down!
Saved another 2kg by removing the tray


Re: Rev4 Turbo *mini photoshoot*
Well some pretty exciting stuff!
Having seen winter pass and going on a late honeymoon to Japan in March/April(!!! More on that later).
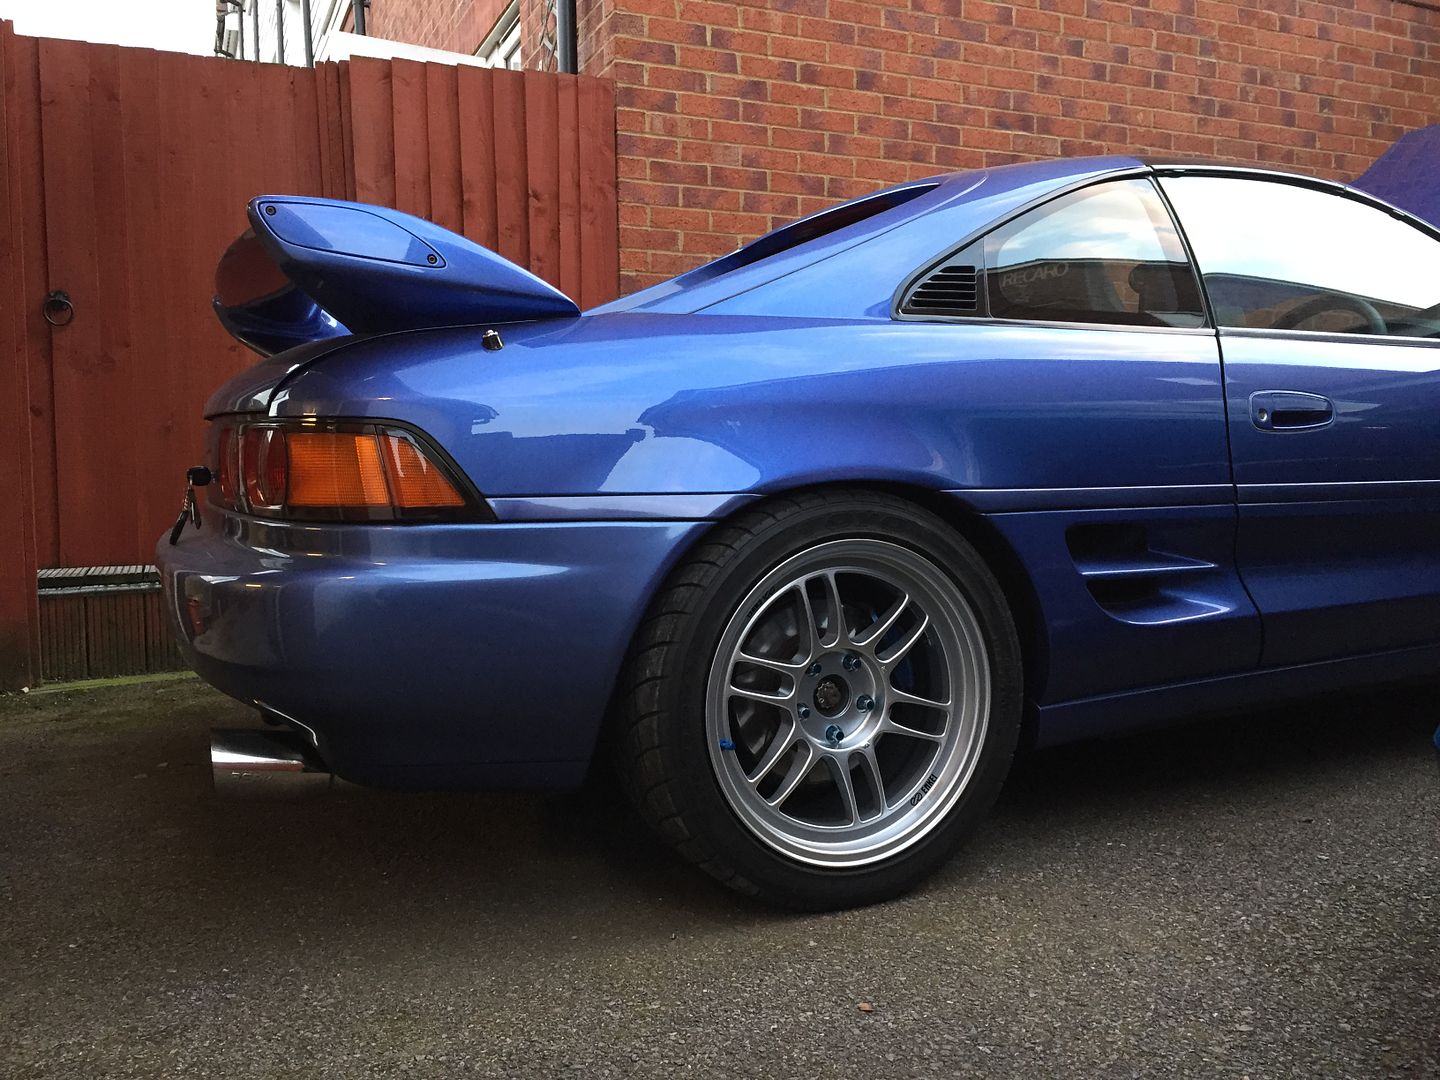
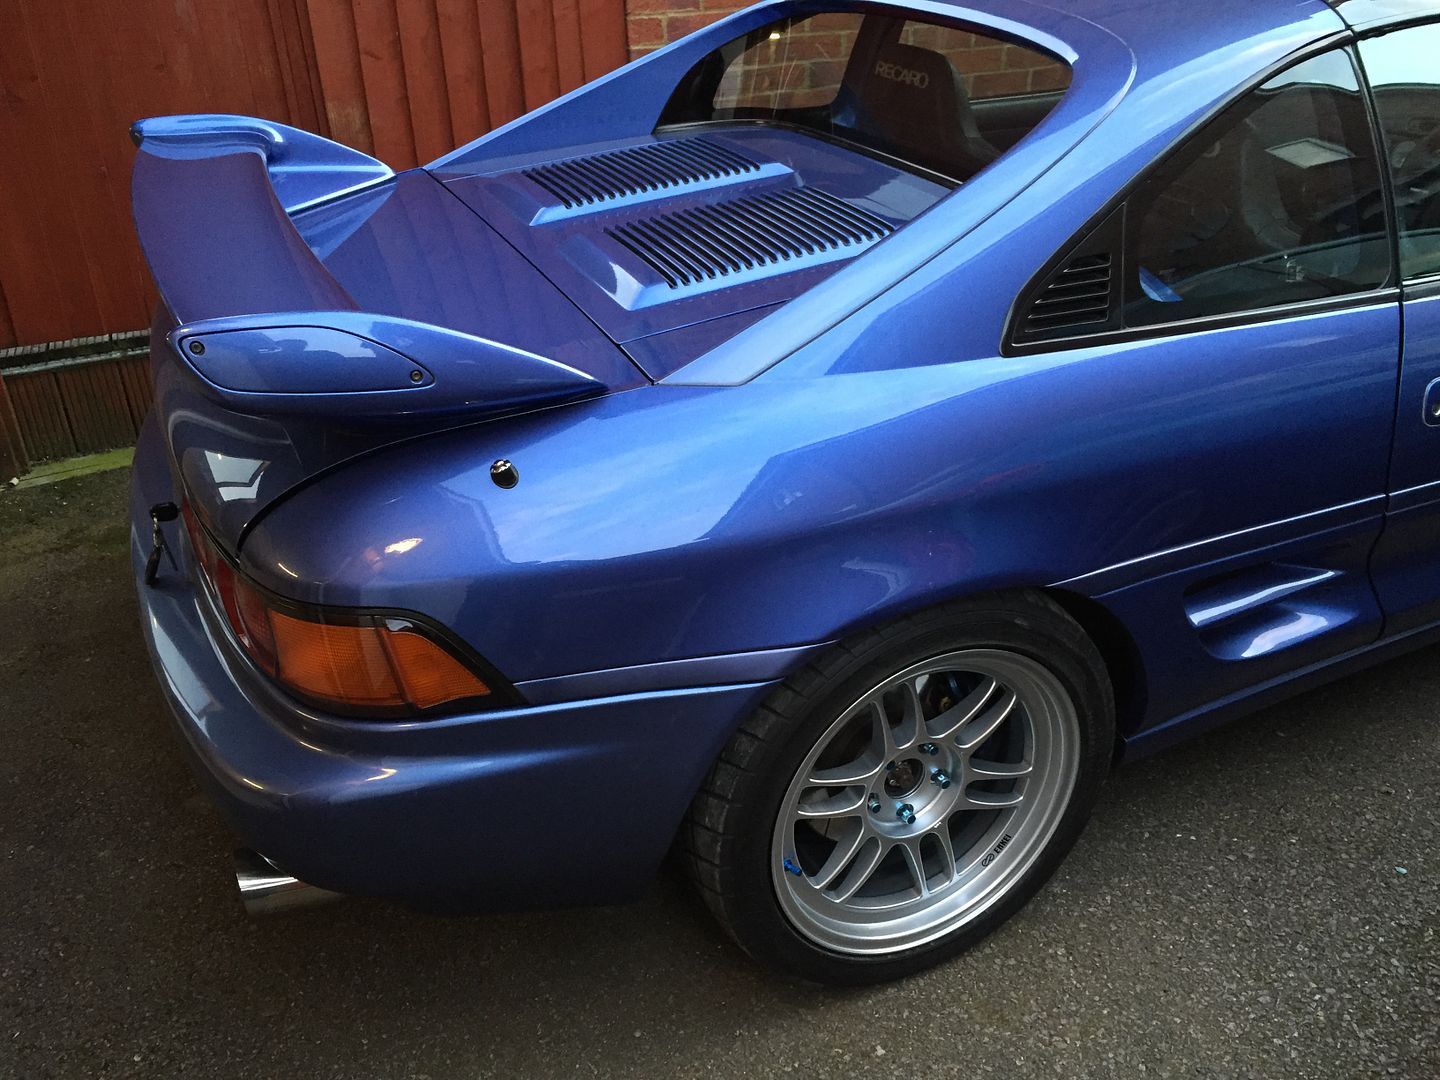
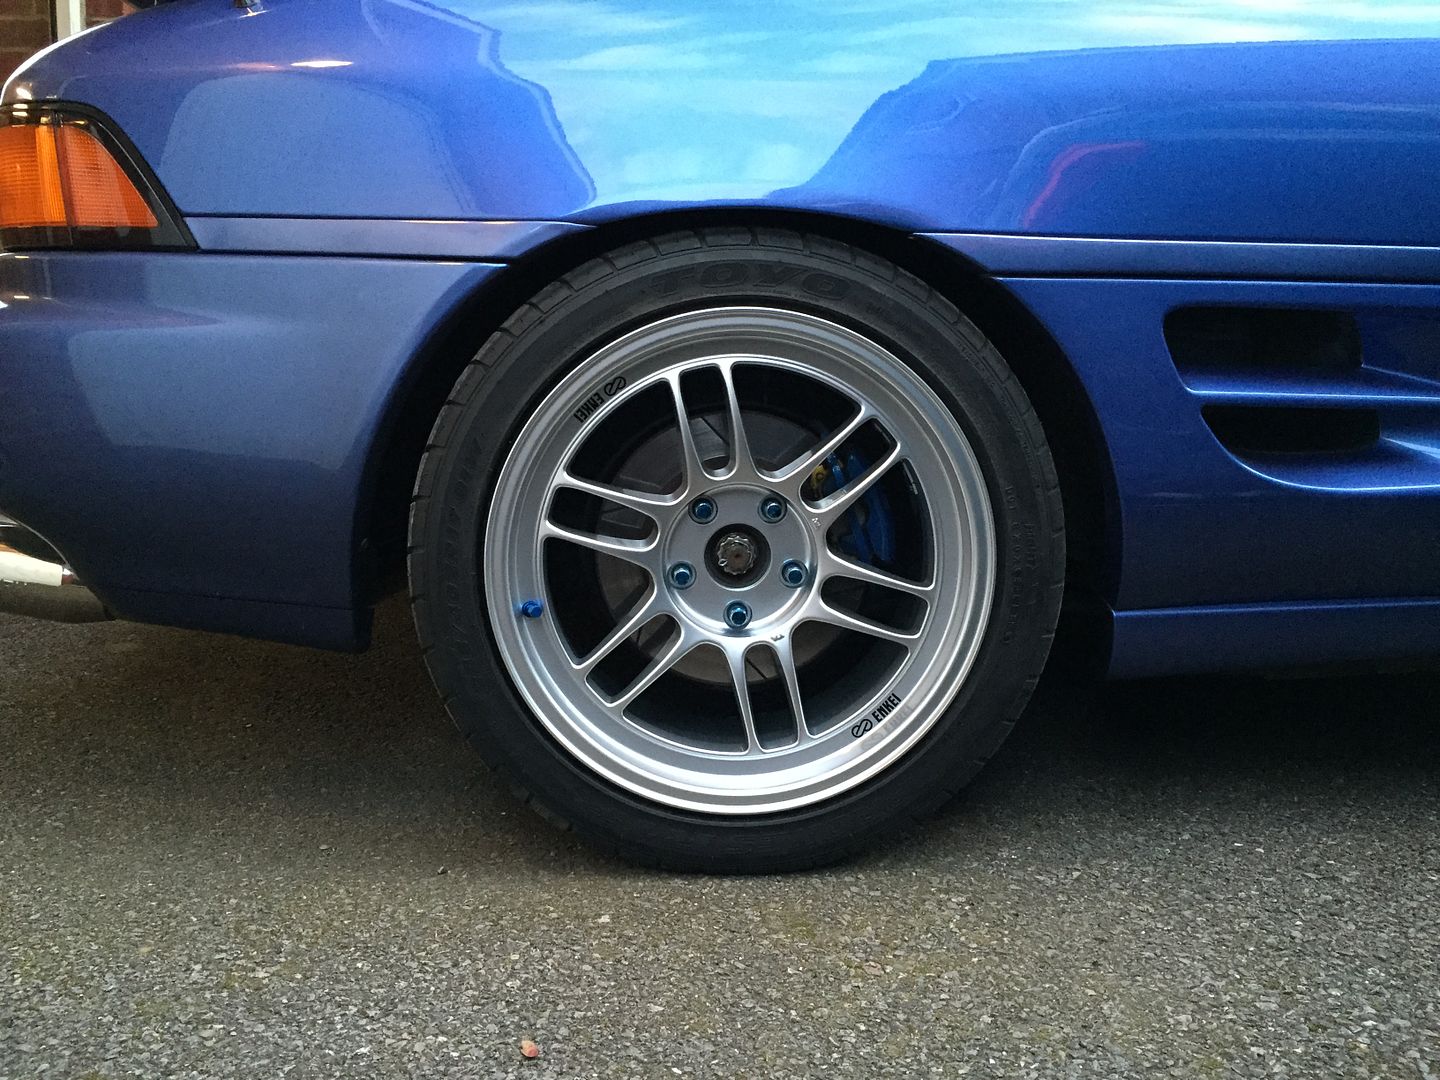
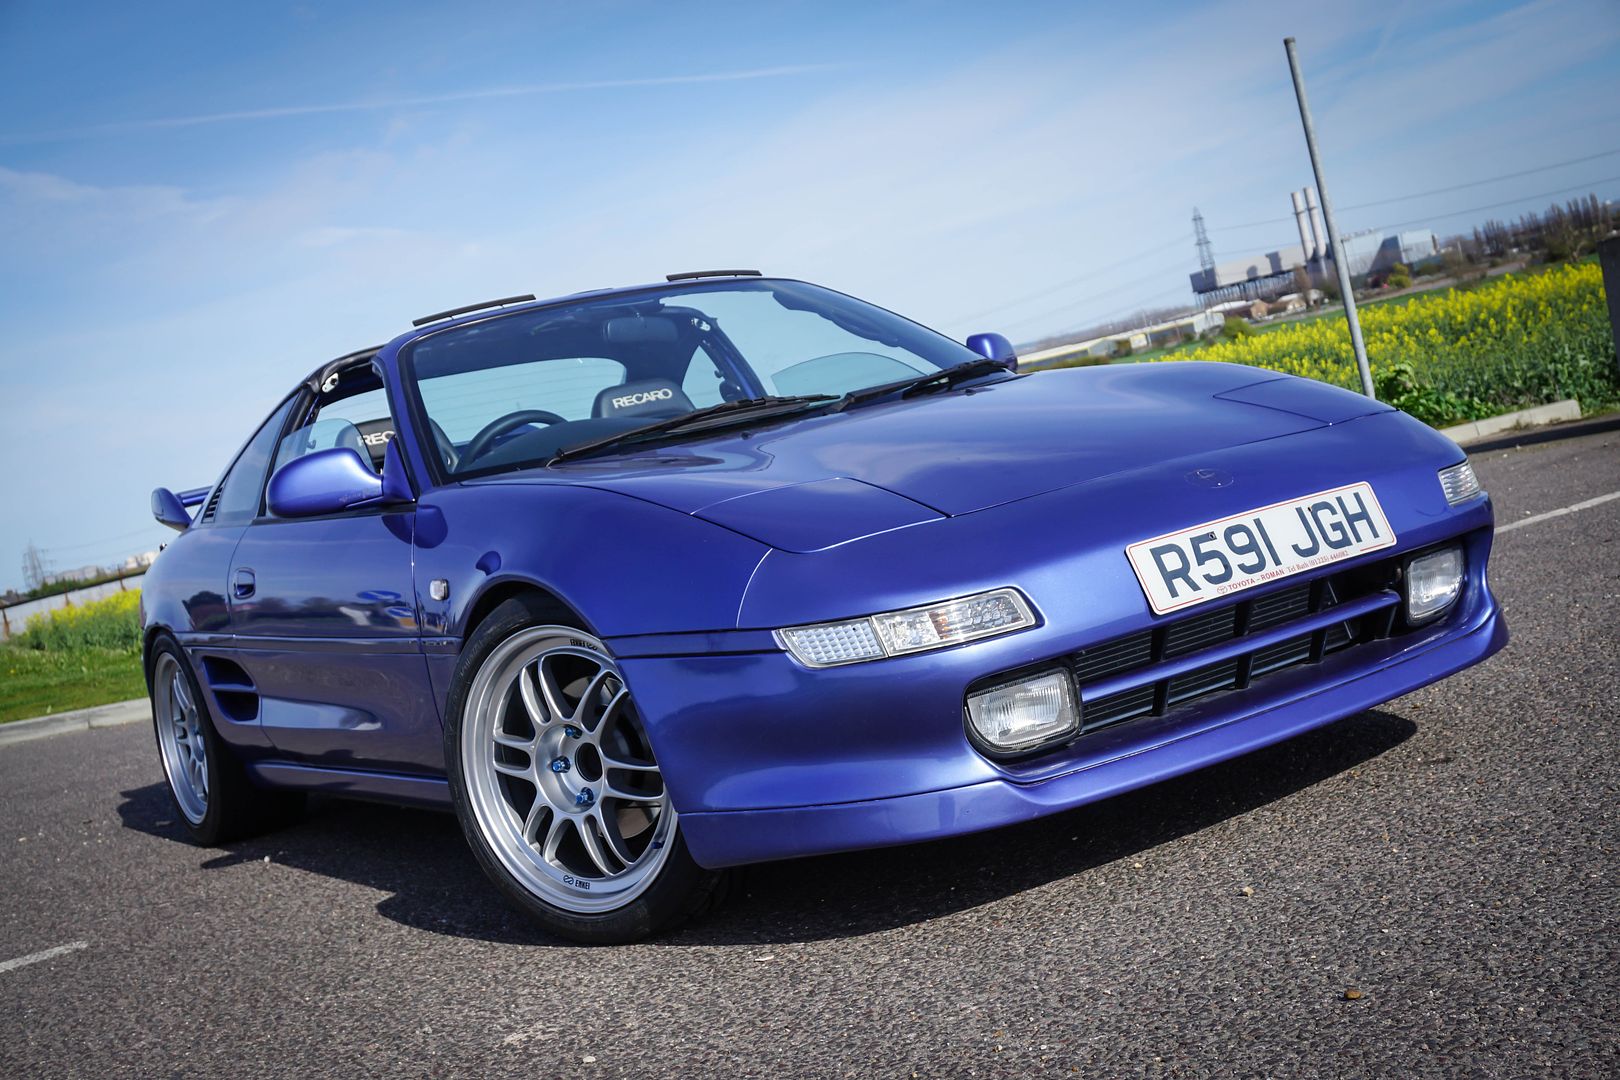
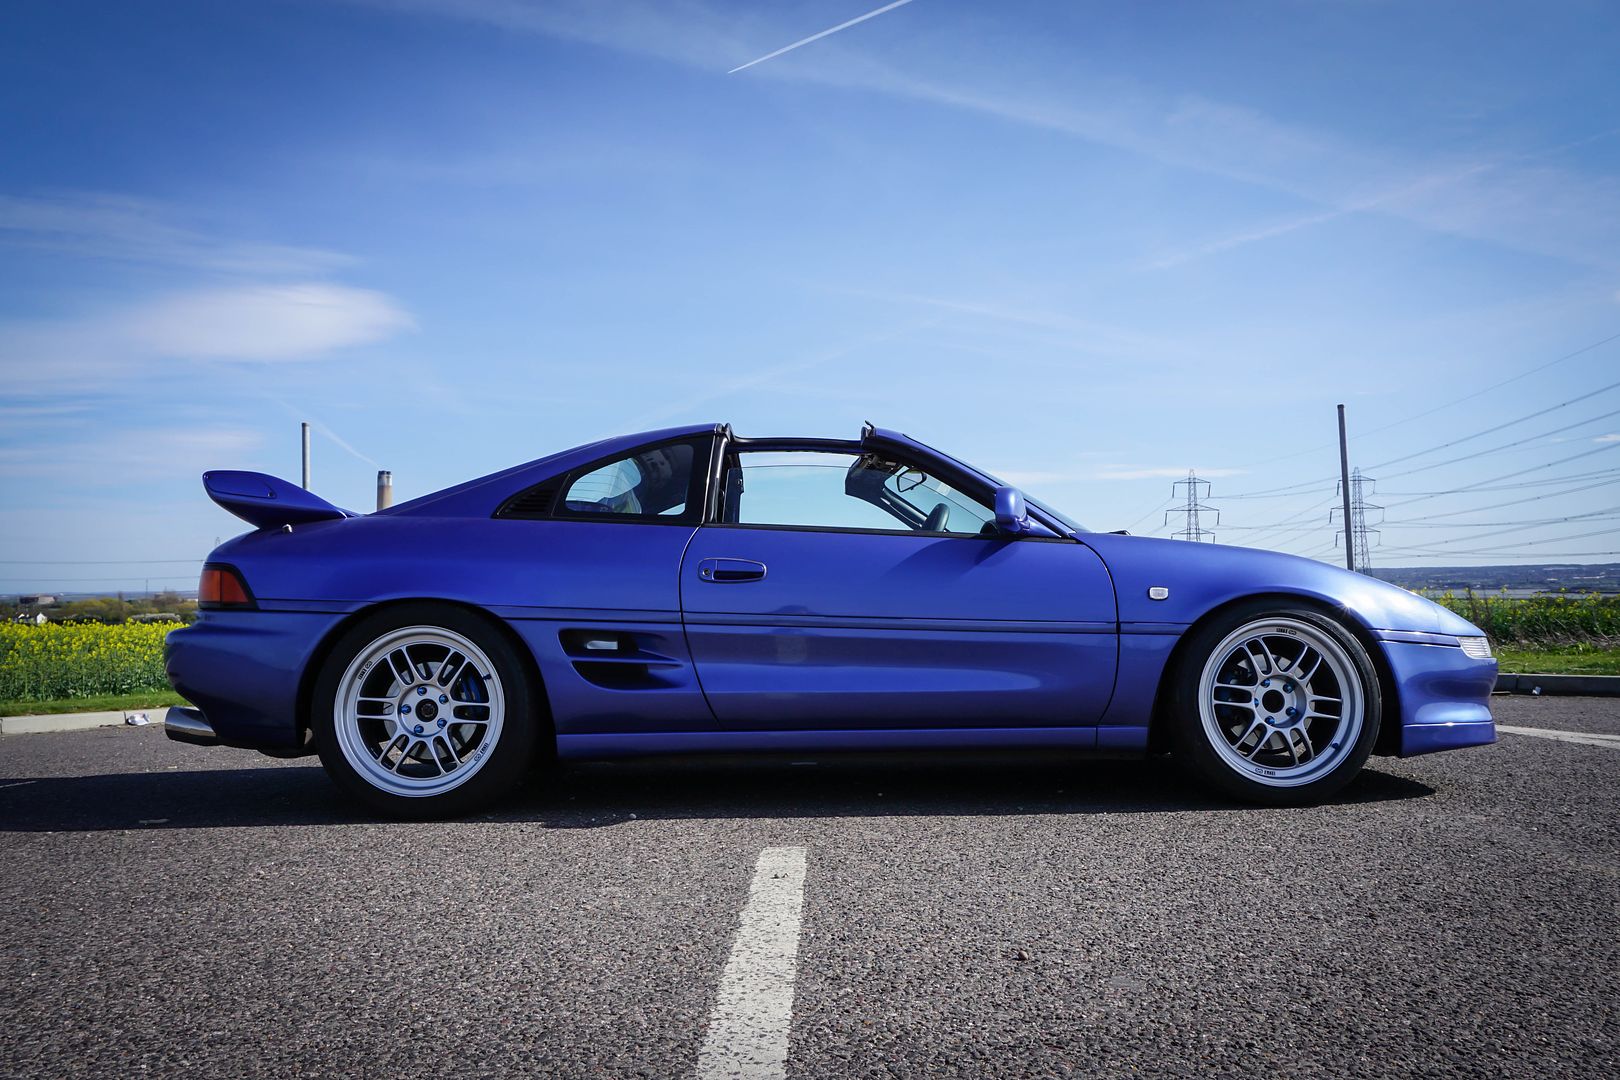
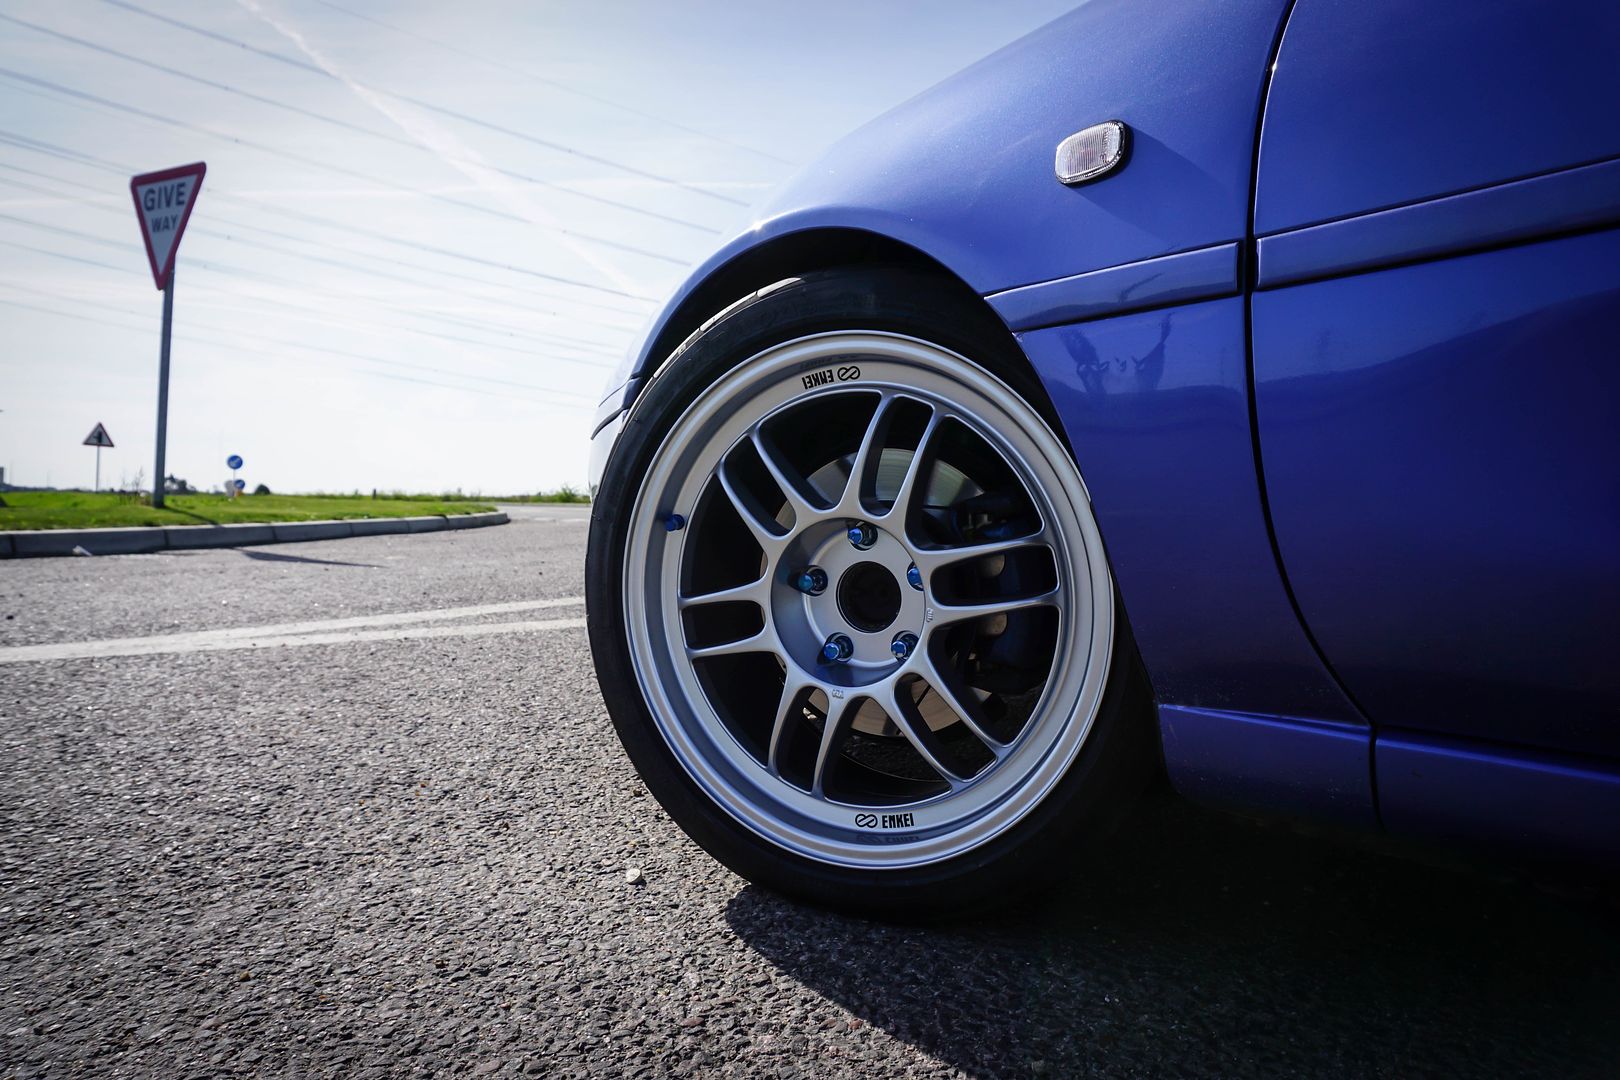
I've been back a couple of days, it's spring, so I thought nows a good time to get these sweet wheels on!!!
However I was always in a quandary about how I'd go about getting the tyres on my new Enkei's which have been sitting in the kitchen since Xmas. With 4 rims, 2 new tyres and 2 tyres from my old wheels to contend with, a mx5 and mr2 wasn't ideal at all to transporting technically 8 wheels!
So decided to contacted CardHore on IMOC who refurbs wheels and happens to be local.
I thought I'd ask who he used to fit tyres on his refurbed wheels, he then offered to take care of my whole situation!
Popped over today, collected the lot and had them fitted with who he uses and dropped back to me the same day! Amazingly helpful and saved me a ton of grief!!
Big thanks there!
I thought I'd have some time to fit them, however with the tyres on, my fronts have given me issues! Namely not fitting!! Eeek! With no tyre it fit fine.
So I've used the camber bolt to pull it out to add positive camber and will use the adjustable top mount to pull the camber back in. Hopefully this works!
Though not having much luck getting the hex bolts out on the top mount adjusters with a Allen key. I'll get hold of a hex socket during the week.
Anyhow, aside from these issues I've also managed to snap my wheel nut socket on the very last wheel nut!!! So only 3 wheels on.  . bu88er!!
I'm currently hunting down some new wheel nuts.
does anyone have a 7 sided tuner nut key I could borrow??
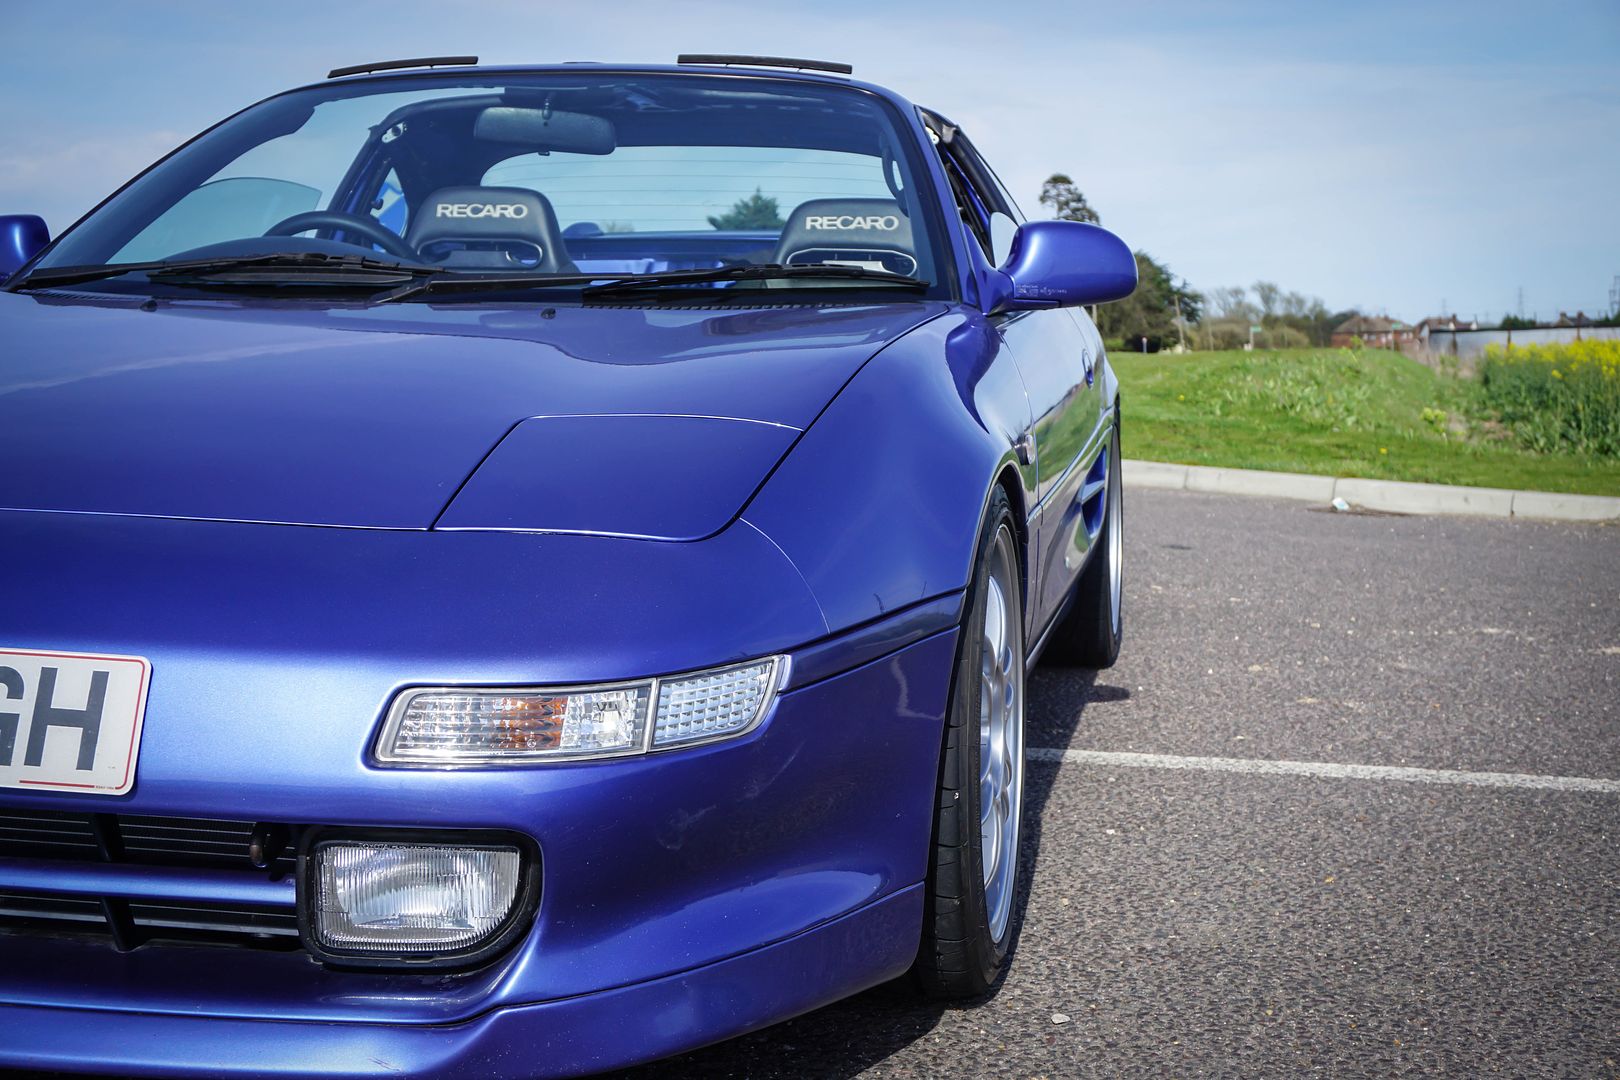
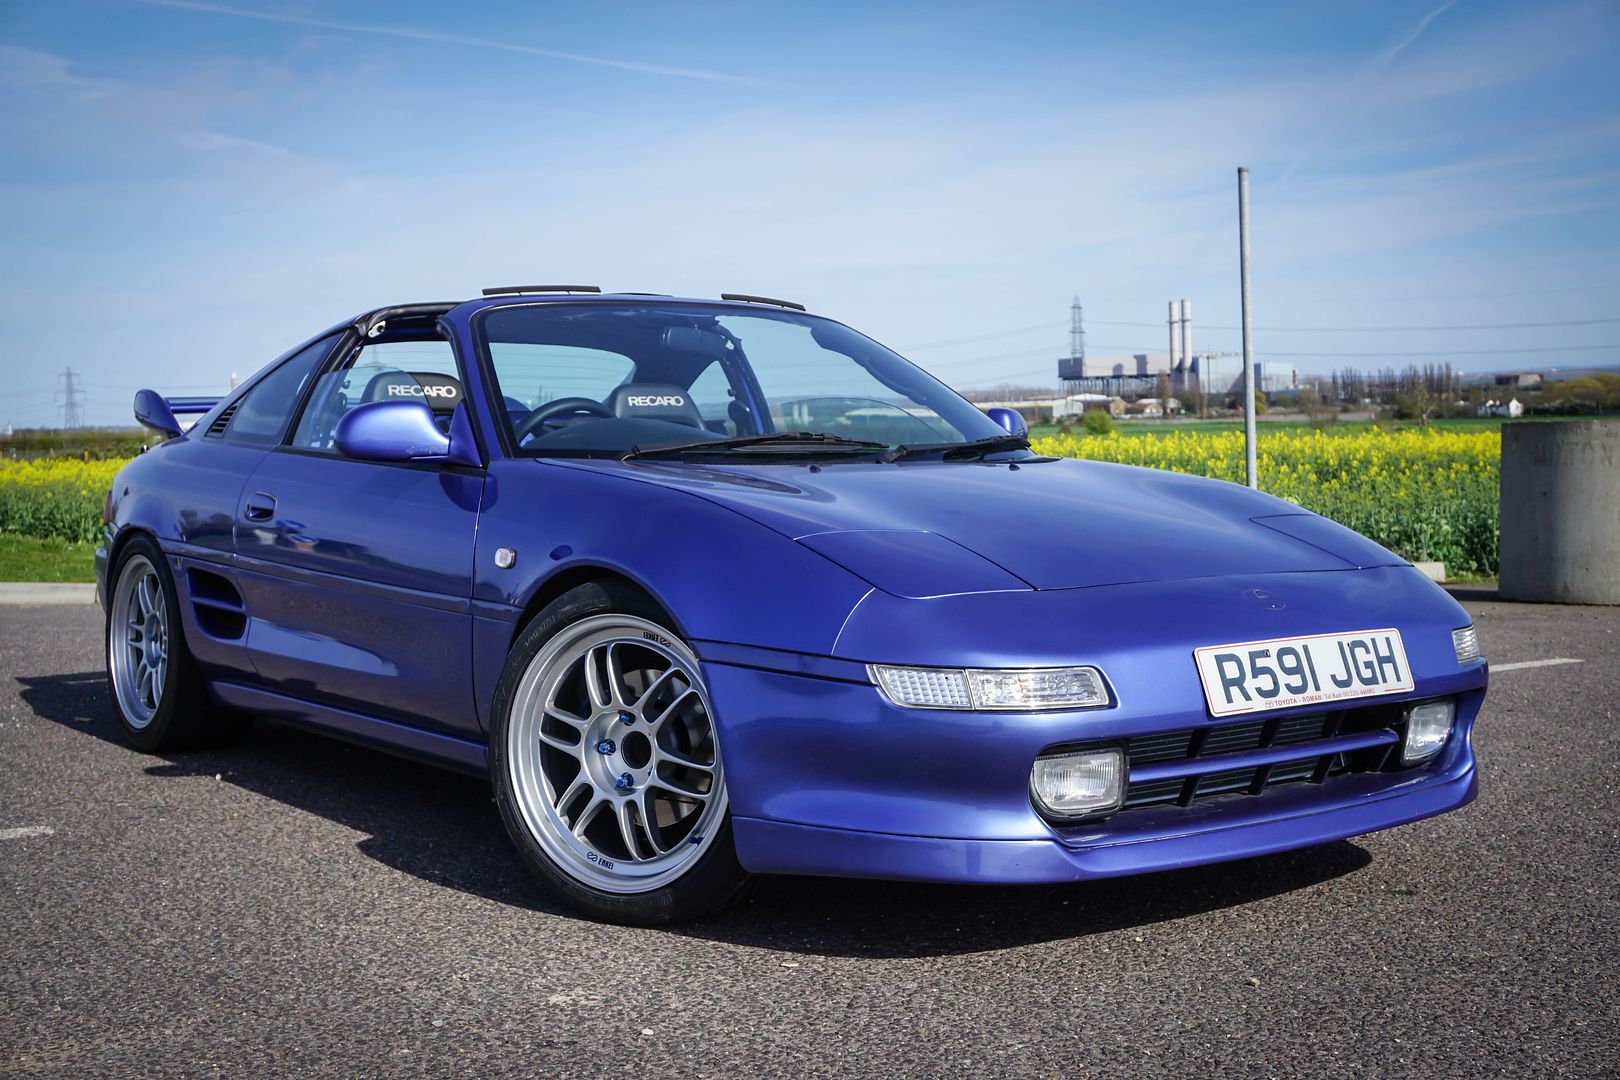
Anyhow thought I'd get some teaser pics on the drive!
Wooo!!!
Having seen winter pass and going on a late honeymoon to Japan in March/April(!!! More on that later).
I've been back a couple of days, it's spring, so I thought nows a good time to get these sweet wheels on!!!
However I was always in a quandary about how I'd go about getting the tyres on my new Enkei's which have been sitting in the kitchen since Xmas.
So decided to contacted CardHore on IMOC who refurbs wheels and happens to be local.
I thought I'd ask who he used to fit tyres on his refurbed wheels, he then offered to take care of my whole situation!
Popped over today, collected the lot and had them fitted with who he uses and dropped back to me the same day! Amazingly helpful and saved me a ton of grief!!
Big thanks there!
I thought I'd have some time to fit them, however with the tyres on, my fronts have given me issues! Namely not fitting!! Eeek! With no tyre it fit fine.
So I've used the camber bolt to pull it out to add positive camber and will use the adjustable top mount to pull the camber back in.
Though not having much luck getting the hex bolts out on the top mount adjusters with a Allen key.
Anyhow, aside from these issues I've also managed to snap my wheel nut socket on the very last wheel nut!!! So only 3 wheels on.
I'm currently hunting down some new wheel nuts.
Anyhow thought I'd get some teaser pics on the drive!
Wooo!!!


Re: Rev4 Turbo *mini photoshoot*
They look awesome :p jelous 👍👍
Re: Rev4 Turbo *mini photoshoot*
Agreed. They look really purposeful. Looking forward to seeing some full shots when you've sorted the minor fitment issues.
Pretty sure I've got a spare tuner nut key at home. I'll let you know when I get back this saturday
Pretty sure I've got a spare tuner nut key at home.
Re: Rev4 Turbo *mini photoshoot*
Cheers.
After the long wait to fit these, didn't expect to run into these problems, ha.
After the long wait to fit these, didn't expect to run into these problems, ha.
Re: Rev4 Turbo *mini photoshoot*
Great work jim car looks fantastic!
Re: Rev4 Turbo *mini photoshoot*
cheers chaps!
some more progress.
Crisis averted on the wheel nut key!!
the only place in the UK I could find selling the same wheel nut set(with the 7 sided key I needed) was on ebay, as luck would have it they were only 20miles from me and let me come and pick them over the weekend! Bonus was he had 1 set of returned stock where there was a chip on one of the nuts. So got a bit of discount too. Still had to buy the set, but very relieved.
i have my own new mint set to go on, but needed that dam key!
few other bits in prep for Japfest in May.
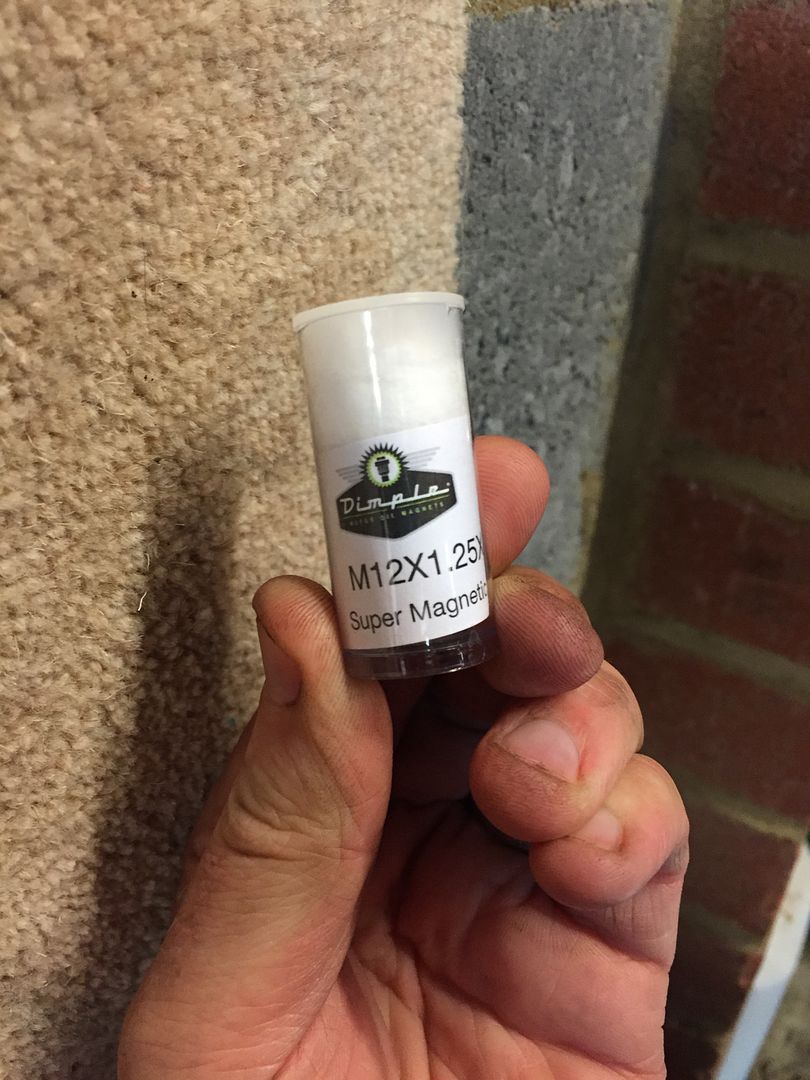
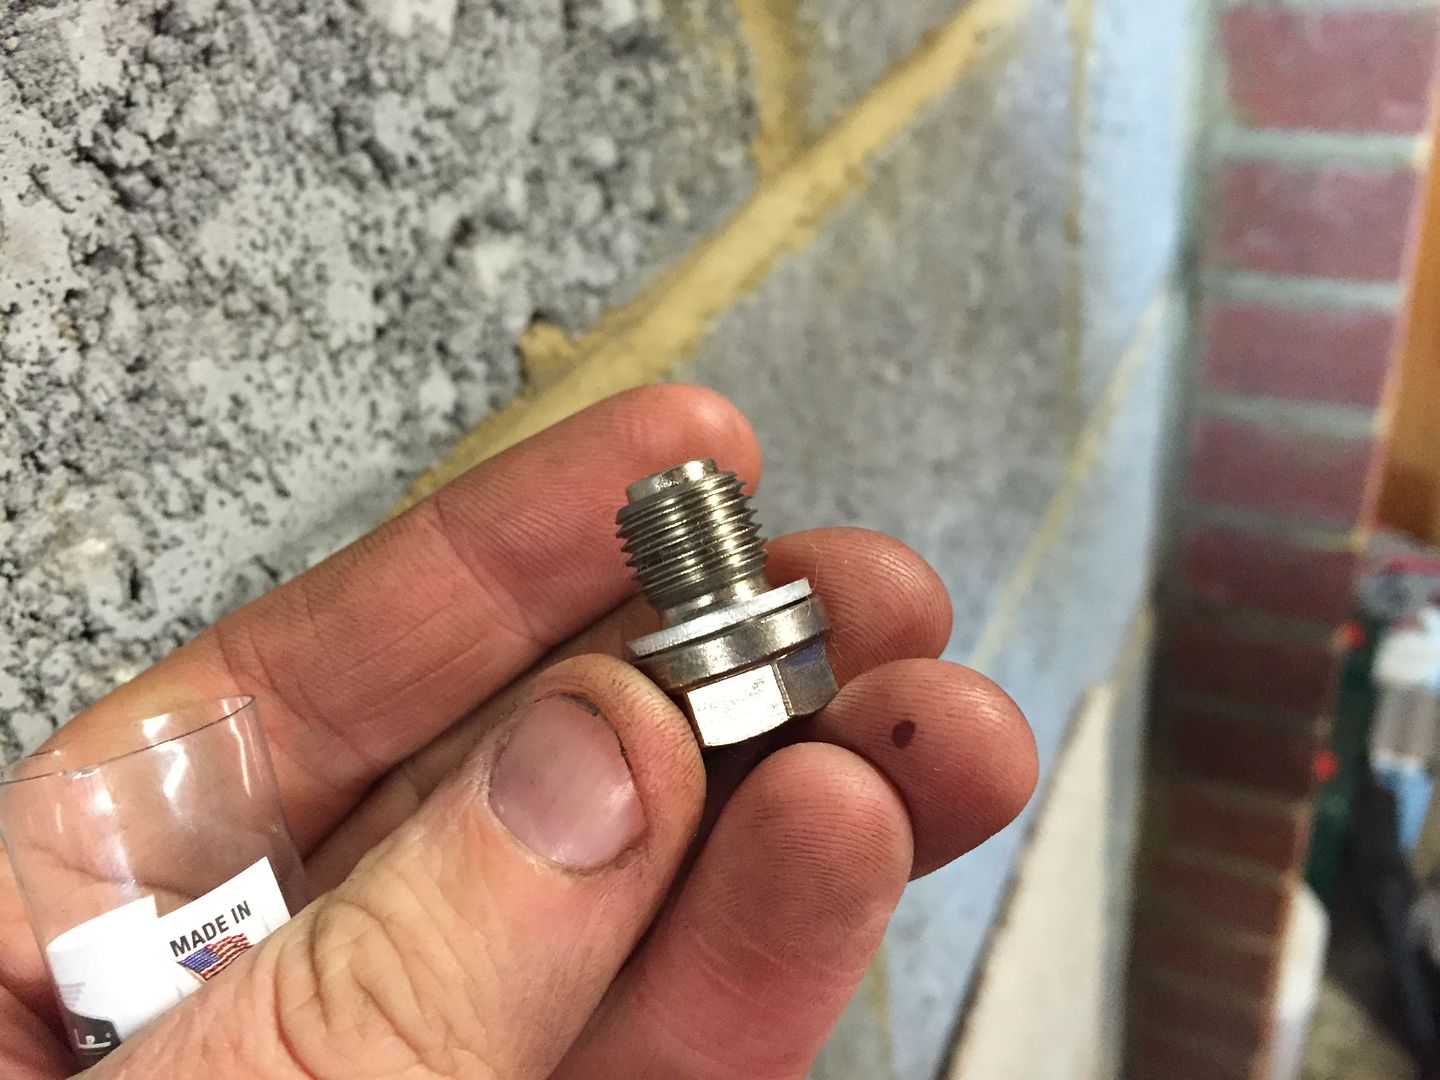
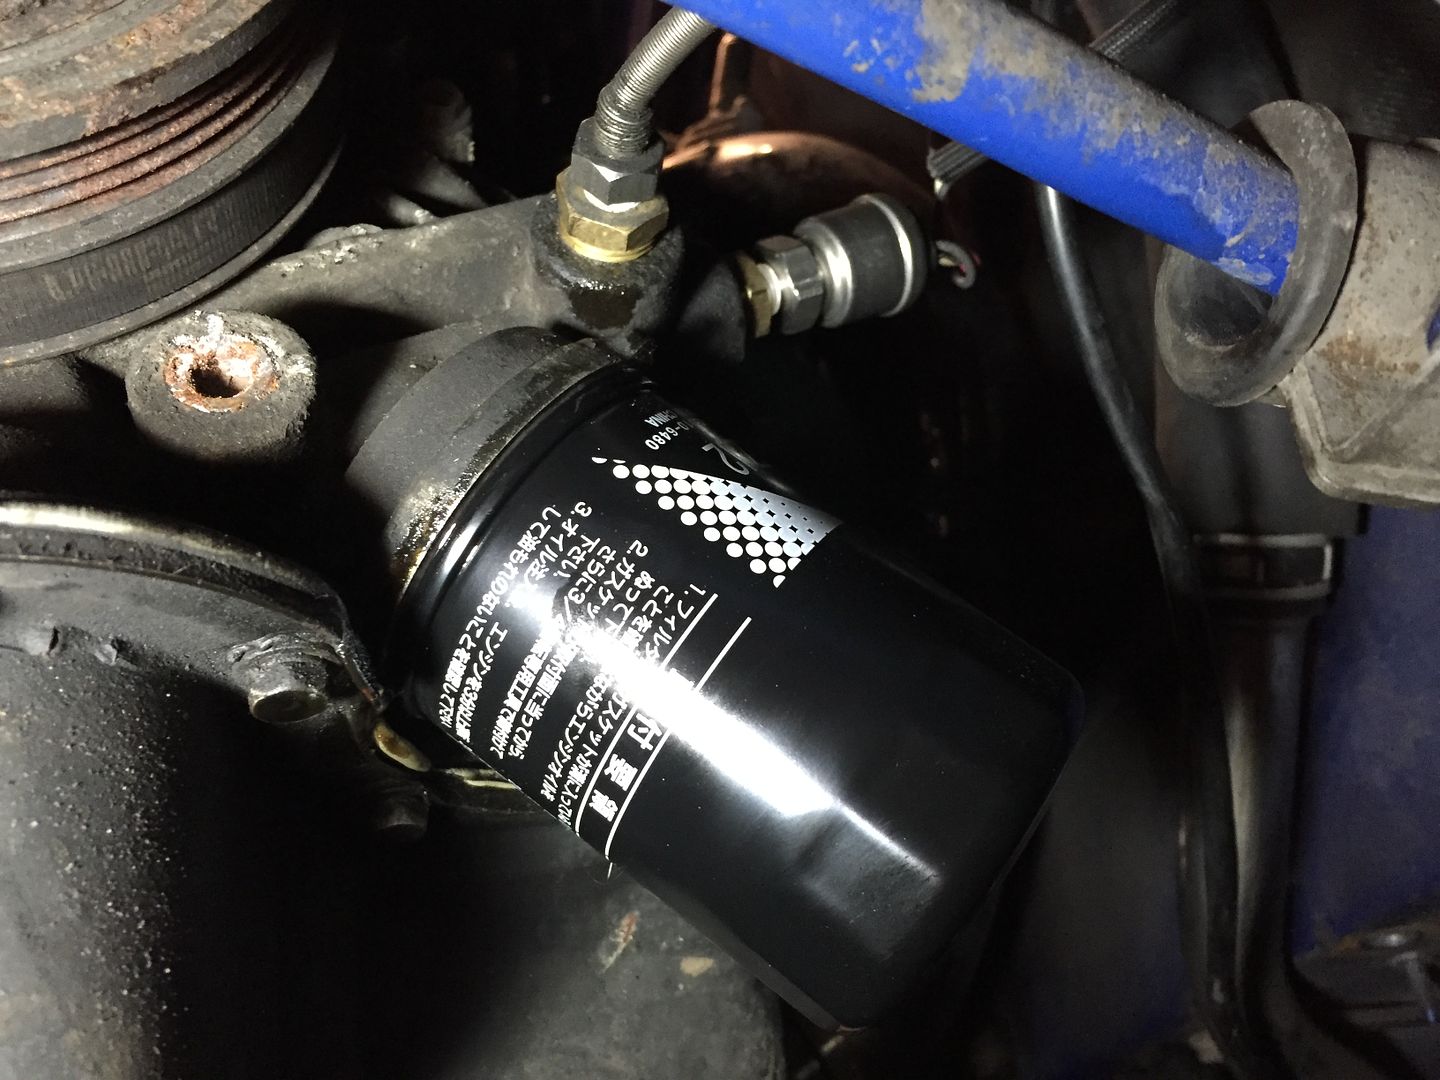
**oil change with new OEM filter, and the world strongest magnetic sump plug from the US! (claimed)
http://www.magneticoildrainplugs.co.uk/ ... SaH9XVdUrA
realised ive only done 2500 miles in the past year! i need to use it more!
** oil of choice
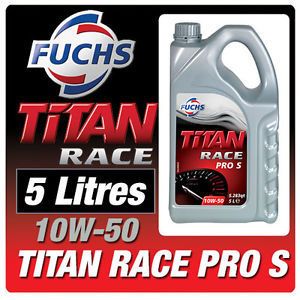
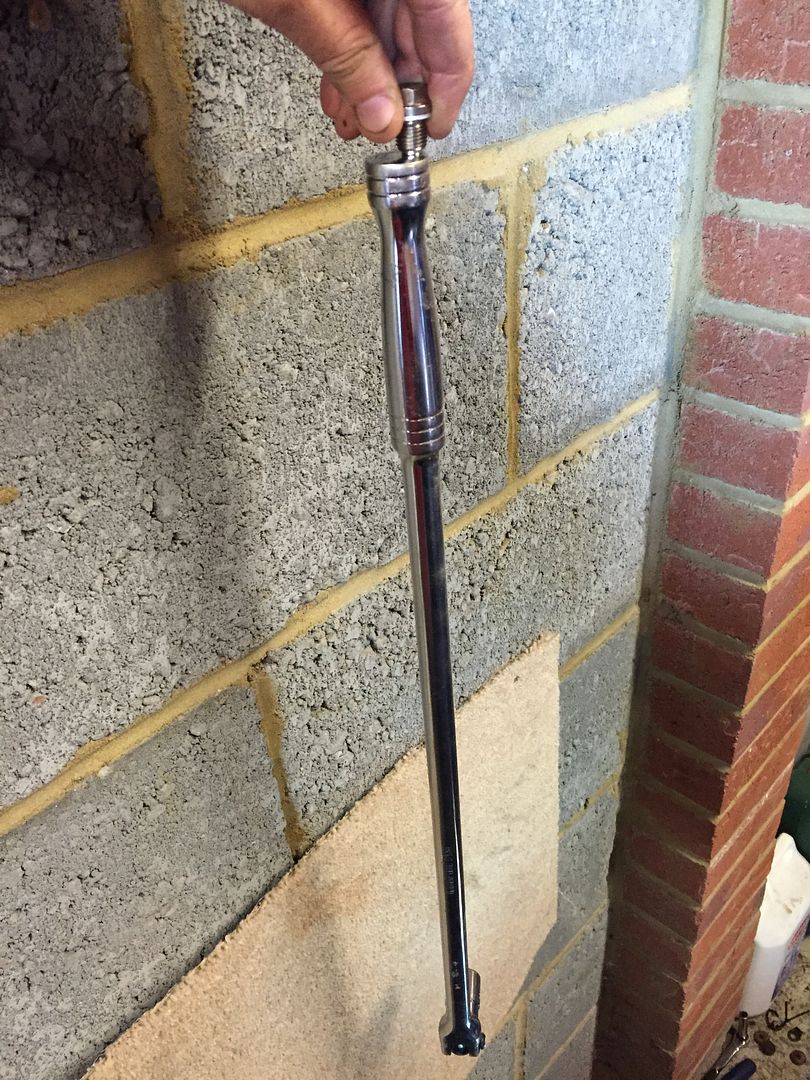
1/2inch 2foot heavy breaker bar sump plug is holding! NOW THATS A MAGNET!
** Also cleaned and reinstalled my oil temp and pressure gauge mounts while the oil was out.
** Replacing my copper spark plugs to some old NGK platinums i had, WOW, i think those coppers must of been holding me back a touch, car feels as strong as it ever has, i can only put it down to the plugs really, as an oil change shouldnt effect much.
think i now have in the NGK BKR7EVX, i regapped them to 0.8mm.
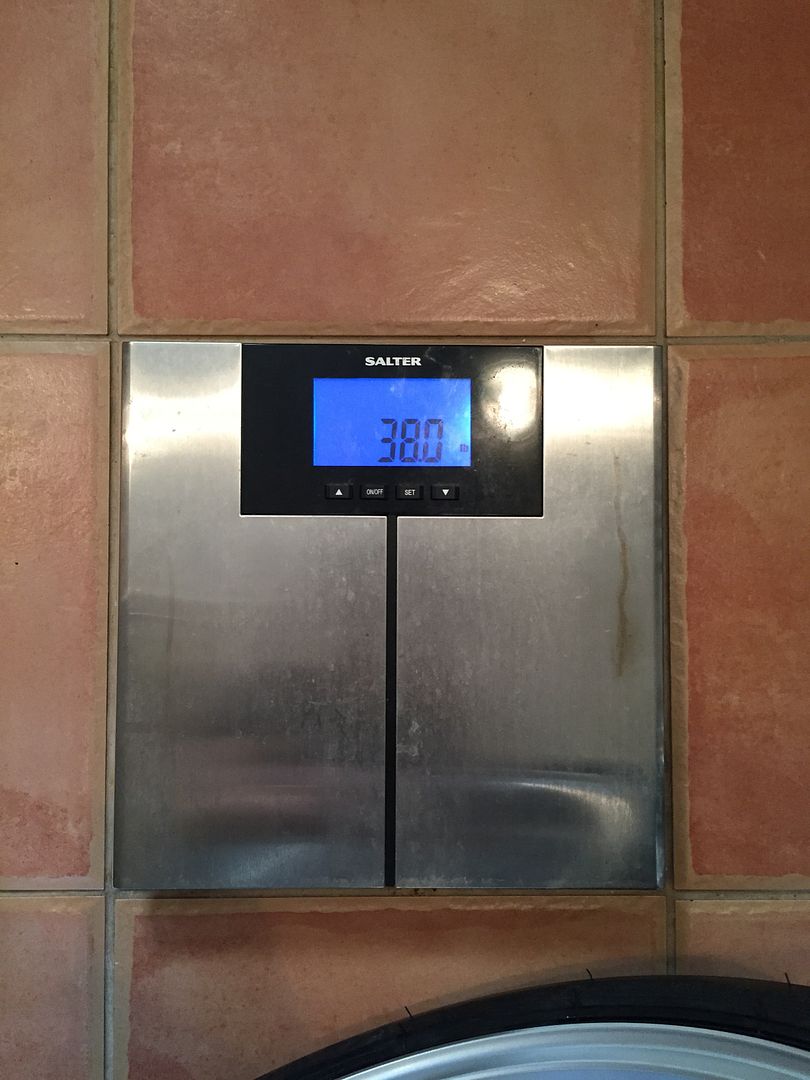
** weighed the new wheels with tyres on.
to my surprise my FRONTs weigh more than the rears! not much in it, but good for balance i guess. (must be down to the new front tyres! obviously not lightweight tyres those Parada Spec 2's!!)
rear in LBs
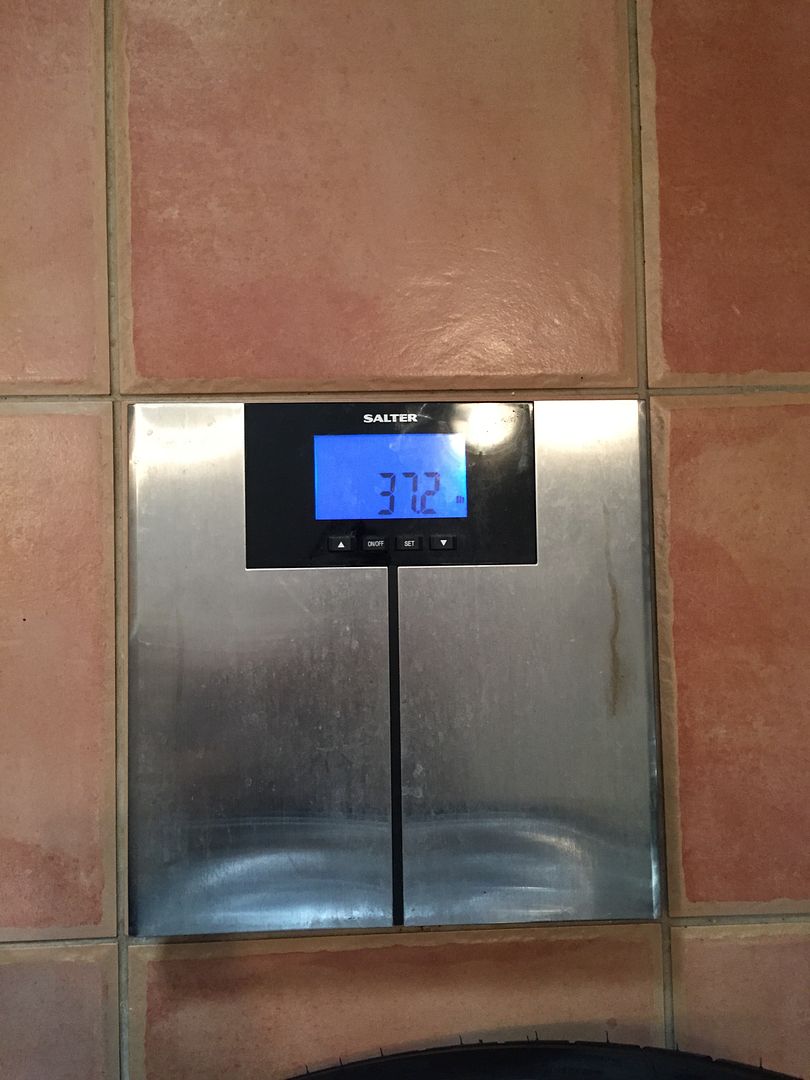
front in LBs
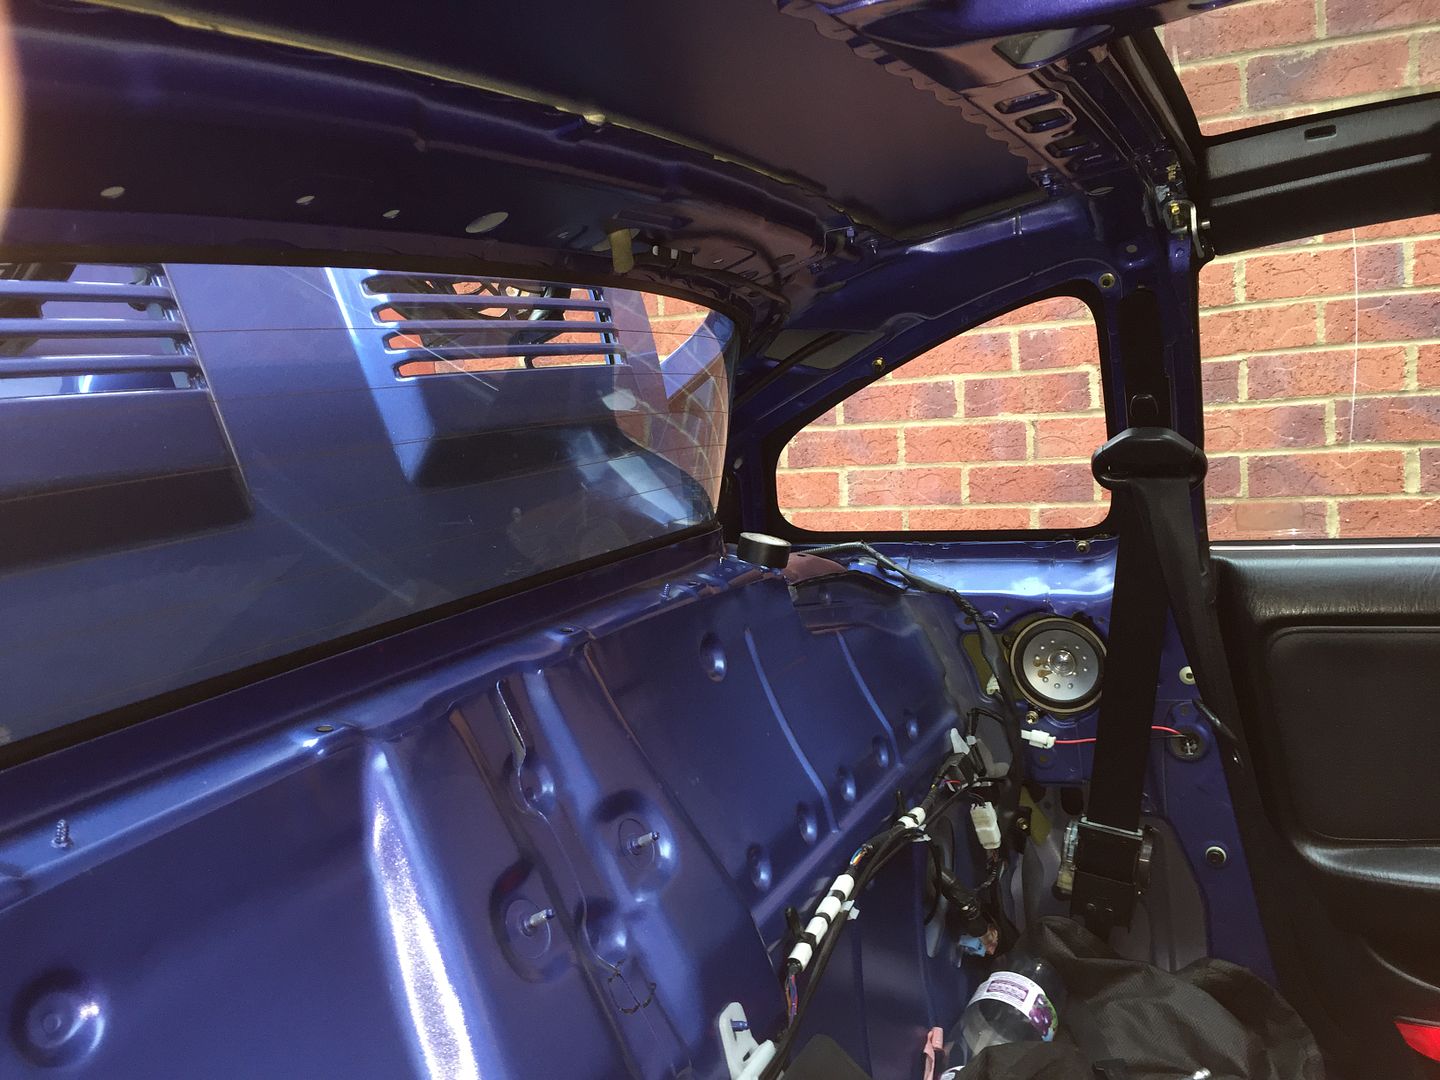
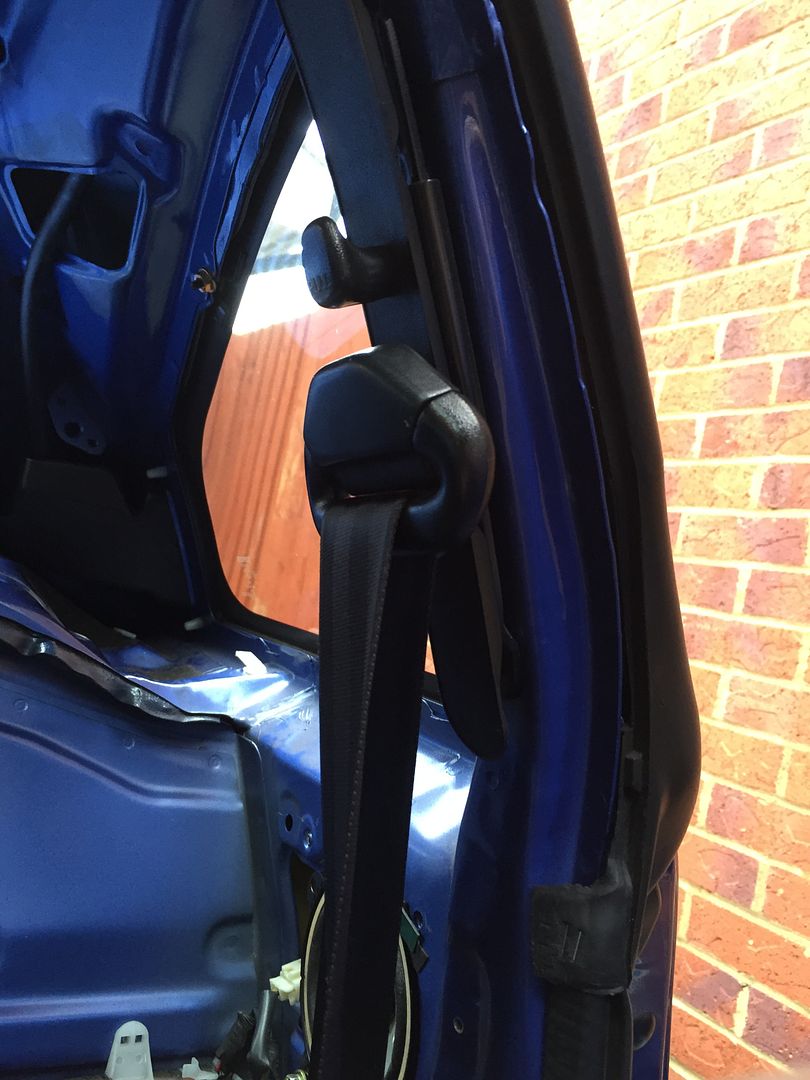
also stripped the interior a little more, losing another 1kg. just need to give it a quick clean.
never realised there was an air tube of some kind for the rear 1/4 windows!!
hex socket turned up for the topmount adjustments, so going from+0.5 camber (only way i had room to get front on) to about -1 via topmount adjustment alone. i still need to have a play with the camber via the camber bolts a tiny bit to get as much as i can, but i was happy with this angle for now!
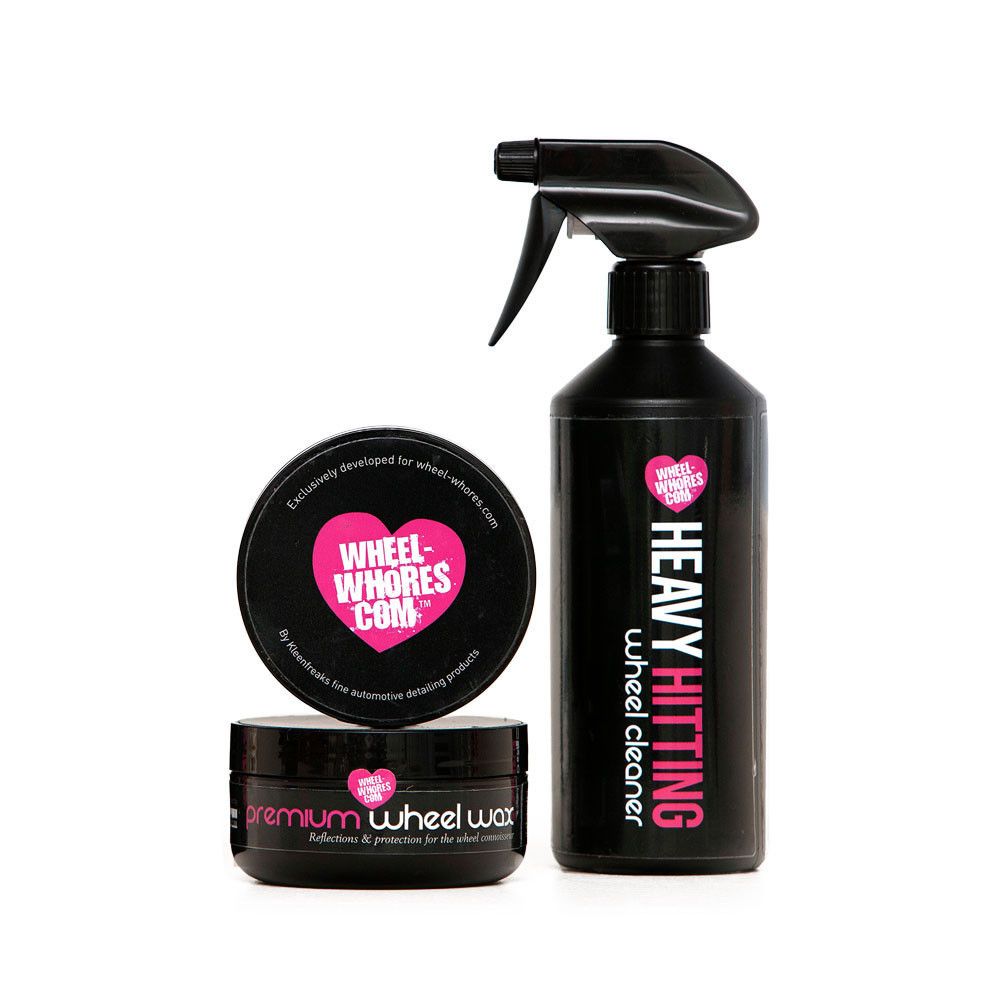
the whole wheel also got a coat of Wheel-Whores sealing wax all over to keep them tip top hopefully!
http://www.wheel-whores.com/collections ... eaning-kit
aside from new number plates to go on, new toyota badge and my new wheel nuts after a laser alinement, im good to go!
TOP TIP!!
i found another use for Kurust!! apply it to the untouched areas around your discs! i now have a nice black finish on the disc hubs and areas the pads dont touch! not only does it look great, its not a"layer" of paint, so will not chip off! makes them look new.


some more progress.
the only place in the UK I could find selling the same wheel nut set
i have my own new mint set to go on, but needed that dam key!
few other bits in prep for Japfest in May.
http://www.magneticoildrainplugs.co.uk/ ... SaH9XVdUrA
realised ive only done 2500 miles in the past year! i need to use it more!
1/2inch 2foot heavy breaker bar sump plug is holding! NOW THATS A MAGNET!
think i now have in the NGK BKR7EVX, i regapped them to 0.8mm.
to my surprise my FRONTs weigh more than the rears! not much in it, but good for balance i guess.
rear in LBs
front in LBs
also stripped the interior a little more, losing another 1kg.
never realised there was an air tube of some kind for the rear 1/4 windows!!
hex socket turned up for the topmount adjustments, so going from
the whole wheel also got a coat of Wheel-Whores sealing wax all over to keep them tip top hopefully!
http://www.wheel-whores.com/collections ... eaning-kit
aside from new number plates to go on, new toyota badge and my new wheel nuts after a laser alinement, im good to go!
i found another use for Kurust!! apply it to the untouched areas around your discs! i now have a nice black finish on the disc hubs and areas the pads dont touch! not only does it look great, its not a
Re: Rev4 Turbo *mini photoshoot*
Wow just wow you have been busy mate .. very nice