I haven't had a chance to update this in almost a year, but things have still been happening

(much more slowly than I'd have liked)
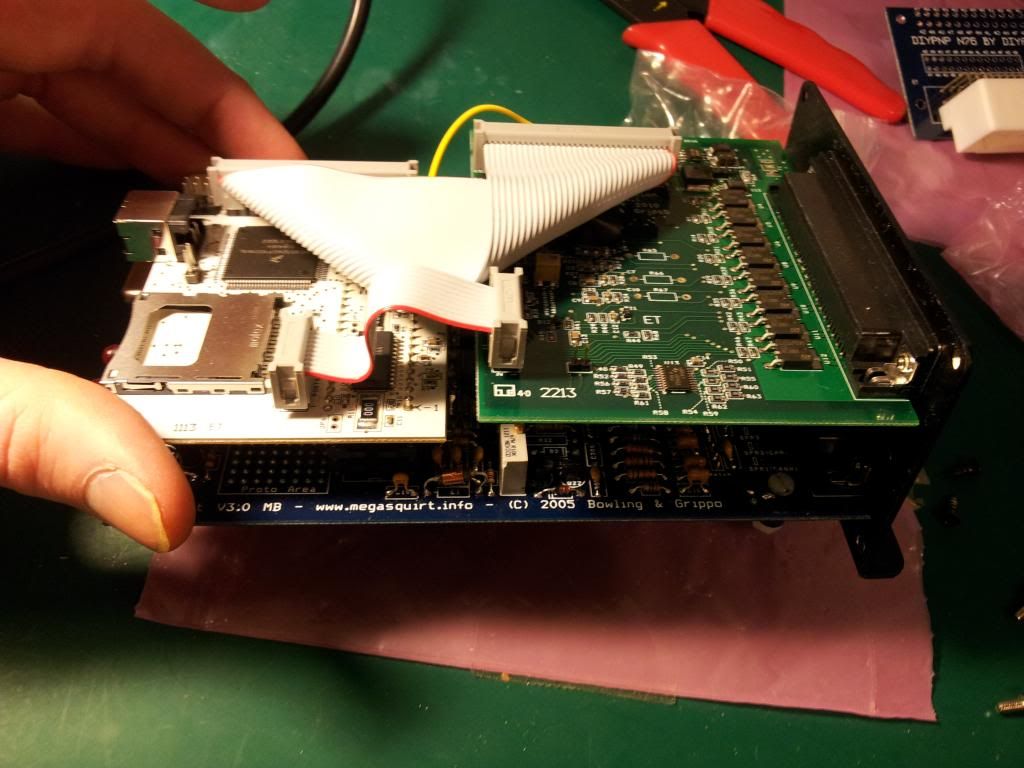
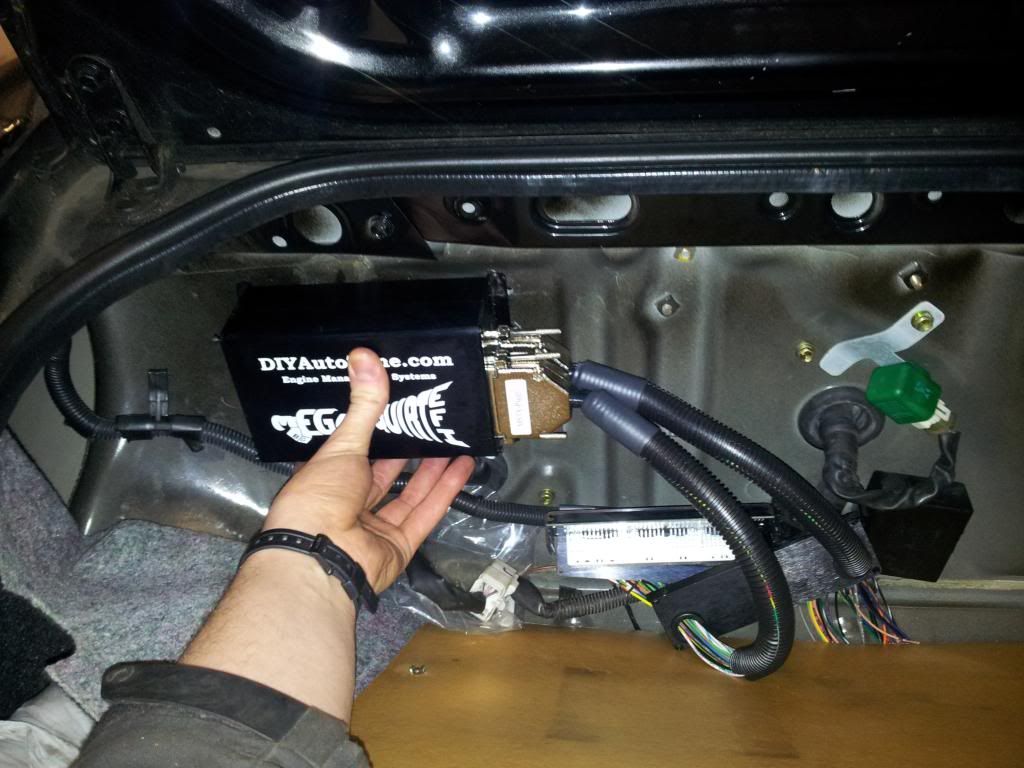
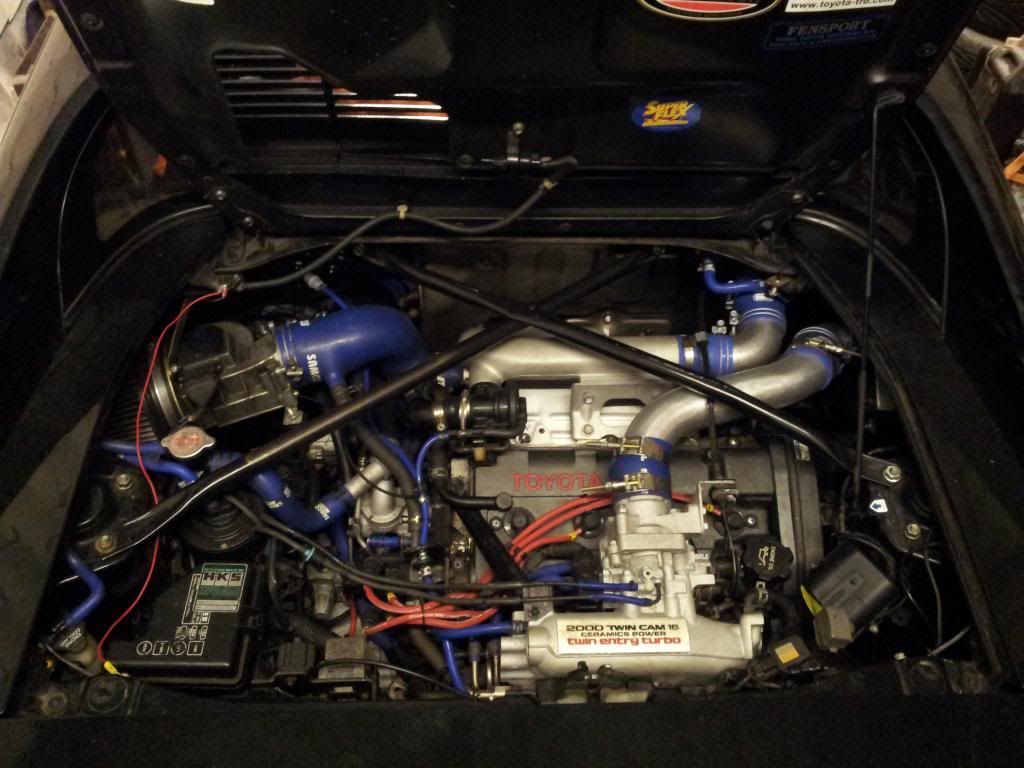
Megasquirt MS3X Expander board arrived and installed
-
Also installed a separate Knock Module after this pic.
MS3X now complete
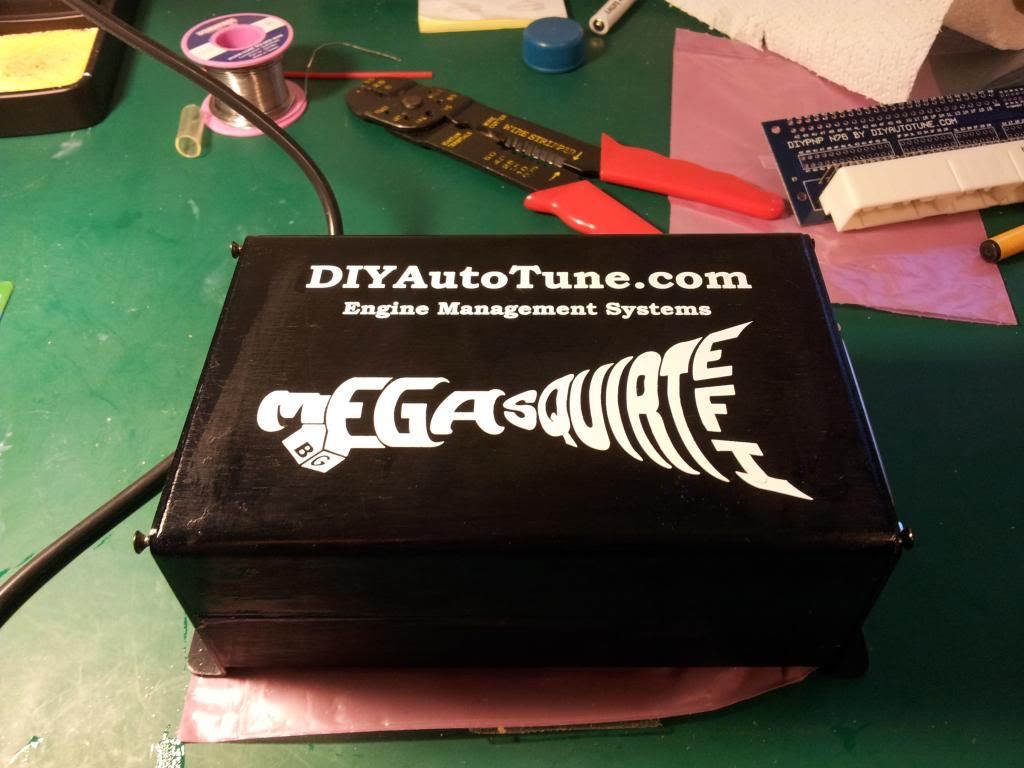
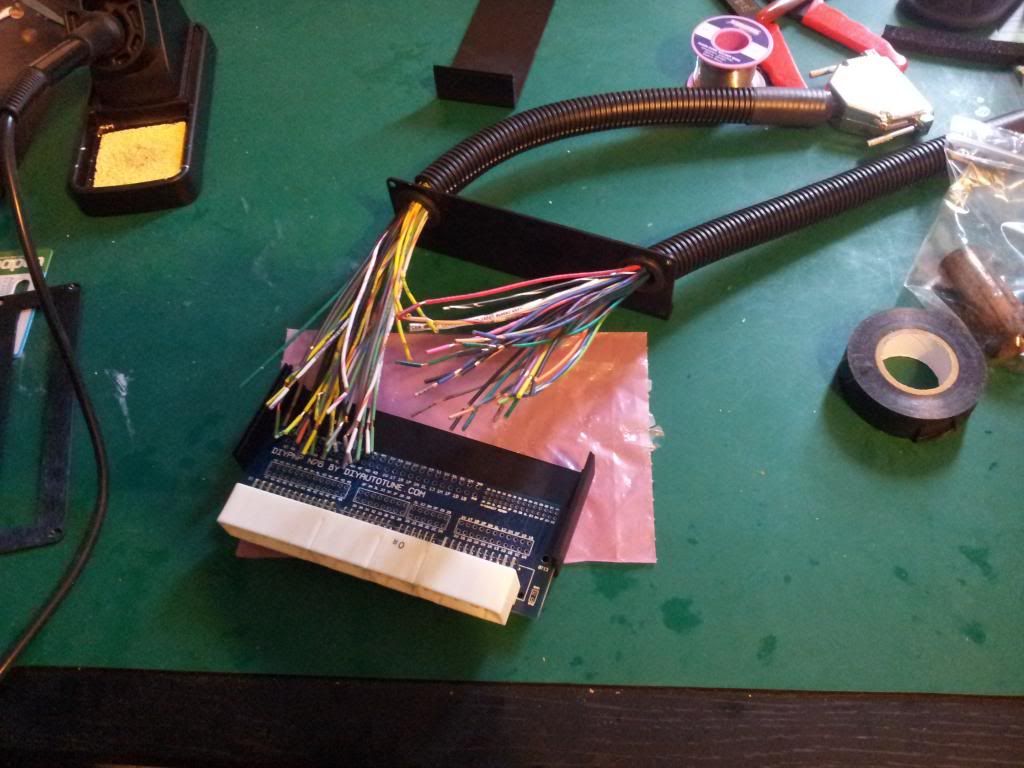
Next ECU job is creating the sub-harness which will allow it to be interchangeable with the stock ECU
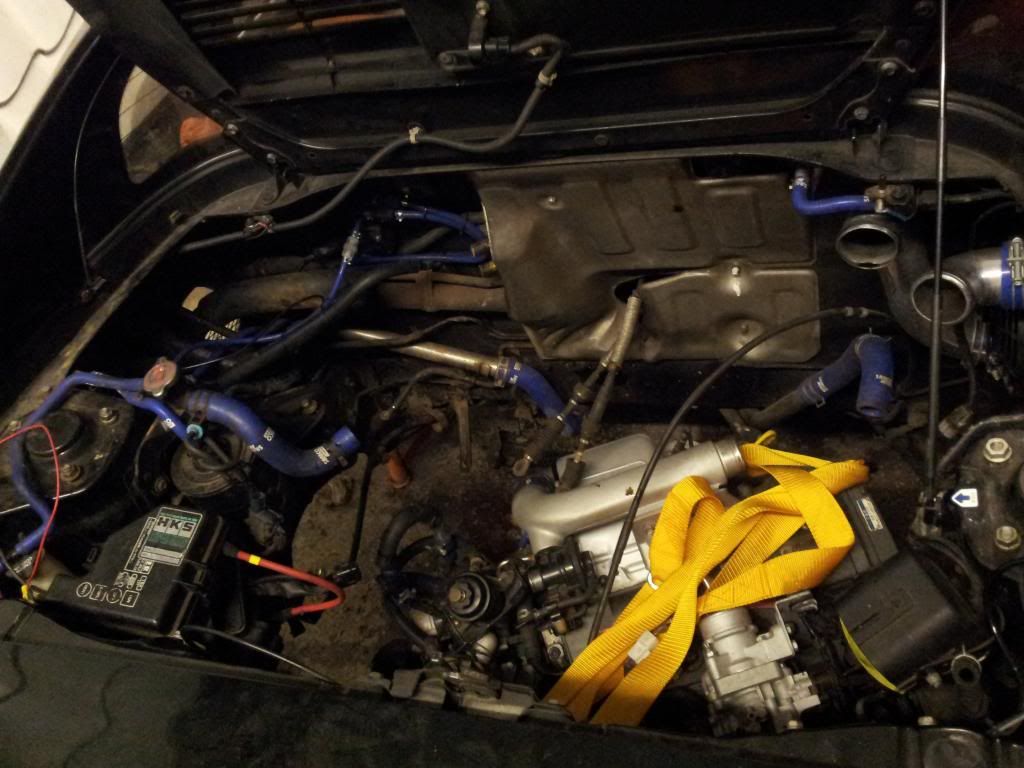
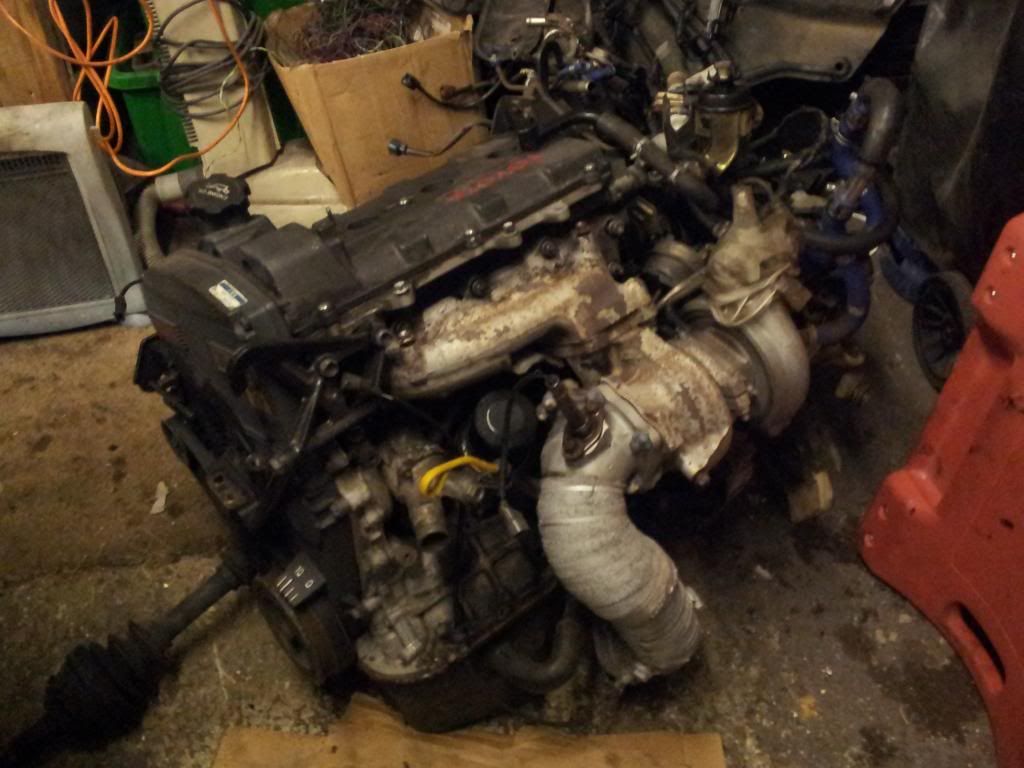
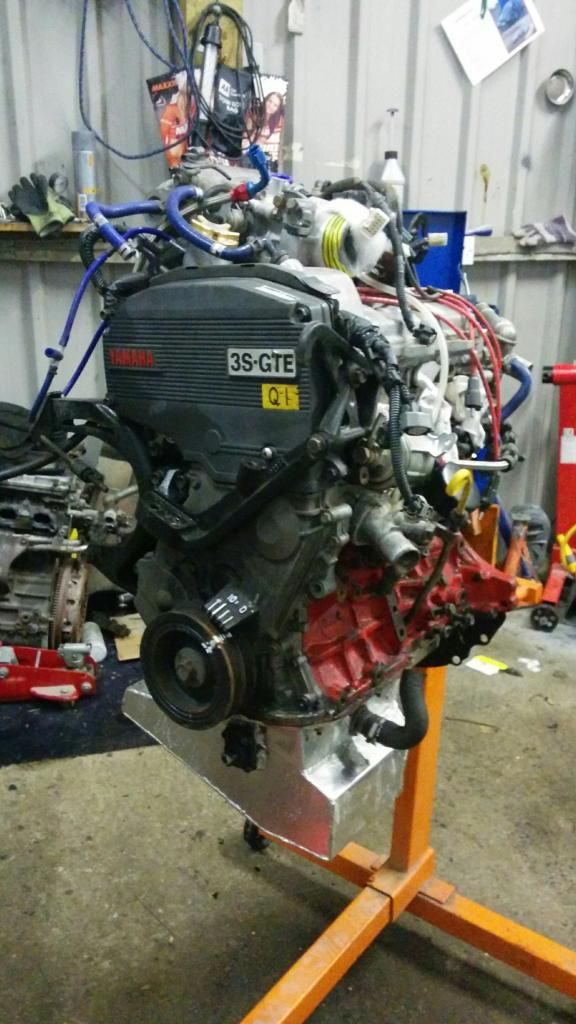
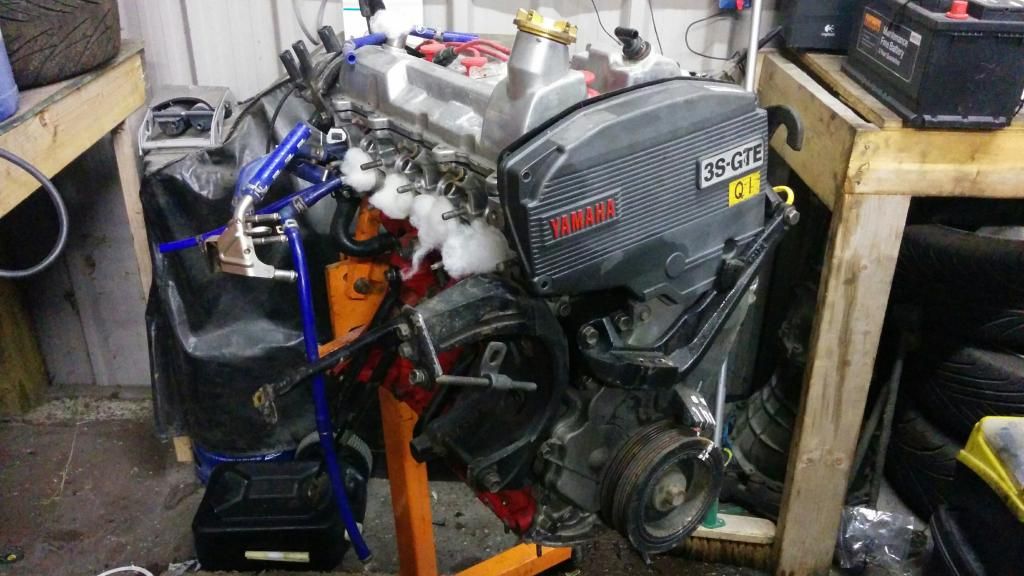
Meanwhile, Engine about to be dropped out again for its
(planned to be finished within) winter 2013/14 overhaul
Plan was:
Port Rev 2 head
Rev 3
(NA) Cams
Rev 3 Valves
Bucket over shim followers
Fit MLS Gasket
CT20B turbo
Bore out and twin feed the fuel rail
Rev 3 injectors
But nothing ever ends up going as planned!
This time I used a rolling height adjustable car dolly to lift the car and push it over the engine, rather than lifting the car with the engine crane
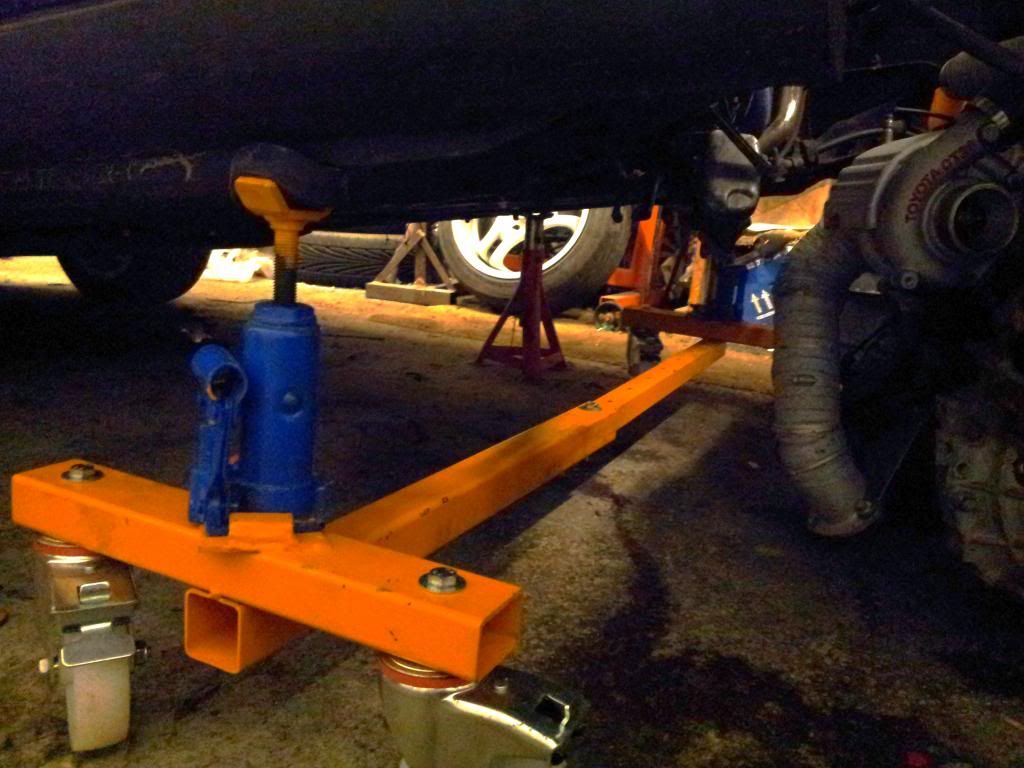
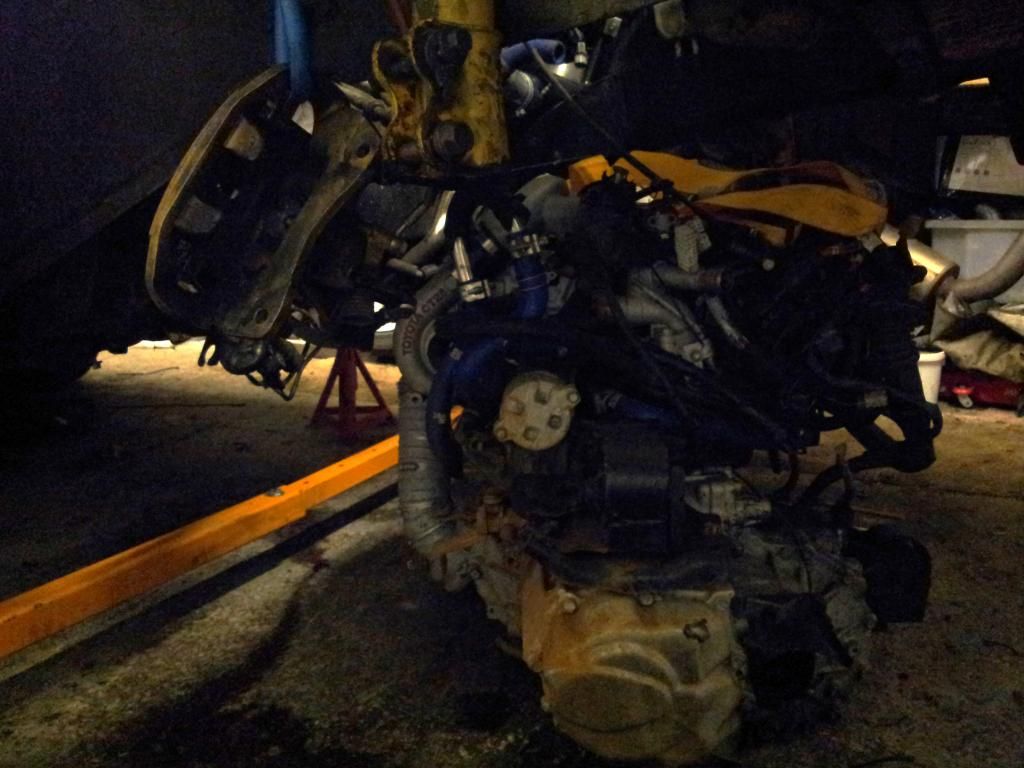
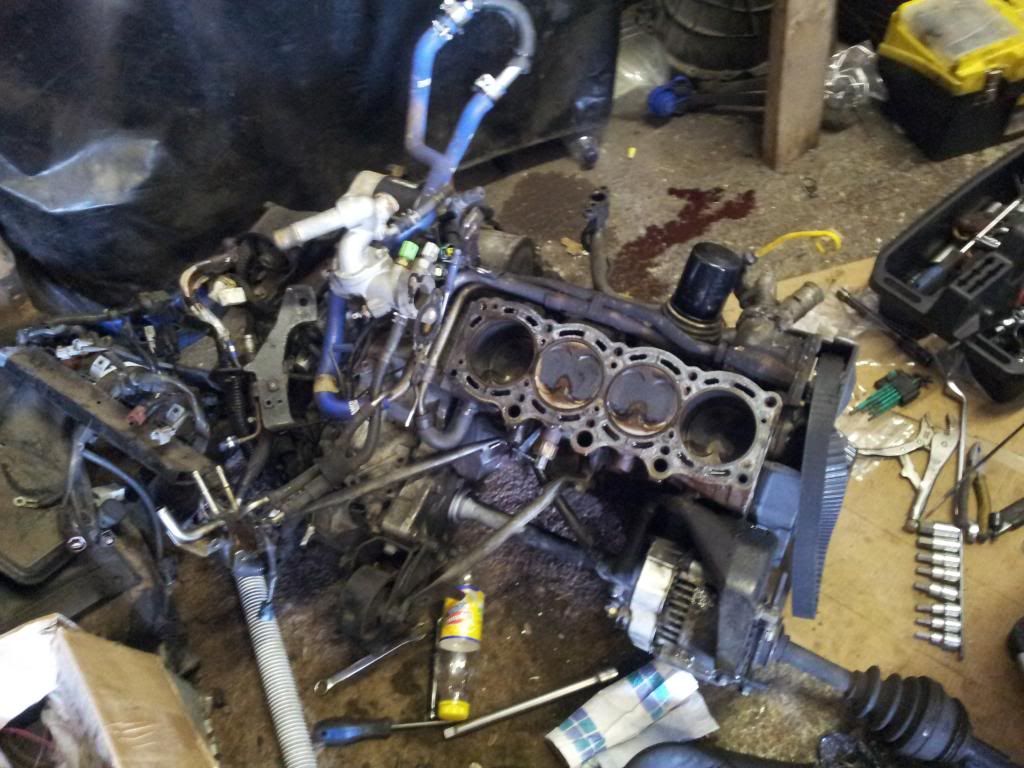
Engine Out
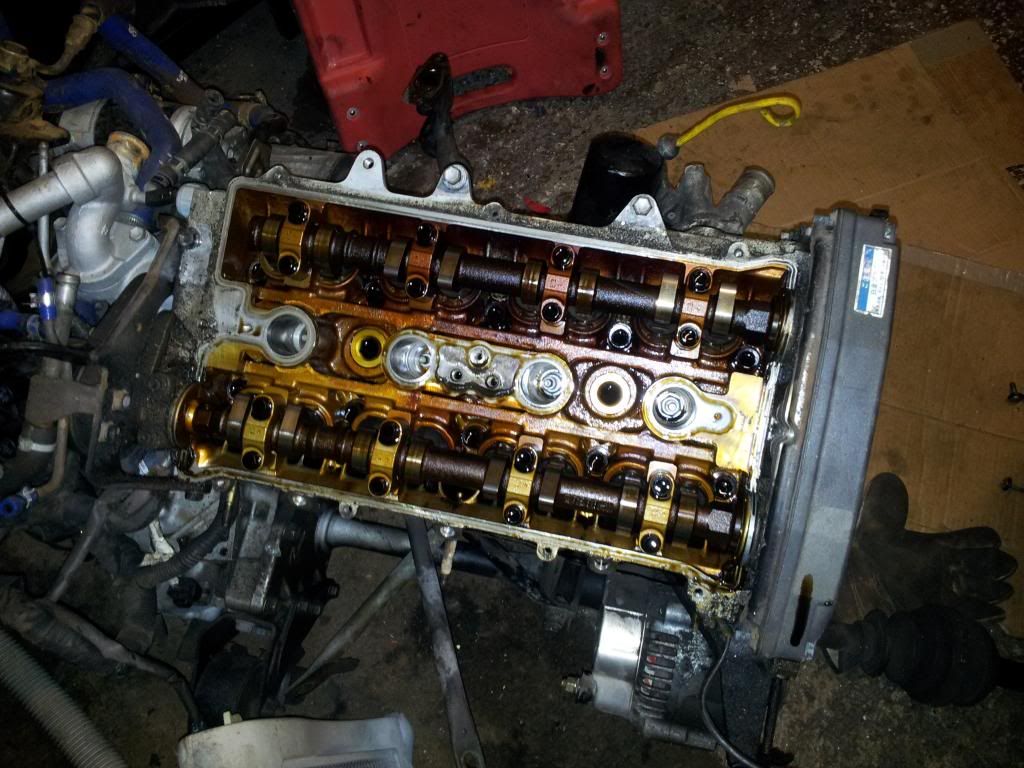
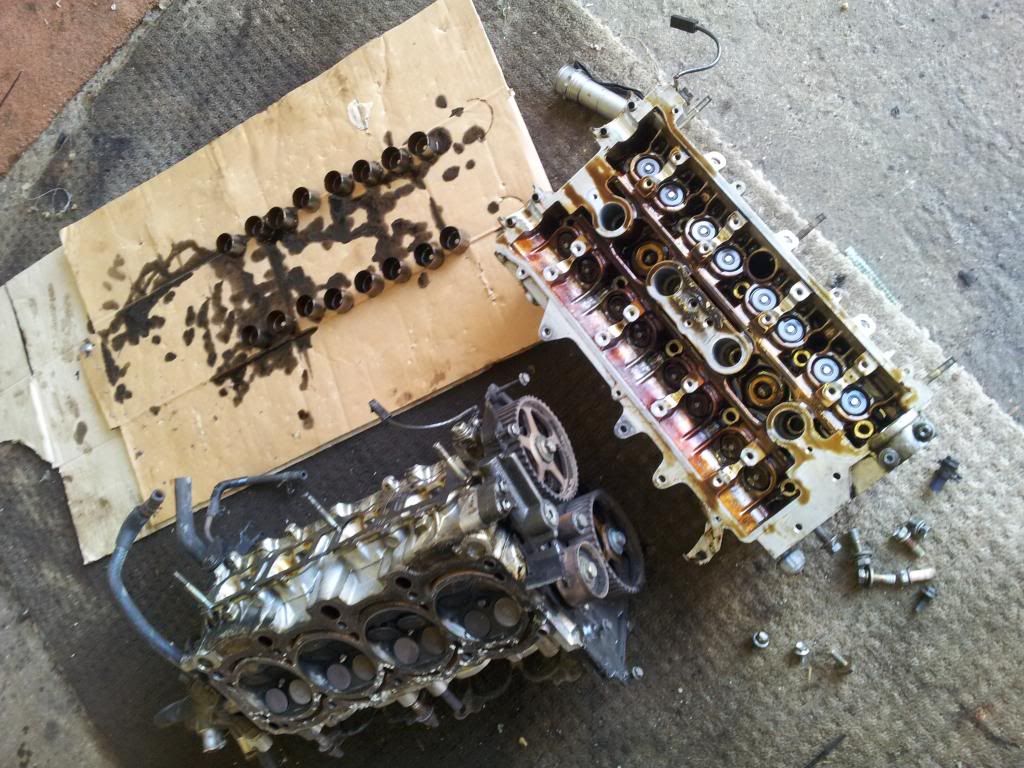
Head off
Rev2 cams out and Rev 3 donor head stripped
(For Cams and Lifters etc.
)
Then the Rev 2 head was stripped and steam cleaned, had all of the parts together, engine machine shop was just about to start cutting in a 3 angle valve job on the seats
and then
.
This came up:
Turned out to be far more cost effective option to acquire Planted1s forged engine and sell off all the engines Id accumulated
(Think it got up to 4 at that point)
-
Than to continue on the route I was on!
So
-
Total change of plans
-
Spec will now be as follows
(Copied from for sale ad):
Rev3 head,with
Shim under buckets
Stainless ferrea valves std size
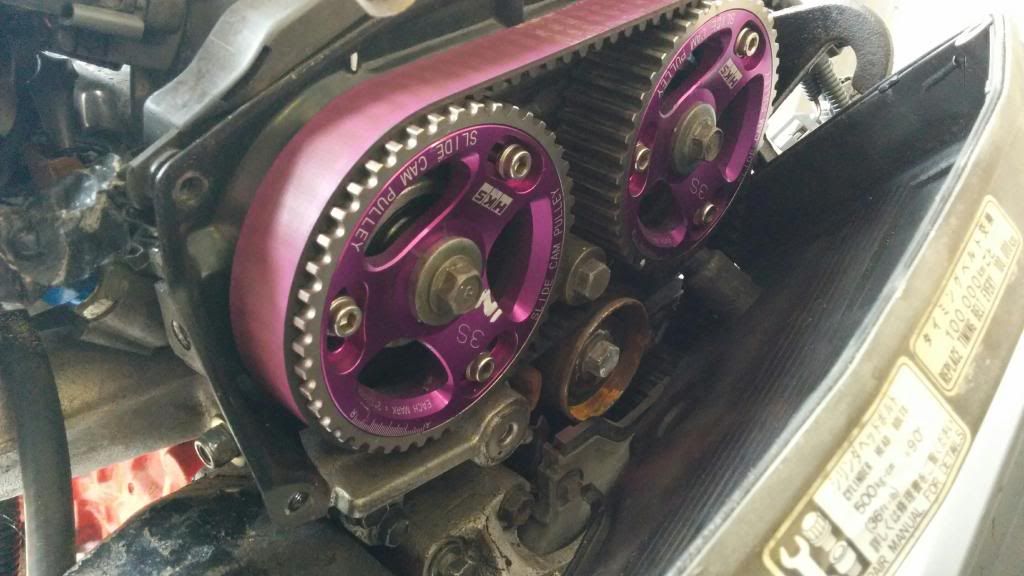
HKS 264 inlet and exhaust cams
HKS cam gears
HKS springs
New valve guides
HKS kevlar cambelt with new tensioner and idler
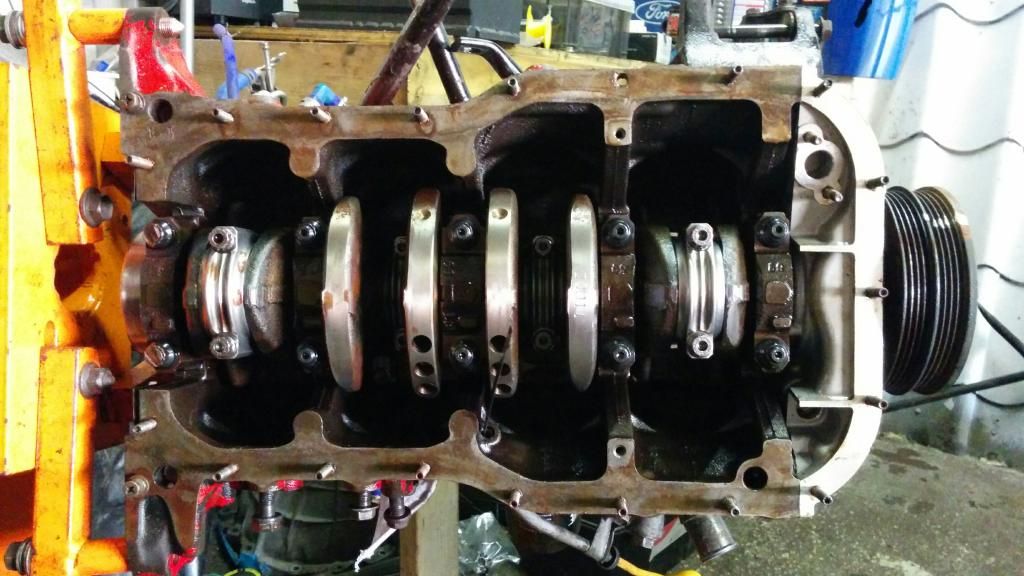
Rev 2 block was built by philspeed:
JE 86.5 forged pistons and moly rings gapped and set by the above
ACL bearings used throughout,
Balanced Crank
Eagle rods and arp studs
Cometic 1.2mm triple layer gasket
Alloy Tapdoor baffled sump
New oil pump, New water pump, all seals and gaskets have been changed,
New toms lower temp thermostat
ngk cold grade plugs,
New rotor arm and distributor cap
Blitz Active Clutch
(Orgura Racing Clutch)
Manifold removed
(Still going to go ahead with gasket matching)
+ Going to add a phenolic spacer
Alloy sump removed
-
Looks like its an OBX one not a Morosso,
but it all looks to be good quality
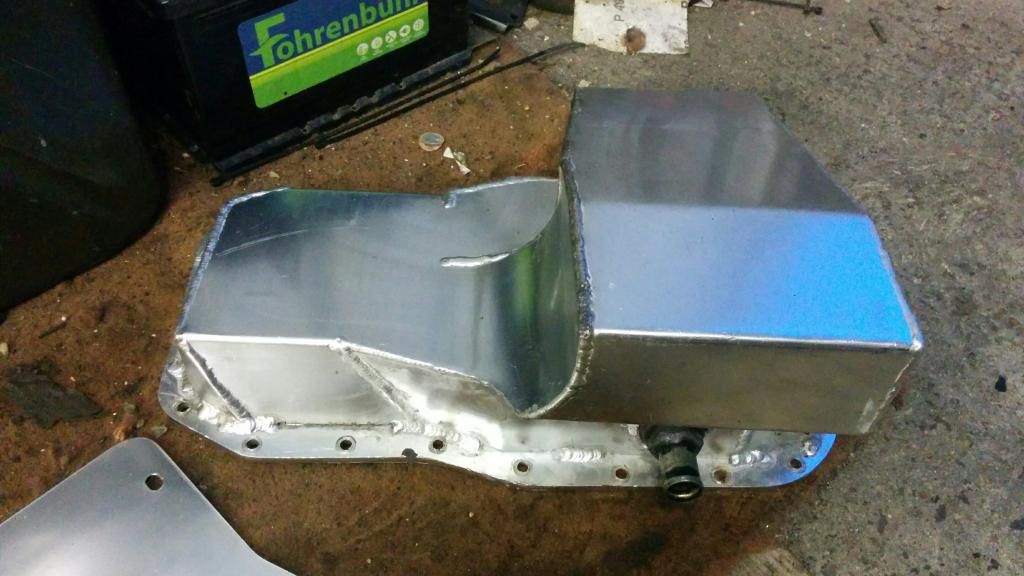
Forged goodness inside


Going to reseal the sump and replace the Rear crank oil seal
(as I already have a gasket kit in the workshop),
and generally check over all of the bearings and fasteners etc.
while Im in there.
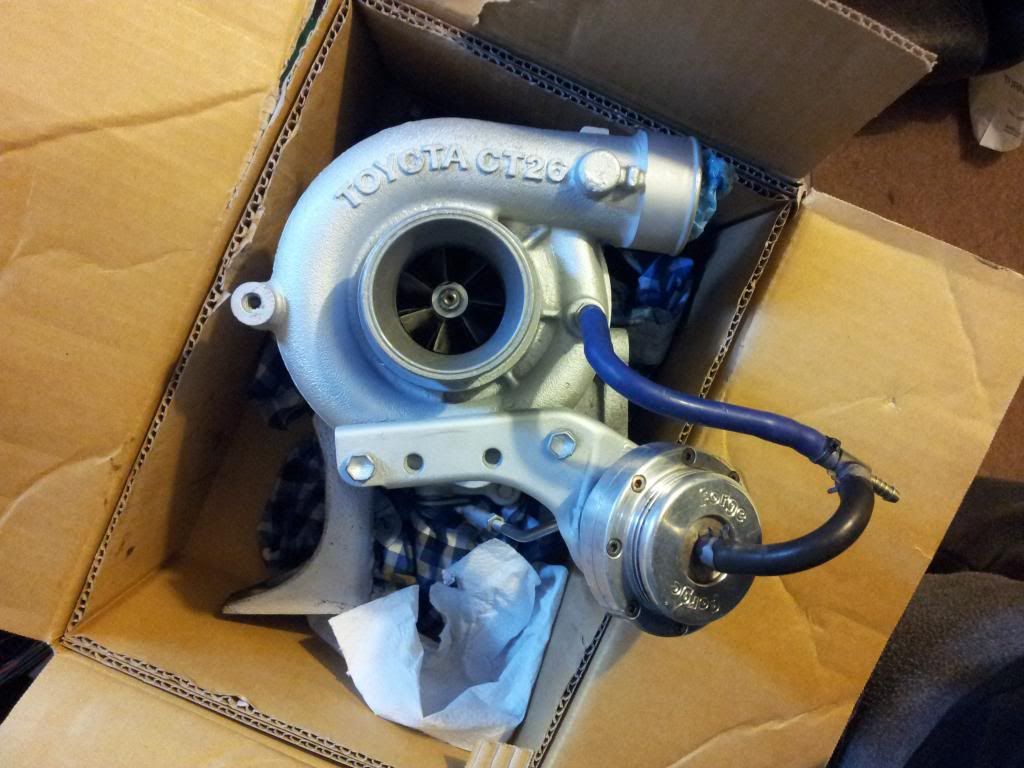
Stumbled across a Bargain CT26 Hybrid on ebay, so using this instead of the originally planned CT20B
-
Not sure whether or not to use the Forge actuator it came with yet though
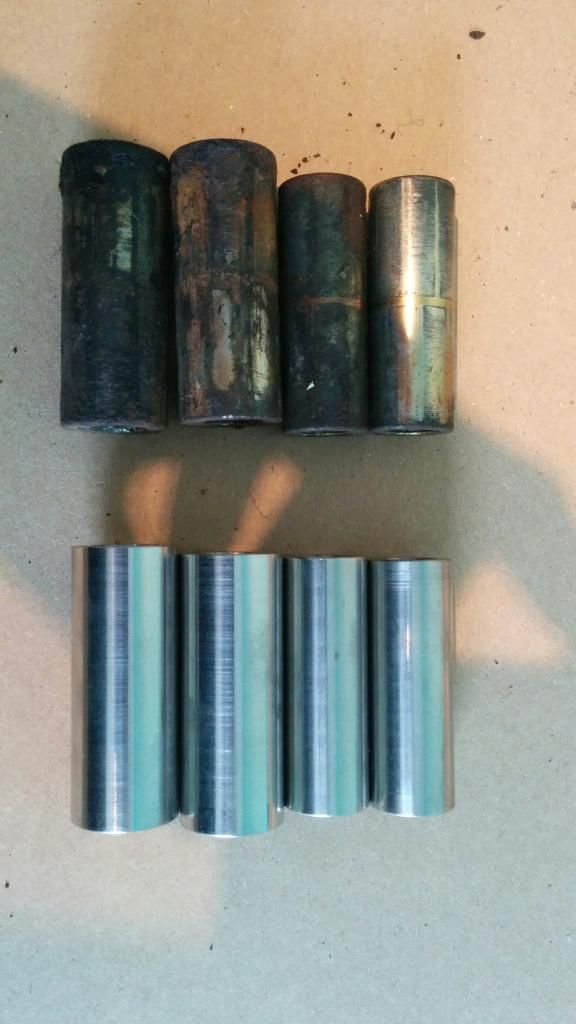
Bought some bargain rear control arms with Polybushes and new rear balljoints already installed, the crush tubes were mild steel and had started to corrode,
so I measured them up and had some made up in Stainless
-
Very impressed with the finish on them considering how cheap they were.
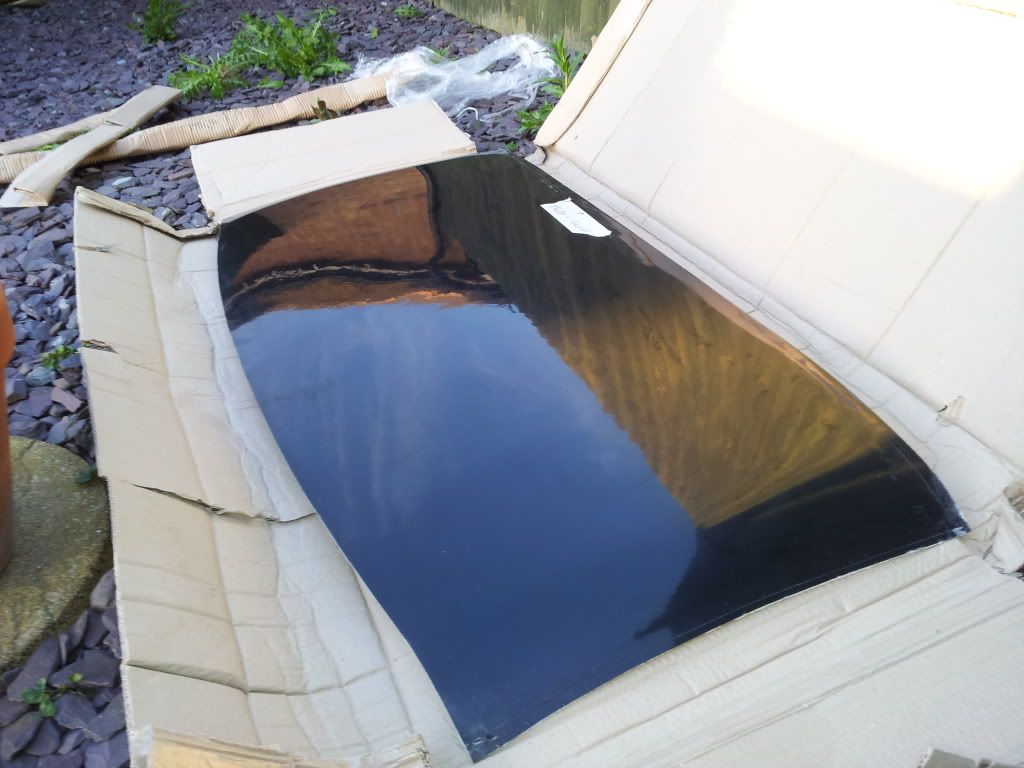
Fibreglass one piece Roof Panel for the T-Bar delete
Still to do:
Inlet and exhaust manifold porting/gasket matching
Head inlet/Exhaust ports Gasket matched
Oil cooler rebuild
Head nuts retorqued
(heard its recommended with ARP studs so may as well while the rocker cover is off)
Turbine housing porting
Turbine Housing and Exhaust Mani ceramic coated
Injectors Flow matched
Manifolds/Turbo etc.
installed
Engine in
Rev 2
/ Rev 3 wiring swap
Aeromotive FPR
Drop the fuel tank
Replace Heater matrix pipes
(Leaking) with rubber hoses
Replace fuel pump with high flow pump
Top up underseal
Reinstall everything
Run the engine in on Rev 3 ECU
(Megasquirt can wait)
MOT etc.
by Spring 2015
-
A Whole year late!
The car will continue to be Sprinted, and the decision has been made to remove compromise and make it track/competition orientated, so road comforts no longer necessary
-
Keeping it low budget is always a priority though!
Once back on the road and competing again plans will continue:
T-Bar delete is still happening
Need to sort out engine bay heat management,
lots of Nimbus heat shielding
Intercooler Scoop
(Need as much cooling as I can get)
Water Injection
+ IC spray
Car will become more lightweight
Megasquirt fitting
/ Mapping
+
Tablet interface
/ Digital gauge cluster
At that point, I should then be happy with the car for a good while
-
And it should be fairly competitive within the TSS A2 Pro class with some decent rubber on it


