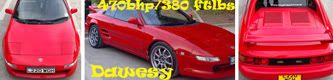
so a bit of history.
i used to own an AE-92 corolla in which i fitted an ST-205 3S-GTE engine.
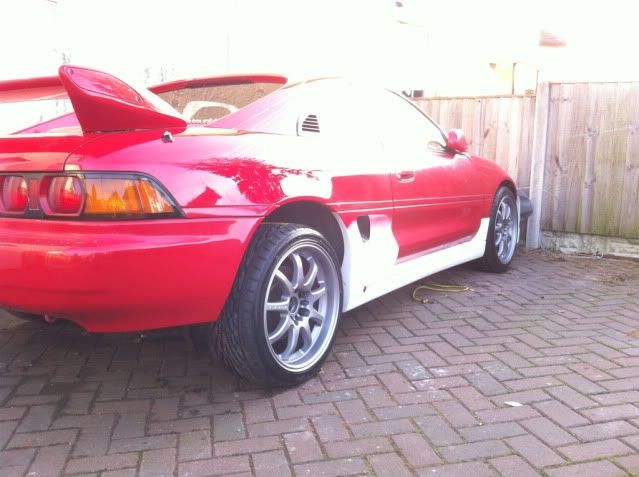
i had brought a rev3 MR2 turbo from a freind for parts for my conversion but looking at it it was too good to break.
the original engine in the MR2 was sold along with parts from the rolla and the engine from the rolla will be fitted in the MR2.
the engine spec is as follows:-
gen3 block with hardblok block stiffener added
86.25 JE forged pistons
THS Forged rods
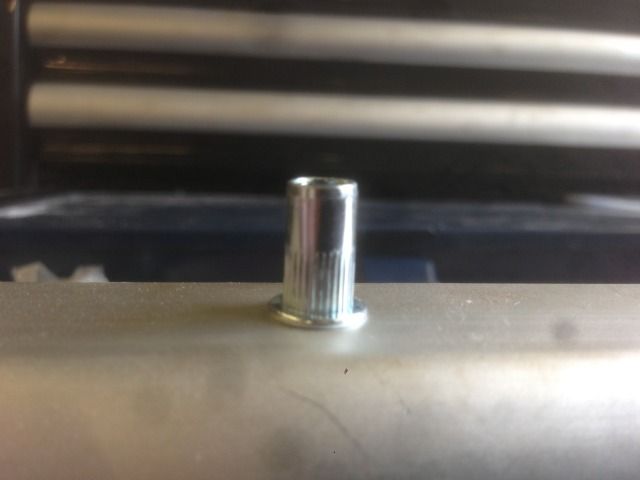
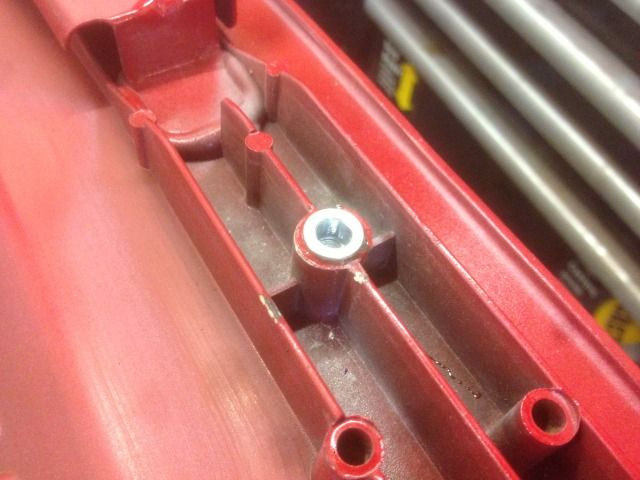
ARP fasteners throughout
ACL race bearings.
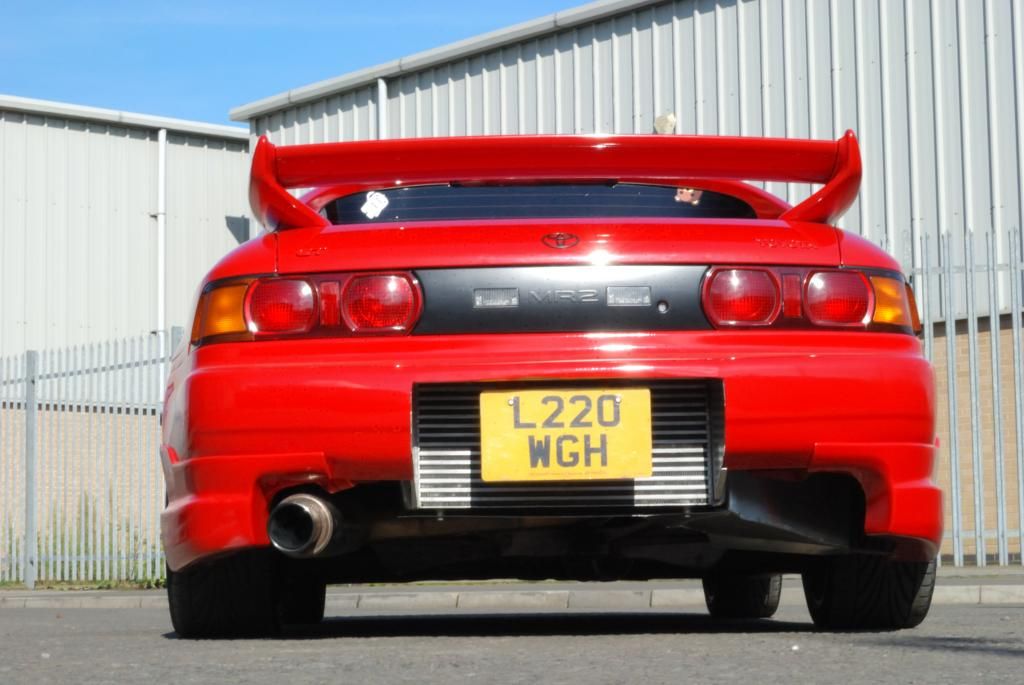
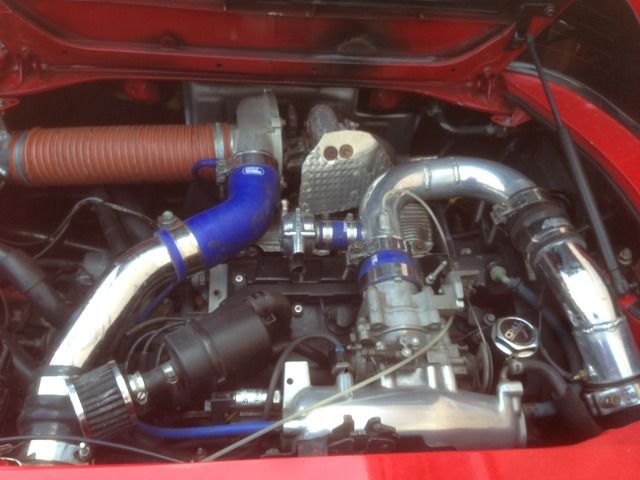
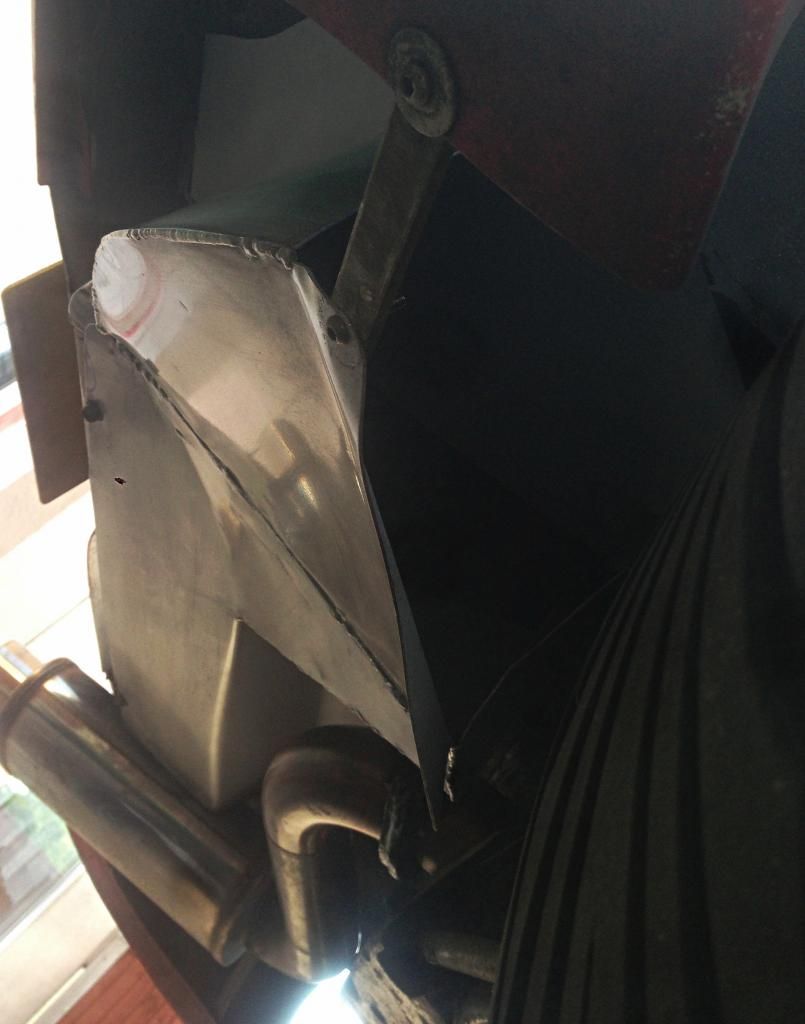
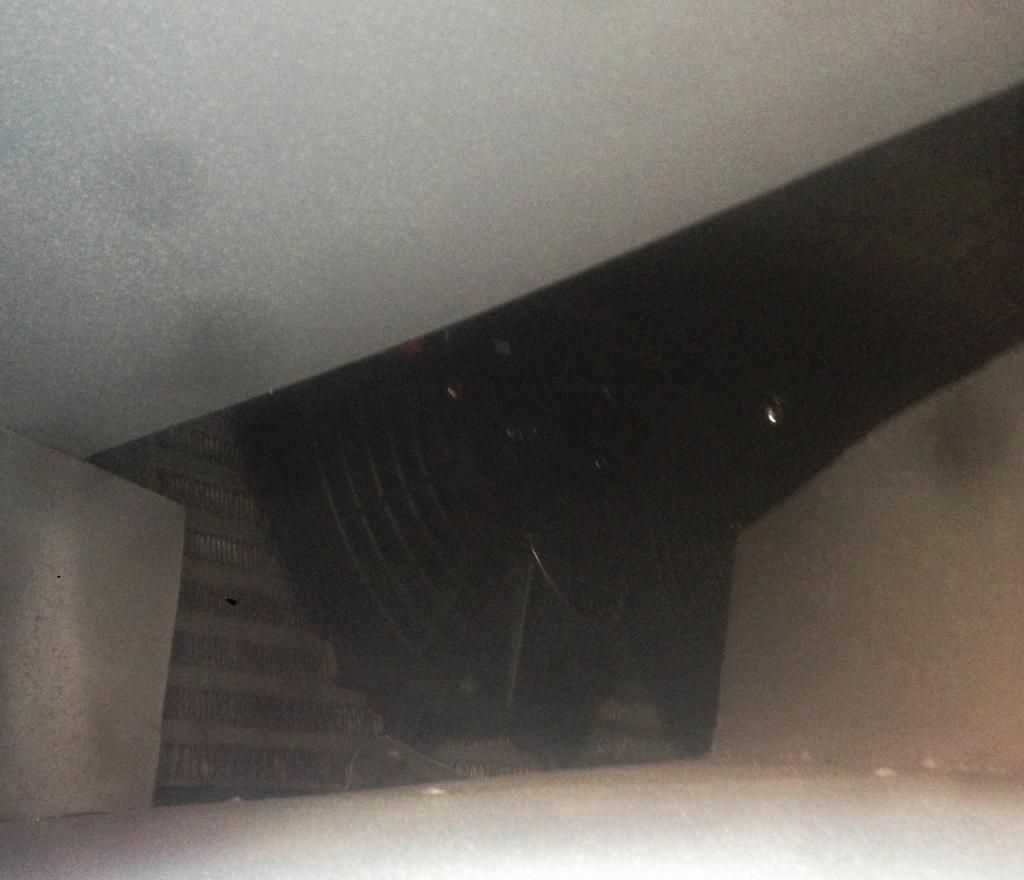
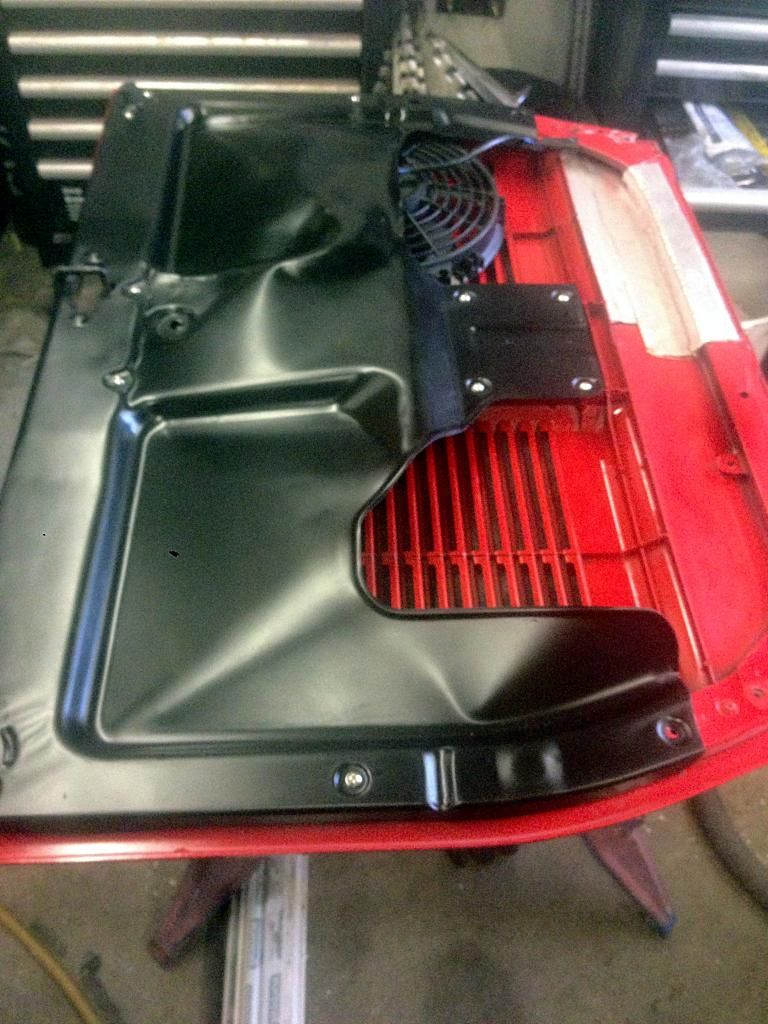
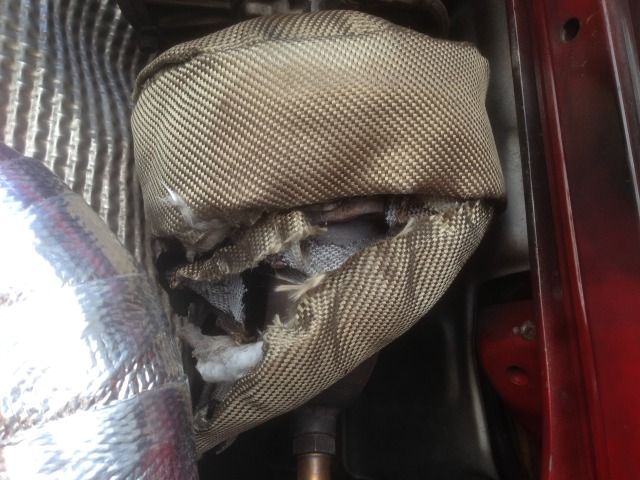
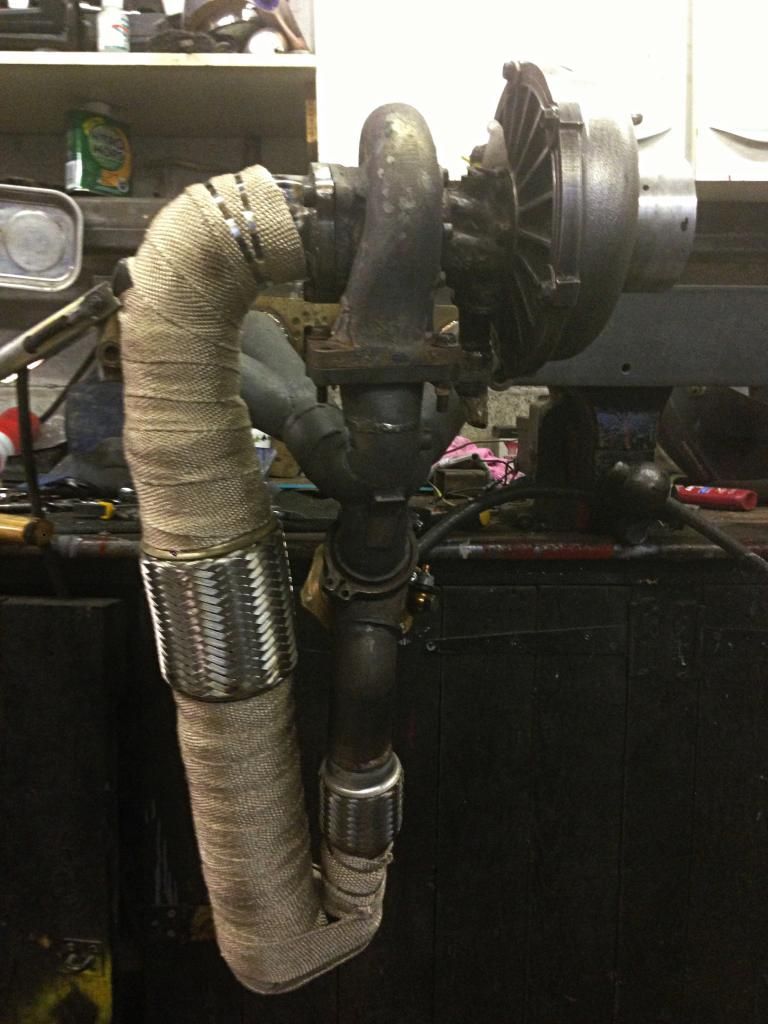
APexi RHX6 turbo
ported and flowed head.
stock cams and valves
HKS 1.2mm head gasket
Exedy twin plate clutch
Blitz 850cc injectors
ERL water injection
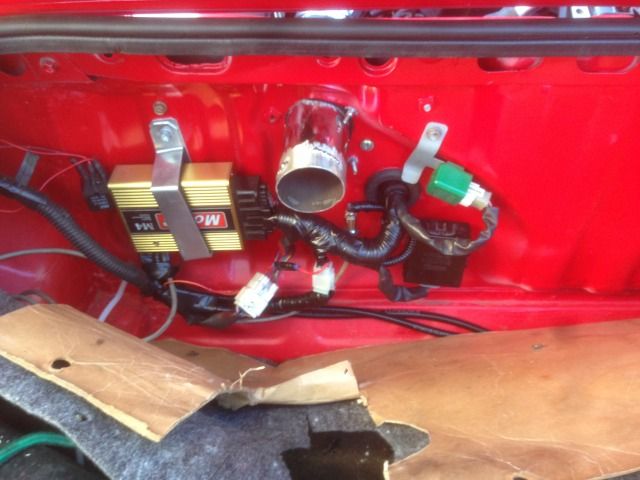
MoTec M4 ecu with pro upgrade.
zigen fireball exhaust
Blits SUS air filter
walbro 255 fuel pump
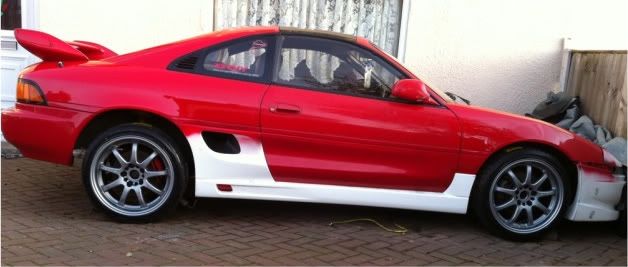
car spec:-
rev 3 Tbar
yellow bilstien shocks and eibach springs.
grooved discs on the front.
braided lines all round
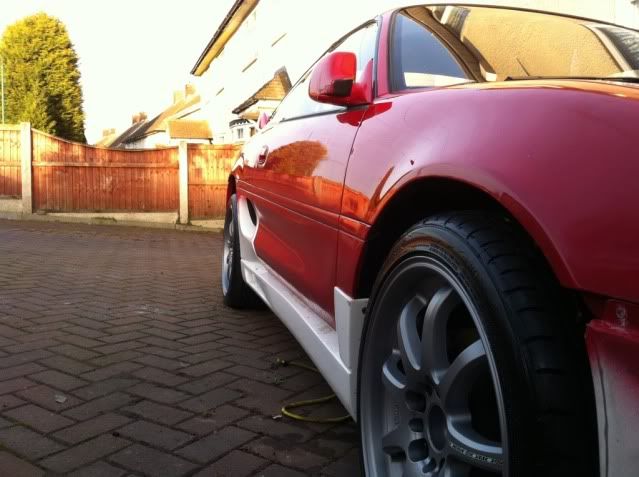
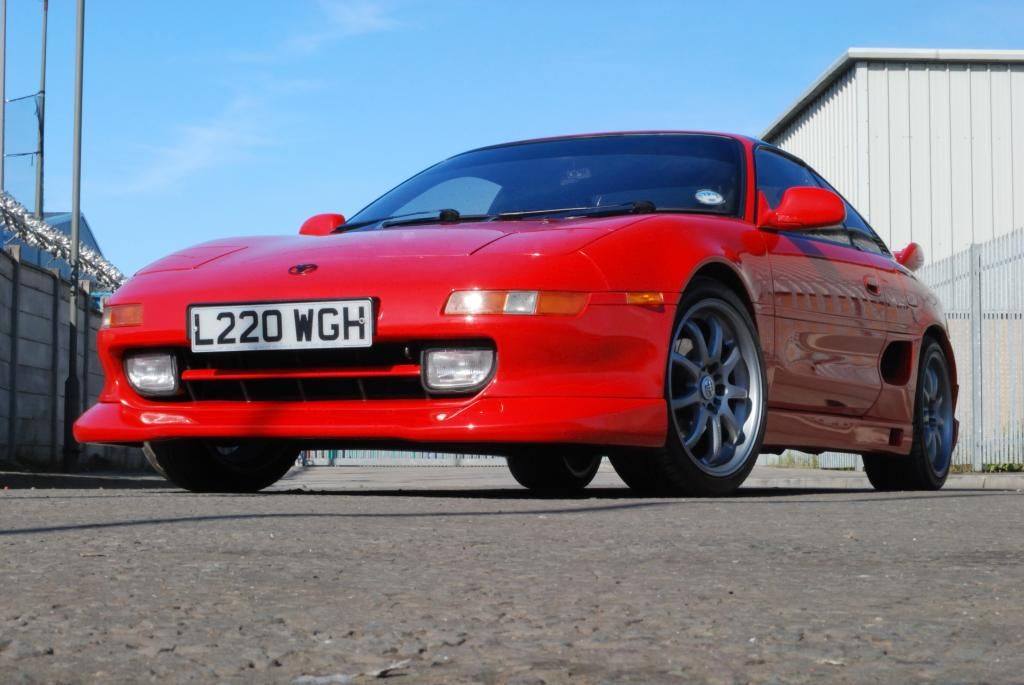
side skirts
copy border front bumper
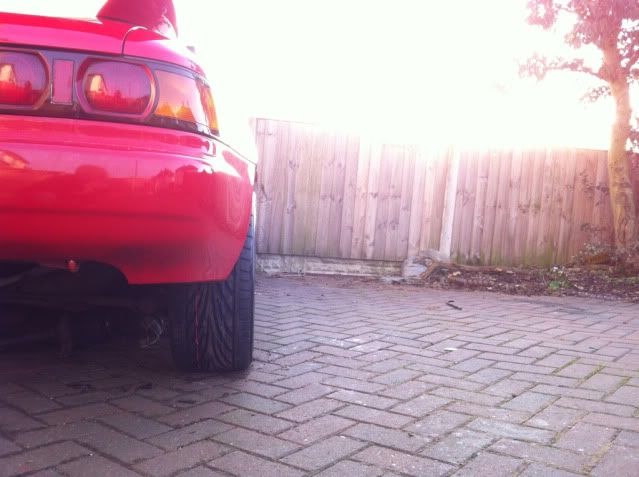
genuine rev5 spoiler
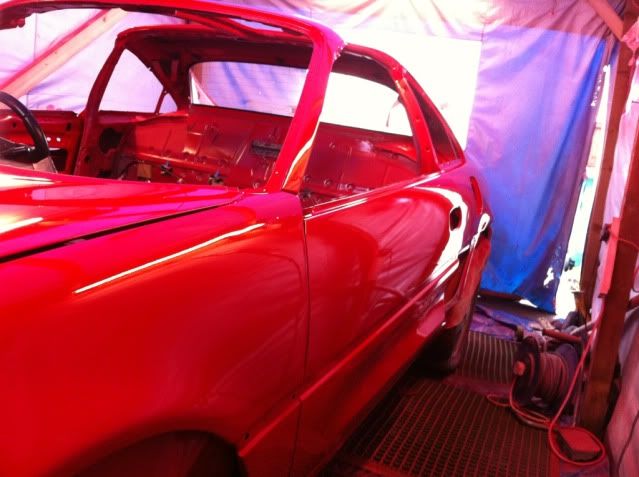
so thats where we are at the moment.
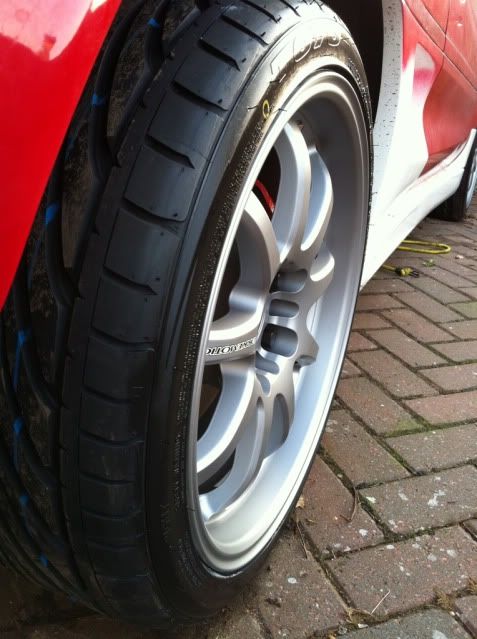
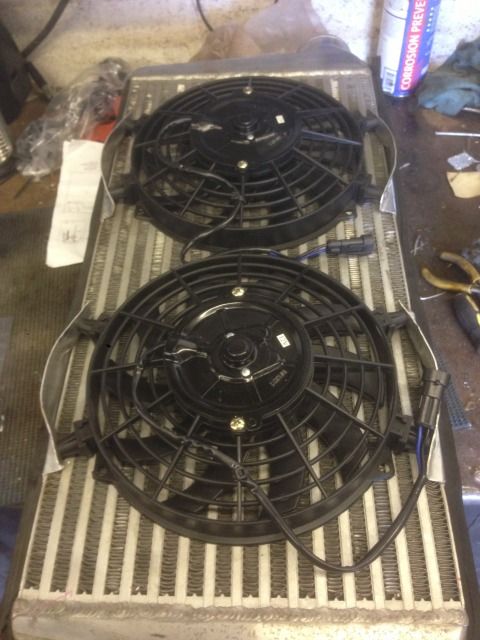
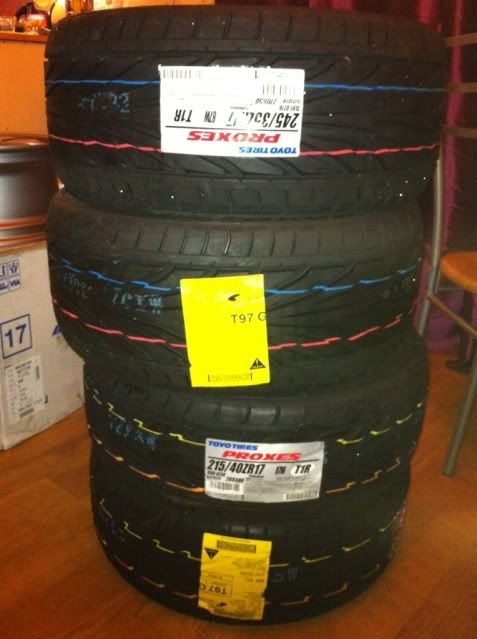
got a delivery today though
and these a few days ago
things to do,
get bumper fitted properly and modify side skirts to give clearance to the bottom of the door and paint the car.
fit engine, ecu and my SPA gauges.
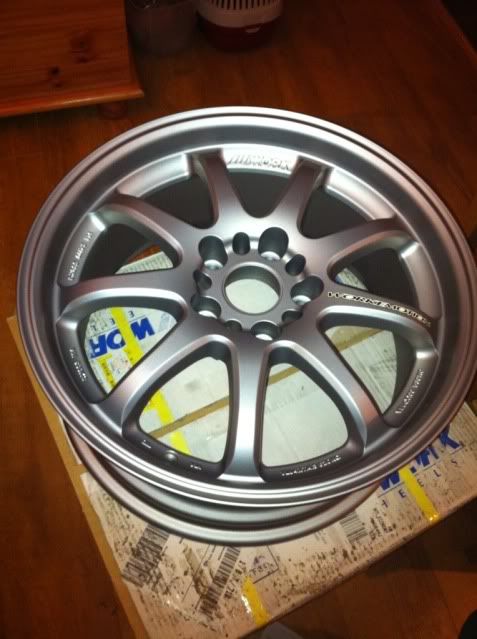
fit wheels and tyres.
make exhaust manifold and down pipe and screemer.
fit BMIC
poly bush all round
things im planing to do in time,
rev 6 front lights
whiteline ARB's front and rear
1000cc injectors, swirl pot, bosch044 fuel pump and aeromotive FPR
MT drag radials on stock 15" rims
remap to 2.2bar.
ill get some pics up of the car tomorrow.
thanks for looking