I have been interested in building a 2.2Ltr 5SGTE engine for a long time, but there seems to be some conflicting info so hopefully this build will help fellow members.
I am building different parts of the car from Engine, Handling, Bodywork, Interior and ICE, so I will update each section to keep the continuty, I hope this helps.
I was originally looking to do this in a 10th anniversary car, however due to some changes I am concentrating on the engine and will update about the car later.
Please enjoy!!!
To Be Confirmed
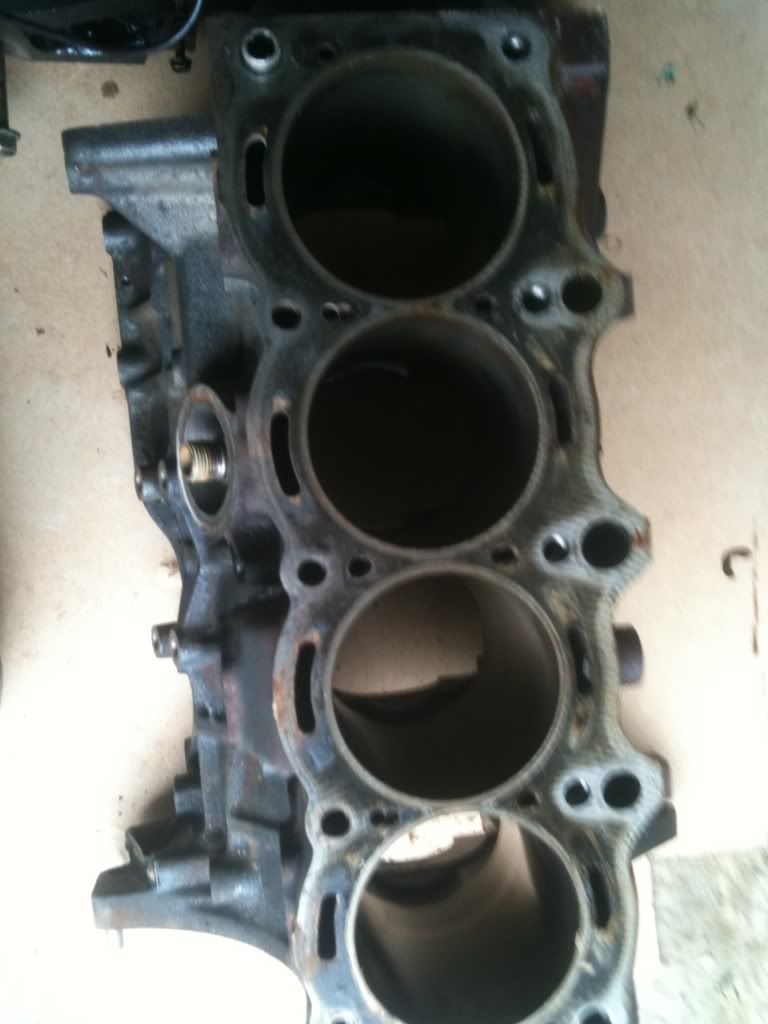
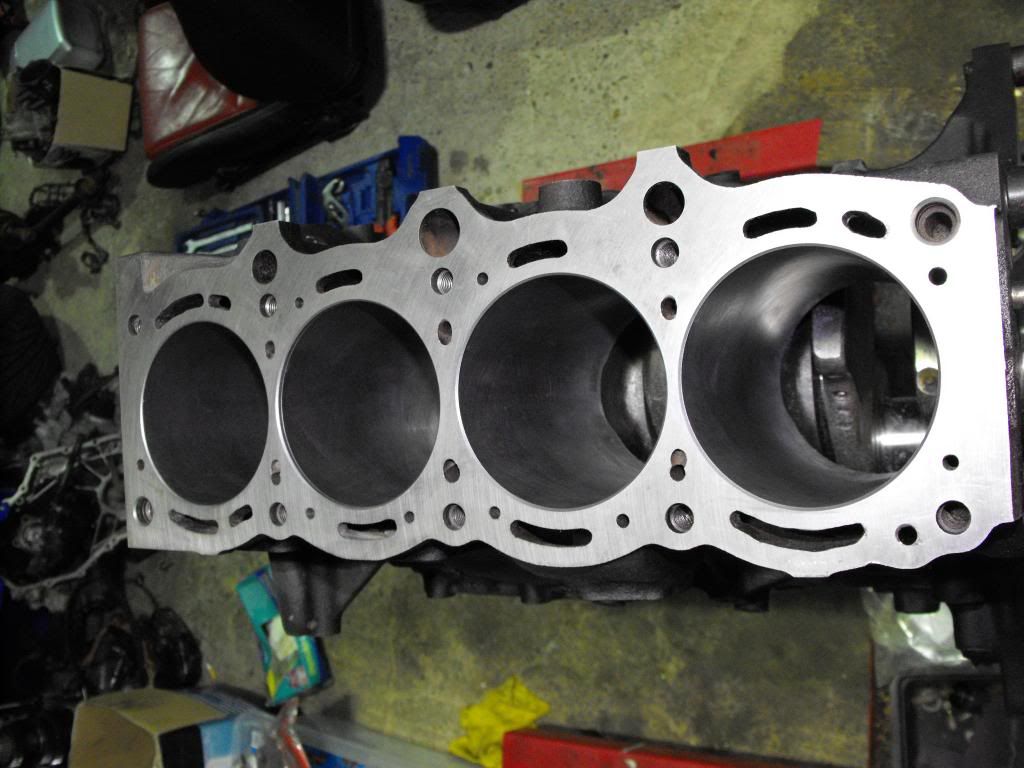
I thought it would be useful just to show some differences between a 3SGTE and and 5SFE Camry Block.
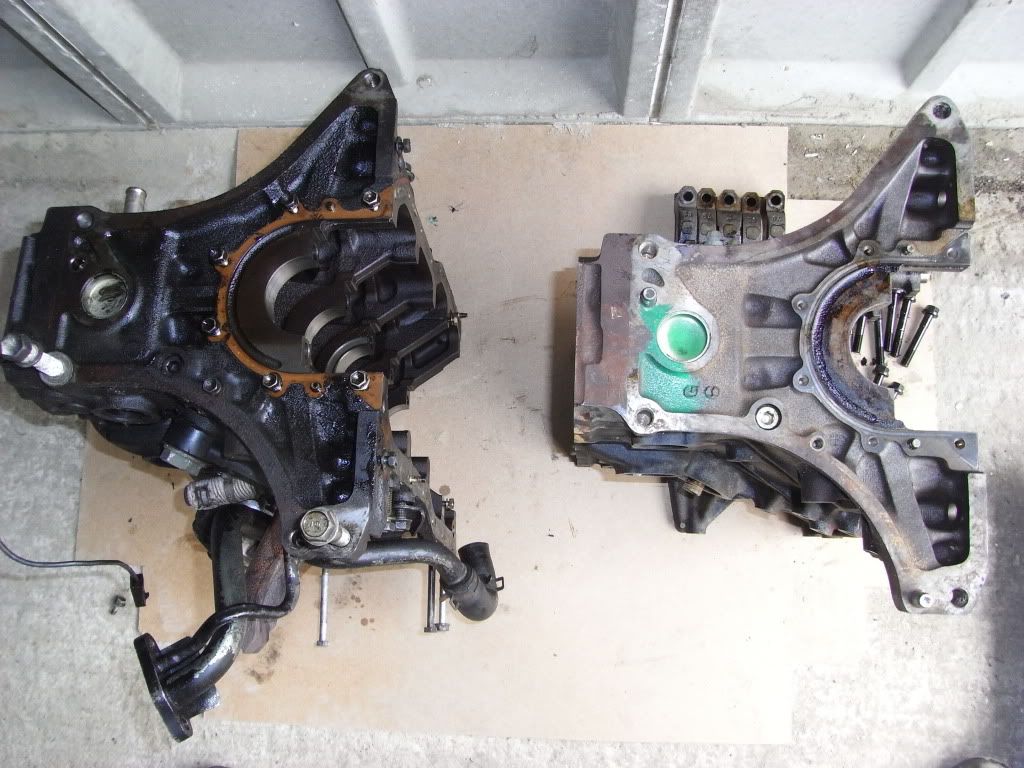
3SGTE on the left 5SFE on the right
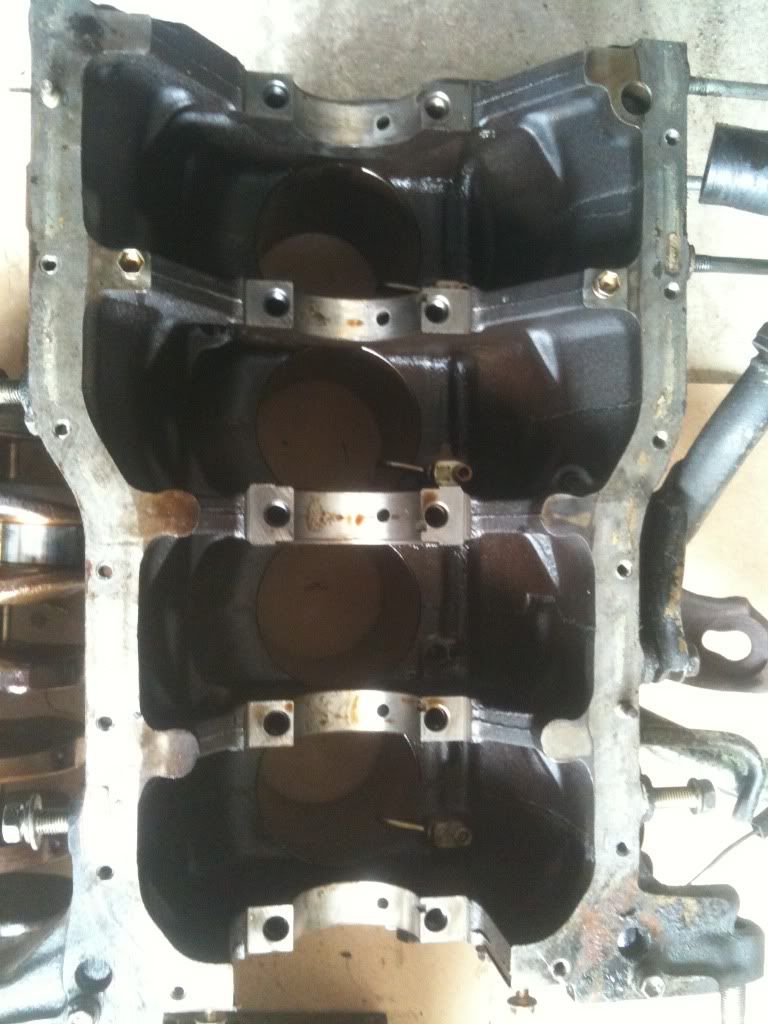
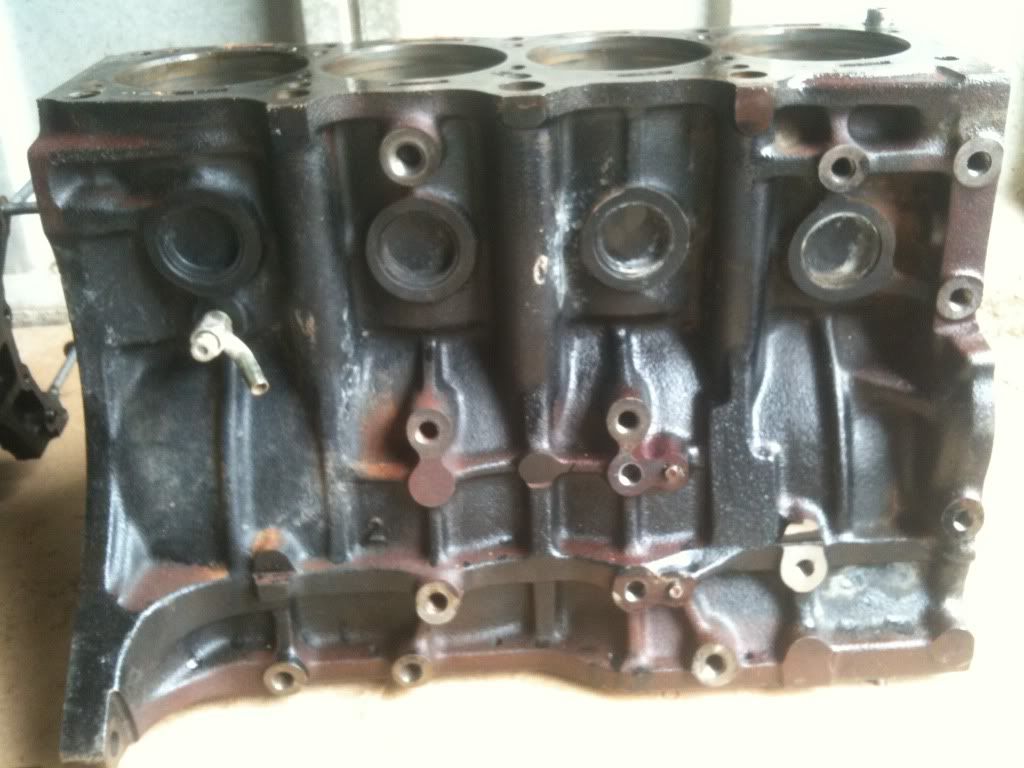
3SGTE Bottom End
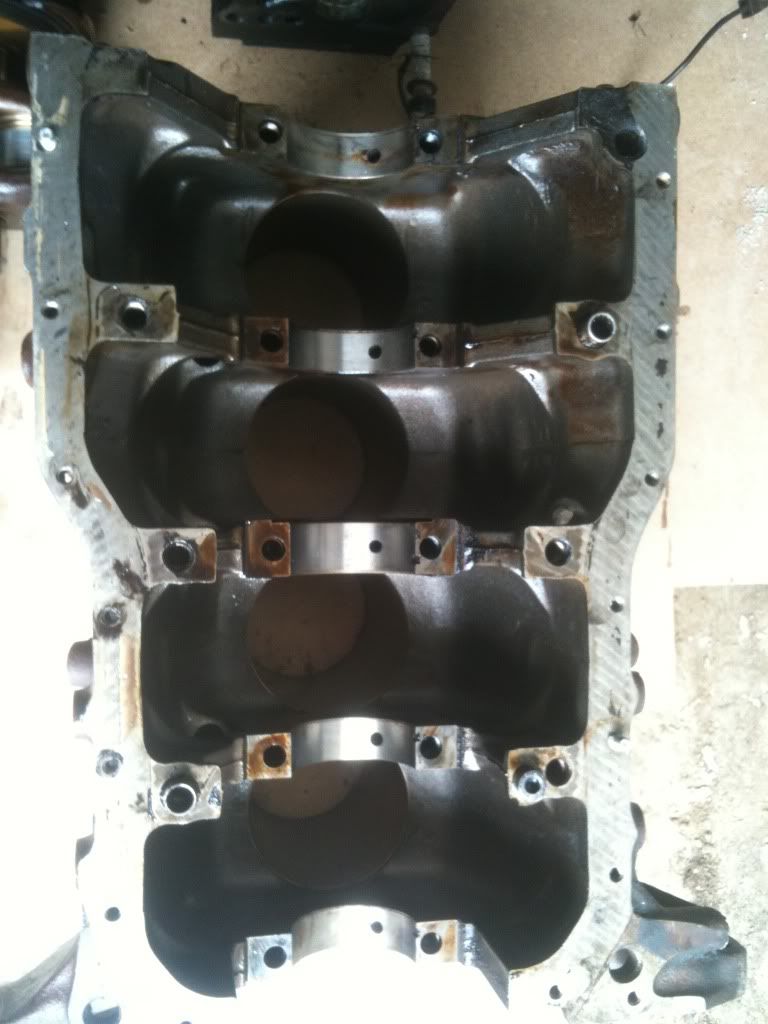
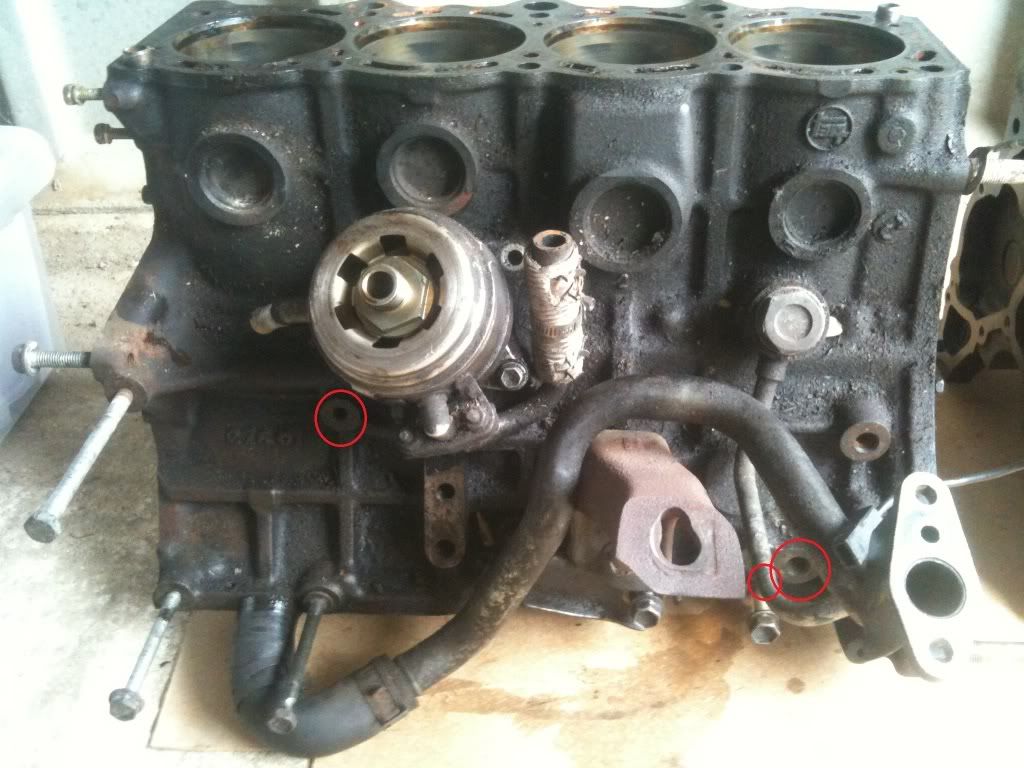
5SFE Bottom End
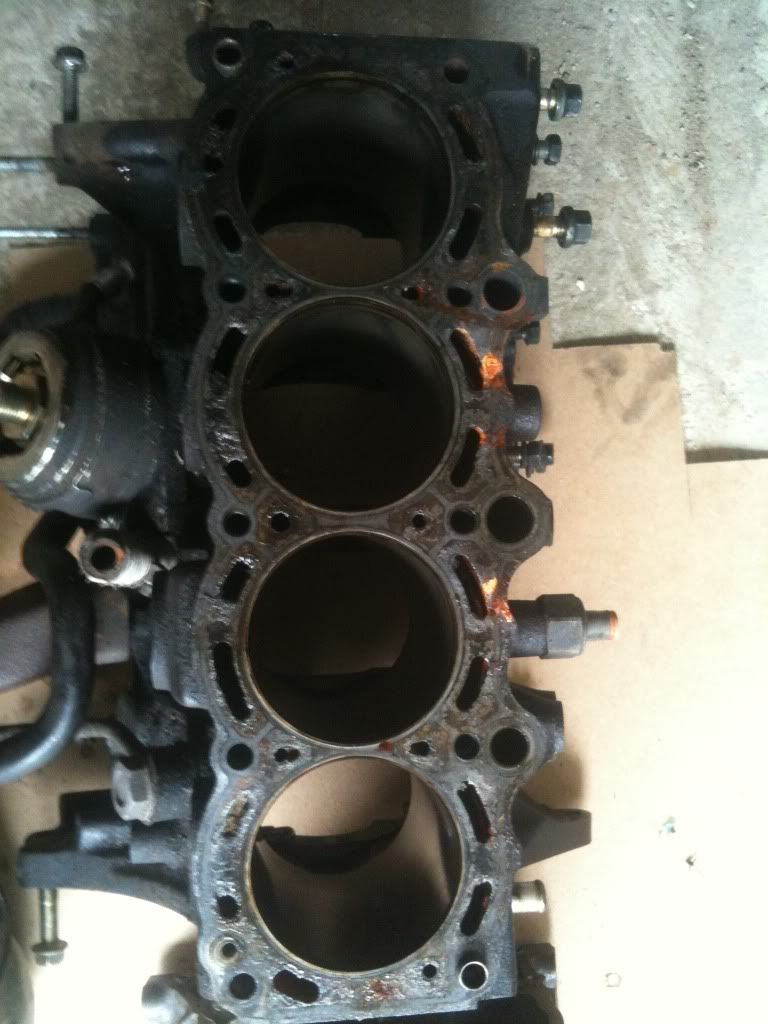
3SGTE Top showing water jacket
5SFE Top, notice that fabrication of the water jacket will be required to marry to the head water jackets.
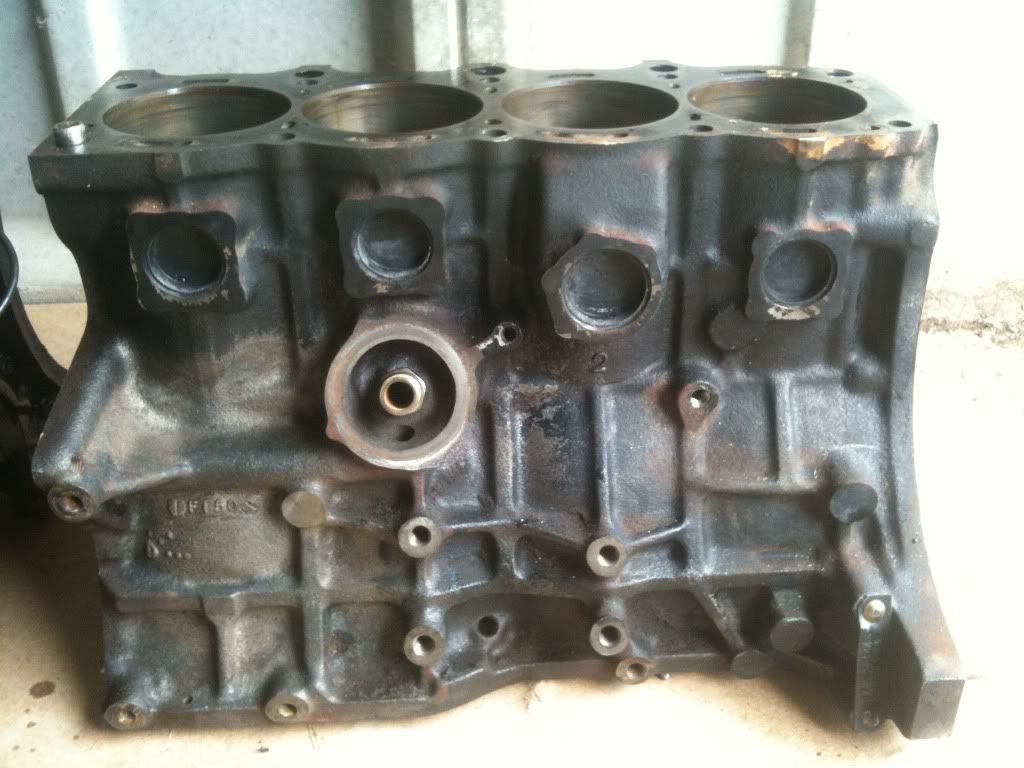
3SGTE Block
5SFE Block
3SGTE Block
5SFE Block
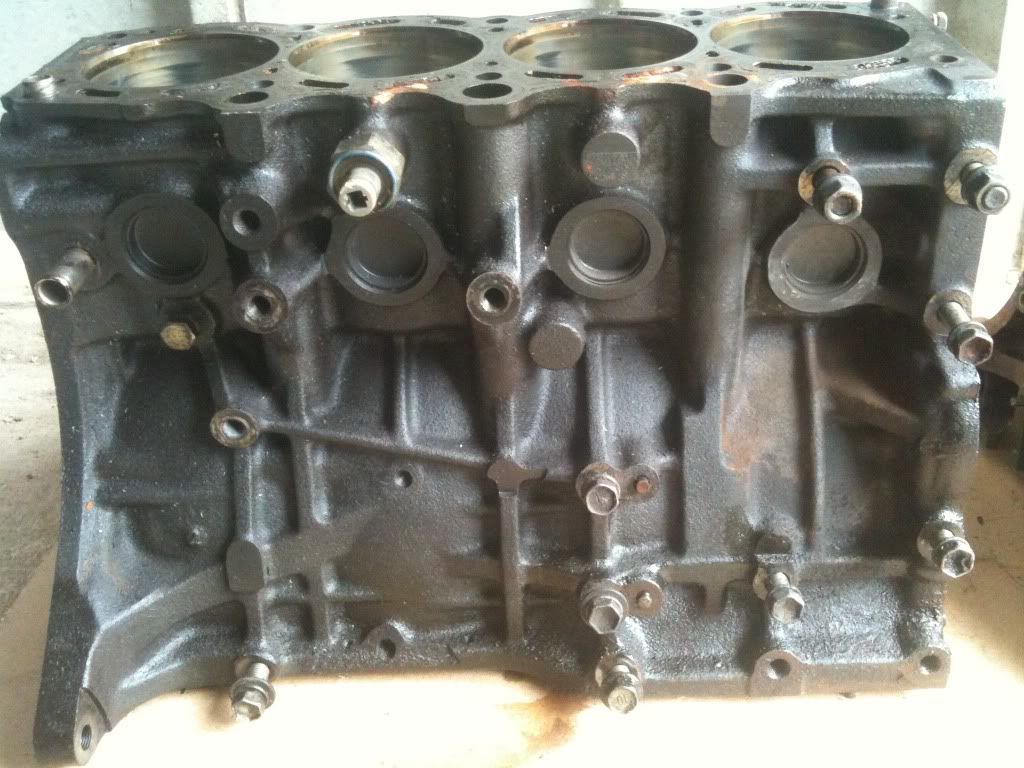
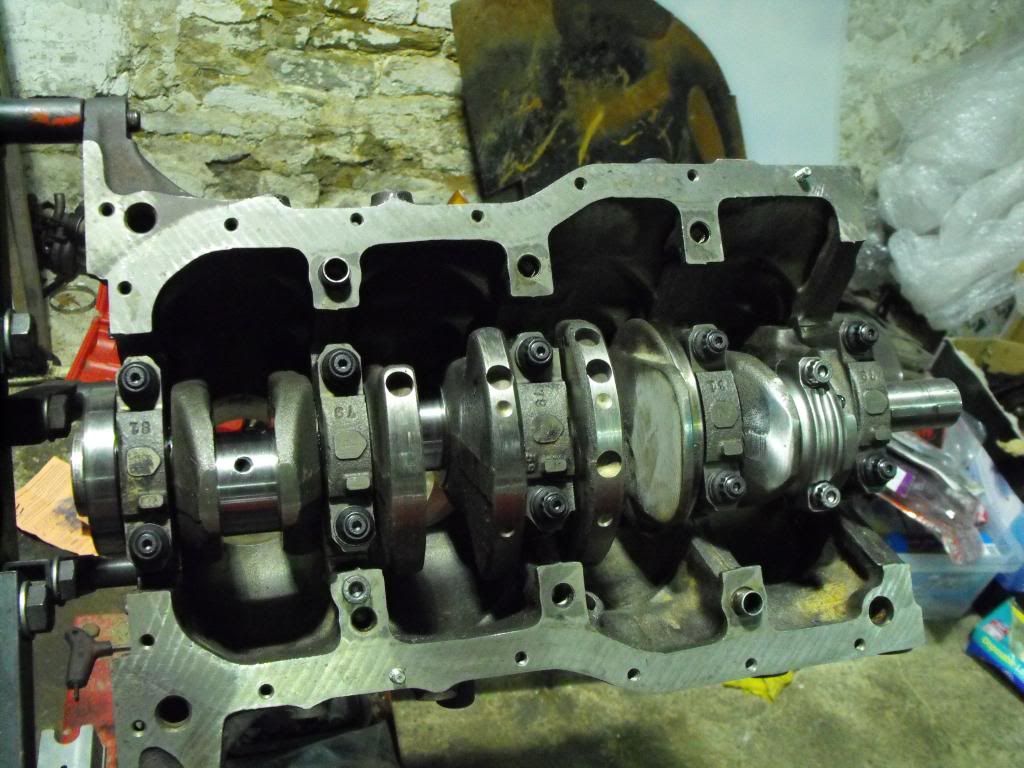
Some updated pics of the build after the blueprinting of the 5SFE block and crank starting the rebuild, taking things slow and steady.
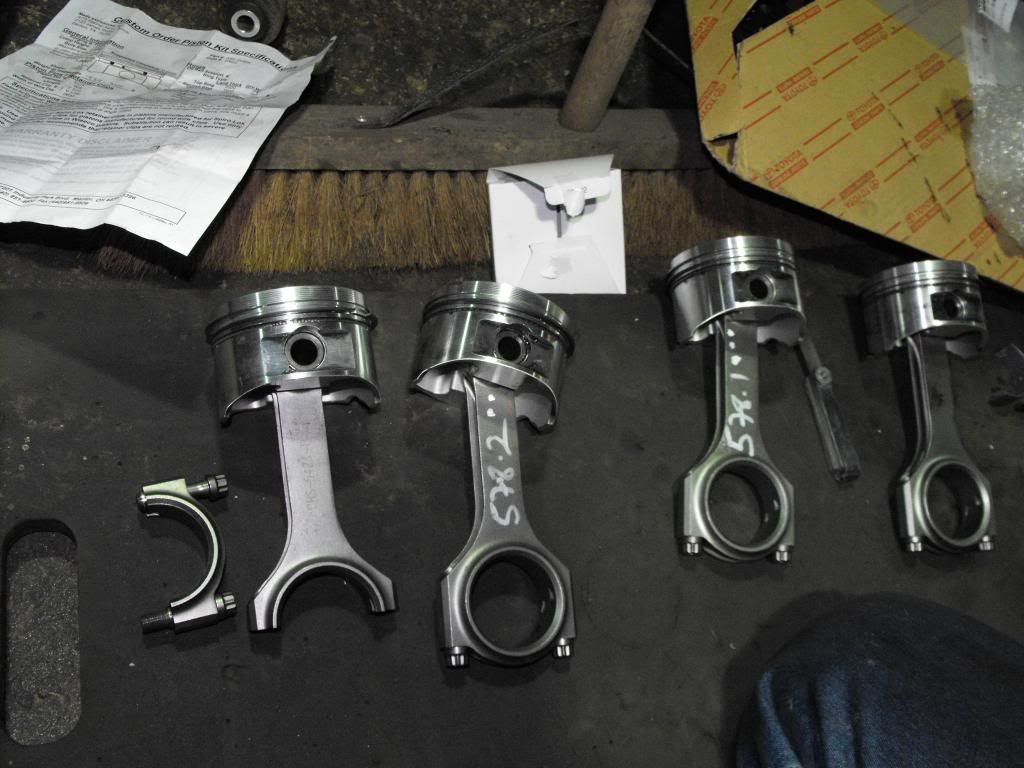
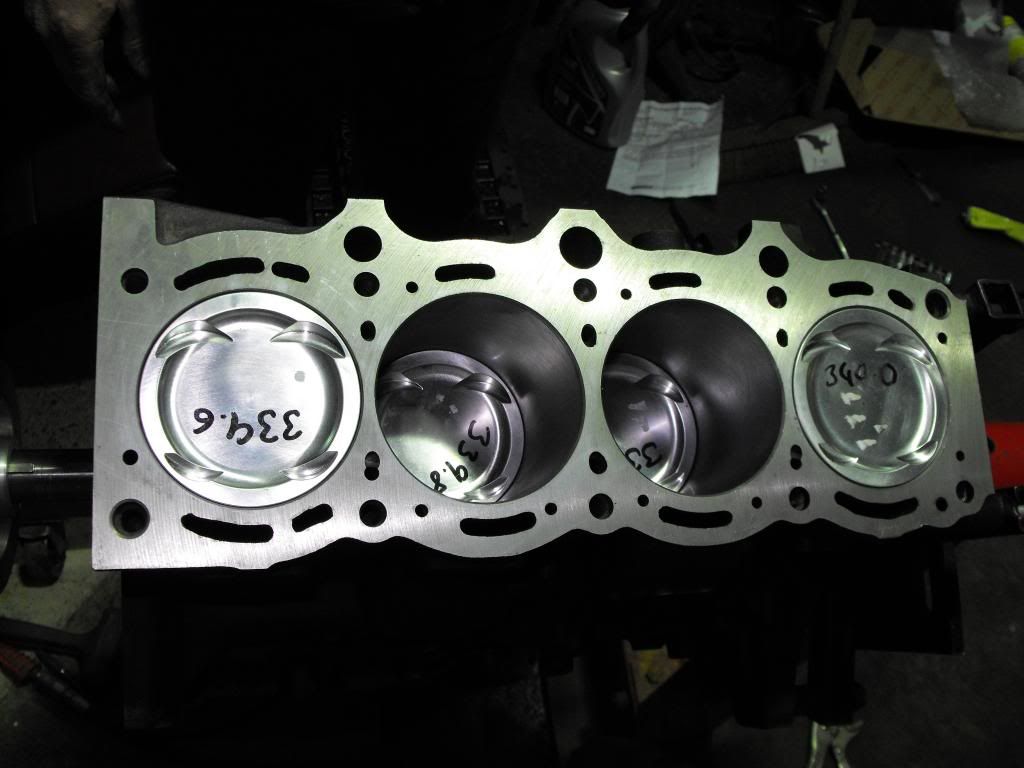
The pistons after balancing, matching the weights of rod and piston and the rings gapped to specification.
Crank now gone in and torqued down
Piston and rod one goes in and caps put on.
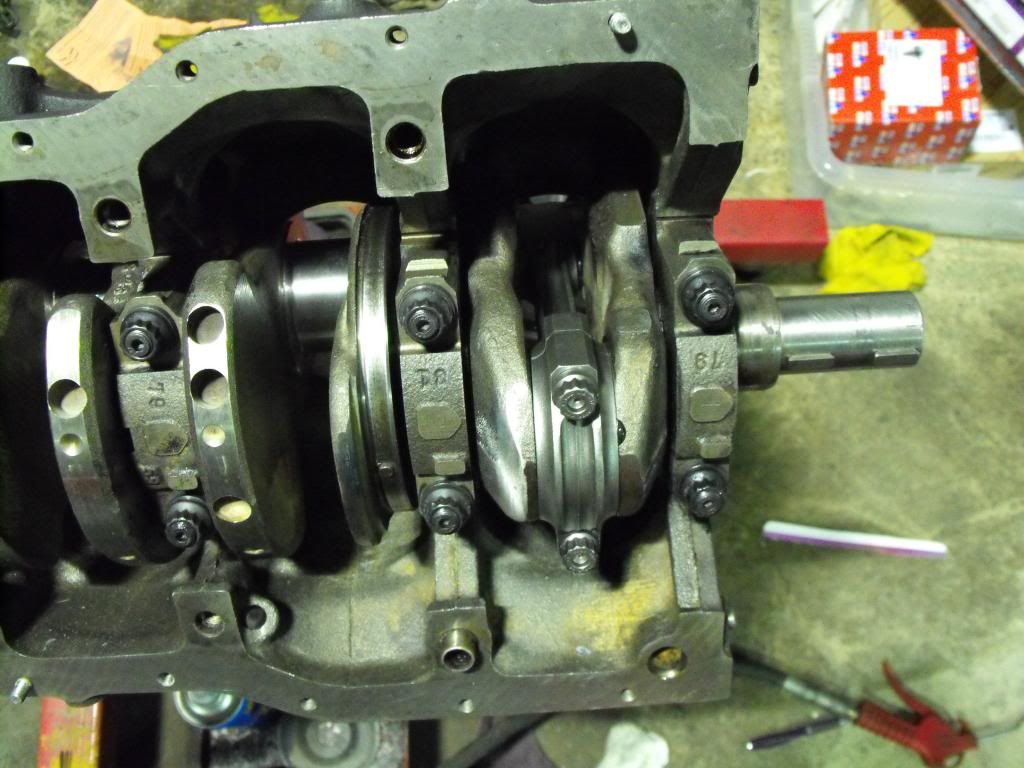
All pistons in and everything spinning freely.
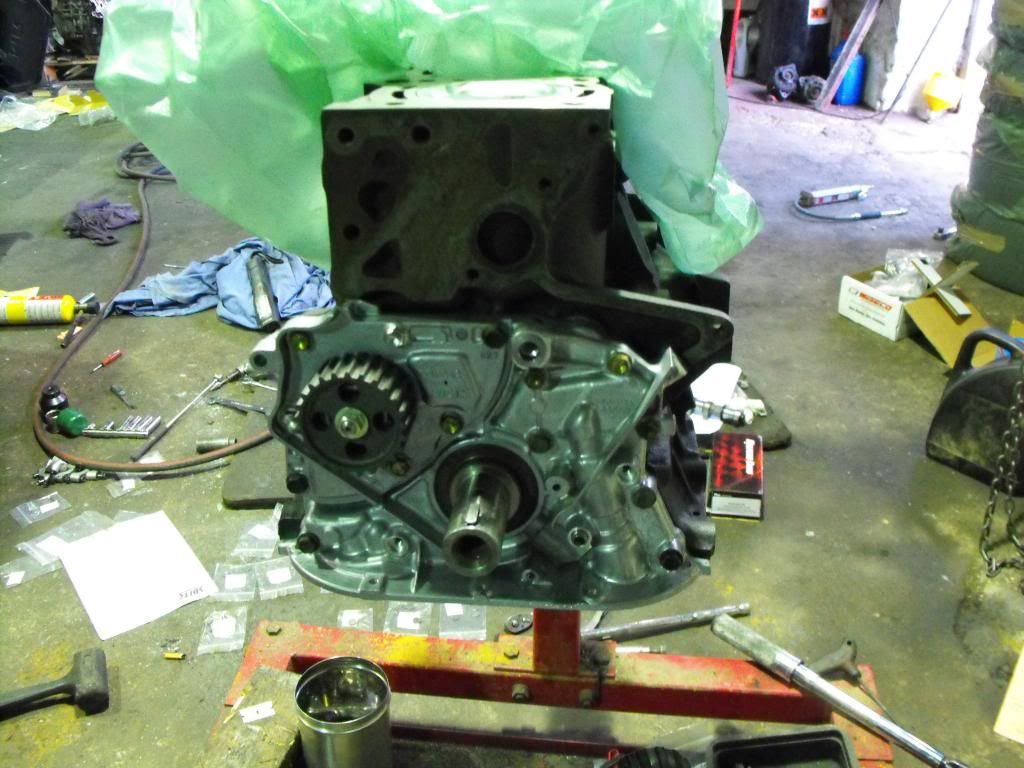
Oil Pump gone in
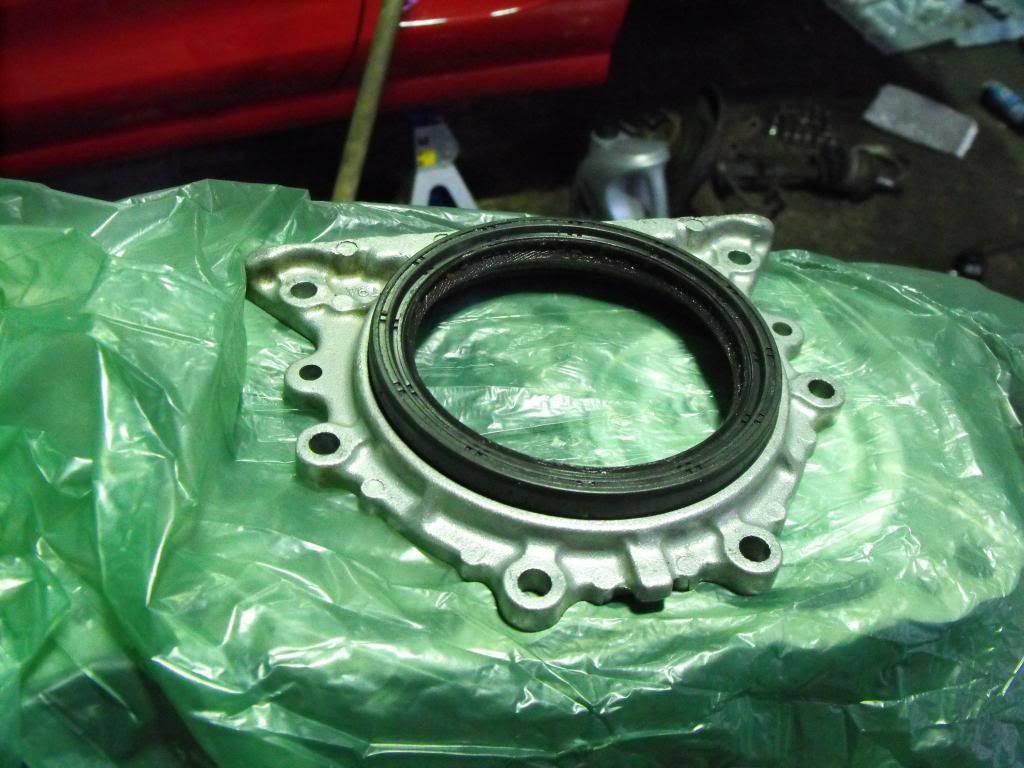
5S Crank seal and carrier has to be used
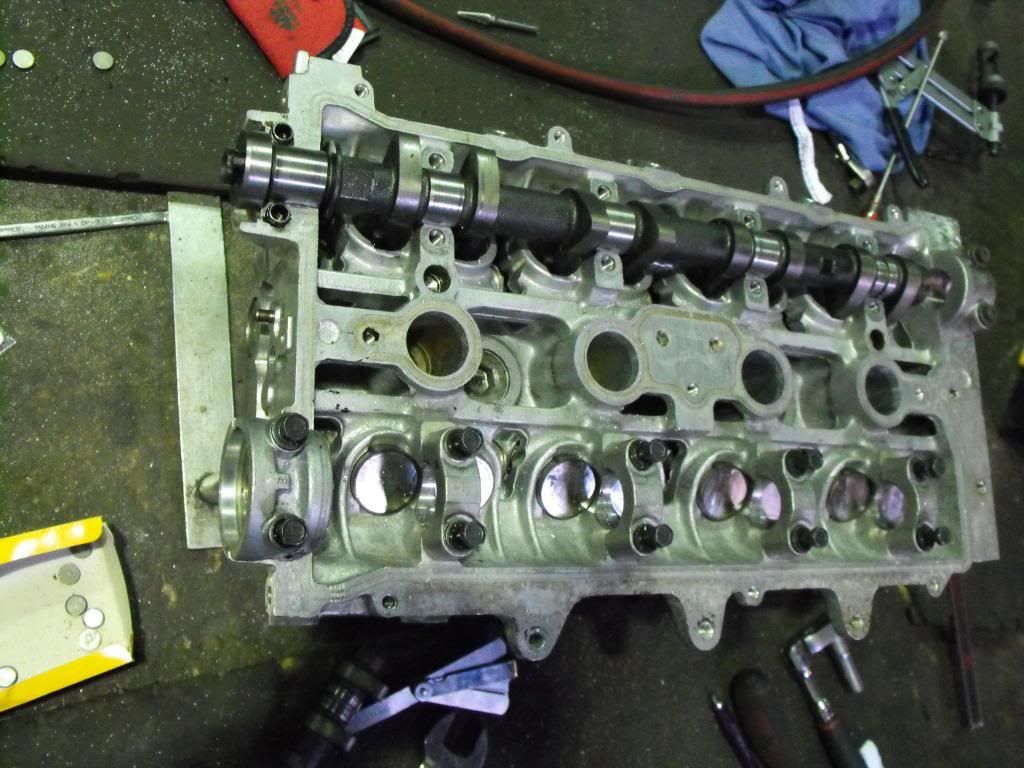
Now for the head and custom cams and hours of shimming to the smaller end of the tollerences.
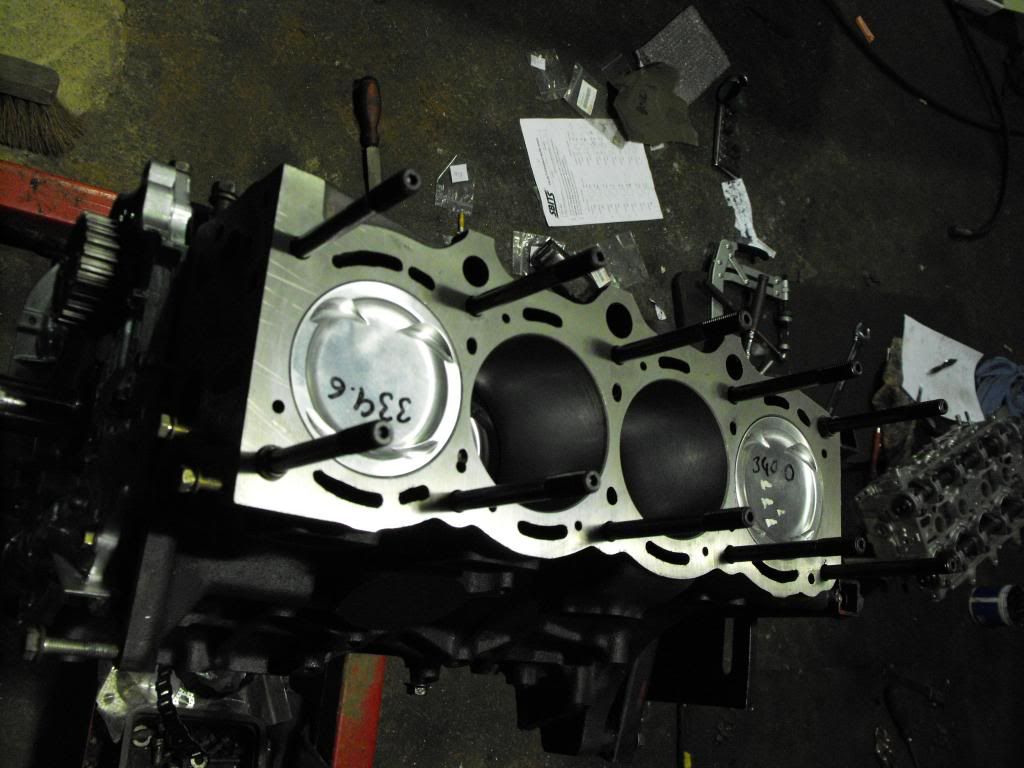
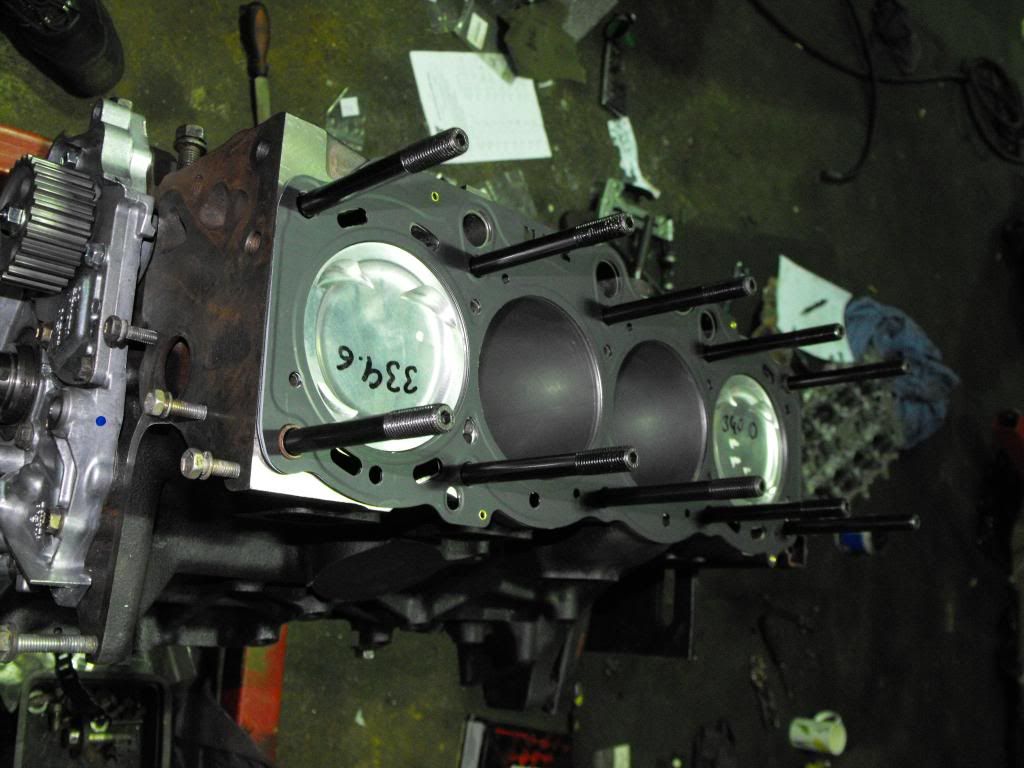
Block with the ARP head studs
HKS Stopper gasket now on
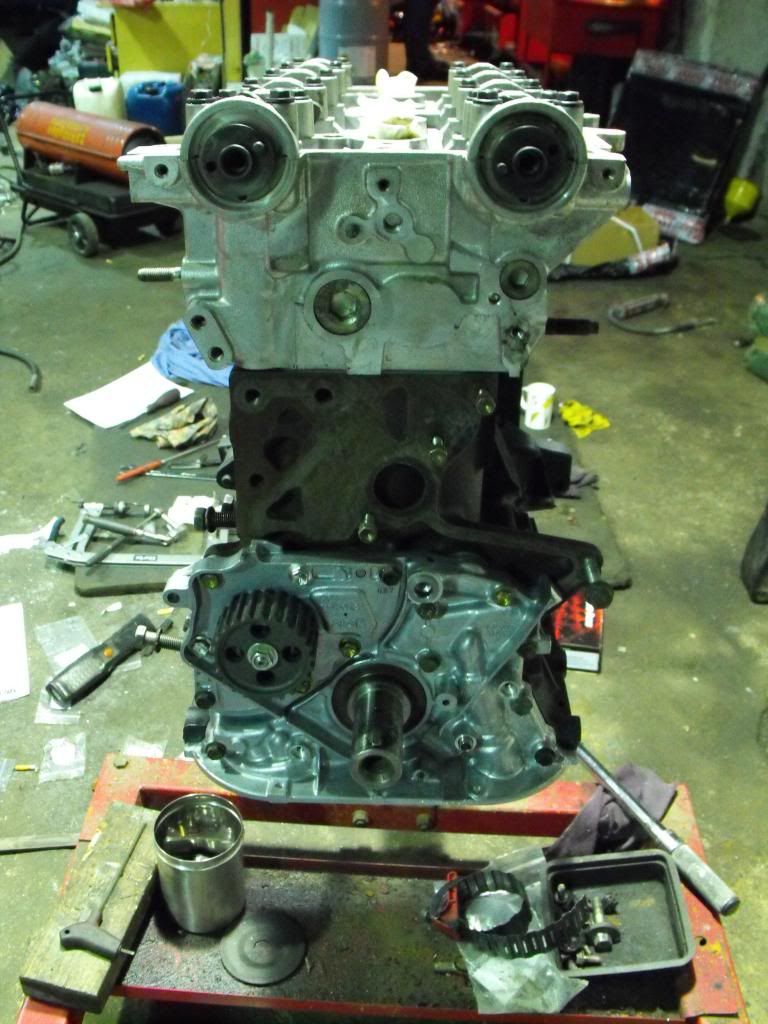
Head now gone on
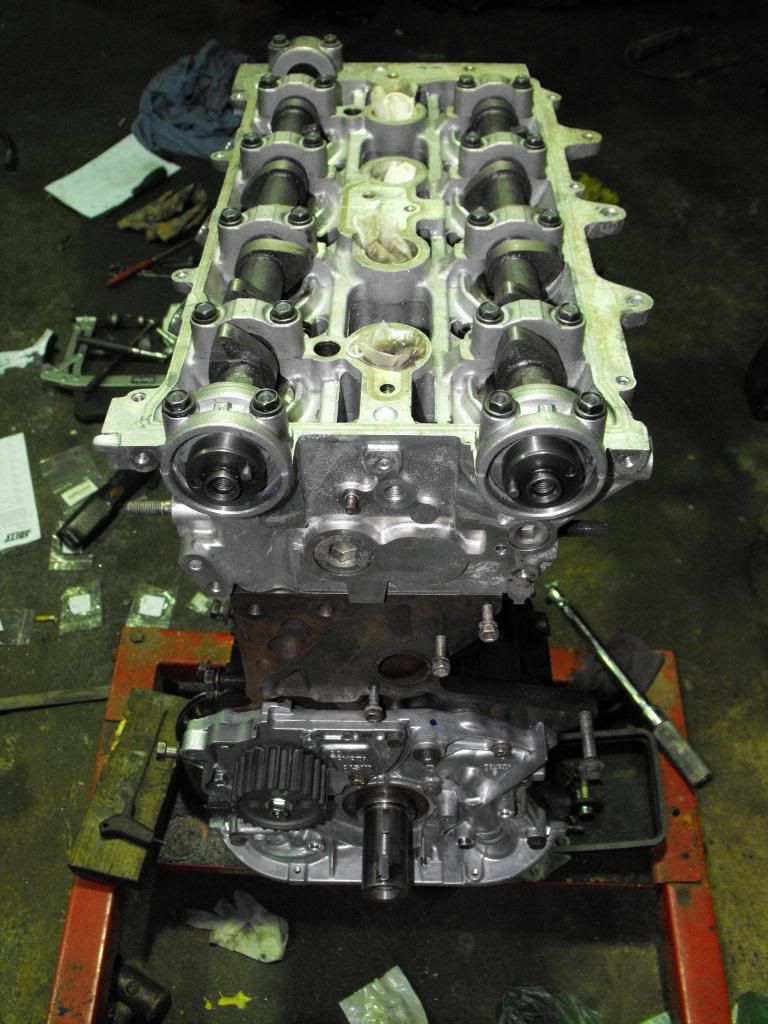
Just the head
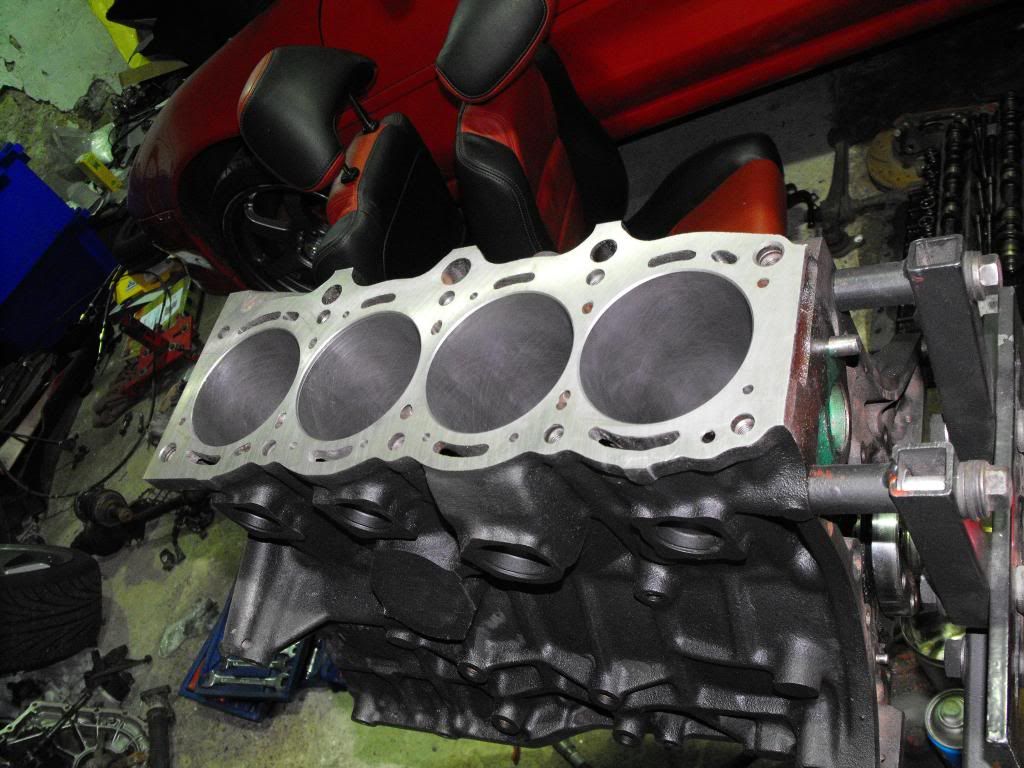
Rotating Assembly done and head put on
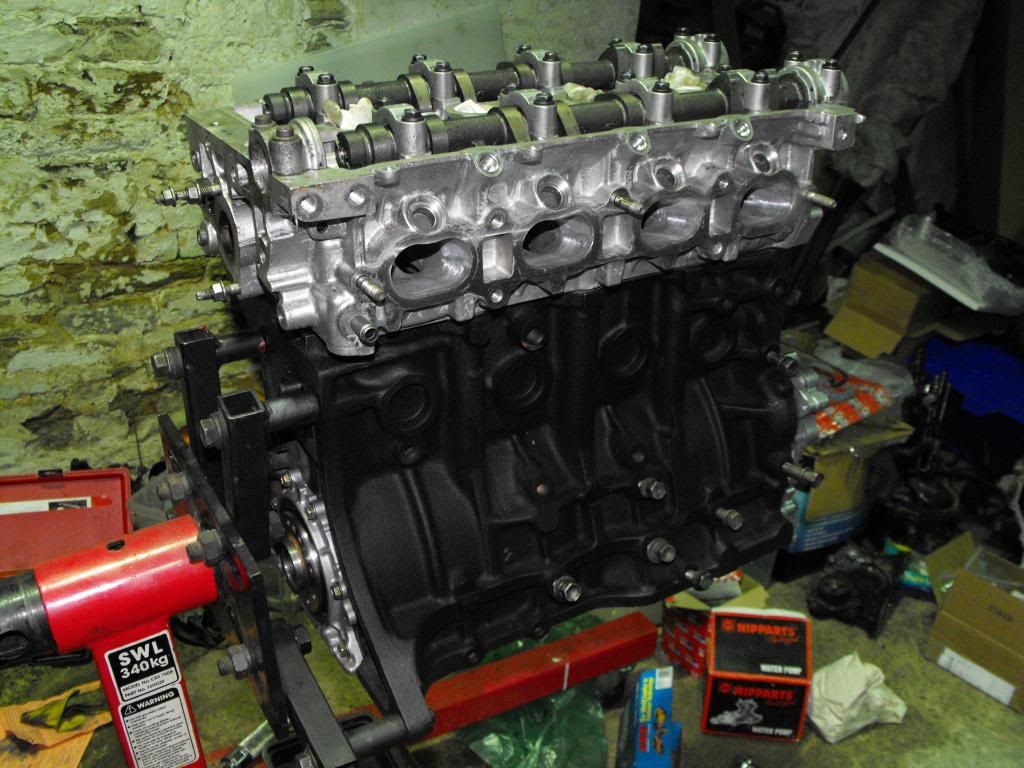
Modifications to the water and oil lines, oil pick up and a bit more shimming up just to get the clearances perfect.
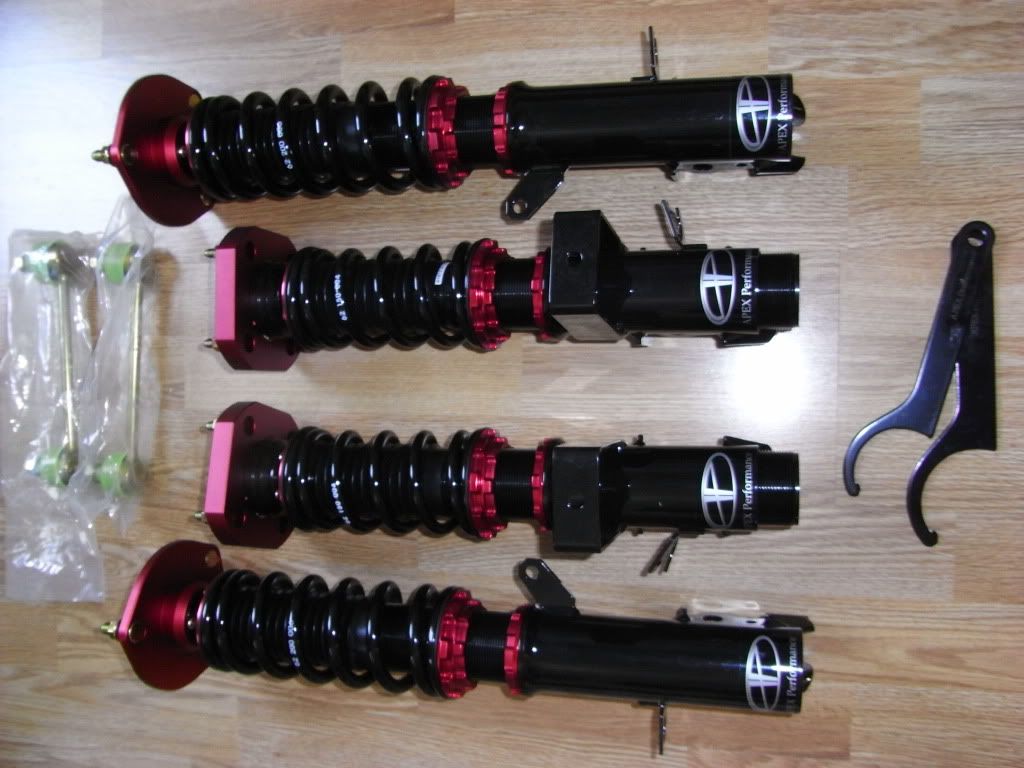
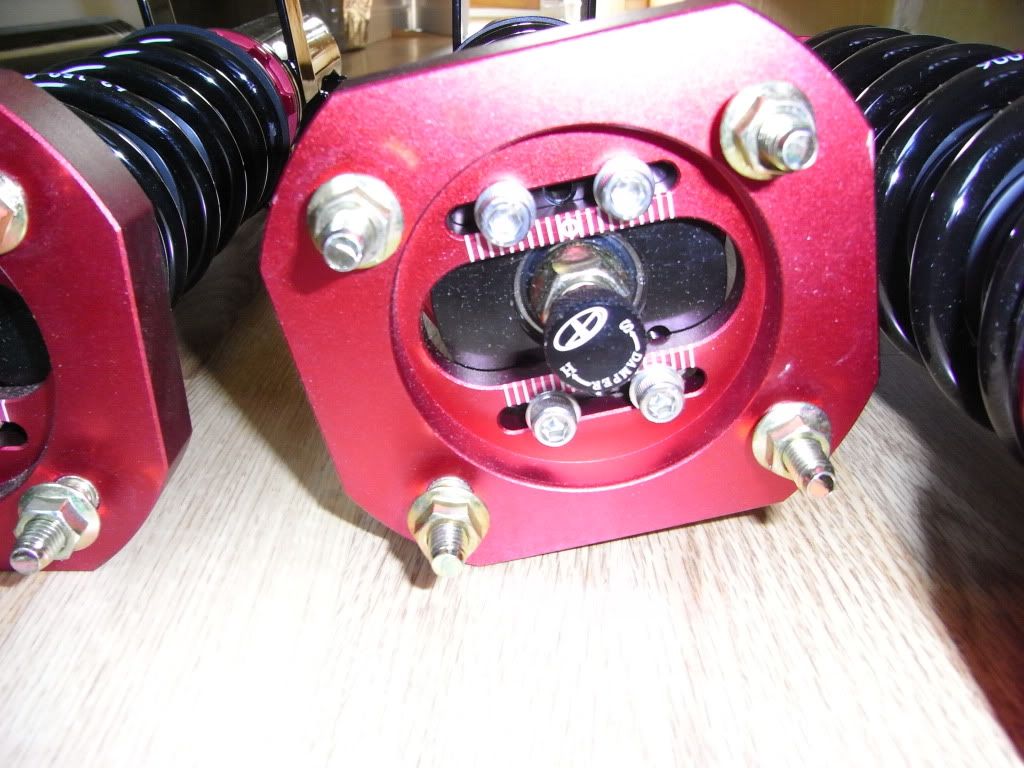
A special order from BC as I wanted to have red anodised collars and although they have come with a pair of drop links, I will upload shortly some home made droplinks made from titanium and heavy duty rose joints.
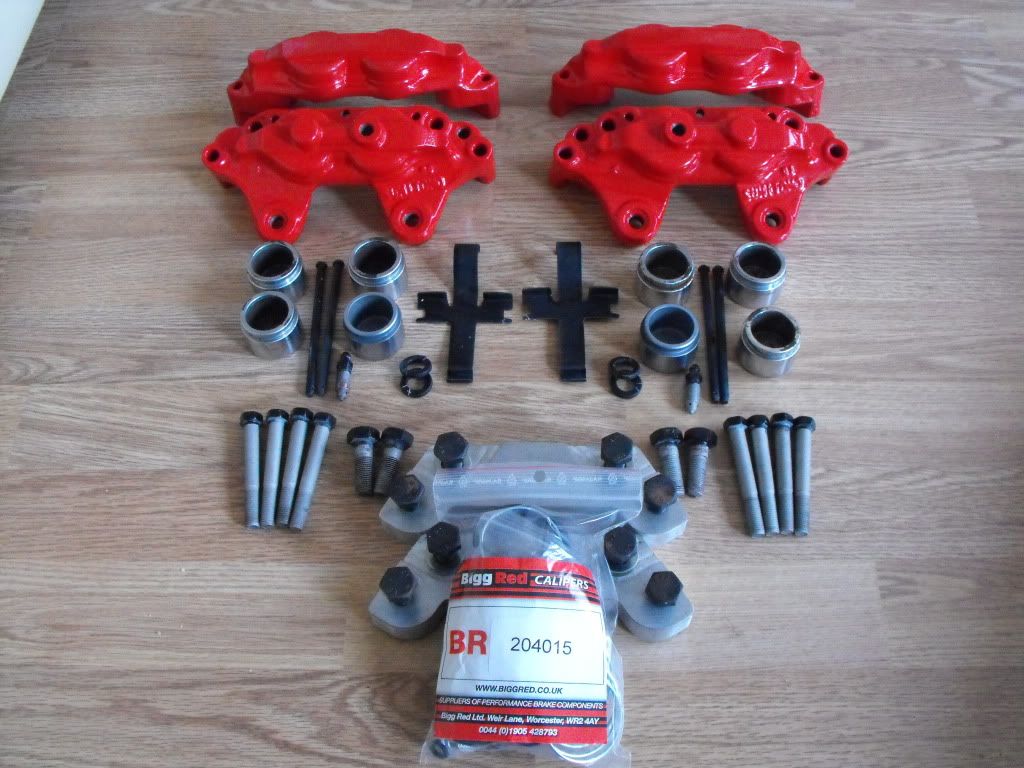
A really important factor in this build was to have the stopping power, especially considering the power plant goals.
I picked up some front calipers that will replace the standard MR2 front calipers.

Obviously I didnt want my lovely MR2 to be branded as a Nissan

Some gently grinding
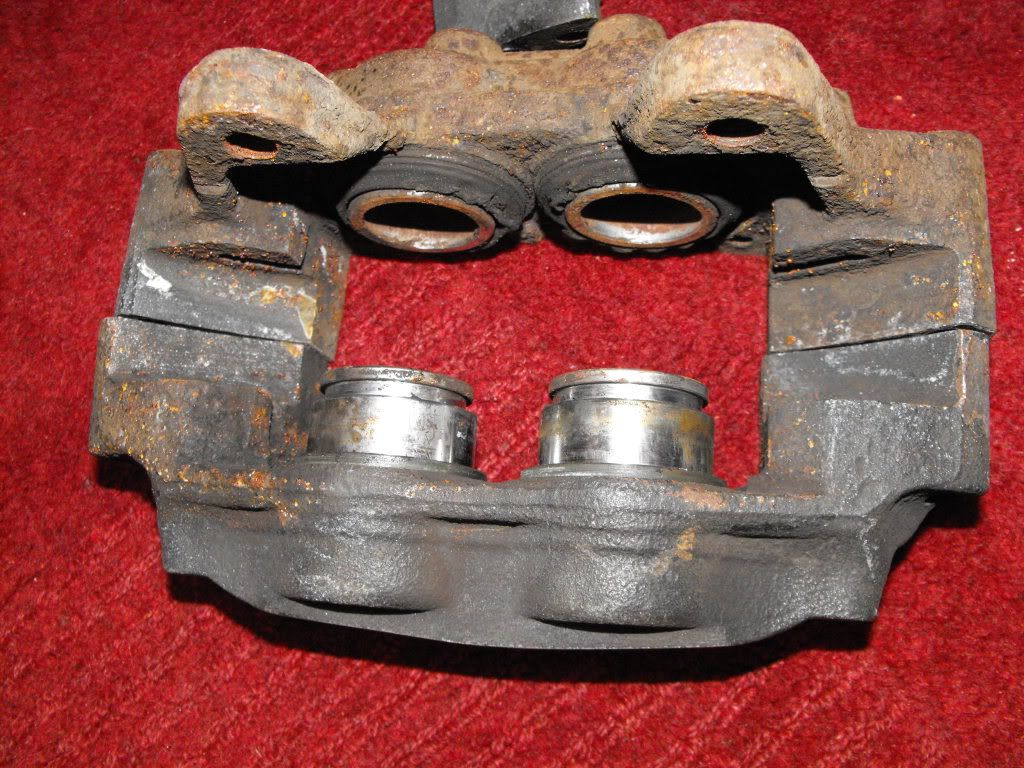
On inspection I thought it would be wise to replace all the seals costing me about
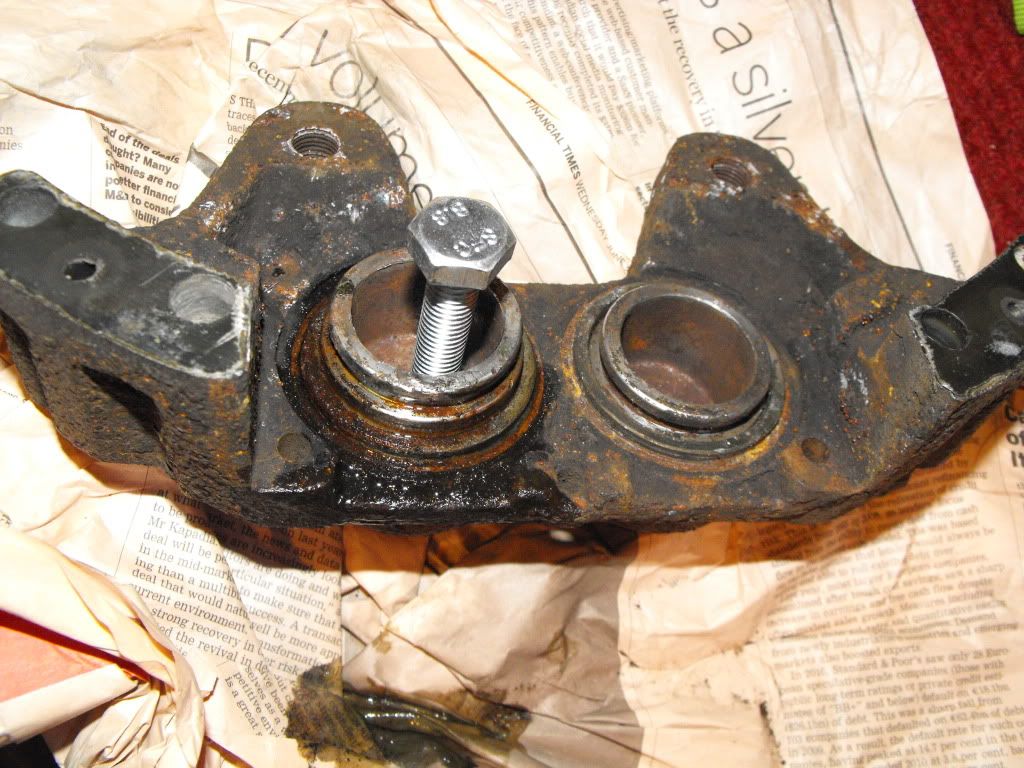

This piston now became redundant so it gave me a good opportunity to call Big Red and order my new seal kit
Whist the calipers were stripped I decided to get the powder coated by my local shop so after some prep work and
As careful as the powder coaters were I had to clean up some of the threads and clean all of the chambers from the grit and dirt from the sandblasting, but an hour or two later and the rebuild started.

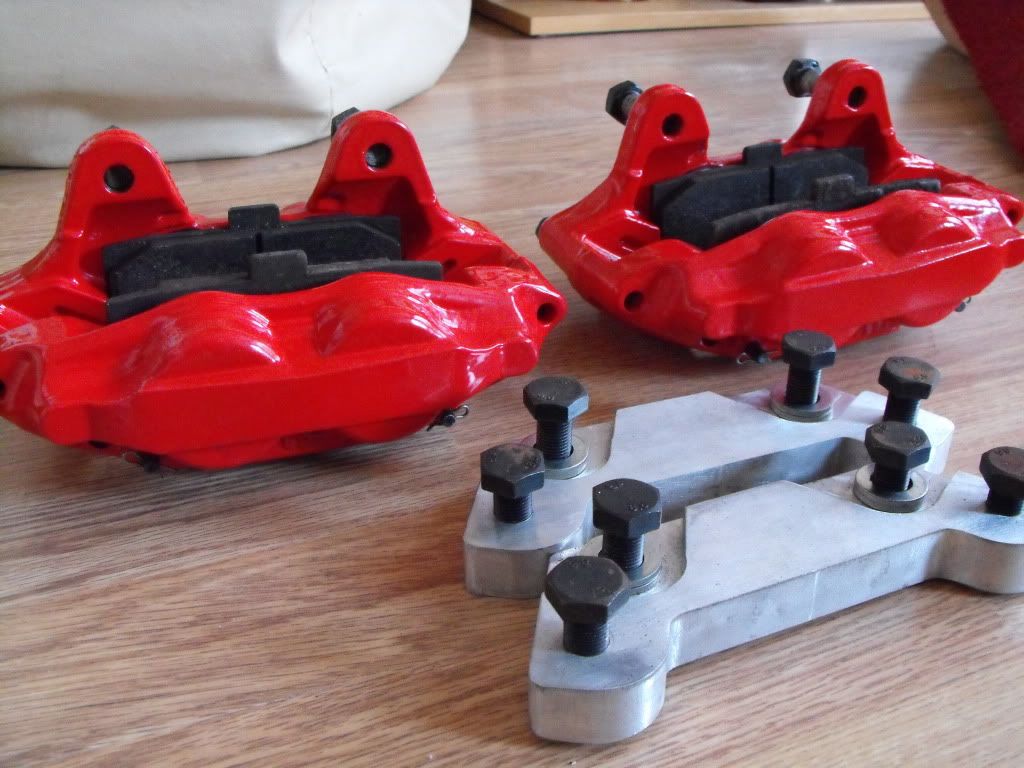
As you can see in these images I am using an adapter bracket that I shall be painting black prior to fitment.
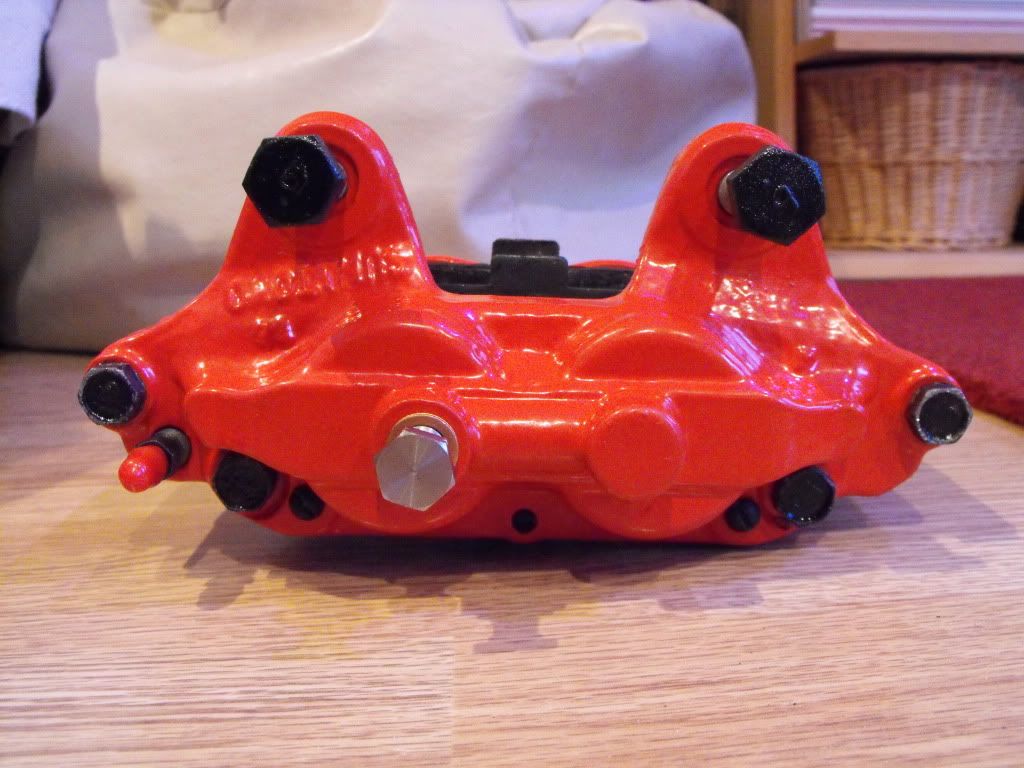
I have my standard rear calipers also refurbished and powder coated in red that I did last year
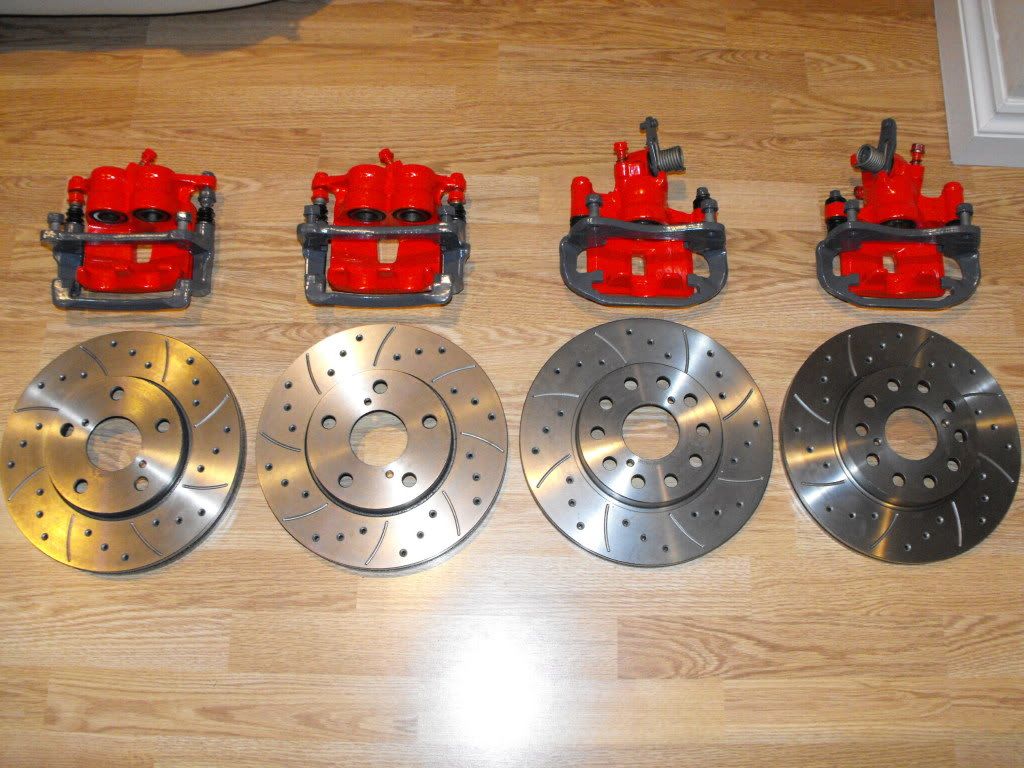
We shall see how well this set-up stops me now.
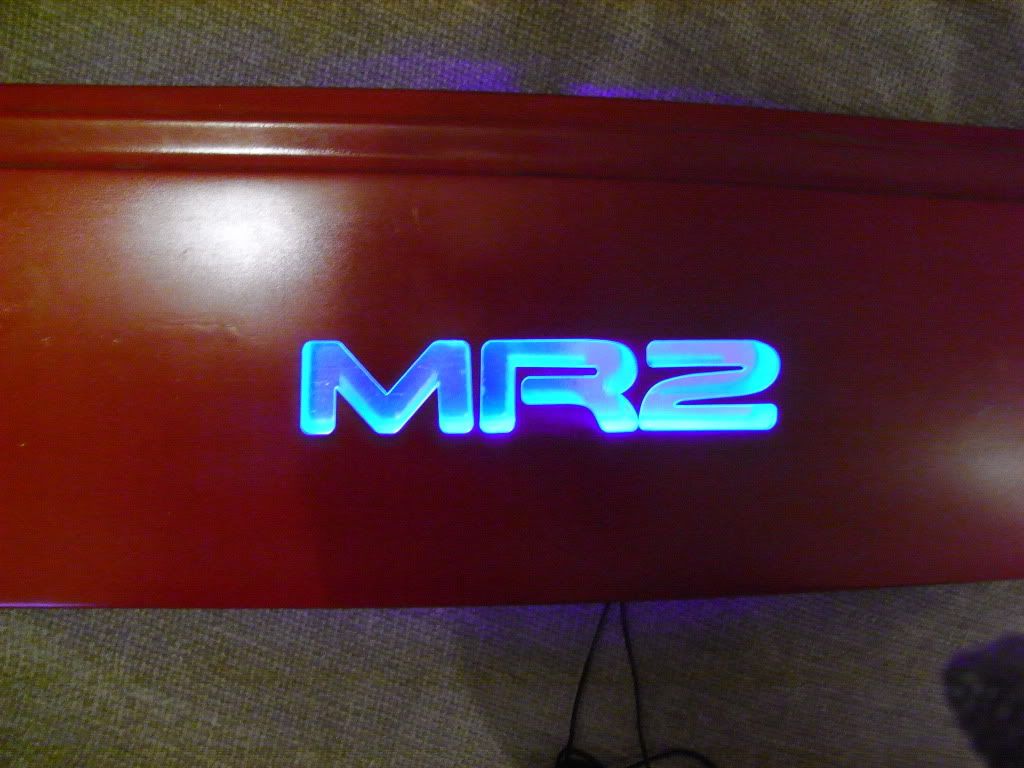
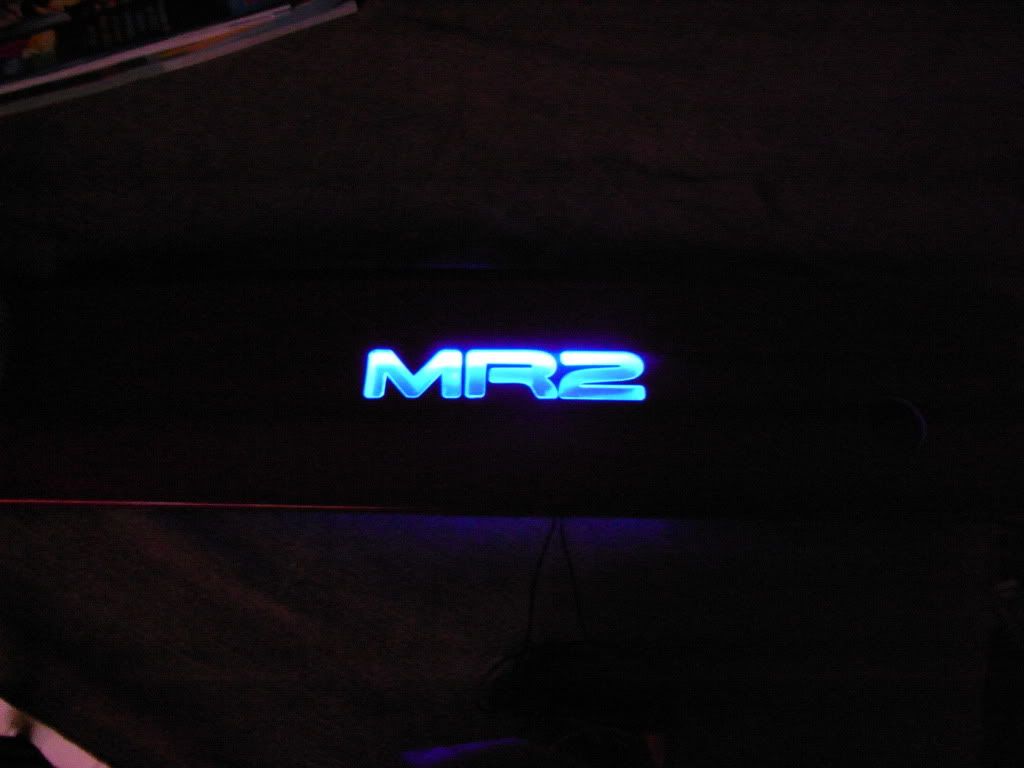
A walk to my local laser cutting shop with the rear centre panel and some ideas we have come up with a panel that has clear perspex letters to fit in the newly cut holes, backlit similar to the rare el-glow Rev1 badge.
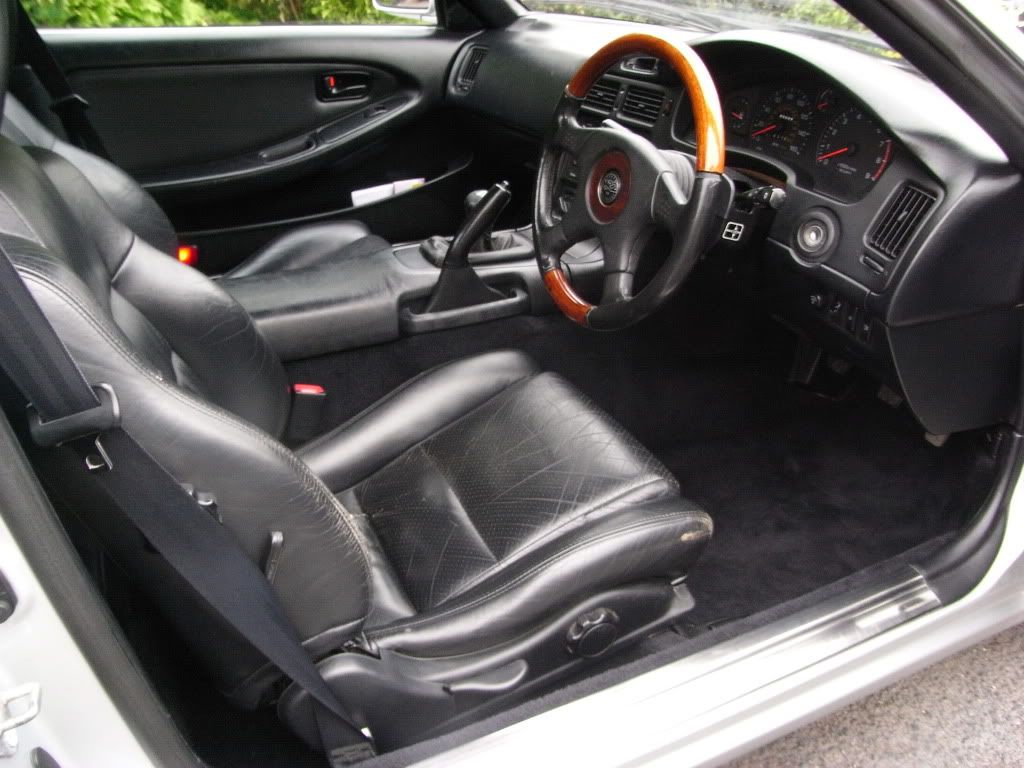
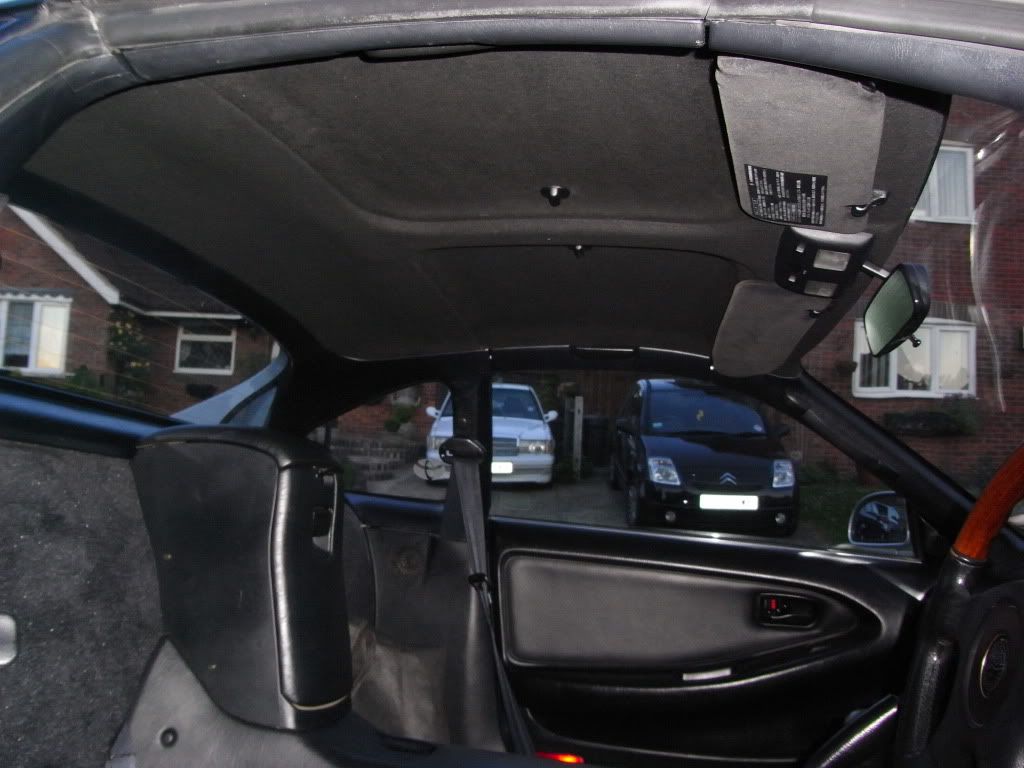
After we were home I started replacing the slightly tired carpets and grey roof lining with a jet black set from a previous turbo that I had to break, I think she looks far better in black.
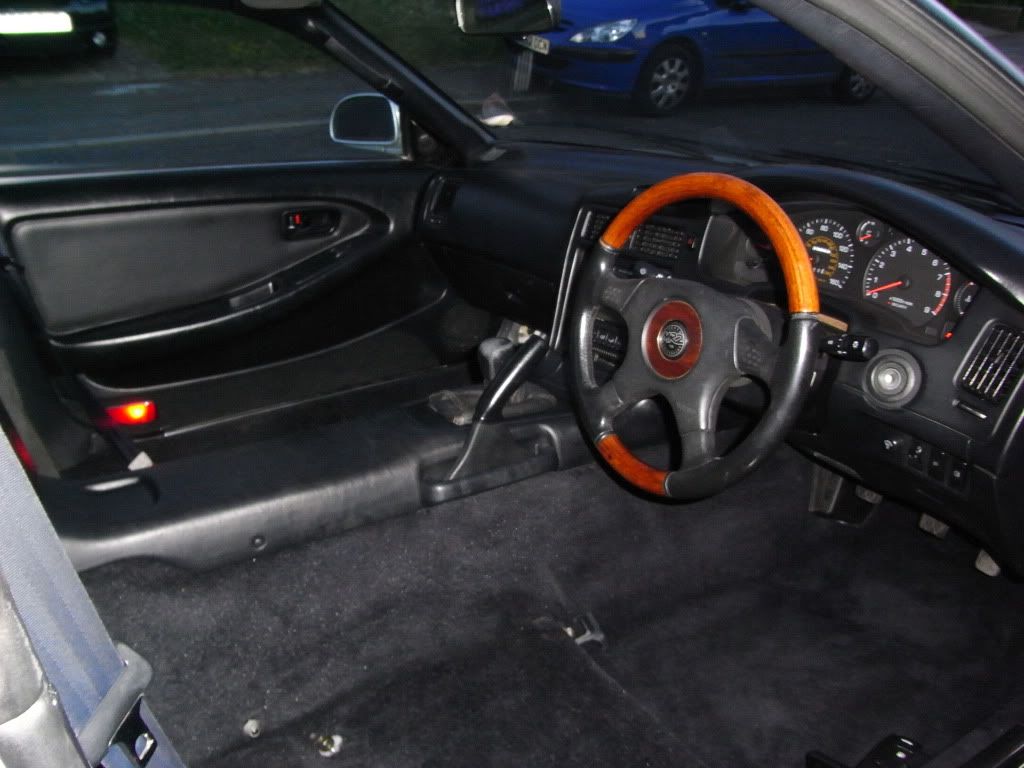
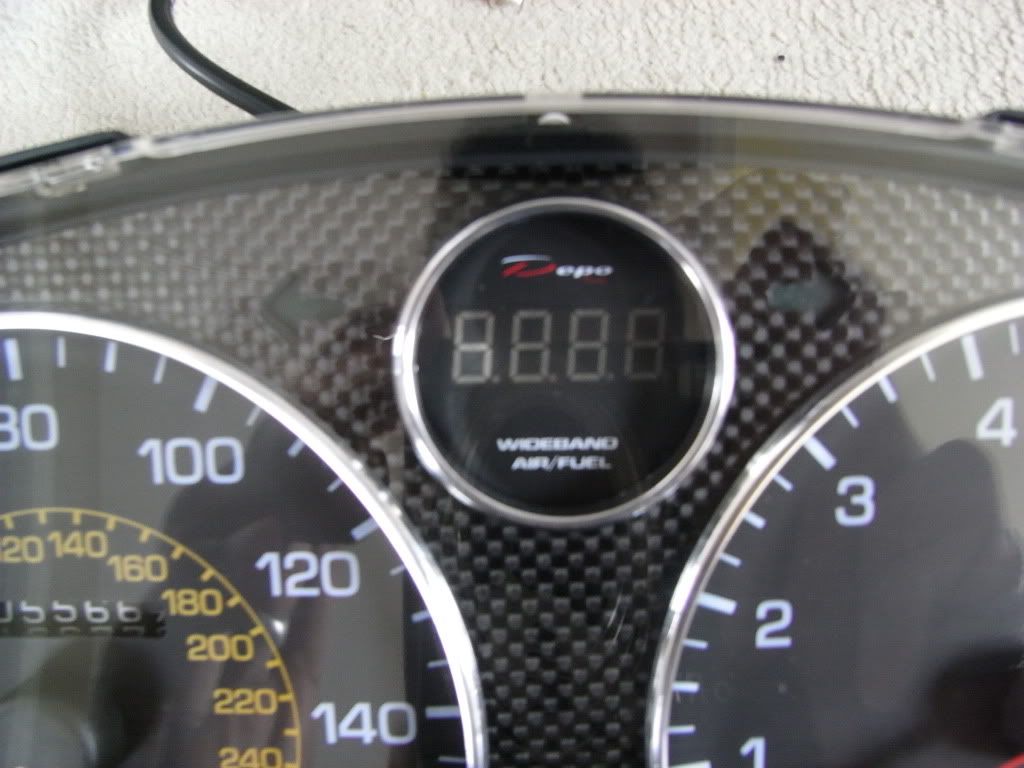
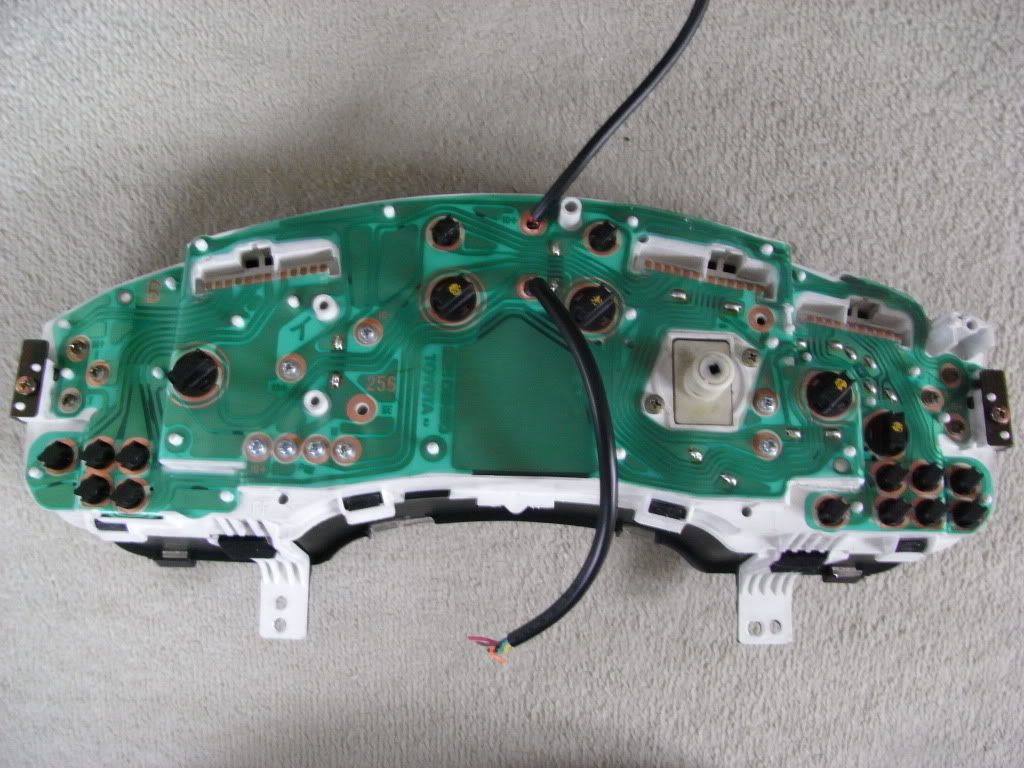
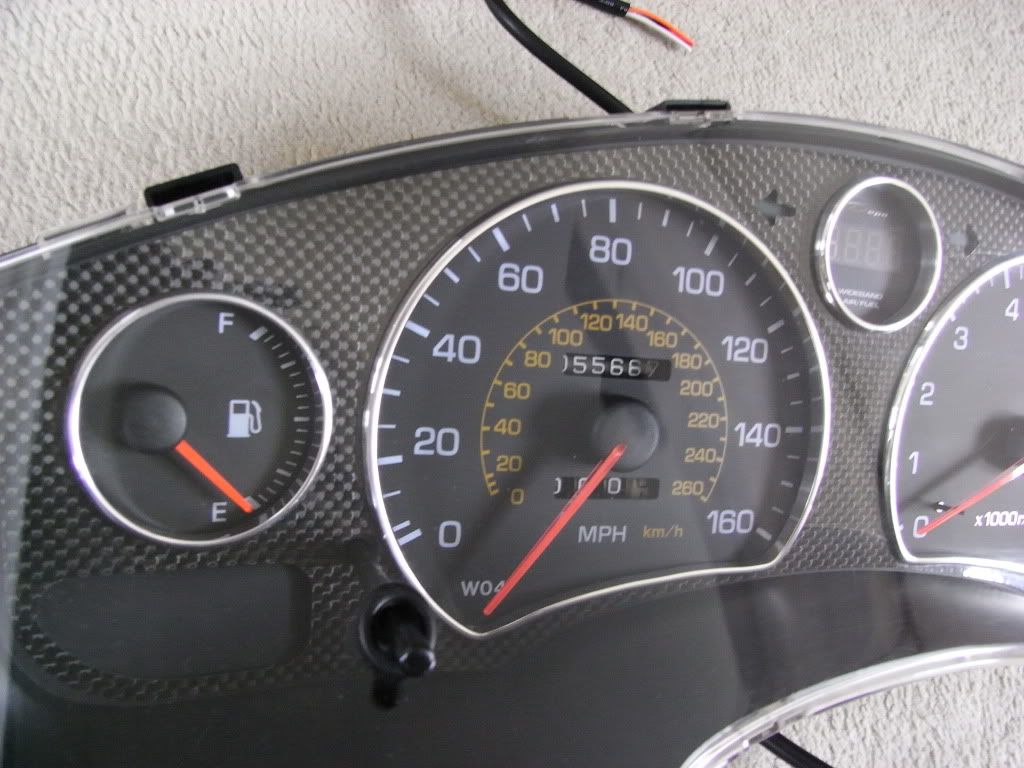
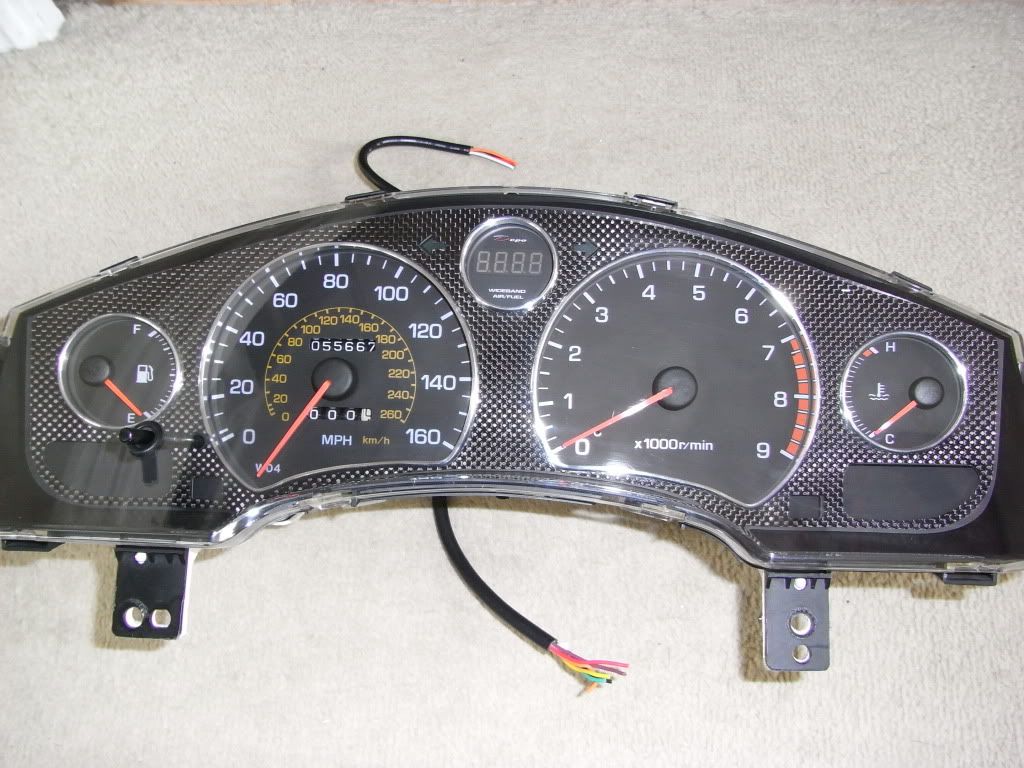
Thinking it will be important to monitor Air/Fuel ratio accuratly I have removed the standard voltage gauge and have retro fitted a digital Wideband gauge in this space.