I'm doing stainless and mild steel bits as stainless looks good but is not as good for exhausts as mild steel.
SW20 TSS Build
Moderators: IMOC Moderators, IMOC Committee Members
Re: SW20 TSS Build
The honest answer is I'm not sure. ... manufacturers will not tell you who they make for and I have 2 just incase they ever let me down. I will be at loads of shows this year so come have a look.
I'm doing stainless and mild steel bits as stainless looks good but is not as good for exhausts as mild steel. Should have stuff on website in next month or two
I'm doing stainless and mild steel bits as stainless looks good but is not as good for exhausts as mild steel.
Re: SW20 TSS Build
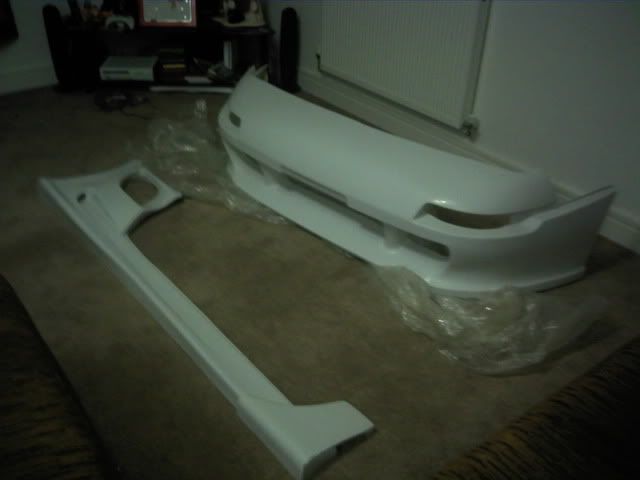
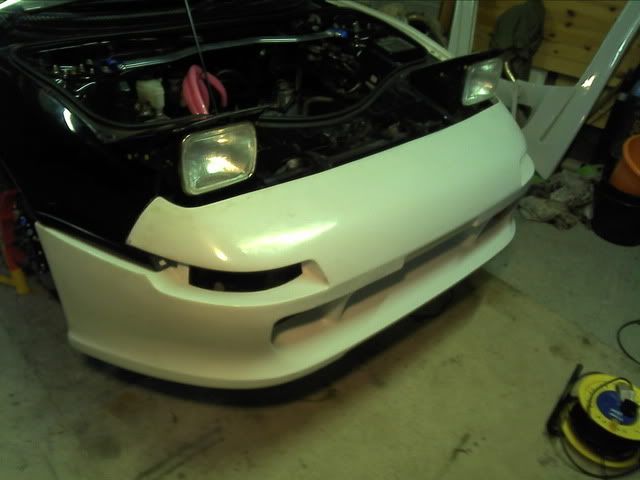
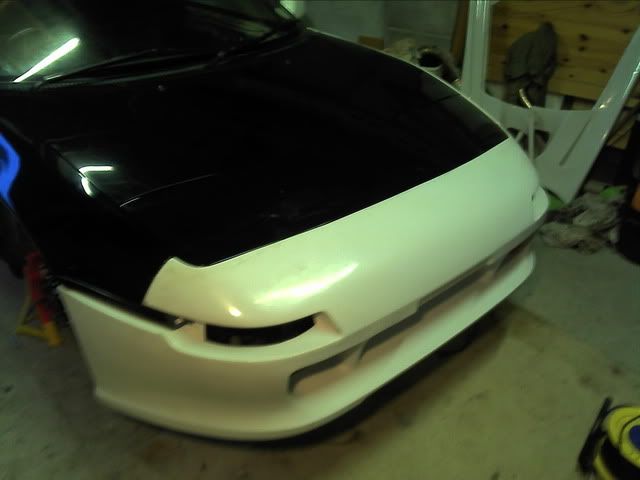
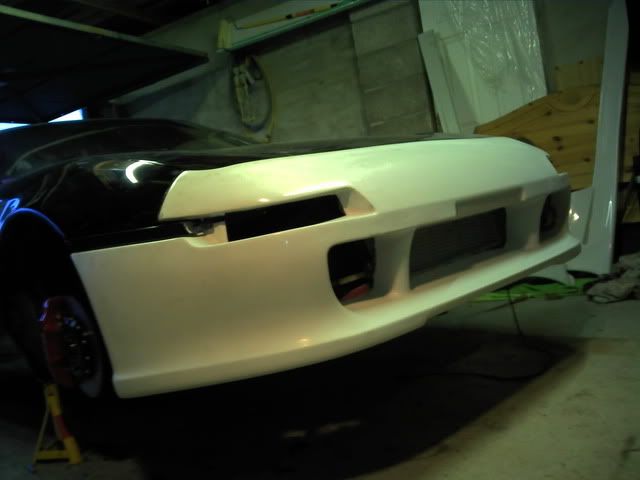
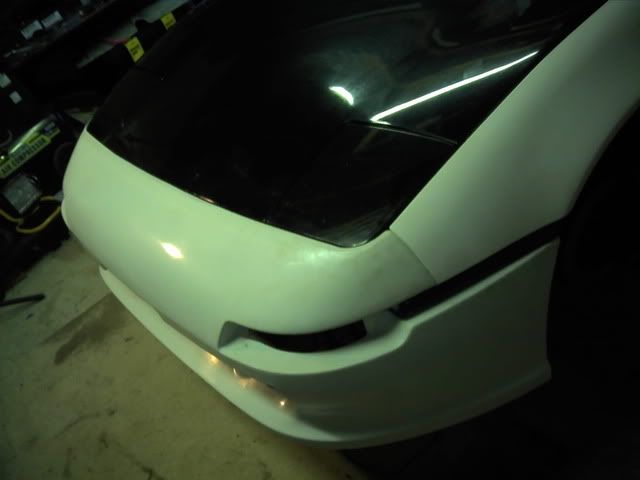
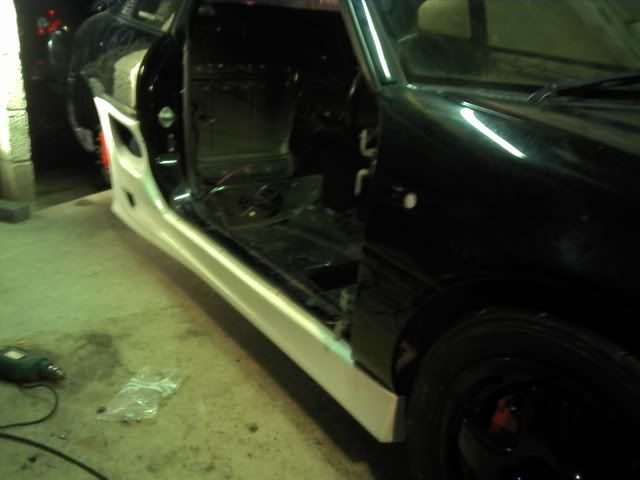
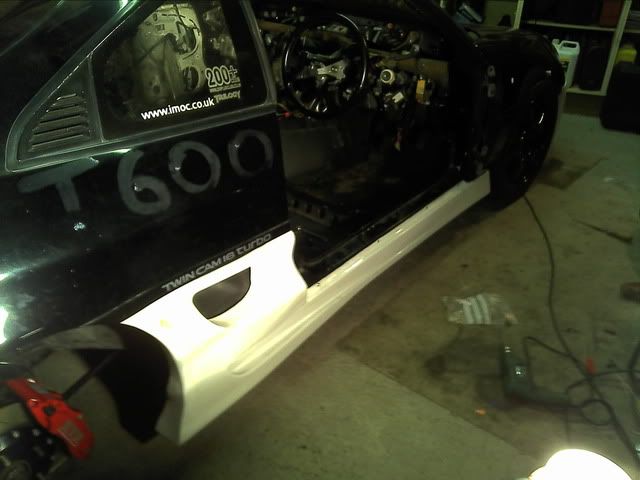
Here is the TOM's bumper and skirts going on the car. I will put up some better pics once I get fitting the kit. If its a decent fit I will be selling these 
Today was a good day, managed to get the old broken MR2 back on its wheels so I can move it ready to take down the scrap yard. They the Post turned up with Ball Joints and a lovely new clutch 
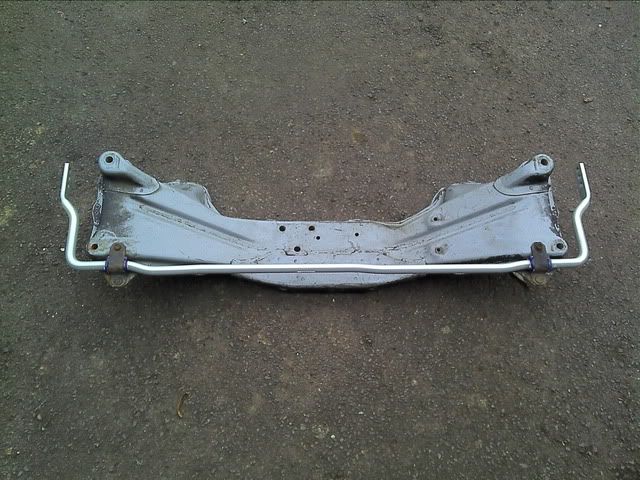
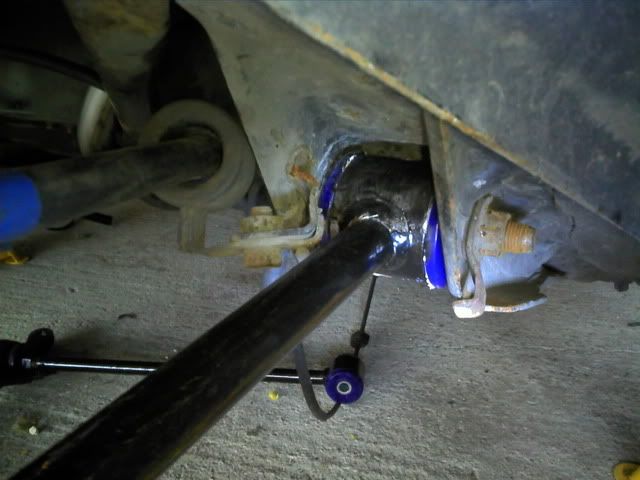
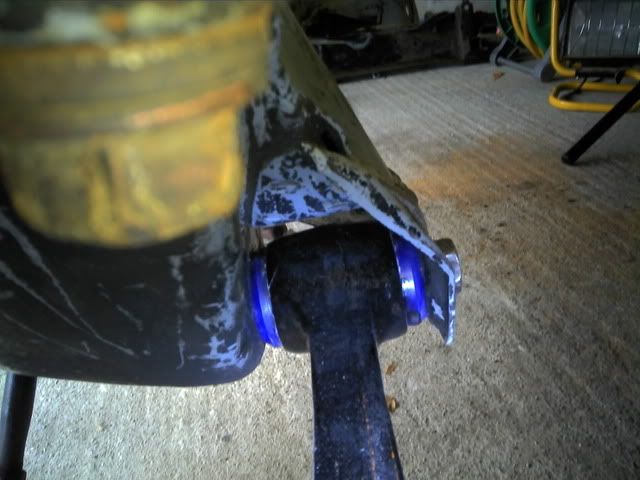
This meant I could get the new car back on its wheels too!!! Firstly I fitted the New white line arb to the rear subframe.
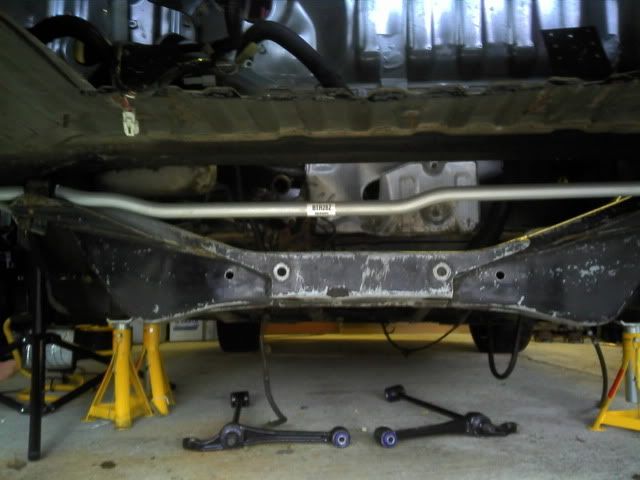
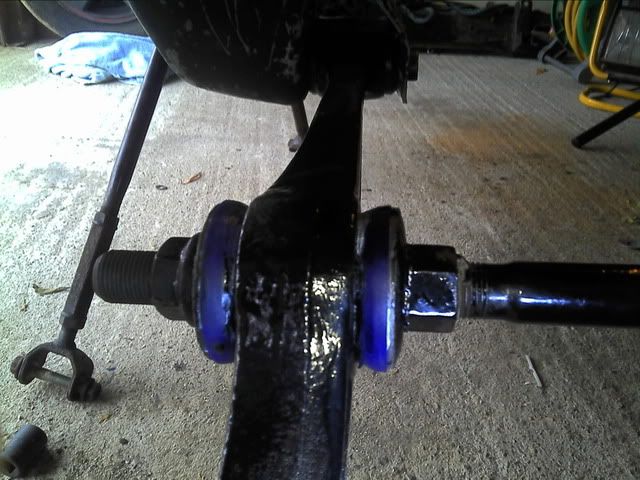
Next I fitted the lower control arms, ball joints etc with the Super Pro bushes.

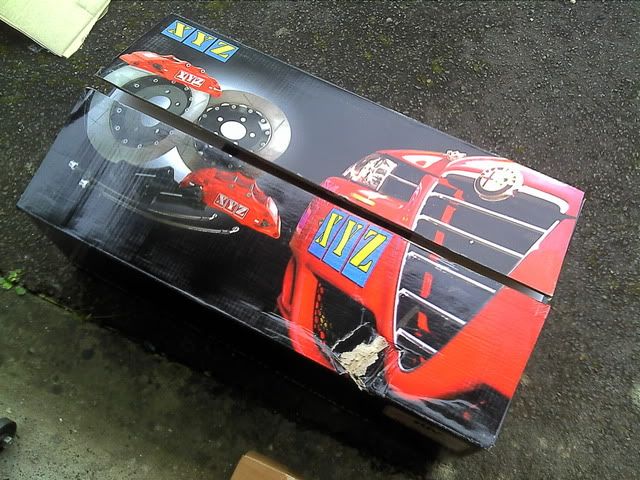
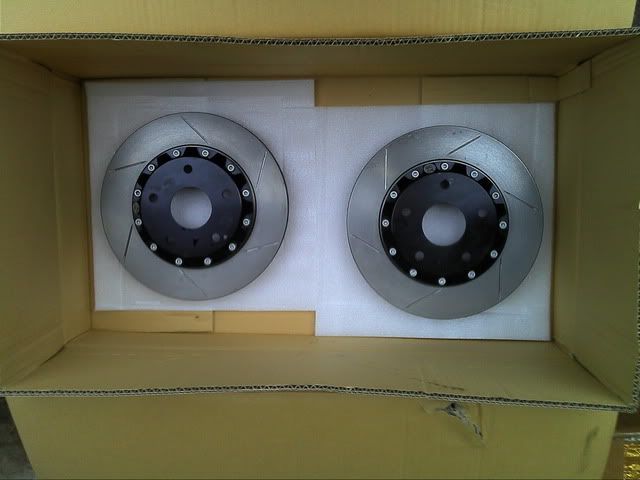
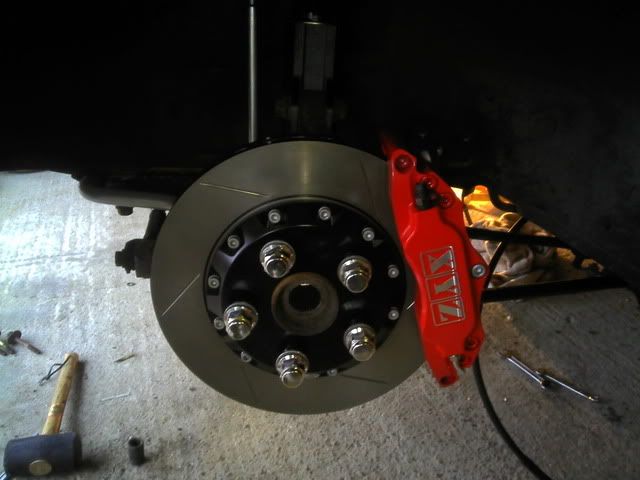
Once this was done I fitted the rear XYZ 4Pot brake kit, just need to sort out my handbrake with the Hi Spec Calipers I'm ordering just for the handbrake as I want to get the car road legal again 
Next job.. Fit the new clutch then its engine in time
Today was a good day, managed to get the old broken MR2 back on its wheels so I can move it ready to take down the scrap yard.
This meant I could get the new car back on its wheels too!!! Firstly I fitted the New white line arb to the rear subframe.
Next I fitted the lower control arms, ball joints etc with the Super Pro bushes.
Once this was done I fitted the rear XYZ 4Pot brake kit, just need to sort out my handbrake with the Hi Spec Calipers I'm ordering just for the handbrake as I want to get the car road legal again
Next job.
-
Steve Horrocks
- Posts: 7172
- Joined: Thu Dec 16, 2004 6:39 pm
- Location: Oldham
Re: SW20 TSS Build
Re: SW20 TSS Build
looking good, some quality work there.
to be fair stainless is better than mild as its less thermaly conductive so more heat, and therefore energy, will go to the turbo improving spool times.
the problem comes from the wrong choice of stainless. most use 304 which is no good as its prone to cracking due to heat. the best grade is 321 but its quite expensive and harder to get hold of.
im making my own turbo manifold soon, the flanges are being laser cut from 316L stainless(next best to 321)and im using 316L butt weld fittings for the primaries. ill let you know how it goes.its going to be TIG welded and a purge gas used to prevent the weld from swelling inside the tube.
keep up the good work, look forward to seeing your progress
k11cpc wrote:
I'm doing stainless and mild steel bits as stainless looks good but is not as good for exhausts as mild steel.
to be fair stainless is better than mild as its less thermaly conductive so more heat, and therefore energy, will go to the turbo improving spool times.
the problem comes from the wrong choice of stainless.
im making my own turbo manifold soon, the flanges are being laser cut from 316L stainless
keep up the good work, look forward to seeing your progress
Re: SW20 TSS Build
Stainless expands more when hot hence cracking thats what i was getting at but I agree there are better grades of ss but your right most use 304.
Re: SW20 TSS Build
Very nice work fella, ill be keeping tabs on this build 
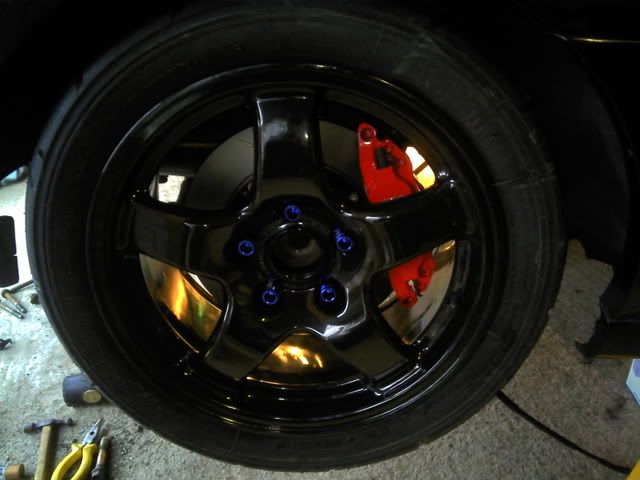
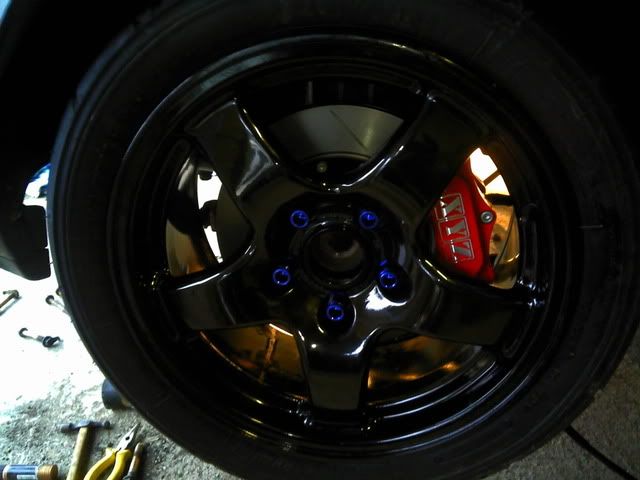
The black wheels/brakes and blue nuts look the business!! 
The black wheels/brakes and blue nuts look the business!!
Re: SW20 TSS Build
I love the wheels with the contrasting red brakes and blue nuts.. Like I say I'm trying to keep corporate with my company logo
OK so today I fitted the new clutch. Tomorrow I will be fitting the TOMS skirts, front wing and removing the remaining rev3 wires into the engine bay so next weekend I can put the engine back in the car.
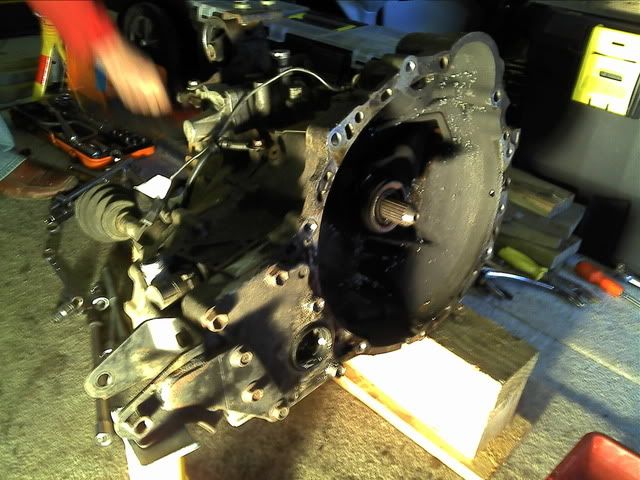
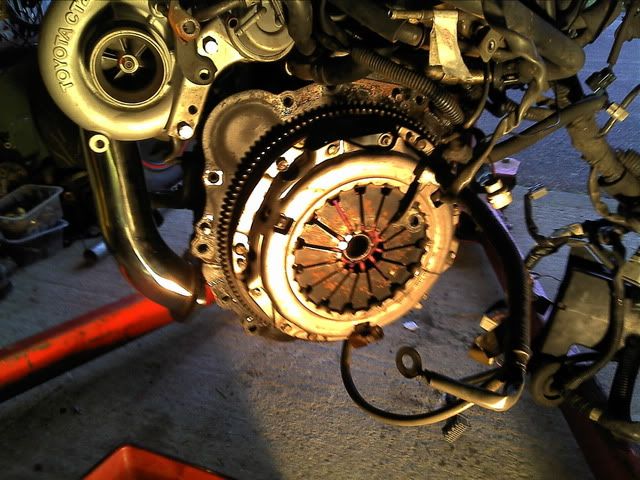
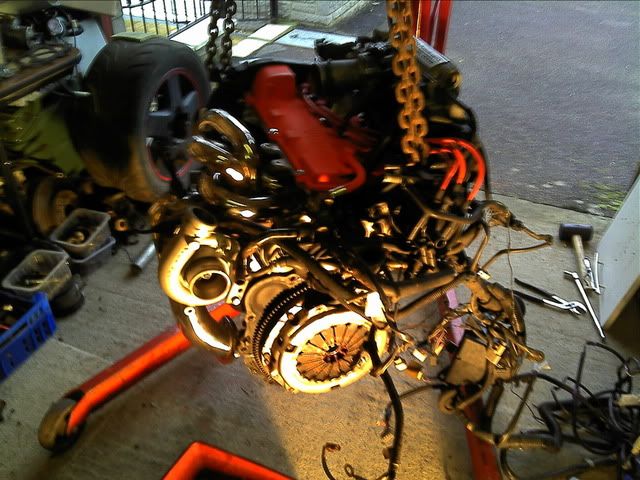
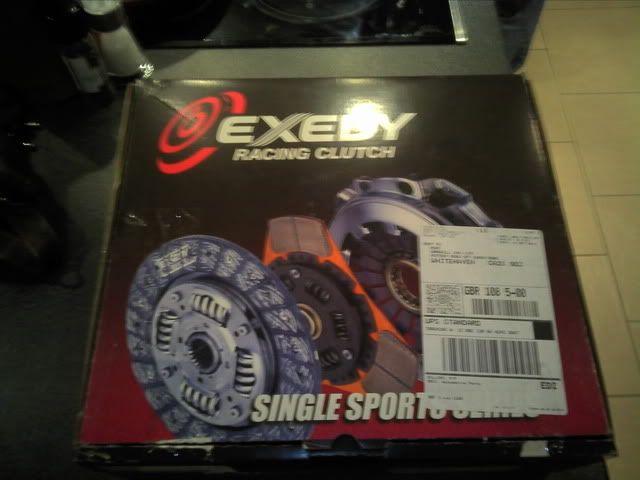
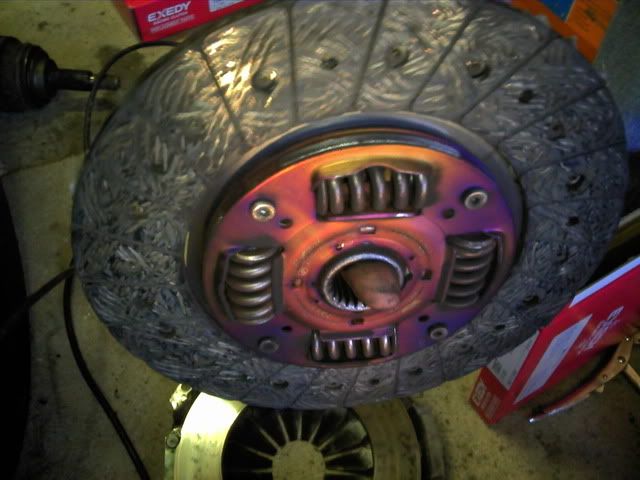
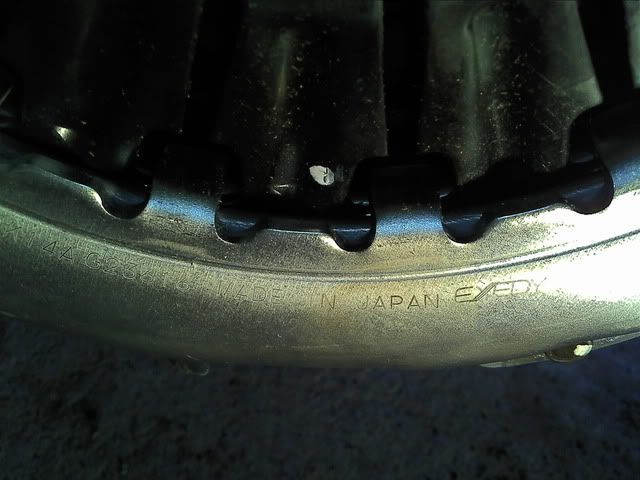
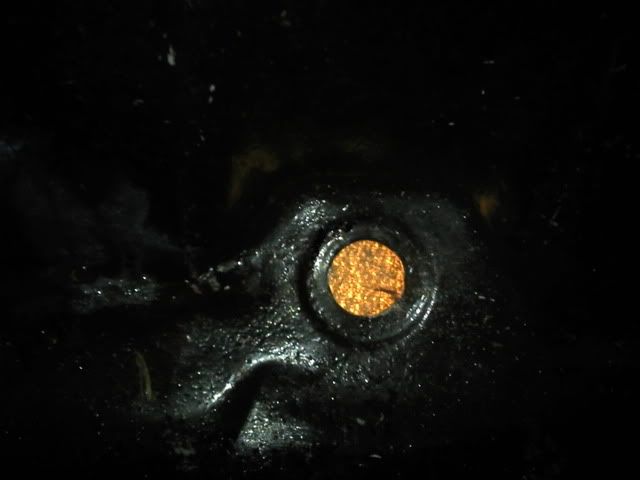
You can see how much heat the clutch has had in it from the colour but to be fair it was not in bad condition and would have lasted another year I suspect.. Oh well the new one should be better anyways
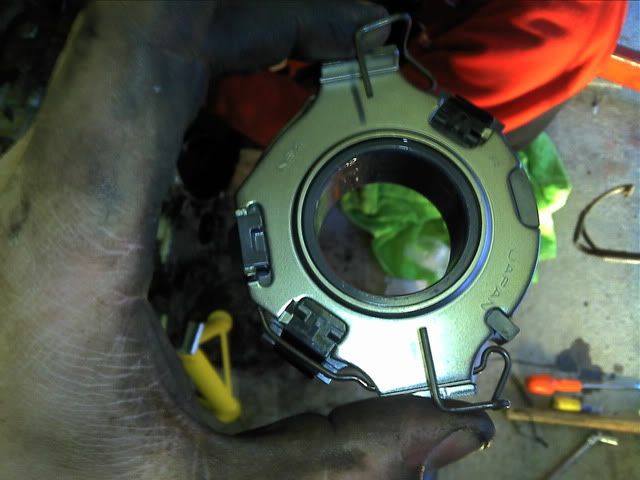
This is the new clutch... forgot to photograph the paddles tho...

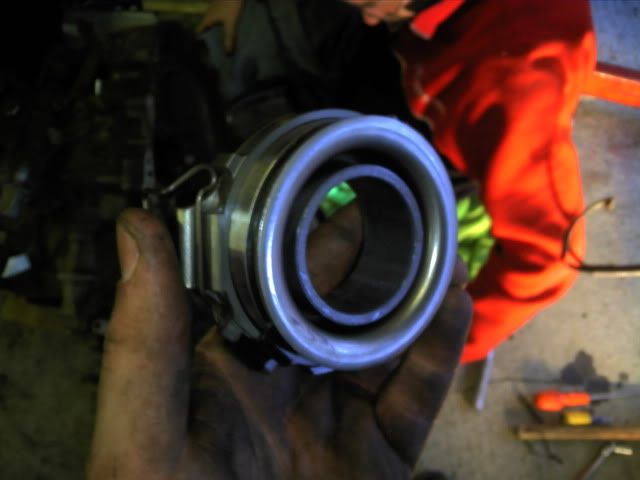
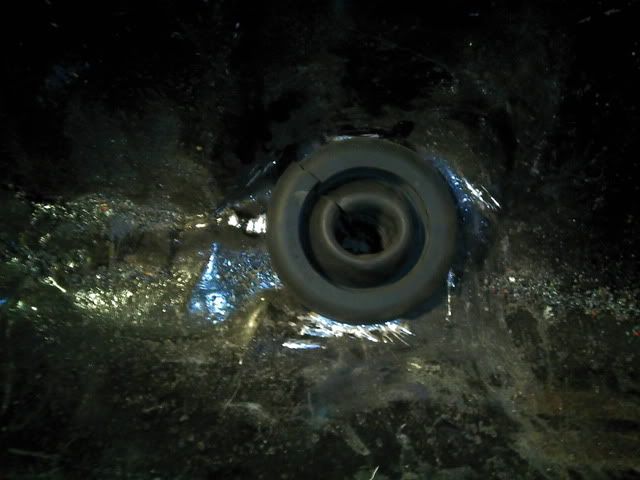
and new thrust bearing
Like I say on to the last few bits of body work and then I'm getting the engine back in. Not doing bad for time as I only really have 3 days left to work on the car before paint as I miss a weekend as I'm at the Autosport Show!!
OK so today I fitted the new clutch.
You can see how much heat the clutch has had in it from the colour but to be fair it was not in bad condition and would have lasted another year I suspect.
This is the new clutch.
and new thrust bearing
Like I say on to the last few bits of body work and then I'm getting the engine back in.
Re: SW20 TSS Build
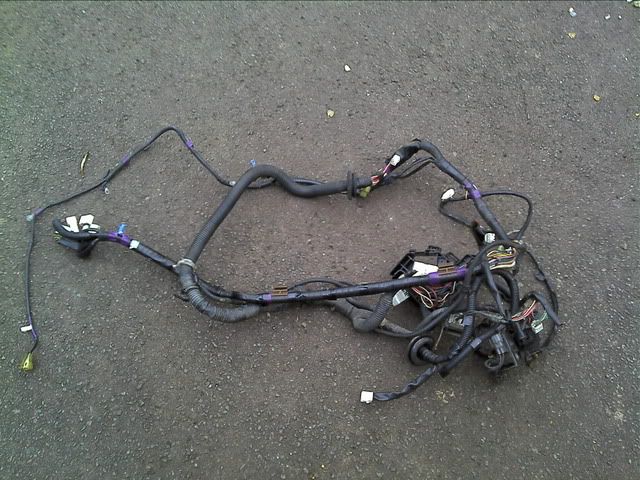
Today I decided to crack on with the inside of the car as I need to remove the rev3 loom before I can install the engine.
Firstly I removed the rear loom
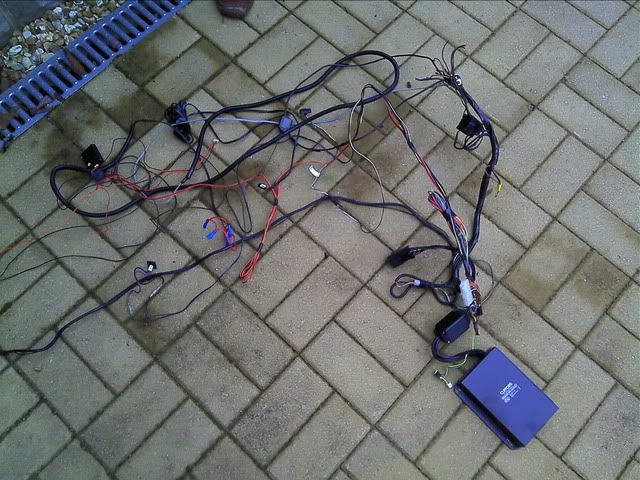
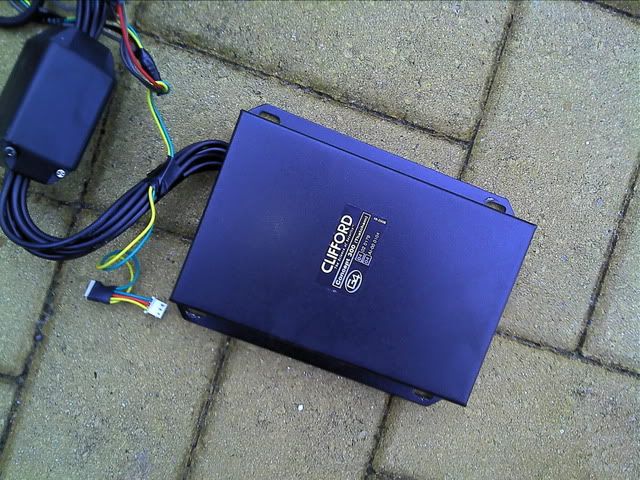
Next the nightmare job of removing the alarm.... Was a pain but it's done now
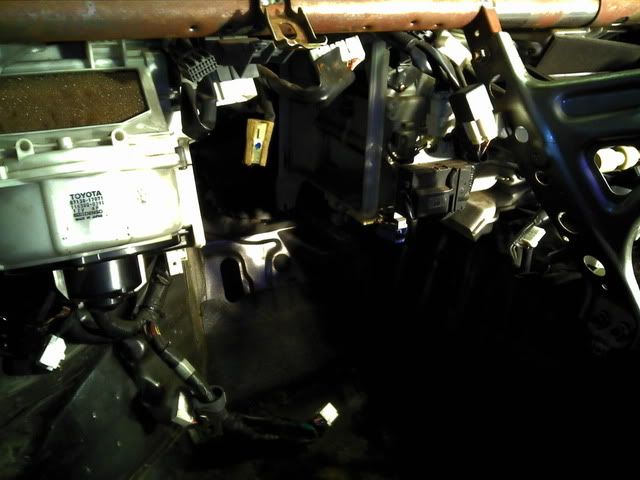
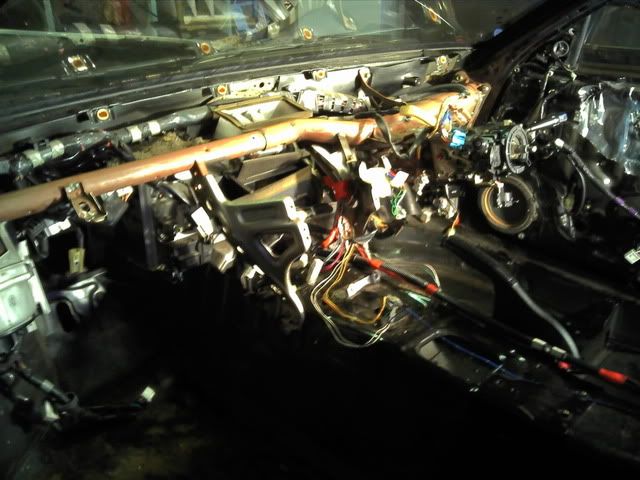
Next I removed the dash
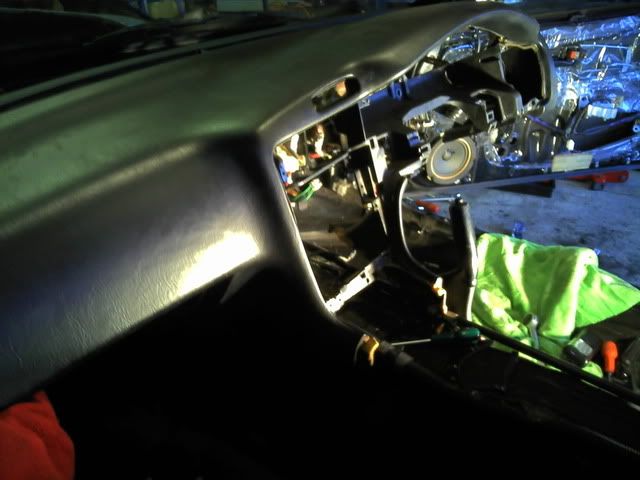
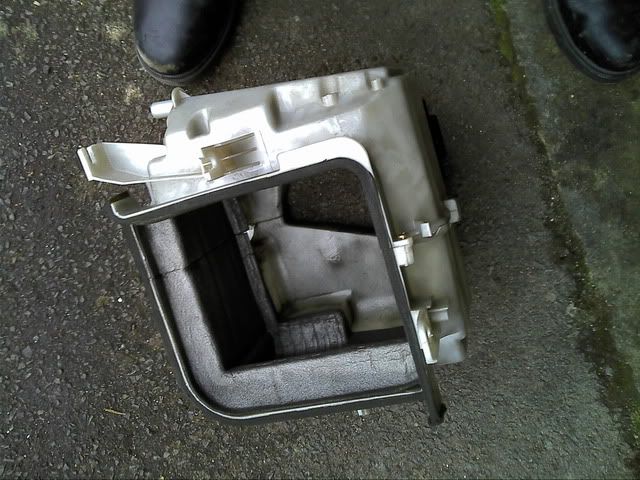
I then removed all the sound deadening from behind the dash which was a complete pig!! I also removed the heater matrix as I'm not fussed about heating but I did put the boxes back in as they weigh nothing and that way I still have the blowers to clear the screen
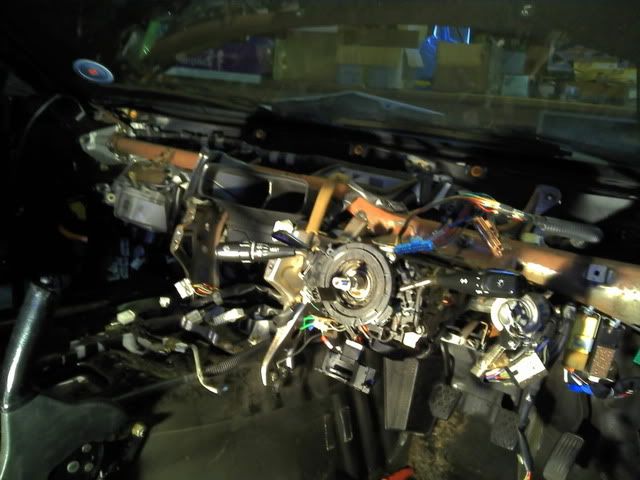
I then removed all the speaker and stereo wires. I just hope I have not removed any wires I need
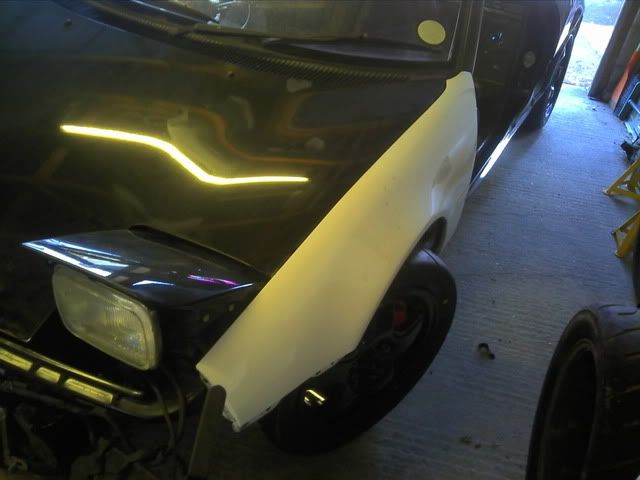
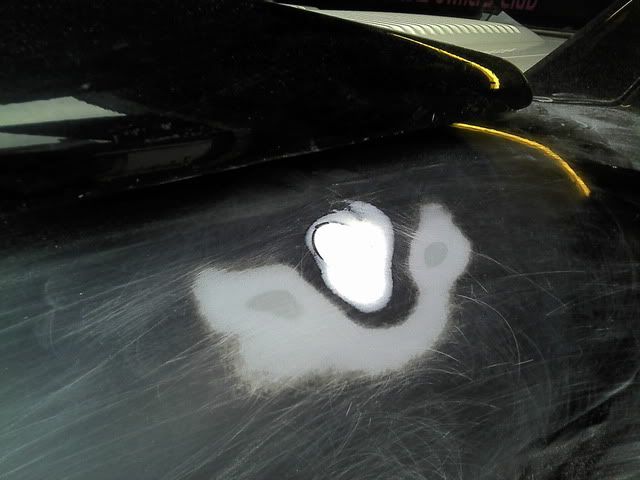
I also got round to fitting the front wing that was missing and raised the coilovers as it was looking a bit too low!
Next weekend engine in, fit body kit and prep the car for paint.... busy busy busy
Firstly I removed the rear loom
Next the nightmare job of removing the alarm.
Next I removed the dash
I then removed all the sound deadening from behind the dash which was a complete pig!! I also removed the heater matrix as I'm not fussed about heating but I did put the boxes back in as they weigh nothing and that way I still have the blowers to clear the screen
I then removed all the speaker and stereo wires.
I also got round to fitting the front wing that was missing and raised the coilovers as it was looking a bit too low!
Next weekend engine in, fit body kit and prep the car for paint.
Re: SW20 TSS Build
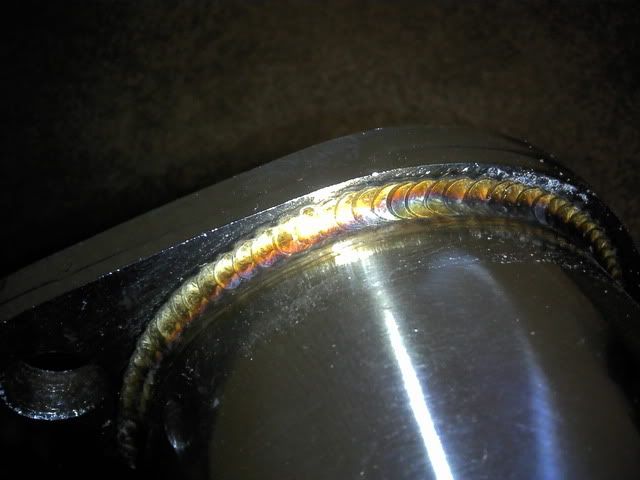
My CTC Performance exhaust turned up yay... I'm going to need to make sure its below 102db (well really 100db for Combe) but on first impressions I'm happy with the look of it. Will be good to have a pipe either side as the last two have been single exit.
These are just some quick snaps as I was excited

Welds look nice and neat
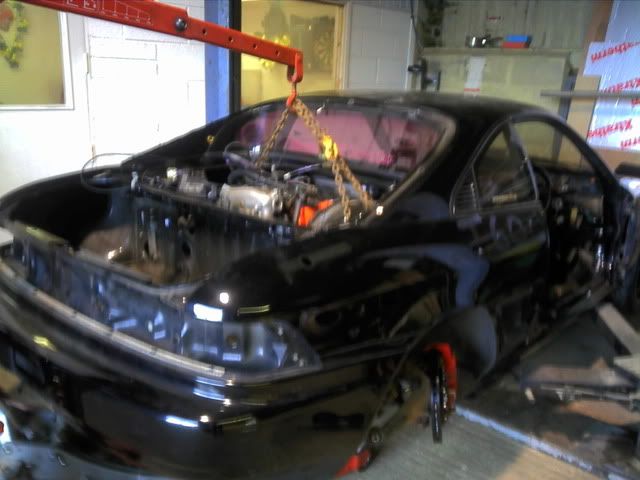
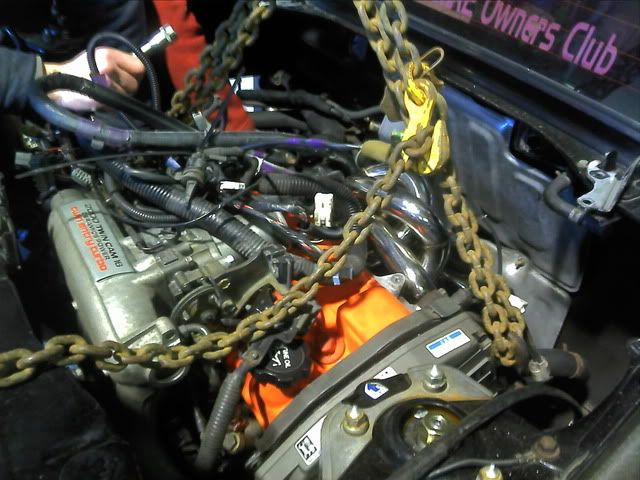
Engine in tomorrow so wish me luck.......
These are just some quick snaps as I was excited
Welds look nice and neat
Engine in tomorrow so wish me luck.
Re: SW20 TSS Build
OK so with only 2 weeks until paint I thought I would crack on with the project, so today I did some more work on the car, first job fit pre-rad for my charge cooler
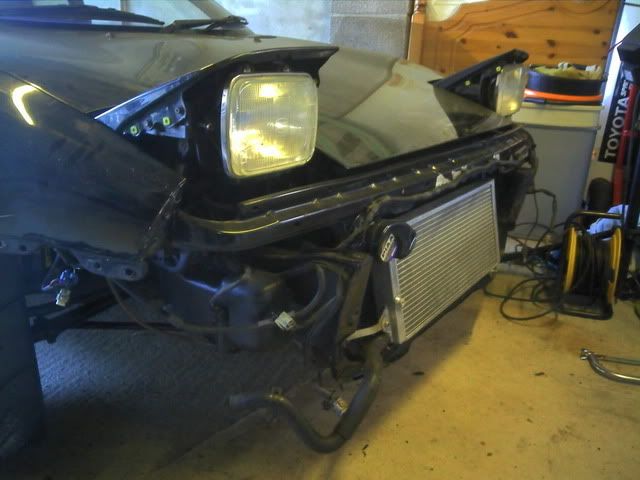
Then fit the front wing from my broken car as the black front wing had a horrible kink in it and it just did not look right...

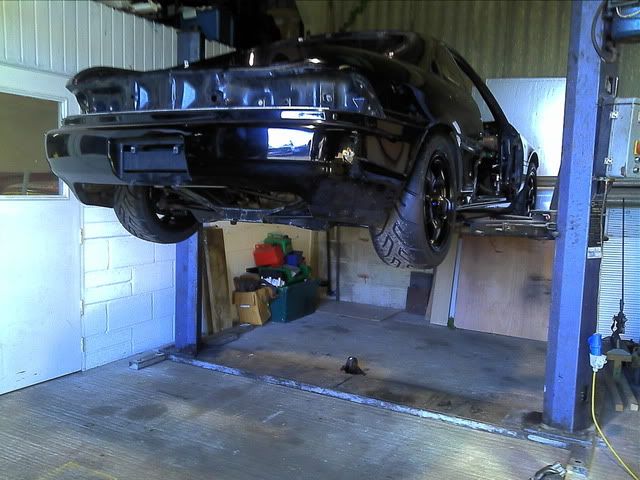
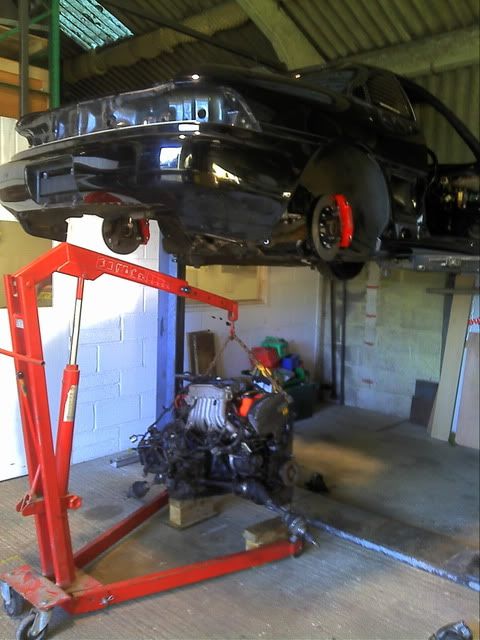
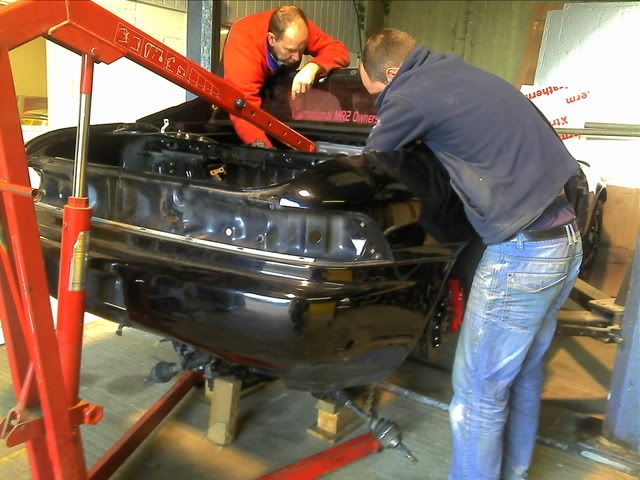
We then pushed the car to the workshop ready to get the engine back in... Friends have now had ramps installed Made life much easier getting the engine in!!
Tomorrow I will couple up all the electrics, fuel, clutch and radiator etc and see if I can get her running  I also need to get the skirts and front bumper fitted ready for paint in 2 weeks.... She is almost there not long now and we will be itching to get out on track
Then fit the front wing from my broken car as the black front wing had a horrible kink in it and it just did not look right.
We then pushed the car to the workshop ready to get the engine back in.
Tomorrow I will couple up all the electrics, fuel, clutch and radiator etc and see if I can get her running
-
Steve Horrocks
- Posts: 7172
- Joined: Thu Dec 16, 2004 6:39 pm
- Location: Oldham
Re: SW20 TSS Build
Top effort Chris!
Re: SW20 TSS Build
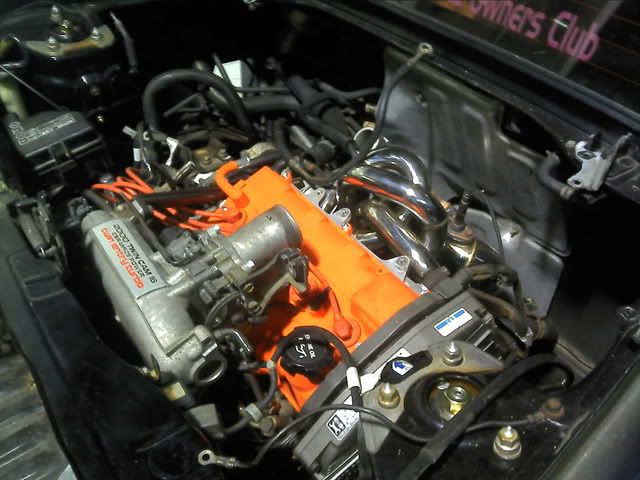
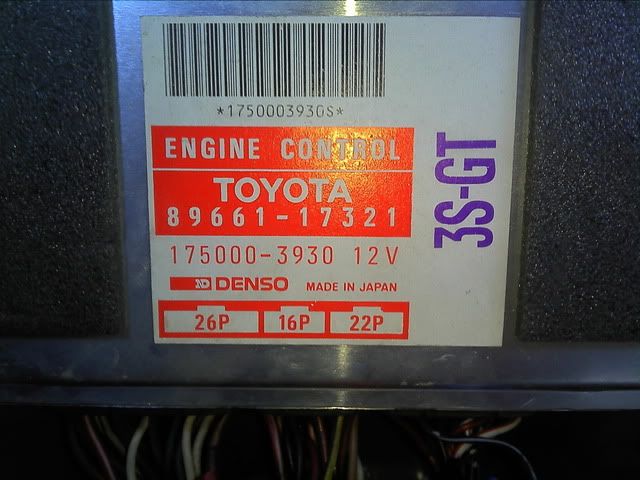
Today did some more of the car as I'm fast running out of time!! Firstly as the engine was back in place I put back my ECU and just for the TSS boys I have added a pick of my Standard ECU to keep me in Class A3 Pro
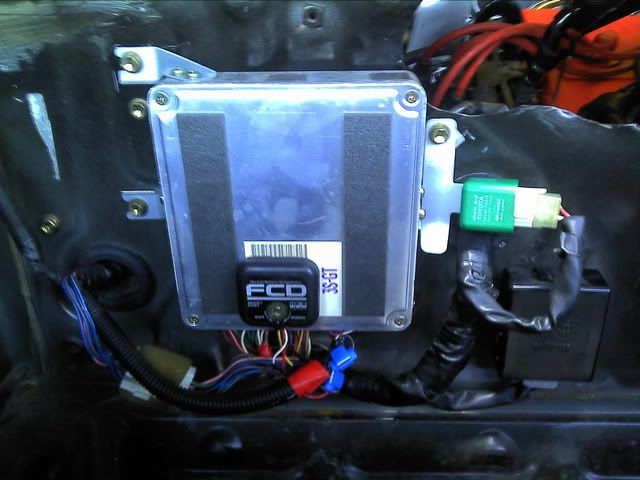
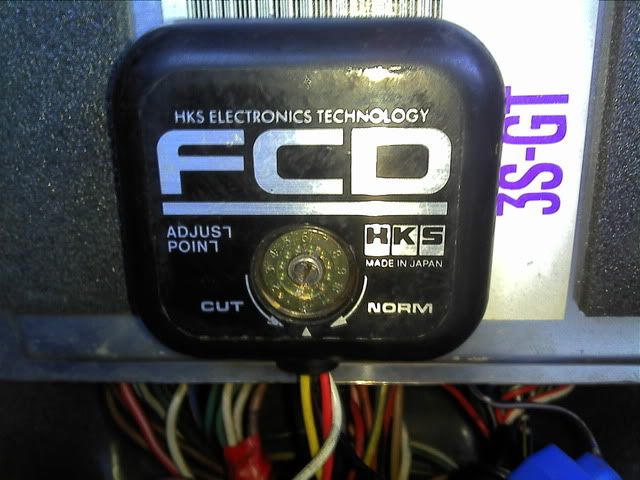
I then wired in the HKS FCD
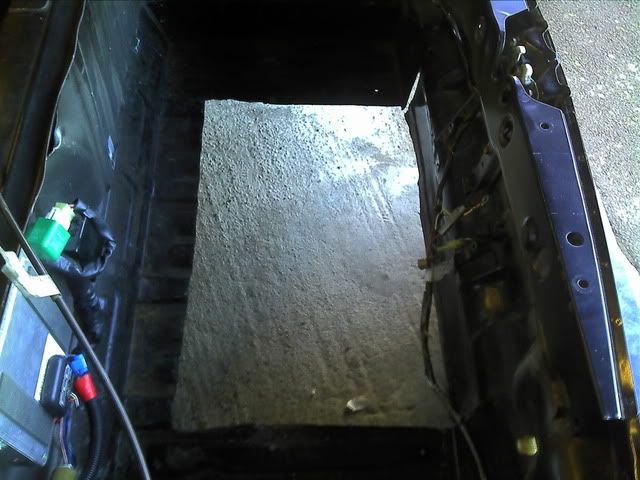
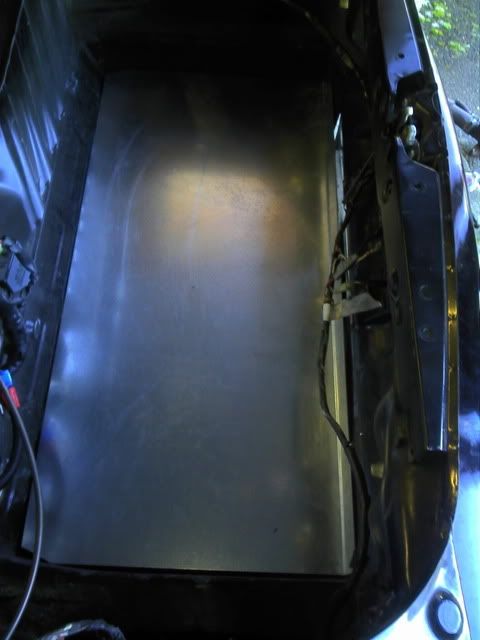
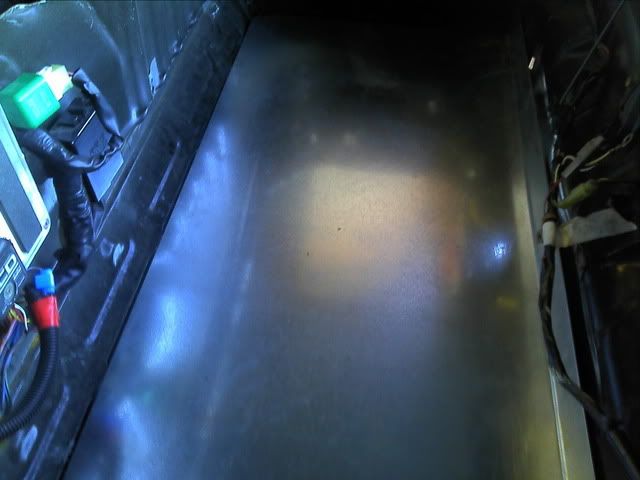
While sorting out the boot area as it had been cut out to fit a intercooler and I have a charge cooler I decided rather than get loads of drag to fix the boot floor..
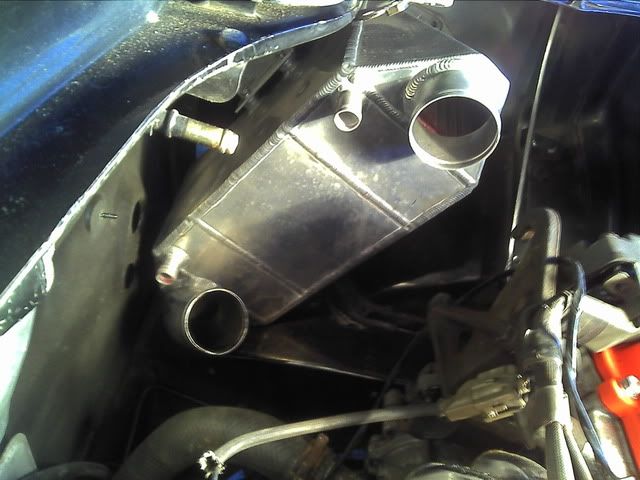
With this sorted I put the wires back into place for the rear lights and then concentrated on the rest of the electrics. The loom was fed back into the passenger side of the car. I then fitted the fuse box, coilpack etc.. Before too much else went back in I put the charge cooler core back into position.
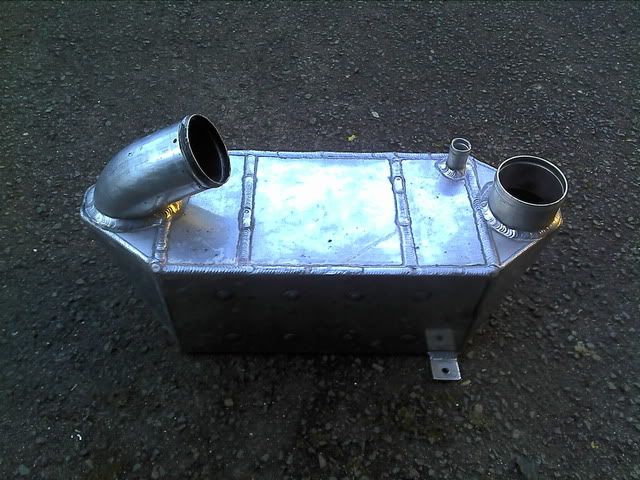
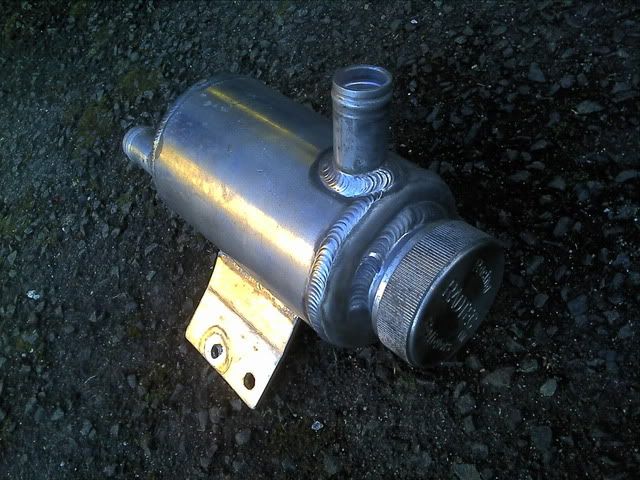
Re fitted the swirl pot for the charge cooler..
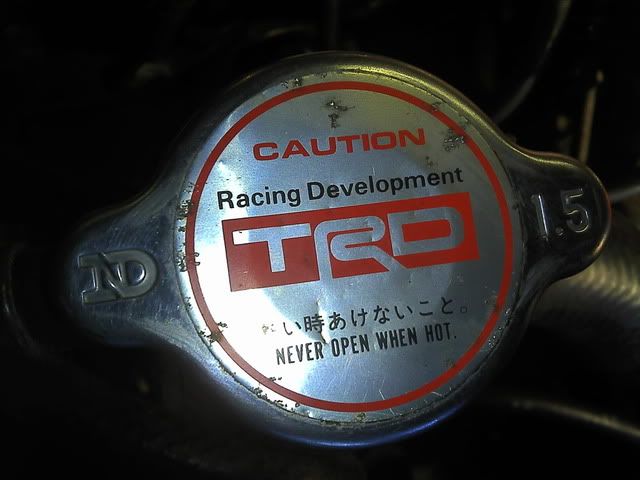
Fitted the radiator pipes and all the cooling pipes..
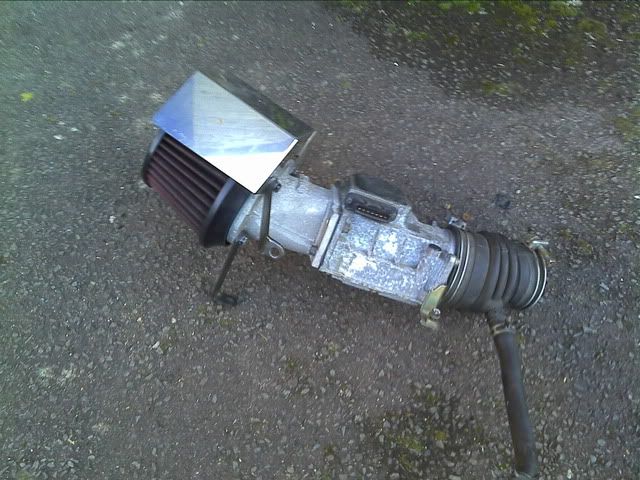
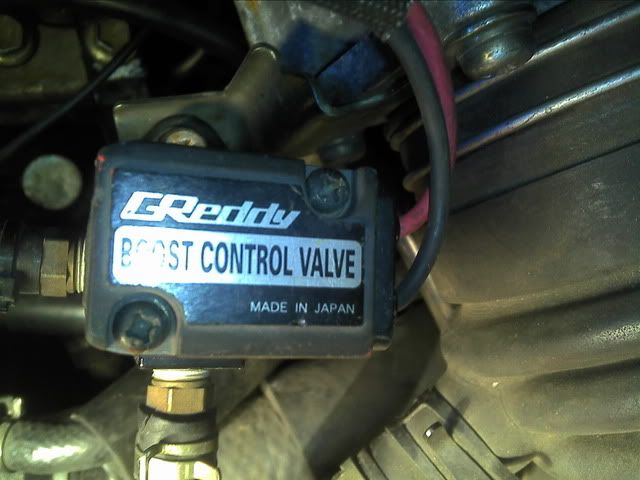
Then my greddy boost controller engine side.. and Apexi Filter..
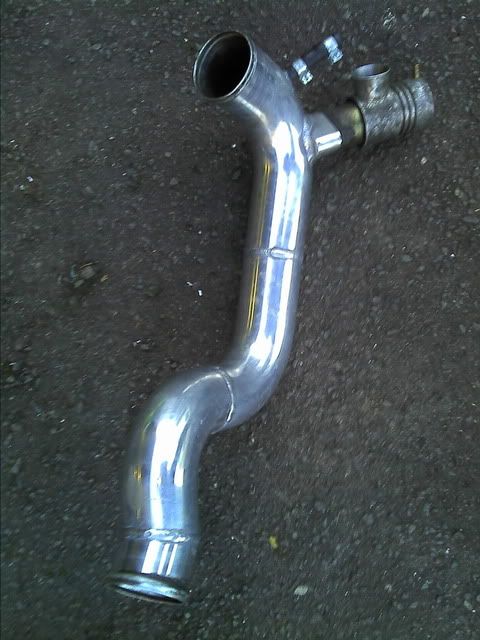
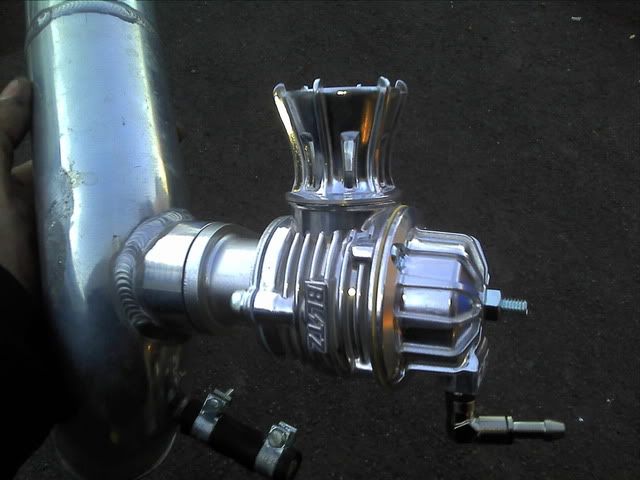
Next I could fit the rest of the charge cooler pipes. While doing this I also fitted my nice new Blitz BOV.
old BOV on the car when I bought it..

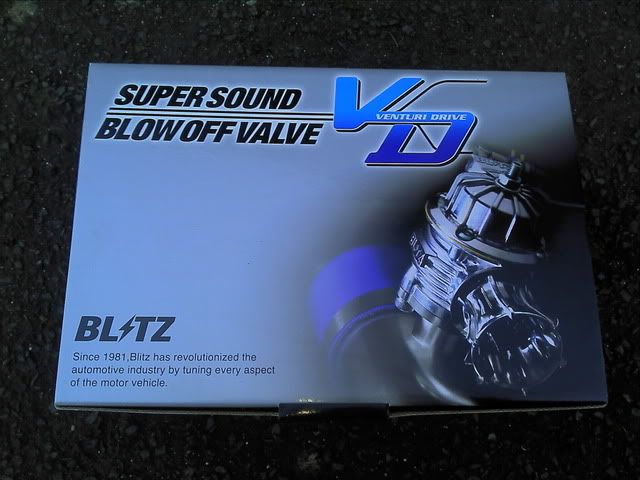
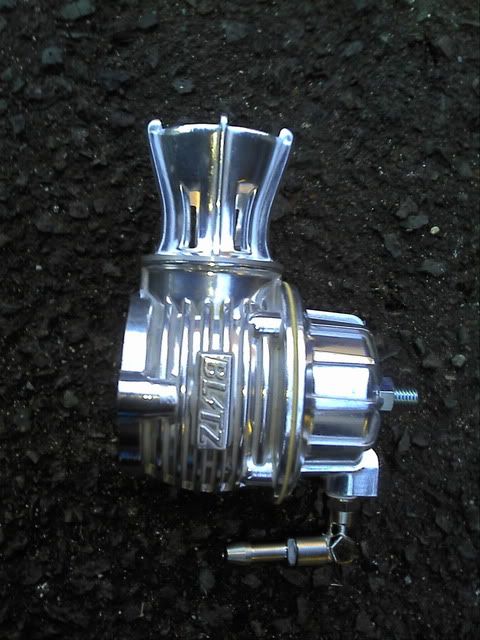
Nice New Blitz one.. I figure if I'm selling these parts I ought to use them
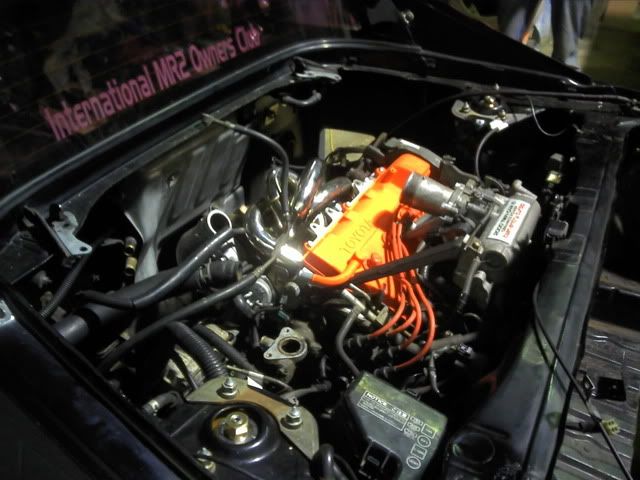
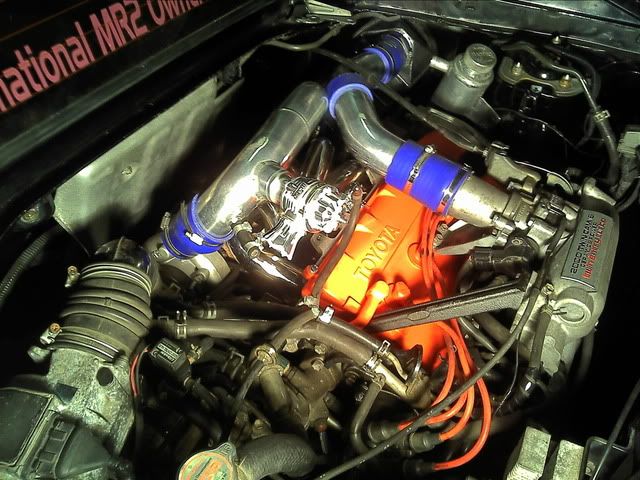
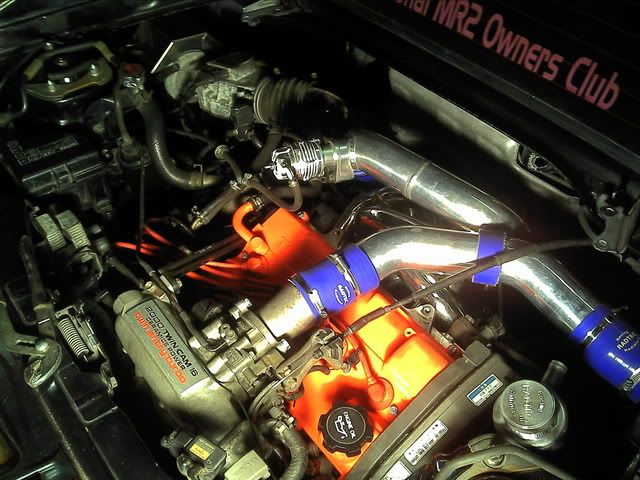
And this is how the engine bay is now looking.. Just need to sort out a rear strut brace as the standard one will not really fit as the manifold means I have had to put the charge cooler pipes higher than before. I have something in mind for this and will be selling them..... Watch this space..
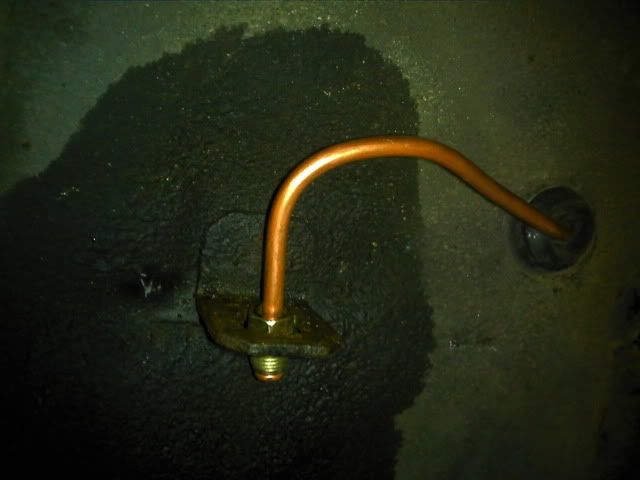
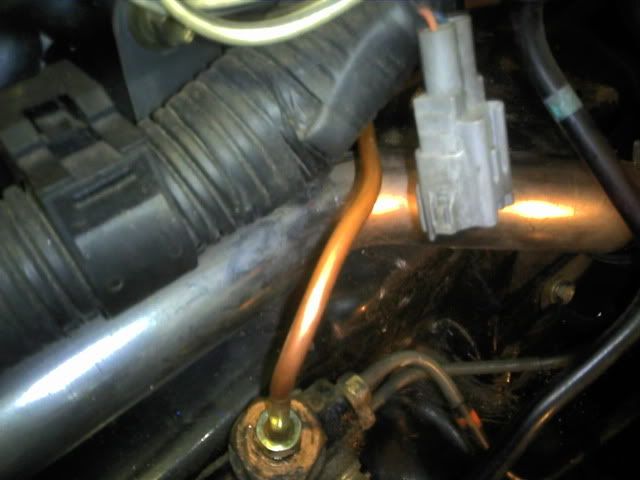
Last but not least, I fitted a new brake line to the front as mine had corroded so much it would not undo so had to cut the pipe off to attach the braided lines!
OK so still left to do next Sunday ready for paint... Connect the clutch, gear linkage, wires inside car, charge cooler pump and water pipes to pre-rad, fit doors, fit TOMS bumper and skirts... then finally rub down and prep the paint for respray!! Not much then!! Going to take some doing......
I then wired in the HKS FCD
While sorting out the boot area as it had been cut out to fit a intercooler and I have a charge cooler I decided rather than get loads of drag to fix the boot floor.
With this sorted I put the wires back into place for the rear lights and then concentrated on the rest of the electrics.
Re fitted the swirl pot for the charge cooler.
Fitted the radiator pipes and all the cooling pipes.
Then my greddy boost controller engine side.
Next I could fit the rest of the charge cooler pipes.
old BOV on the car when I bought it.
Nice New Blitz one.
And this is how the engine bay is now looking.
Last but not least, I fitted a new brake line to the front as mine had corroded so much it would not undo so had to cut the pipe off to attach the braided lines!
OK so still left to do next Sunday ready for paint.
Re: SW20 TSS Build
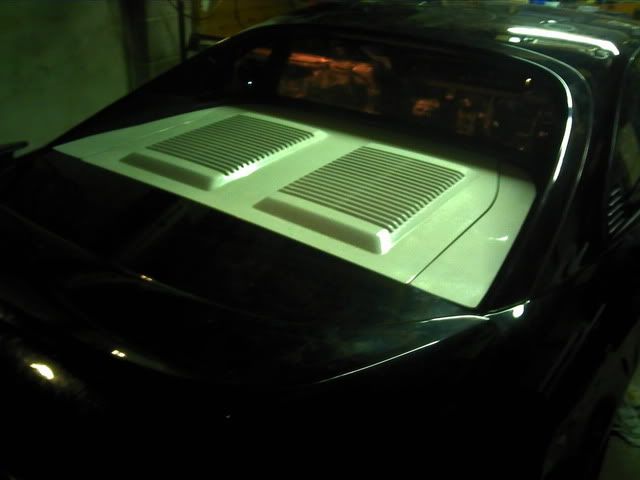
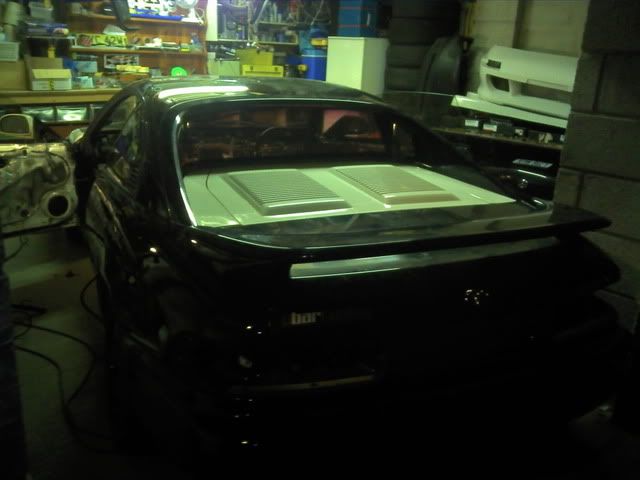
OK so this weekend I re-fitted the doors and got all the parking dents taken out by WIZ PDR (www.wizpdr.co.uk) mobile dent guy in Somerset. I then fitted the Engine lid, side panels and the boot lid, I decided to use my lid and panels as they were a bit better than Steve's old bits on the black car along with my old door without a big dent like the black one...
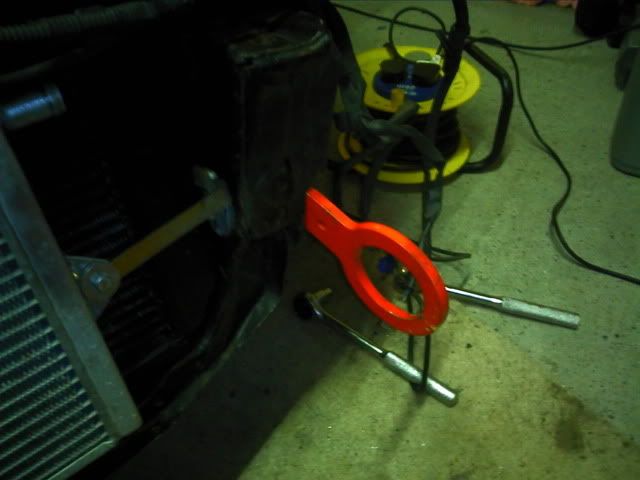
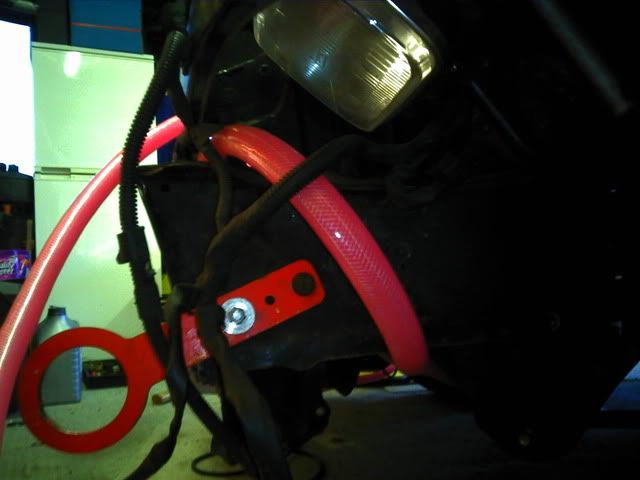
I then fitted the front towing eye as the other towing eyes will be inaccessible behind the TOMS bumper.
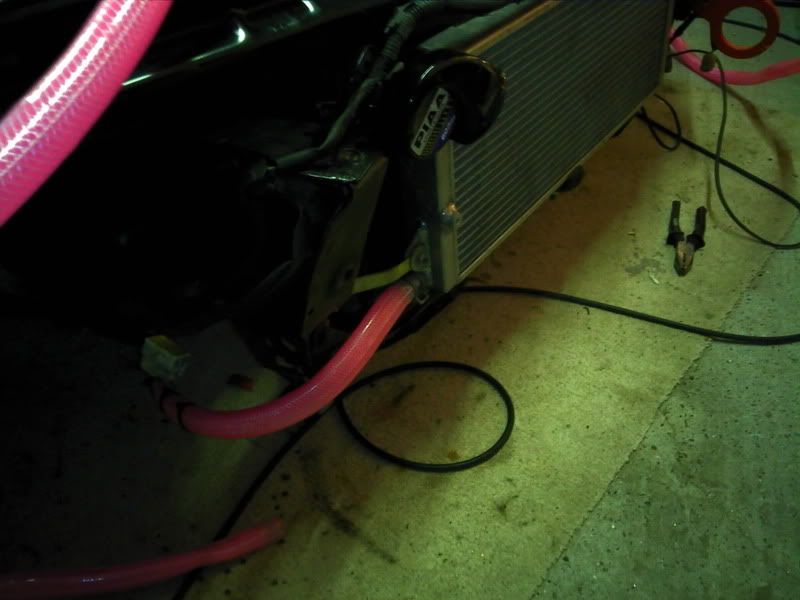
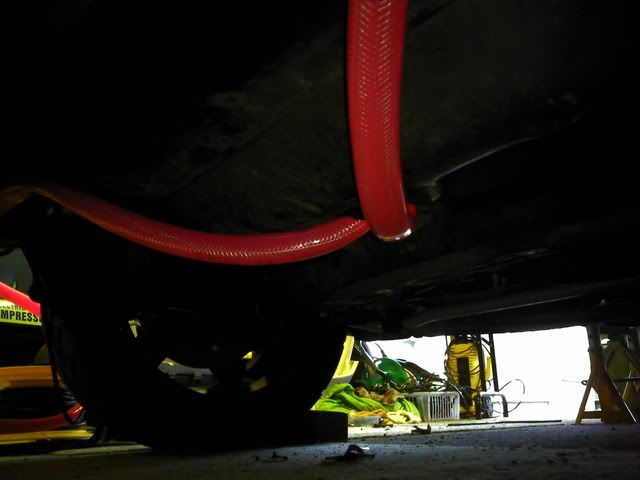
Next I finished off fitting all the charge cooler pipework to the pre rad at the front. I decided to utilise the heater pipes so this meant cutting a bigger hole in the front under the bonnet so that the pipes could come up and attach.


Next I fitted the body kit!! I can safely say I won't be selling these kits! Nightmare is not the word!! It took me the whole of today and to be fair its still not 100% but not bad I guess... I will be filling a few bits tomorrow, getting the doors back on then she is off for paint on sunday...

After paint I will finish the interior with cage and then see if she runs.. While the car is in for paint it's having new gearbox oil, clutch fluid, brake fluid prob Millers 300+ and then full geometry setup.... Not long now till I can have a drive!!!
I then fitted the front towing eye as the other towing eyes will be inaccessible behind the TOMS bumper.
Next I finished off fitting all the charge cooler pipework to the pre rad at the front.
Next I fitted the body kit!! I can safely say I won't be selling these kits! Nightmare is not the word!! It took me the whole of today and to be fair its still not 100% but not bad I guess.
After paint I will finish the interior with cage and then see if she runs.
-
Steve Horrocks
- Posts: 7172
- Joined: Thu Dec 16, 2004 6:39 pm
- Location: Oldham
Re: SW20 TSS Build
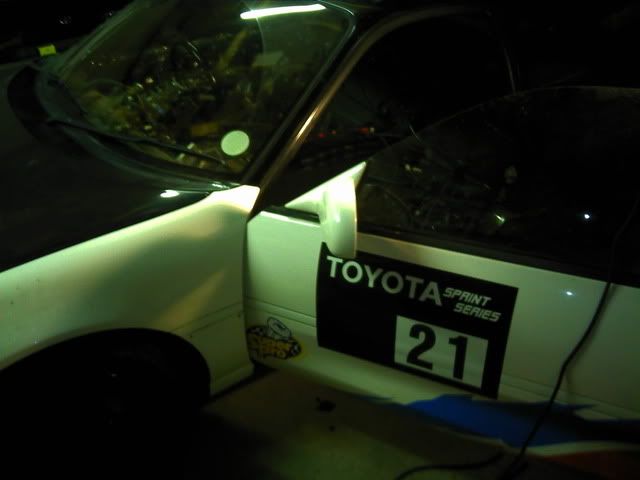
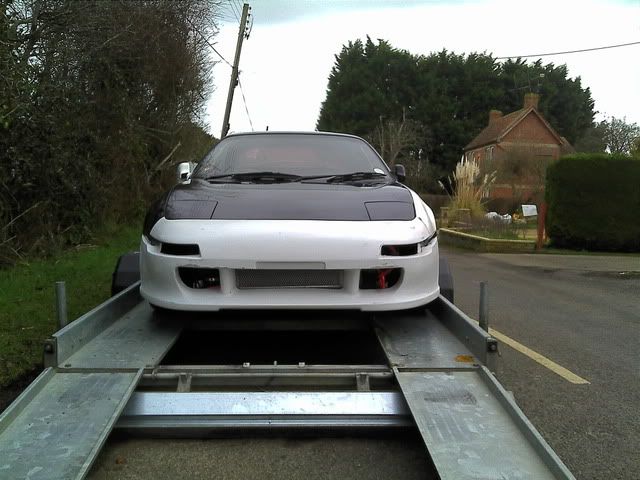
Awww it's still got my race number on from the last time I drove it!!!
She's looking better now Chris.
She's looking better now Chris.
Re: SW20 TSS Build
Moving along nicely, an inspiration....
Re: SW20 TSS Build
Cheers for the support guys..... need it!! It's a lot to do on the weekend!! I have so far had 15 days on the car.. not bad without decent tools and my first build!
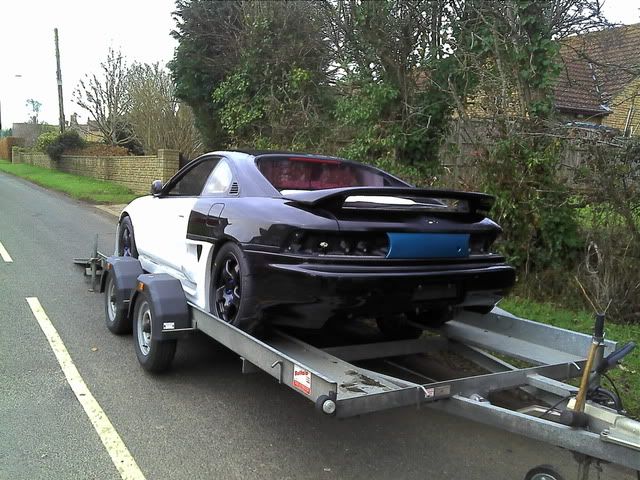
OK so I did some last bits of filling in holes, makins sure the fit of the bumper and skirts was as good as possible and then loaded here into the trailer and dropped off for paint..... While the paint is being done it's having the brake fluid and clutch fluid done, full suspension setup and new gearbox oil. I should get the car back in a week then its interior time and see if she runs.....

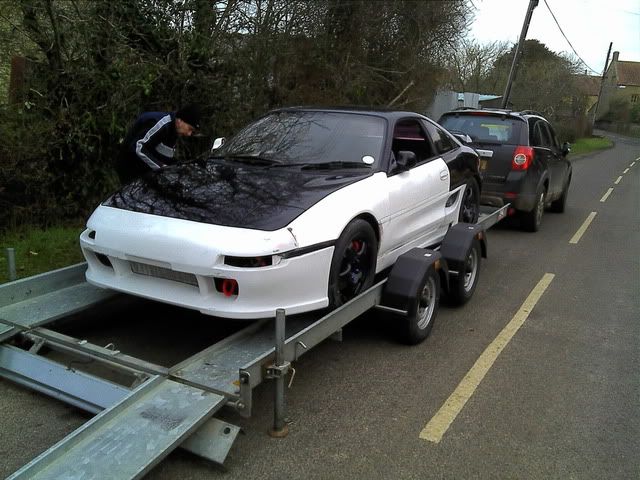

Can't wait until its all one colour rather than 3!!!! Oh ordered some alloy door cards today Need to stop spending!!
OK so I did some last bits of filling in holes, makins sure the fit of the bumper and skirts was as good as possible and then loaded here into the trailer and dropped off for paint.
Can't wait until its all one colour rather than 3!!!! Oh ordered some alloy door cards today
Re: SW20 TSS Build
You'll never stop spending, there's always 'one more thing'......
Makes for a good read though
Makes for a good read though