The journey of one man and his Mule(s)
Moderators: IMOC Moderators, IMOC Committee Members
Re: The journey of one man and his Mule(s)
forgot to ask when you added the inserts to your standard door cards did you have any issues with them overlapping the window buttons  ?
?
-
synXero
- Posts: 3781
- Joined: Fri May 28, 2010 12:04 pm
- Location: London, Edinburgh, or the Highlands!
Re: The journey of one man and his Mule(s)
I got a red alcantara one from Steve@EdgeAutomotive many moons ago.

Much like yourself, all my red didn't glow as much as it looks like it does
Much like yourself, all my red didn't glow as much as it looks like it does
Re: The journey of one man and his Mule(s)
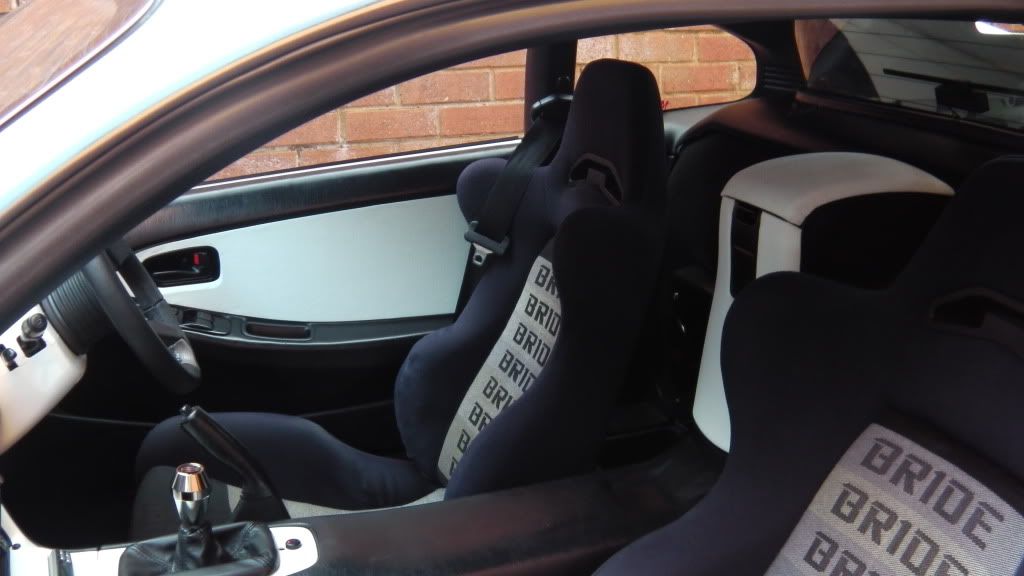
are those the evo 7 seats peter gidden was telling me about ?
-
Magic Beans
- Posts: 4793
- Joined: Thu Nov 24, 2011 1:01 pm
- Contact:
Re: The journey of one man and his Mule(s)
alan_uk wrote:that looks ace mate were did you get the material from
I bought it from a supplier in the states, however I've since found you can buy it in the UK, from websites who supply teddy bear materials
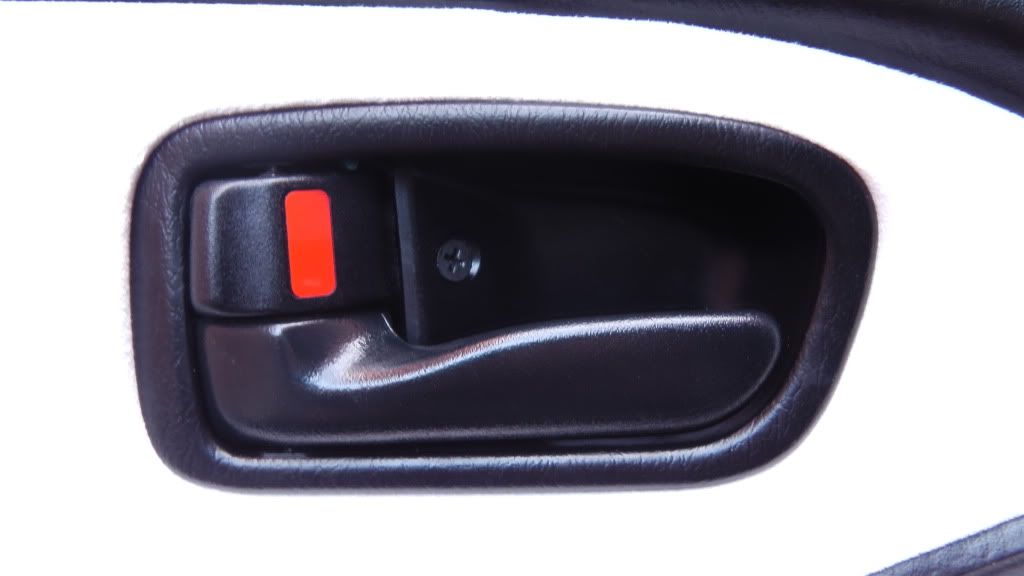
Doorcards wise they are fine with the switches, however the door release handle cups were tricky to get lined up when back in place.
-
Magic Beans
- Posts: 4793
- Joined: Thu Nov 24, 2011 1:01 pm
- Contact:
Re: The journey of one man and his Mule(s)
synXero wrote:I got a red alcantara one from Steve@EdgeAutomotive many moons ago.
Much like yourself, all my red didn't glow as much as it looks like it does
Very nice
I toyed with getting one made for me but I'm always up for the challenge trying something myself.
Re: The journey of one man and his Mule(s)
cool yea i gad the same problem i done what you have in my old rev2 but had them padded also when trimmed so didnt help i also had the trouble with the door cups and dont want to break them as there like hens teeth to find lol
am on the look out for some inserts at min if you know of any
and i think ill just wrap in black leather flat to try give me a better chance
am on the look out for some inserts at min if you know of any
and i think ill just wrap in black leather flat to try give me a better chance
-
Magic Beans
- Posts: 4793
- Joined: Thu Nov 24, 2011 1:01 pm
- Contact:
Re: The journey of one man and his Mule(s)
Are yours already leather? As in they're inserts and not bonded cloth?
Re: The journey of one man and his Mule(s)
No mate there rev5 cloth and my old 1s were cloth also
-
Magic Beans
- Posts: 4793
- Joined: Thu Nov 24, 2011 1:01 pm
- Contact:
Re: The journey of one man and his Mule(s)
That's a shame, as if I had a spare set of panels I could have made you a pair. Or you could have had my LSC inserts and I'll knock up a white set. I'll see if I can find some, as it seems a shame to remove the leather of mine 
Re: The journey of one man and his Mule(s)
Sounds good to me mate ill have a look out for some too
-
Magic Beans
- Posts: 4793
- Joined: Thu Nov 24, 2011 1:01 pm
- Contact:
Re: The journey of one man and his Mule(s)
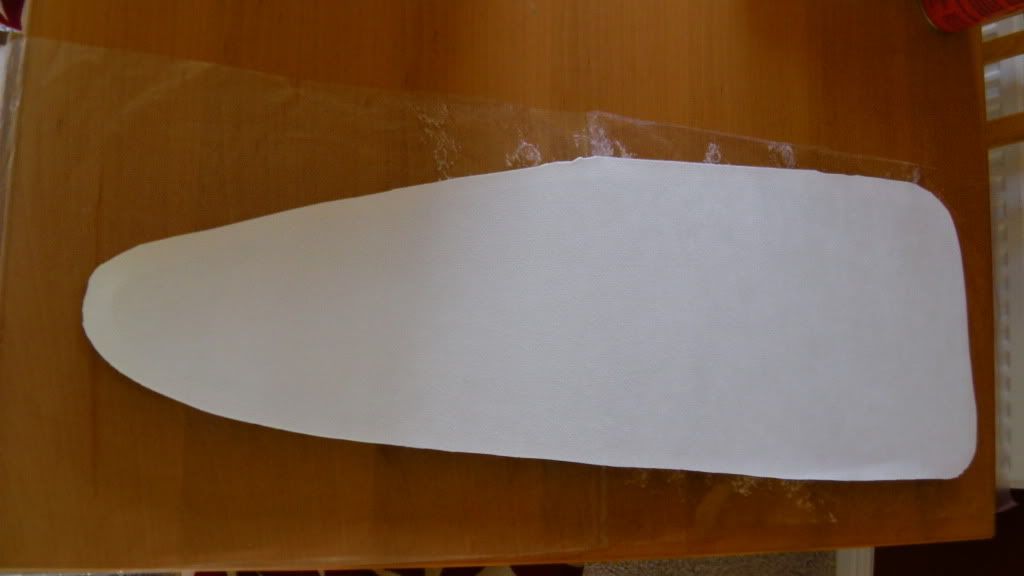
After a few more days spent with fabric, glue and tailoring scissors, the door card inserts are done 
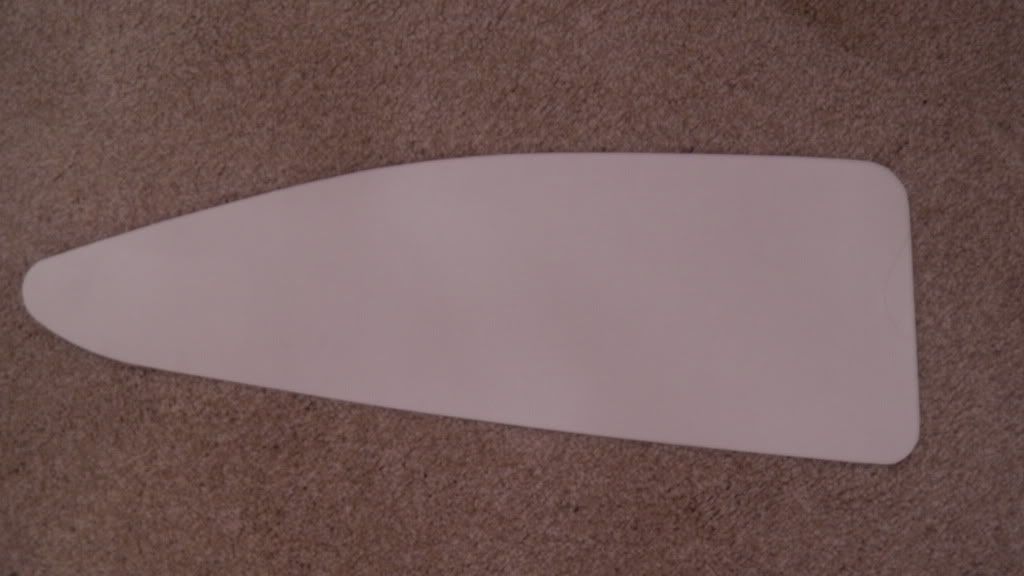
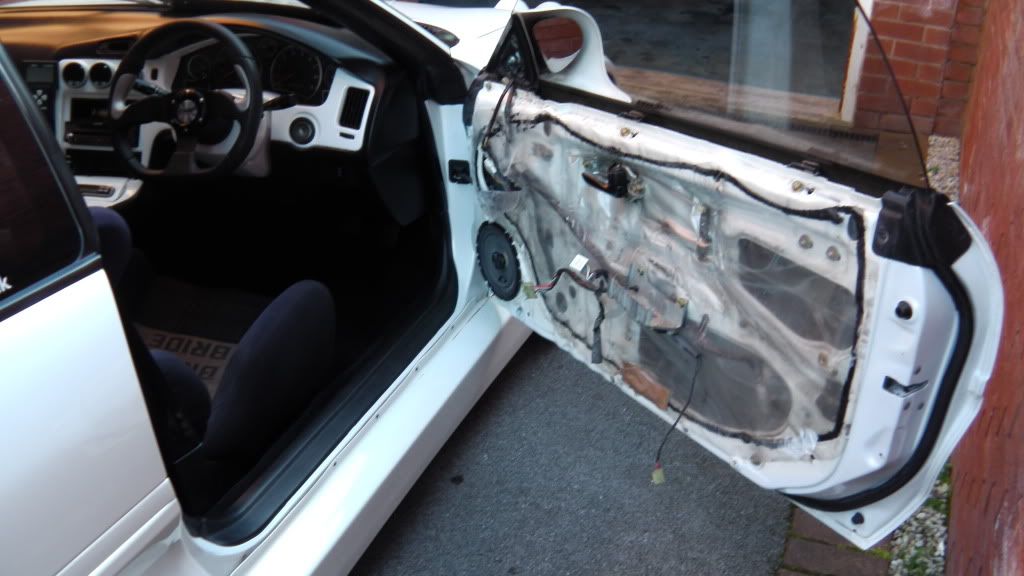
The first job was to remove them from the car, obviously *Cue a barrage of terrible photos* 
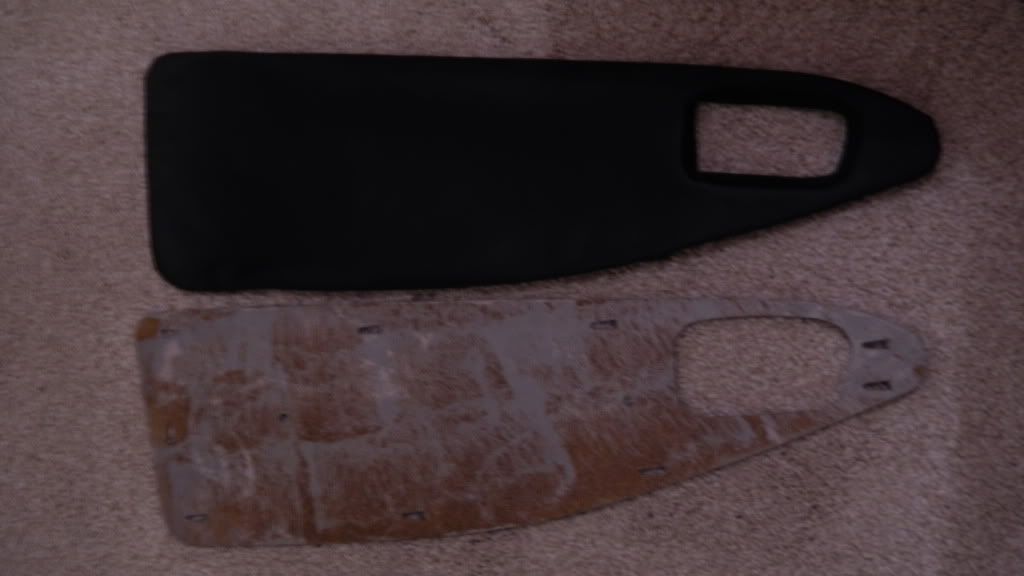
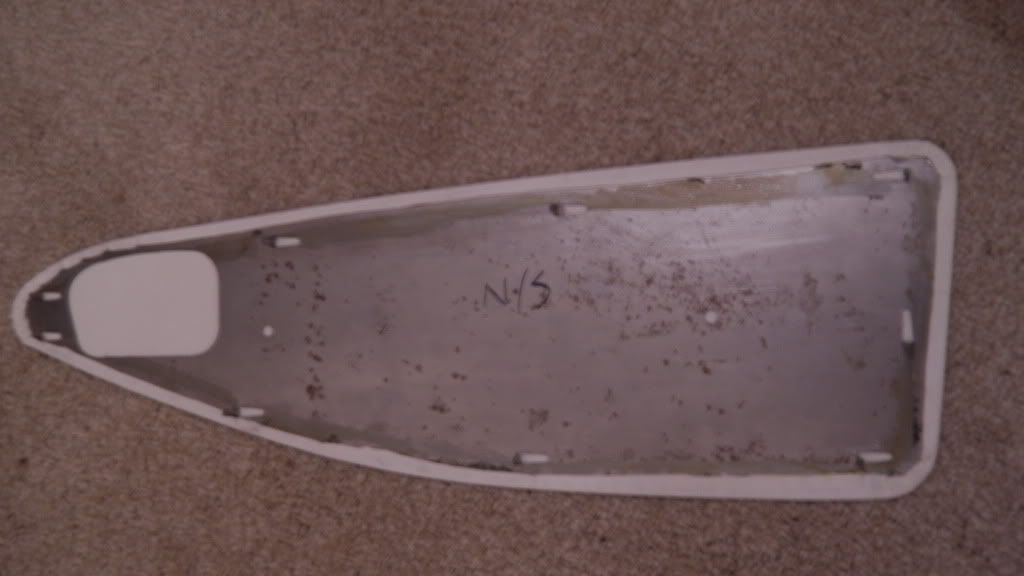
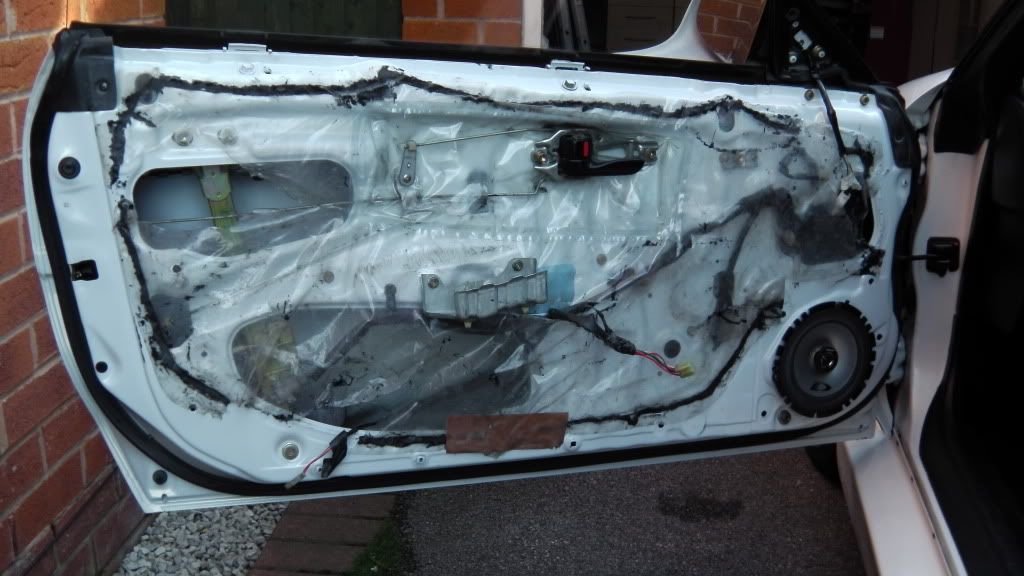
Time to remove the LSC custom leather inserts which were in there

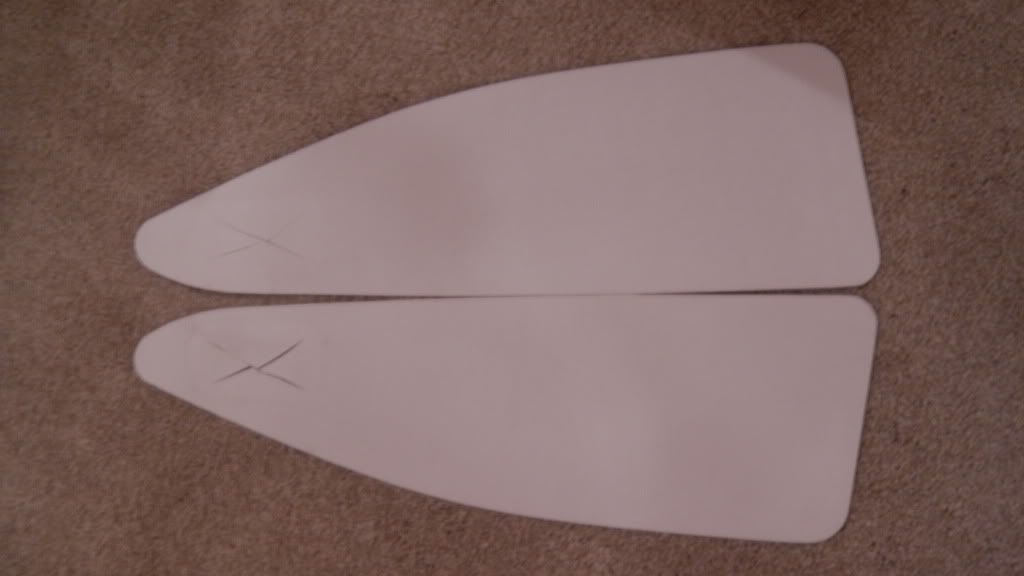
Best mark them, just in case
It took some time to carefully remove the leather covers, as they'll be used again in the future

You know the drill by now, glue, clamps and time
By the time I'd got to the other side I'd refined my technique and cut a good 50% off the time, as well as making it far less fiddly. Should make the next set much easier to do
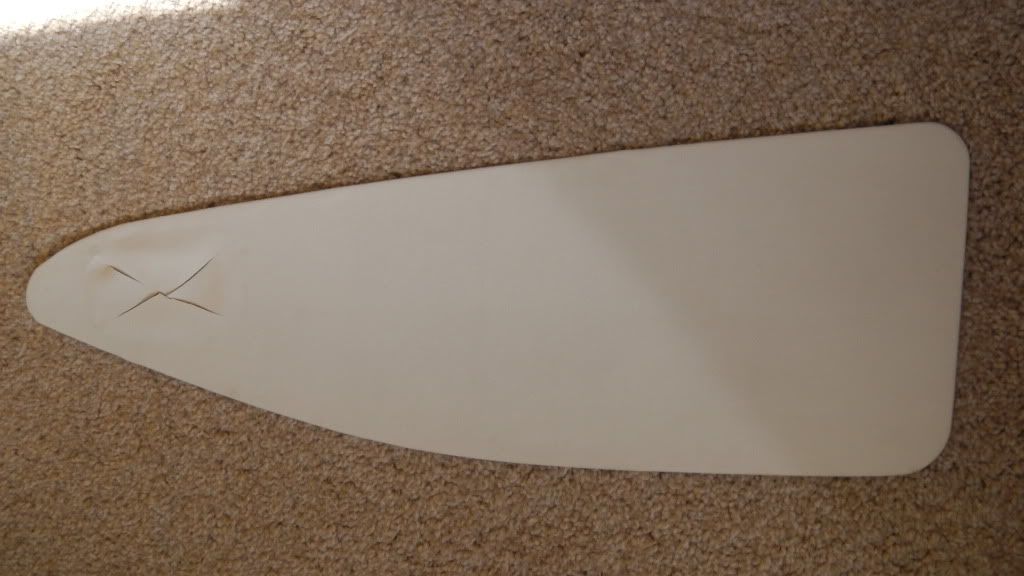
One side done and the handle openings cut
And the other side
This horrible photo was supposed to show the folds and detail work on the back of the cards. However it's blurry goodness just shows the back as a washed out blob Anyway, here it is
The pair ready to be mounted
One done
The other side
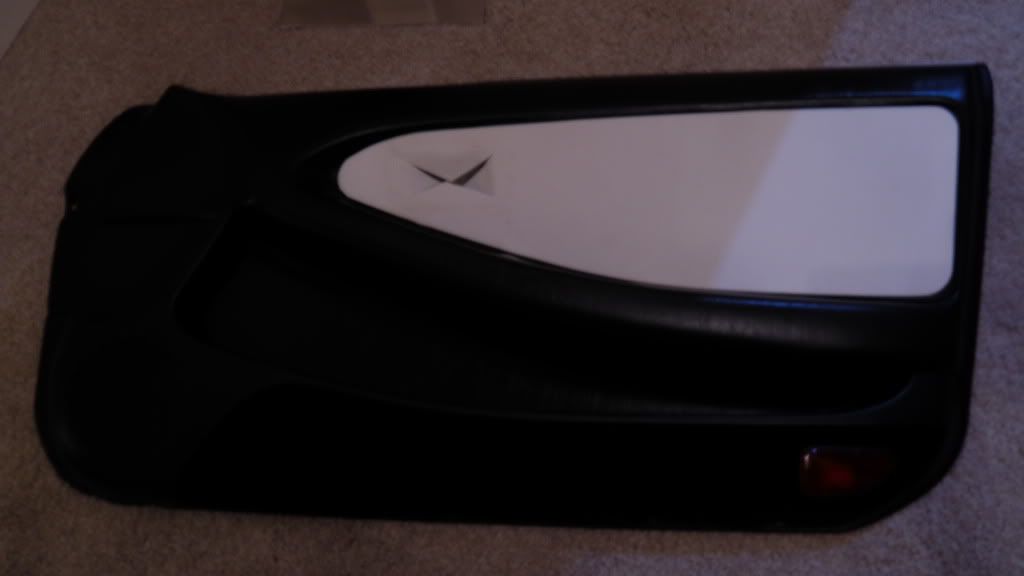
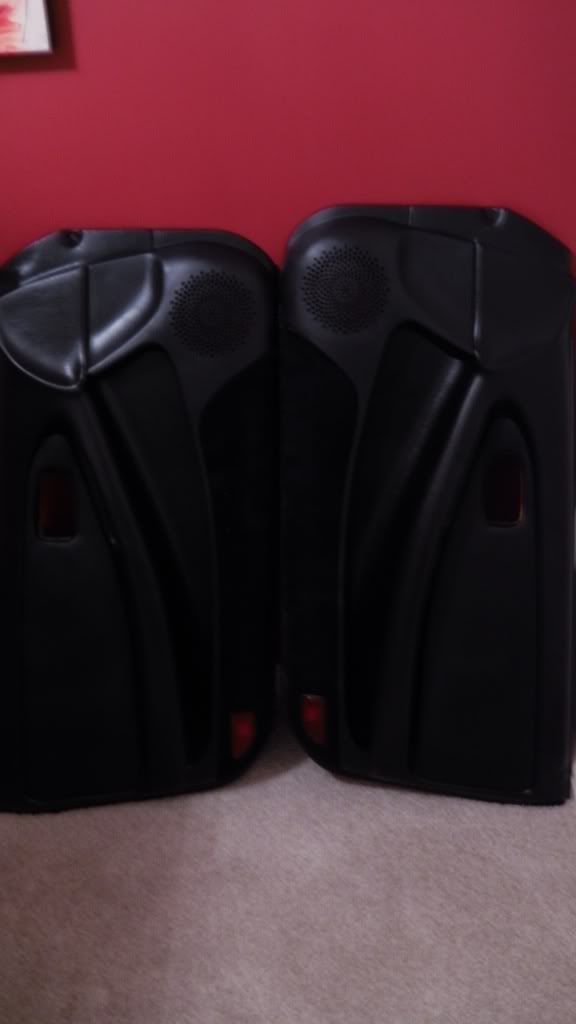
The pair together, ready to go in the car tomorrow
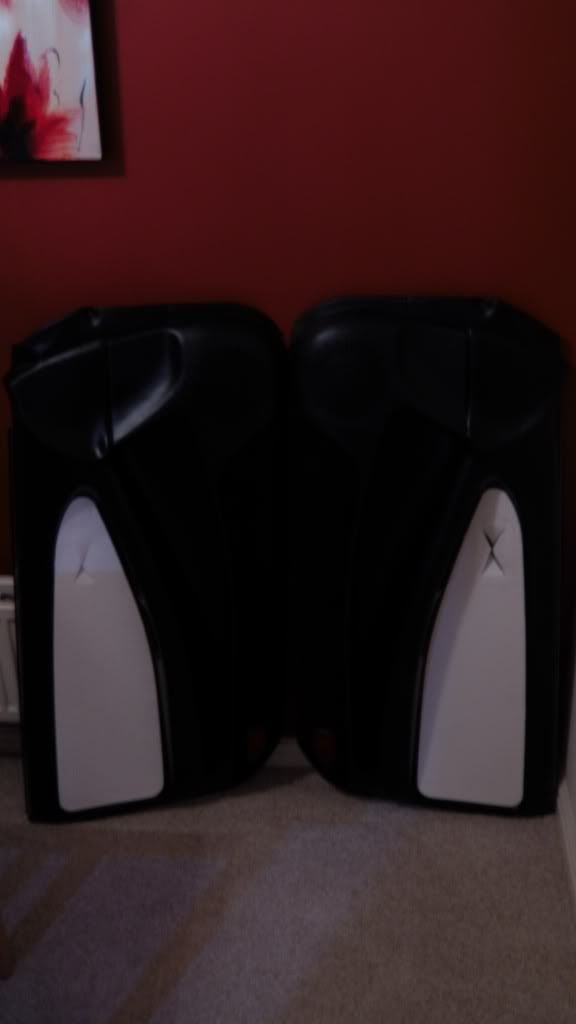
All in all I'm really pleased with the results. I'd love to be able to show them properly but struggle with the light balance on my current camera. Not for much longer though
Tomorrow they go in the car, today it's time for the red wine 
The first job was to remove them from the car, obviously
Time to remove the LSC custom leather inserts which were in there
Best mark them, just in case
It took some time to carefully remove the leather covers, as they'll be used again in the future
You know the drill by now, glue, clamps and time
By the time I'd got to the other side I'd refined my technique and cut a good 50% off the time, as well as making it far less fiddly.
One side done and the handle openings cut
And the other side
This horrible photo was supposed to show the folds and detail work on the back of the cards.
The pair ready to be mounted
One done
The other side
The pair together, ready to go in the car tomorrow
All in all I'm really pleased with the results.
Tomorrow they go in the car, today it's time for the red wine
Re: The journey of one man and his Mule(s)
they look ace mate a job well done
Re: The journey of one man and his Mule(s)
Super-di-dooper...
-
Magic Beans
- Posts: 4793
- Joined: Thu Nov 24, 2011 1:01 pm
- Contact:
Re: The journey of one man and his Mule(s)
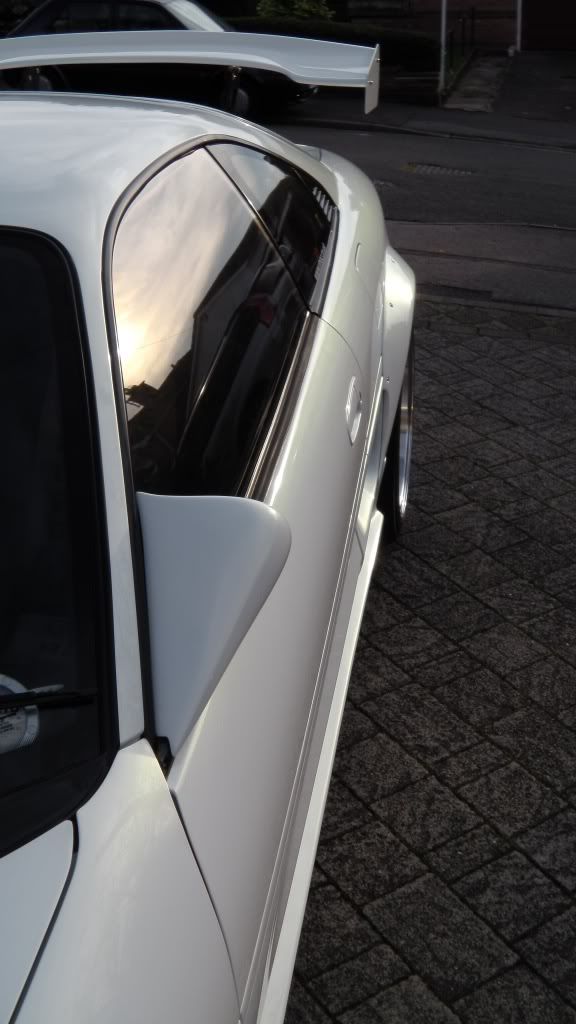
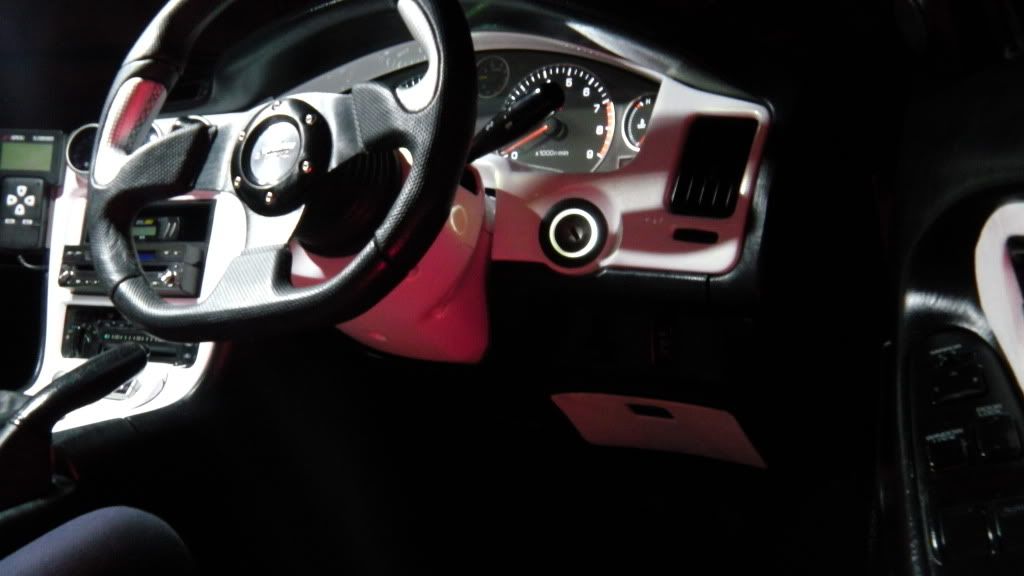
It's a new day and the sun has graced us with it's presence  Time to fit these door cards.
One done

Other side
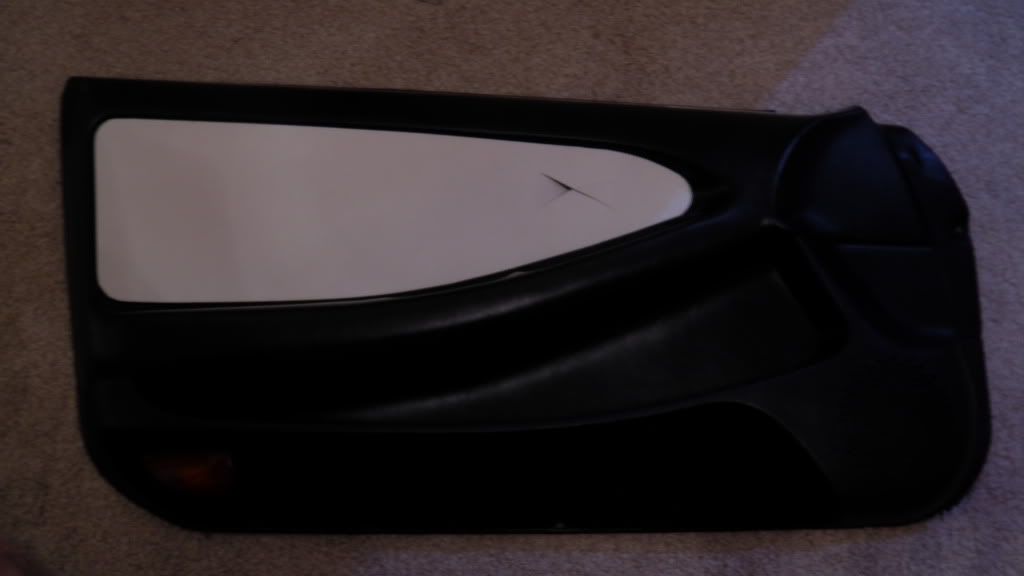
Done
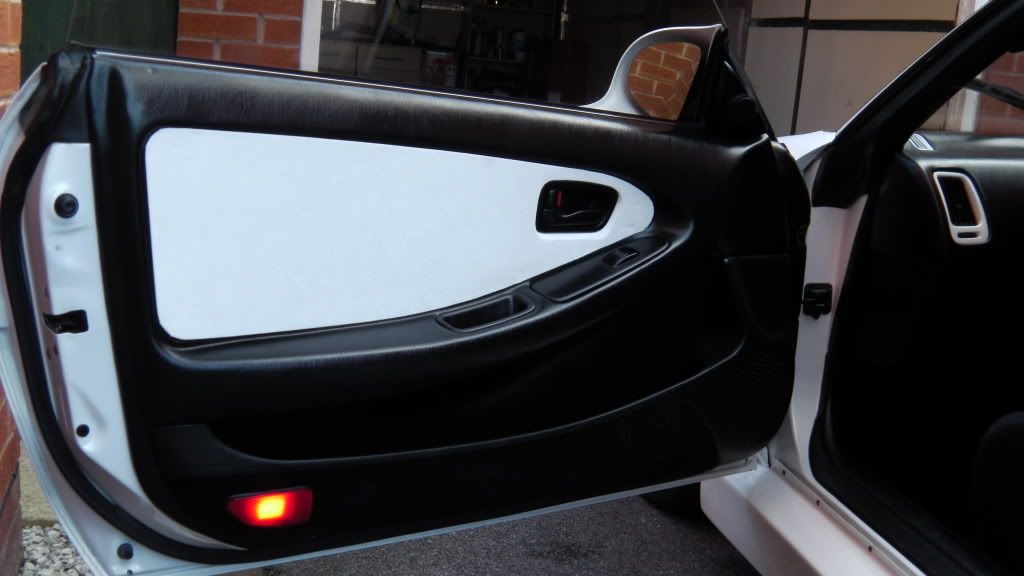
I always had an issue with the fit of the plastic behind the handle with the last cards, which I kept in mind when trimming these. Thankfully it seems to have paid off, as they fit perfectly 
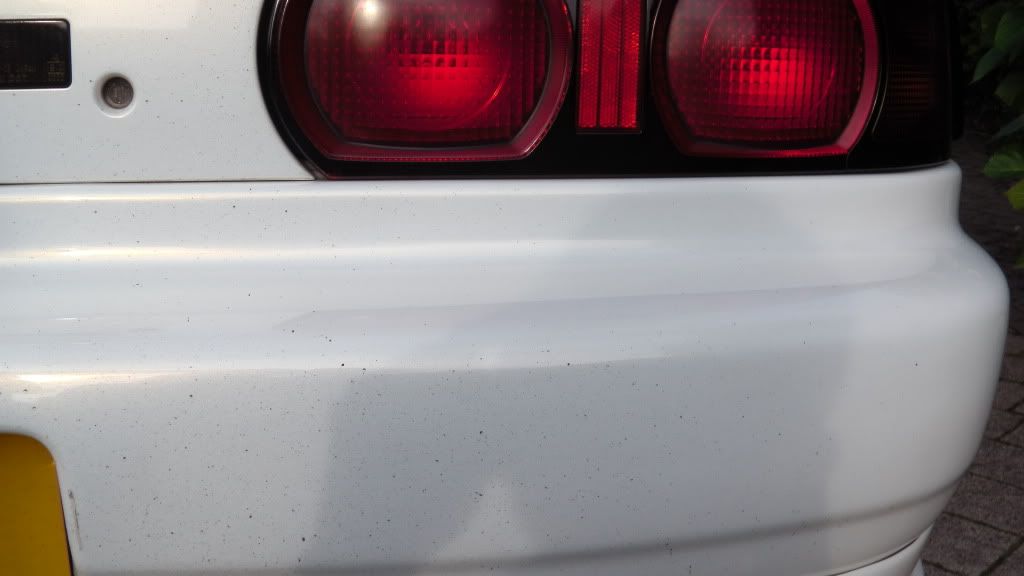
Everything matches now
As the weather was so good it seemed the perfect opportunity to take the car out and see what difference the turbo blanket made. I'm very pleased to report it's made a significant difference to turbo spool. So much so it feels much like the previous CT20B, but with a HUGE kick when it hits full boost  Unfortunately I didn't pay that much attention to the spool times before, however now it starts to spool somewhere in the mid to high 2K RPM range, with hard boost coming the mid 3K RPM range. It looks to be a good 500+ RPM difference. In addition ambient engine bay temps are much lower and I've also noticed the turbo carries on spinning for around 30 seconds after the engine's turned off. Previous it carried on spinning for around 10 seconds.
Anyway, back to the pictures.
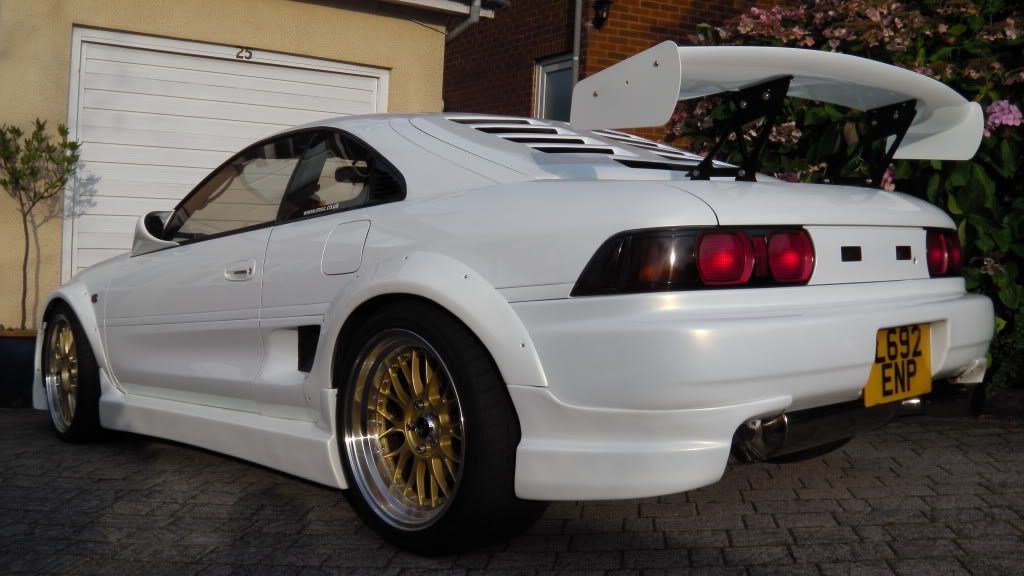
The same photo as before but a different location and light conditions. Probably a better representation of the actual colour of the new trim
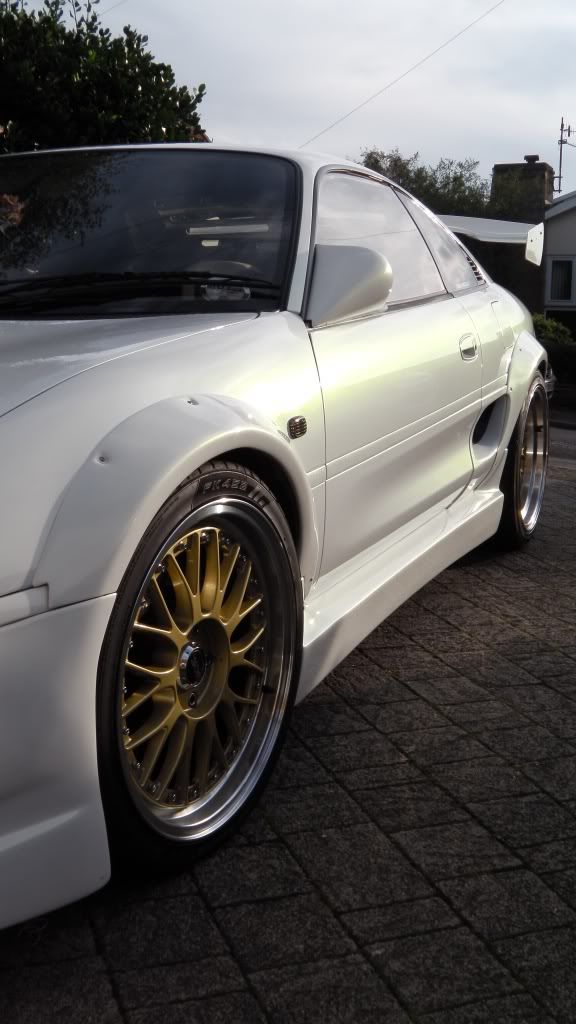
A few photos, just because I like taking photos 
The Mule likes sniffing flowers apparently

Definitely in need of a remap, as it's running a tad rich.
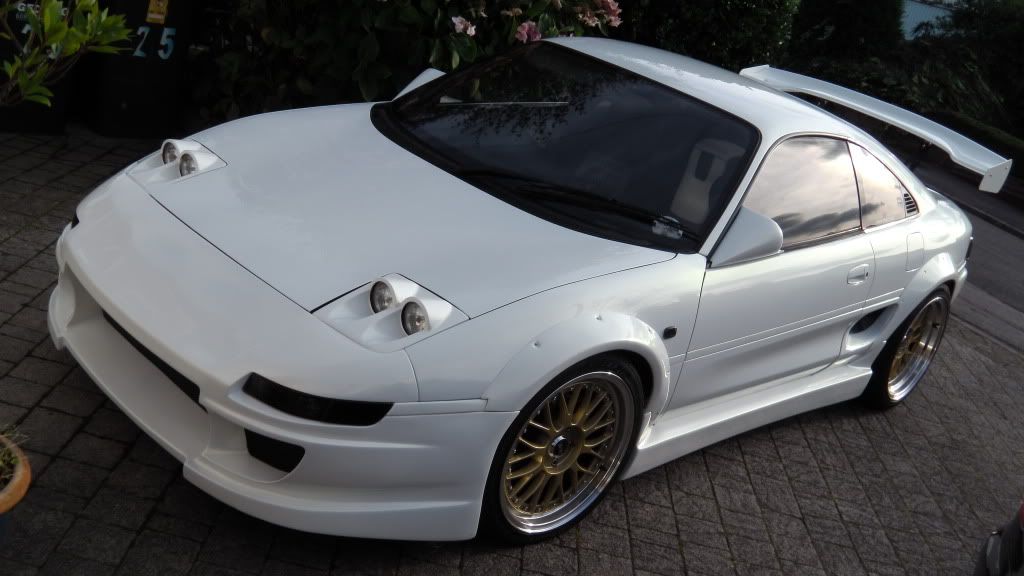
The pearl in the fading daylight
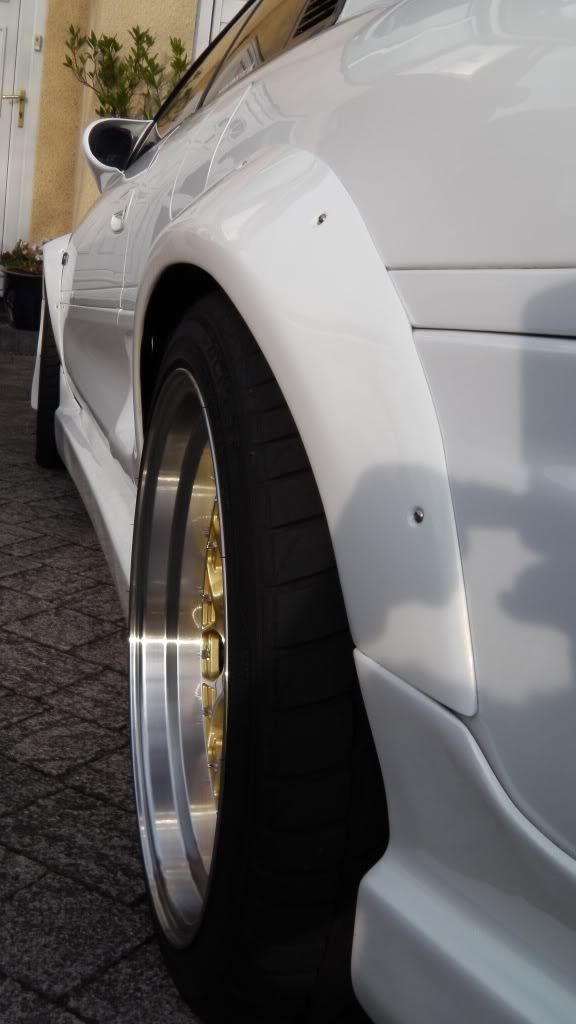
Really pleased with the recent additions. Another couple of jobs off the list, with water injection installation next up 
One done
Other side
Done
I always had an issue with the fit of the plastic behind the handle with the last cards, which I kept in mind when trimming these.
Everything matches now
As the weather was so good it seemed the perfect opportunity to take the car out and see what difference the turbo blanket made.
Anyway, back to the pictures.
The same photo as before but a different location and light conditions.
A few photos, just because I like taking photos
The Mule likes sniffing flowers apparently
Definitely in need of a remap, as it's running a tad rich.
The pearl in the fading daylight
Really pleased with the recent additions.
-
pistol pete
- Posts: 7068
- Joined: Mon Feb 11, 2008 5:47 pm
Re: The journey of one man and his Mule(s)
still looks just awesome
MR2 Sprint zombie outbreak response vehicle
https://www.facebook.com/pages/Zombie-S ... 0272127049
https://www.youtube.com/channel/UCNBrEd ... s-qbox0FwQ
https://www.facebook.com/pages/Zombie-S ... 0272127049
https://www.youtube.com/channel/UCNBrEd ... s-qbox0FwQ
Re: The journey of one man and his Mule(s)
you must get your bride seats trimmed in black leather with white leather inserts mate with of course bride embroided in to the center's
-
Magic Beans
- Posts: 4793
- Joined: Thu Nov 24, 2011 1:01 pm
- Contact:
Re: The journey of one man and his Mule(s)
Thanks peeps
I am planning on the Brides done but they'll be fabric, as leather is too slidey and always too hot or too cold. I've been toying with getting them done in neoprene but failing that it will be Bride style black fabric and new Bride logo middle pieces. Possibly a spot of embroidery
I am planning on the Brides done but they'll be fabric, as leather is too slidey and always too hot or too cold.
-
Magic Beans
- Posts: 4793
- Joined: Thu Nov 24, 2011 1:01 pm
- Contact:
Re: The journey of one man and his Mule(s)
Time for a bit of an update I guess.
First up is that I've arranged to go and see Ryan Surrey Rolling Road next Thursday to finally get a remap, after all the recent changes etc as part of the engine swap. What numbers it'll make I'm not sure, however the main thing for me is that it's perfectly set up and healthy
I also decided that I had too much material left over from the recent re-trim, so opted to use some to cover that little used, little seen storage pocket near the driver's leg.
So the recipe goes:
Take one storage box
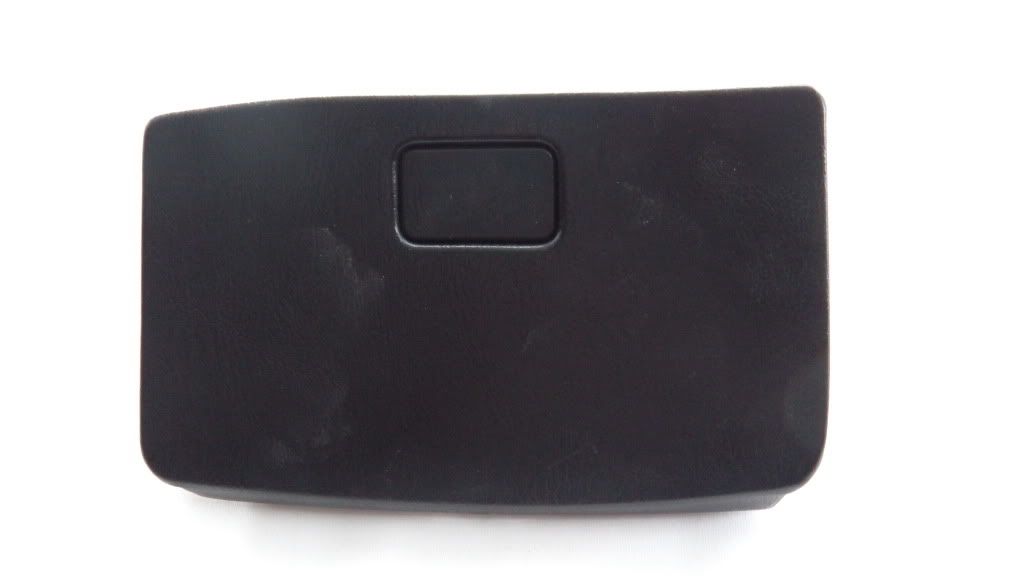
Disassemble and clean everything
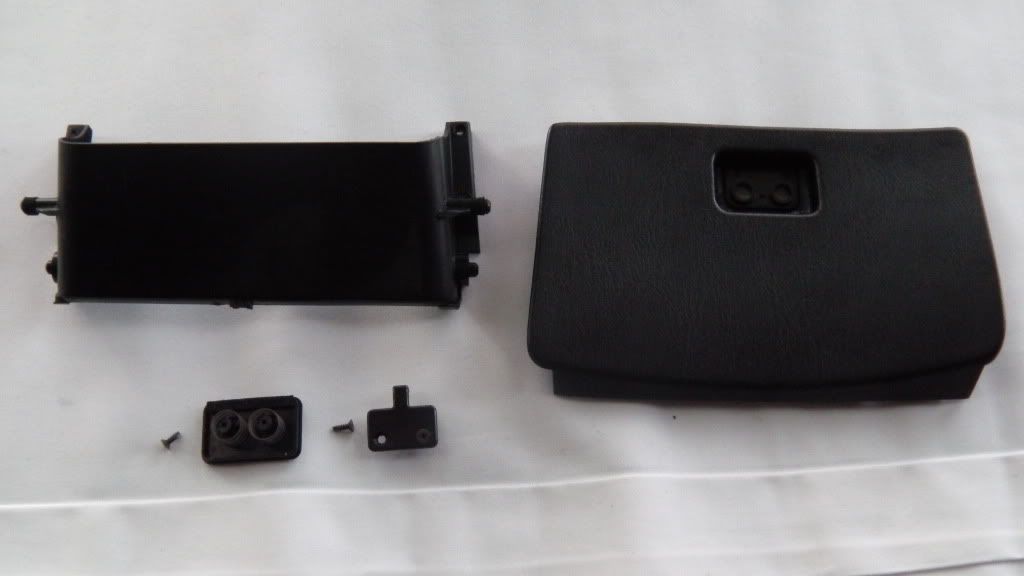
Take some spray glue, apply to the front, wait 30 seconds then slowly feed the material into place. The right way up of course
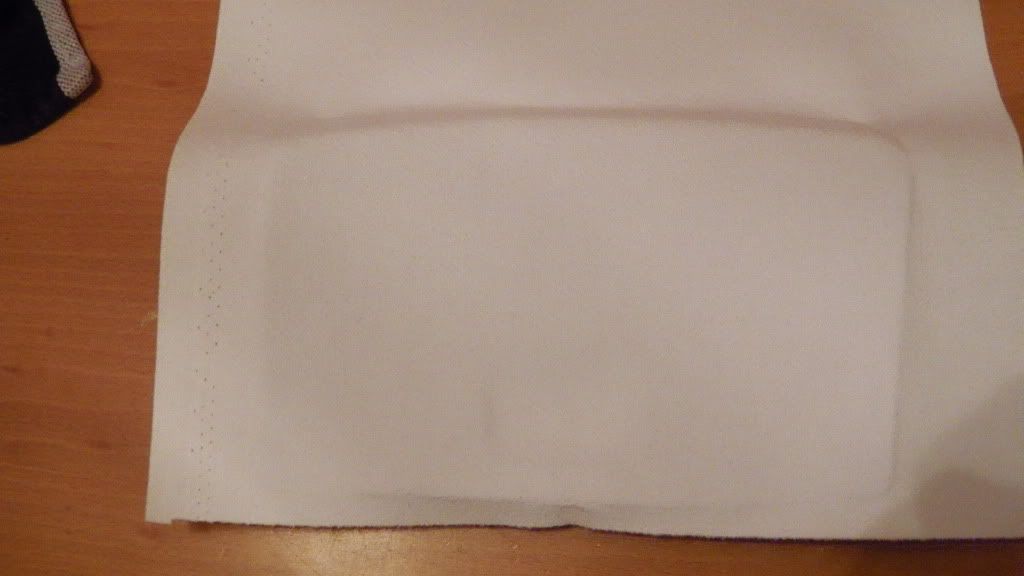
Once dry, lay it flat, take a sharp blade and slowly trim the perimeter

Trim out the centre area, where the release catch sits and glue flaps into place
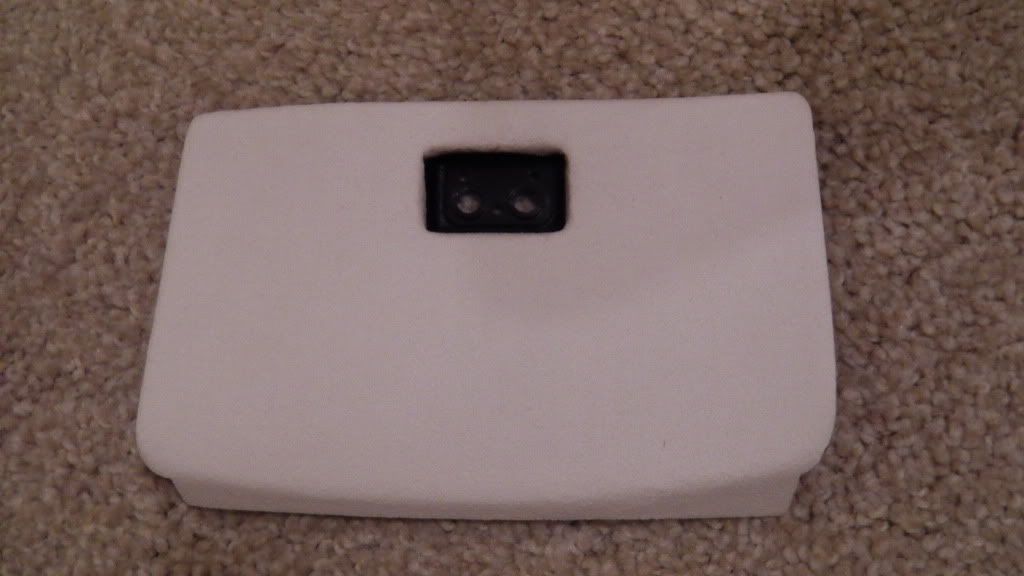
Bash the flaps into place some more, then fit the release catch back in
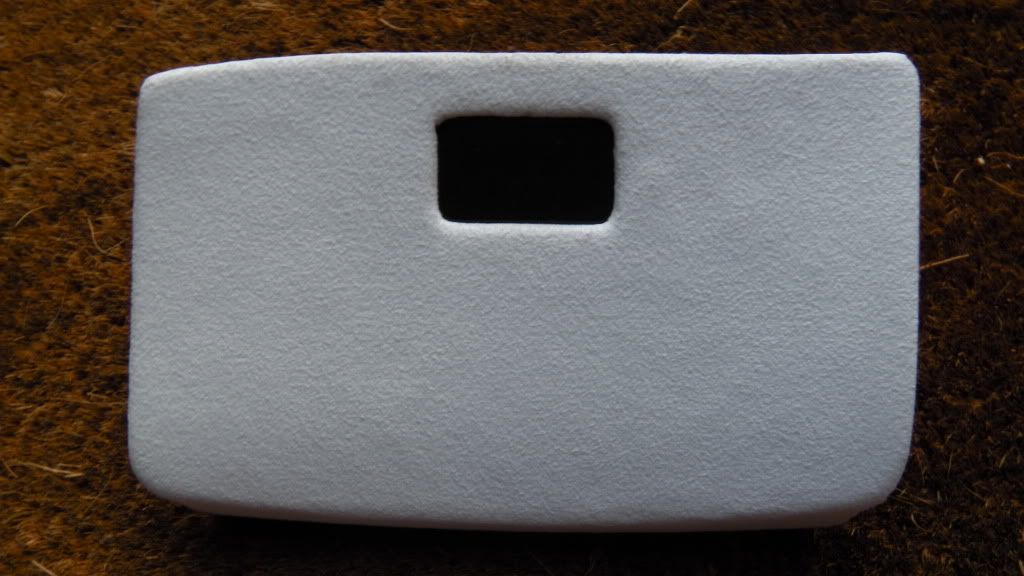
Mount it back into the dash trim. Taking care for dirty fingers 
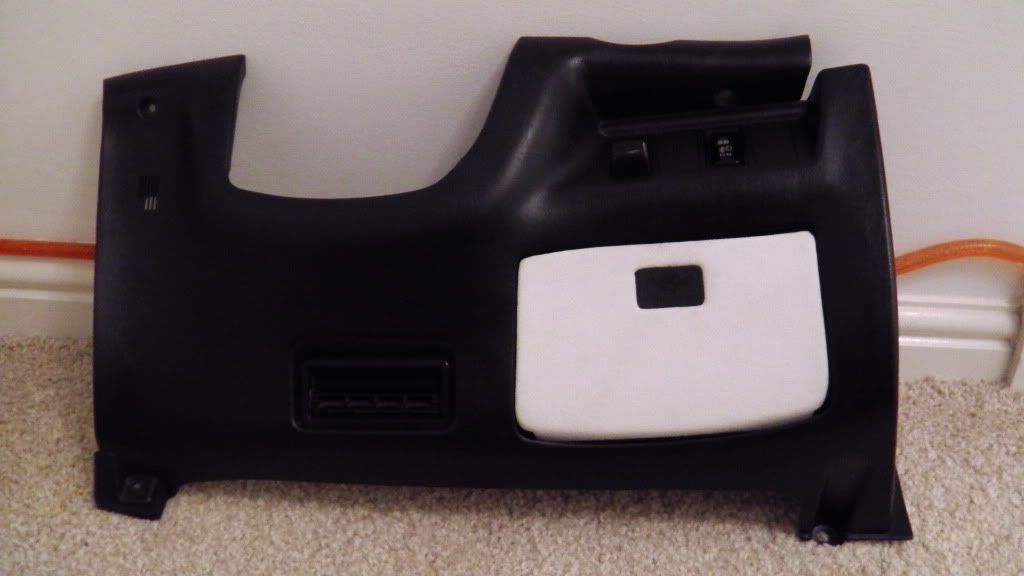
Stick whatever toys which live in there back in the box. In my case it's a bass controller for the amp etc
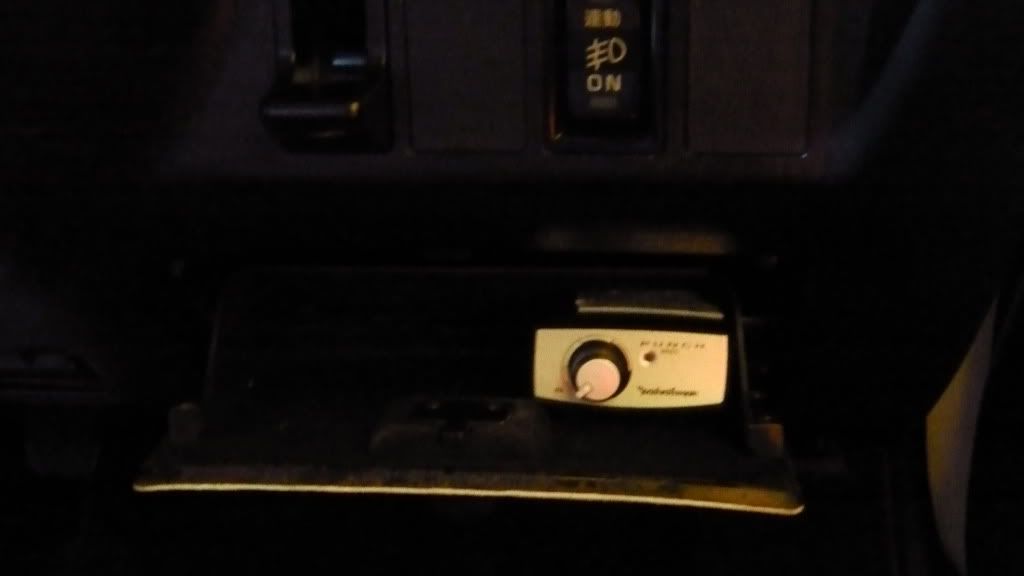
Stick everything back in the car and then watch your work vanish, never to be seen again
First up is that I've arranged to go and see Ryan Surrey Rolling Road next Thursday to finally get a remap, after all the recent changes etc as part of the engine swap.
I also decided that I had too much material left over from the recent re-trim, so opted to use some to cover that little used, little seen storage pocket near the driver's leg.
So the recipe goes:
Take one storage box
Disassemble and clean everything
Take some spray glue, apply to the front, wait 30 seconds then slowly feed the material into place.
Once dry, lay it flat, take a sharp blade and slowly trim the perimeter
Trim out the centre area, where the release catch sits and glue flaps into place
Bash the flaps into place some more, then fit the release catch back in
Mount it back into the dash trim.
Stick whatever toys which live in there back in the box.
Stick everything back in the car and then watch your work vanish, never to be seen again
Re: The journey of one man and his Mule(s)
Me thinks you have too much spare time Mr beans...