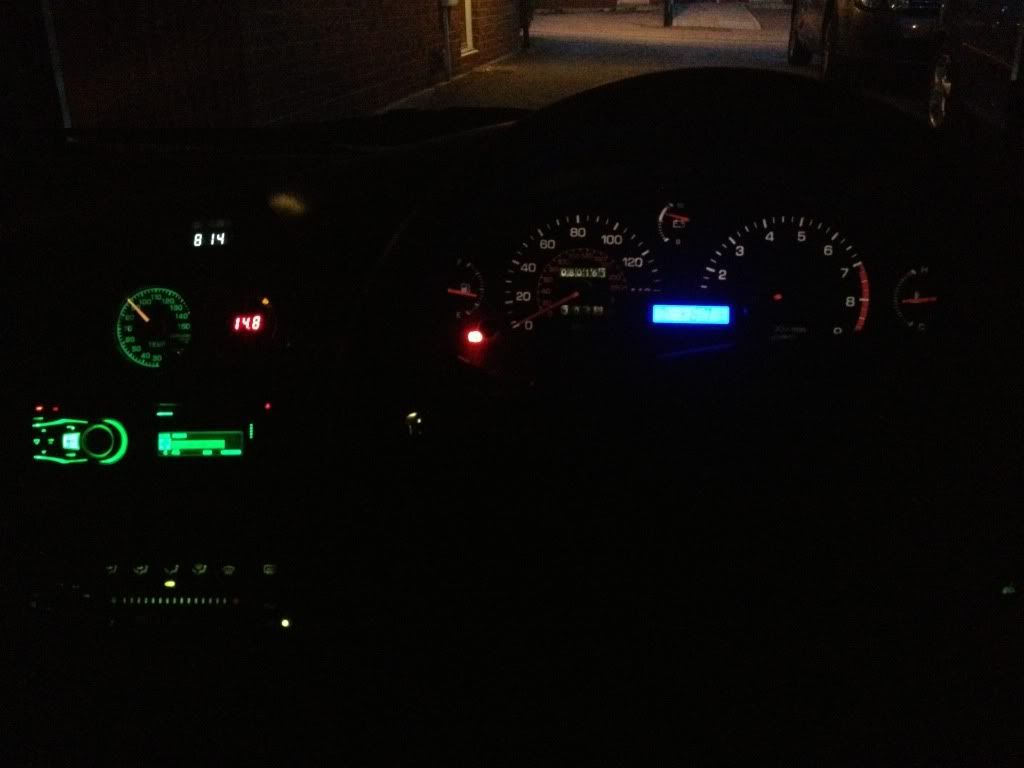
Few more bits and pieces updated, excuse the pics, iPhone quality

Jobs to do.
*Investigate occasional slightly low warm idle, possibly sticky idle control valve
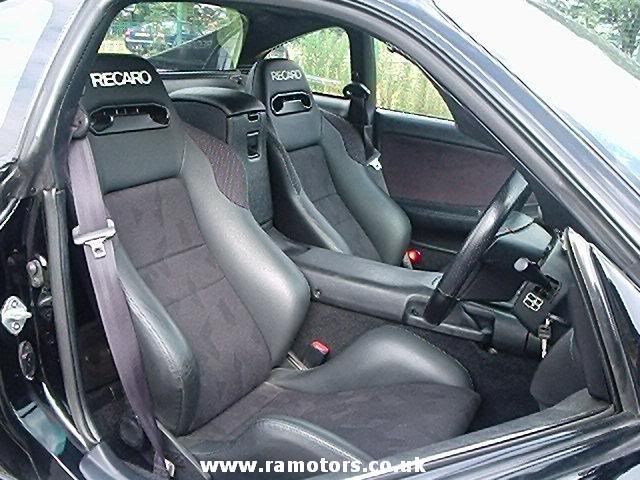
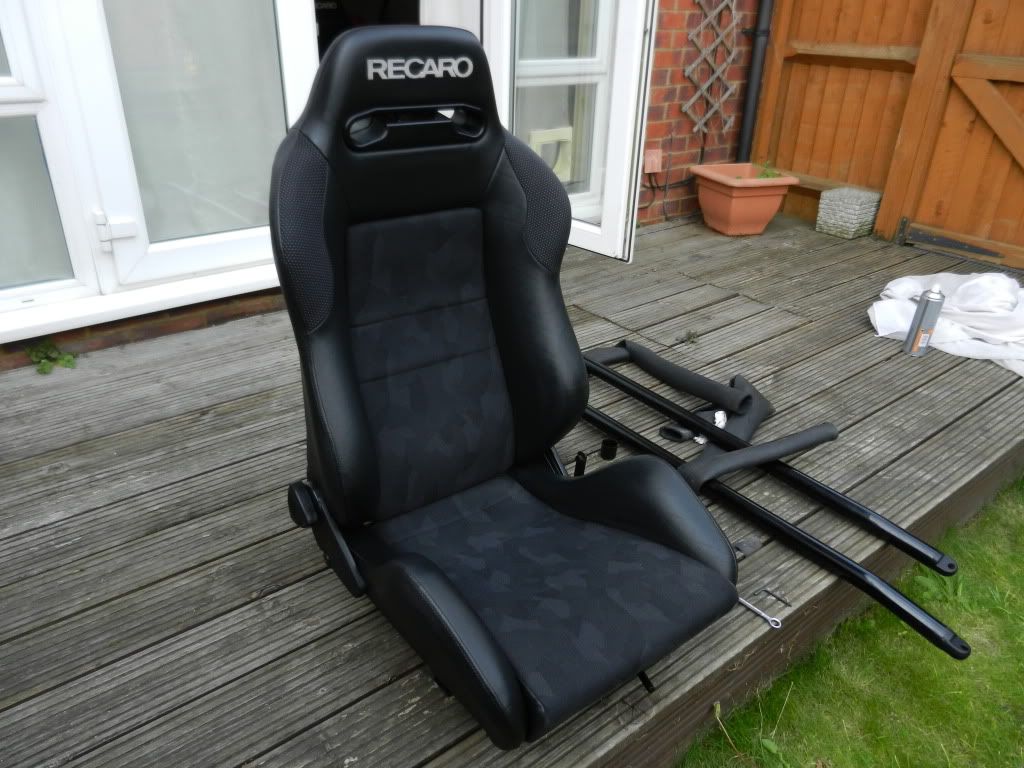
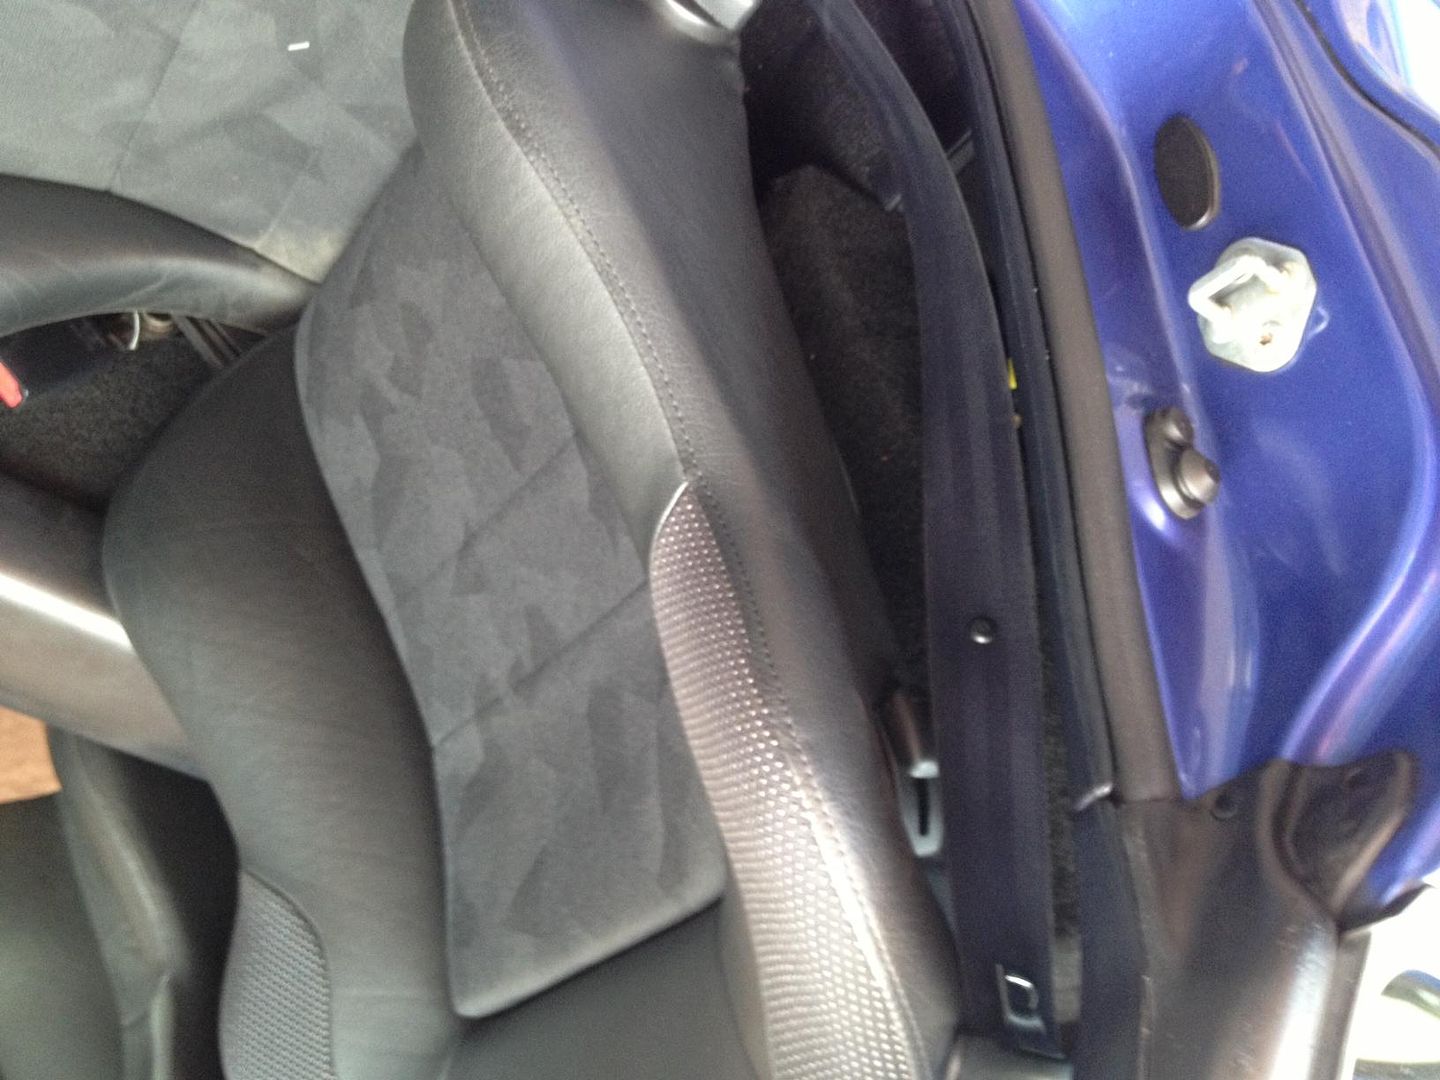
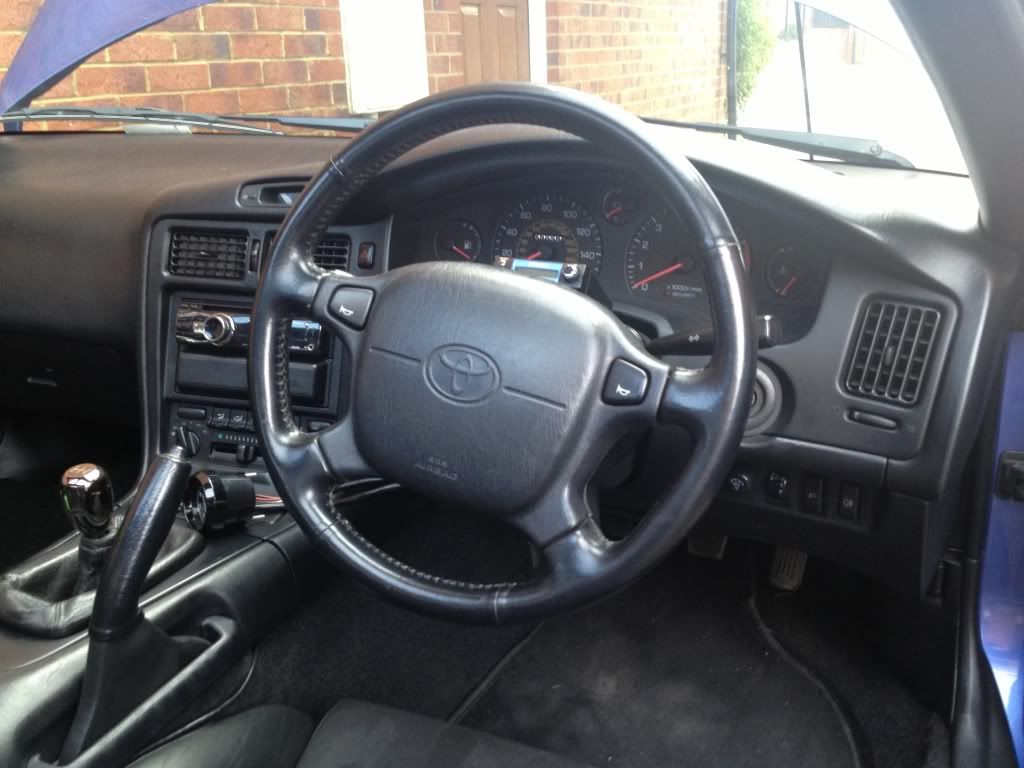
*Swap steering wheels
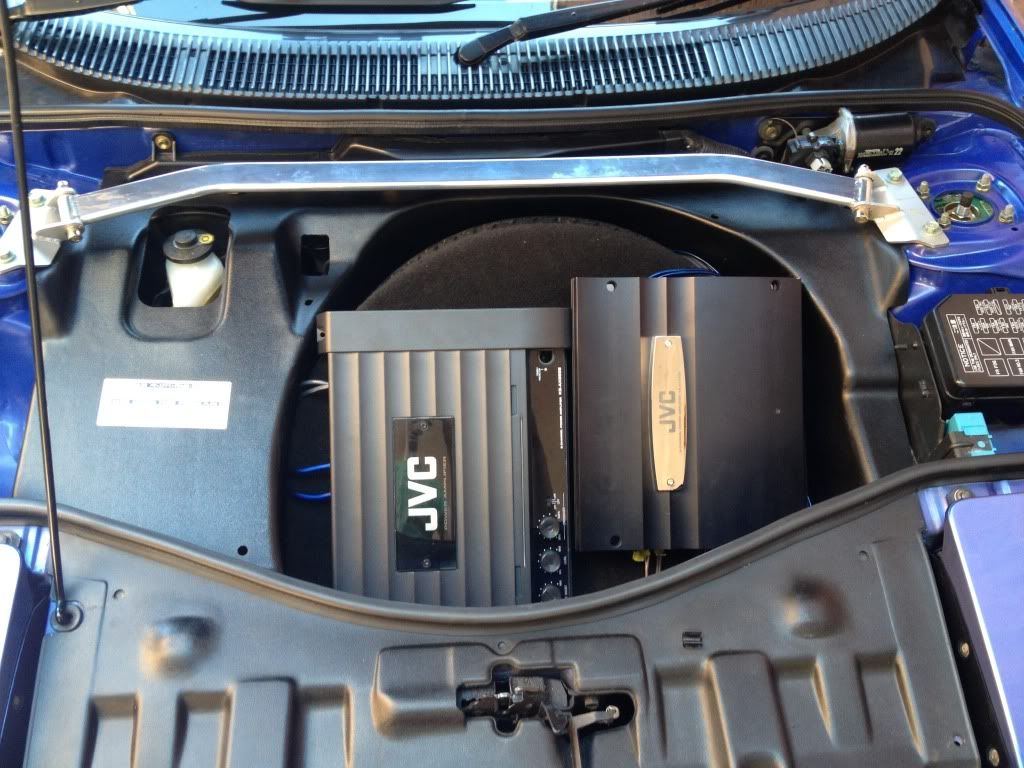
*Swap engine lid trays
Remove;
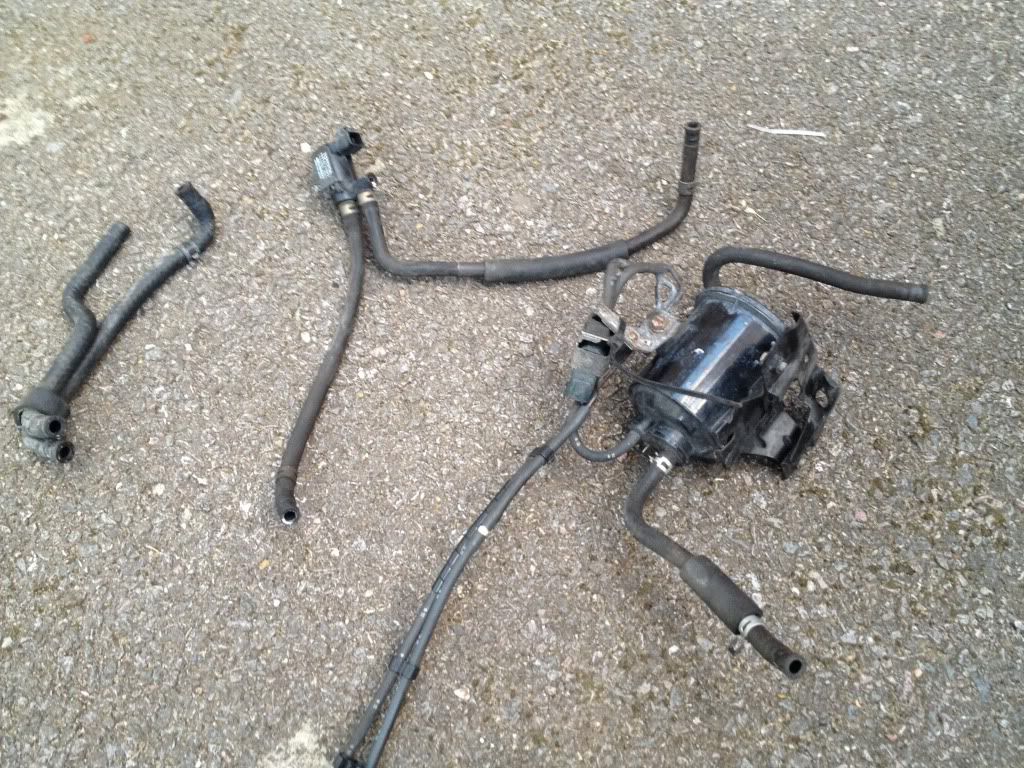
*charcoal canister
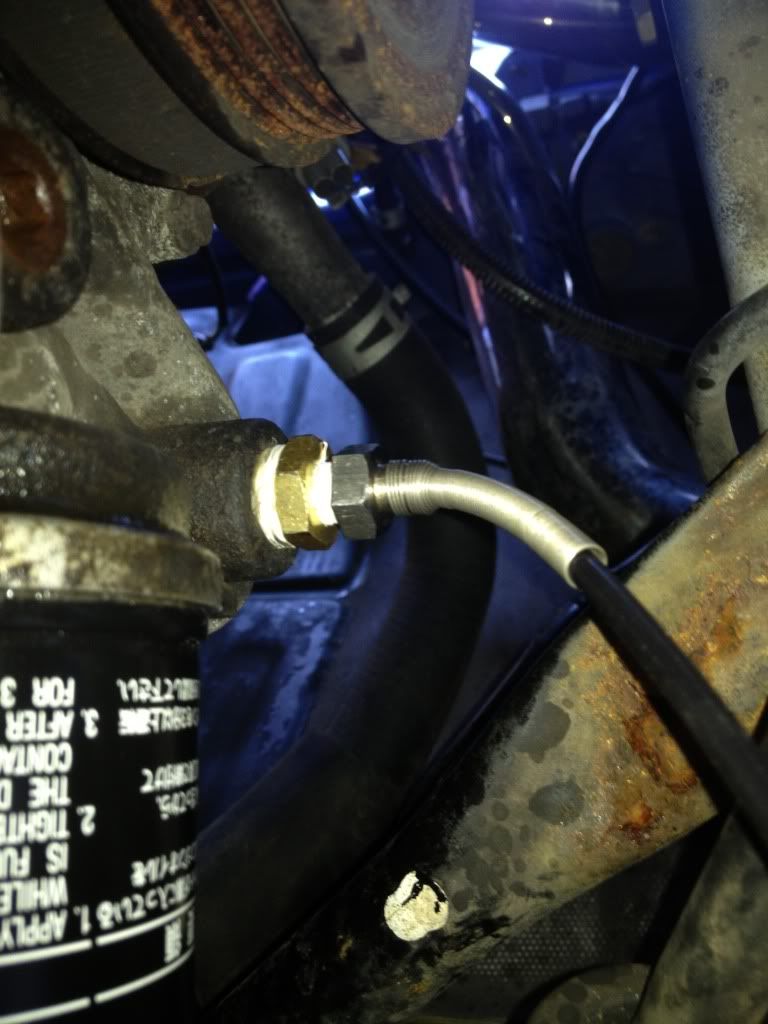
*Coolant lines to throttle body.
*A/c idle up piping
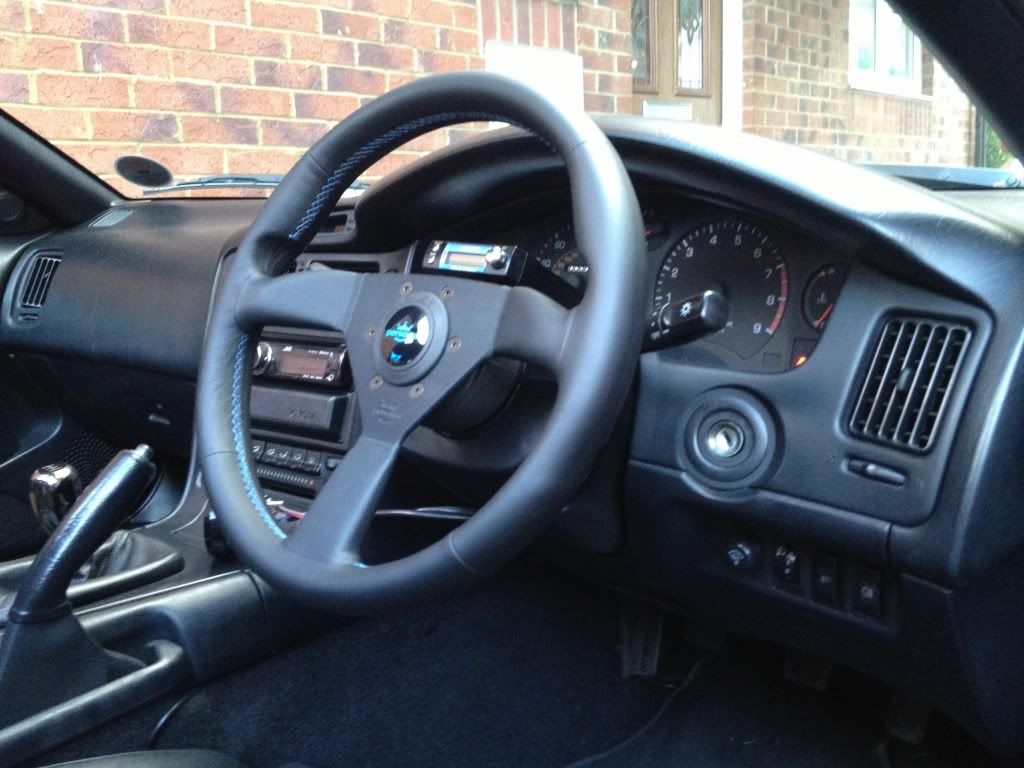
Change of the OEM steering wheel, now running a blue stitched Personal neo eagle 350mm wheel I got from driftworks along with a cheap boss from ebay that lines up and looks great.

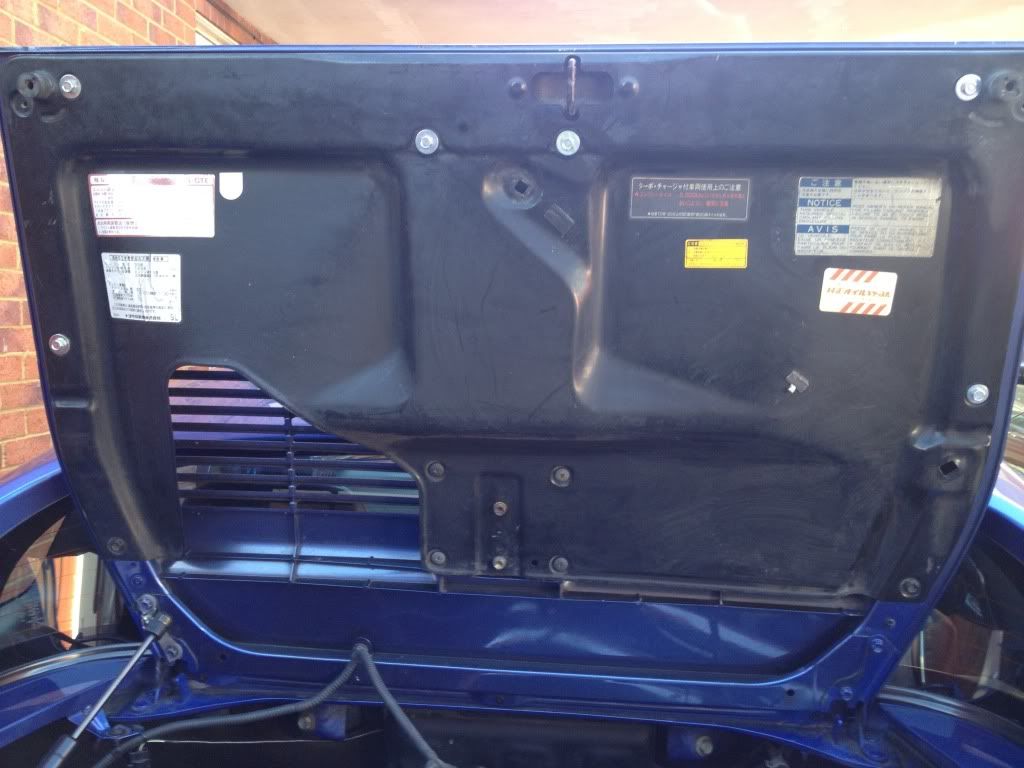
Noticed the engine lid tray wasn't in best shape near the latch, started to go a bit rusty along with the sensor bracket.
Anyway.
As it happens.
I'd kept my old rev2 turbo lid tray from 7+years ago!!!! It still was in great shape!!! So swapped those over.
Still needs a proper clean thou.
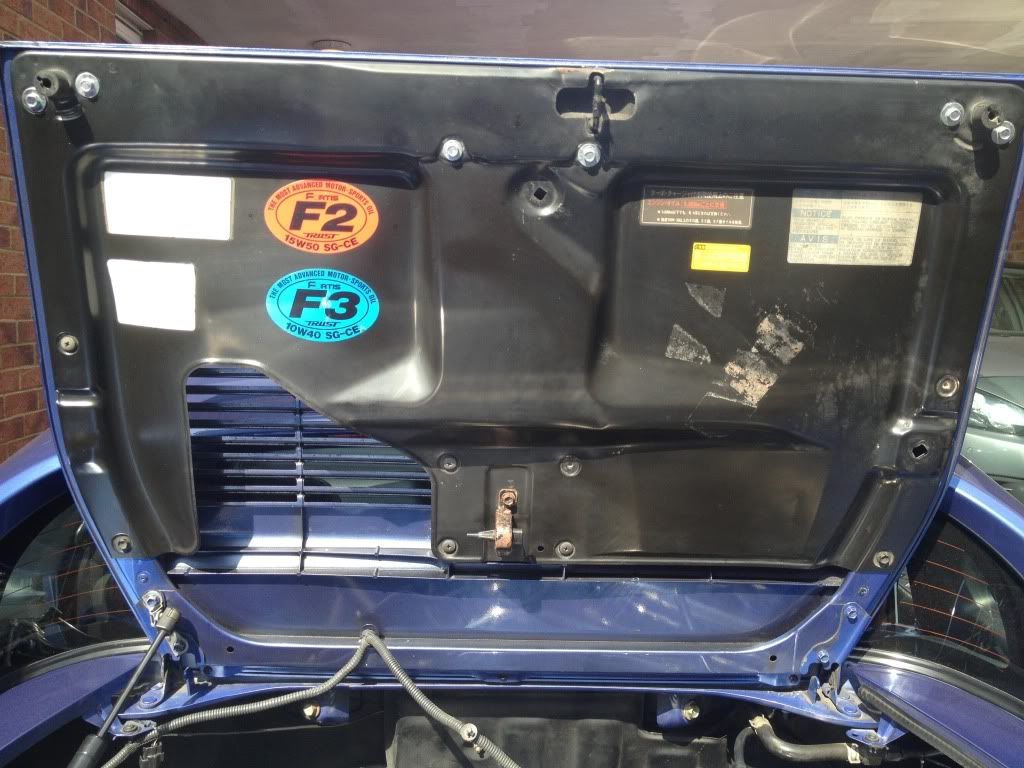
New tray
Next up, removal of some what I feel unneeded items in the engine bay
Namely, coolant lines on throttle body, charcoal canister and a/c idle up piping.
(Not sure why it was hooked up, no a/c on the car!!)
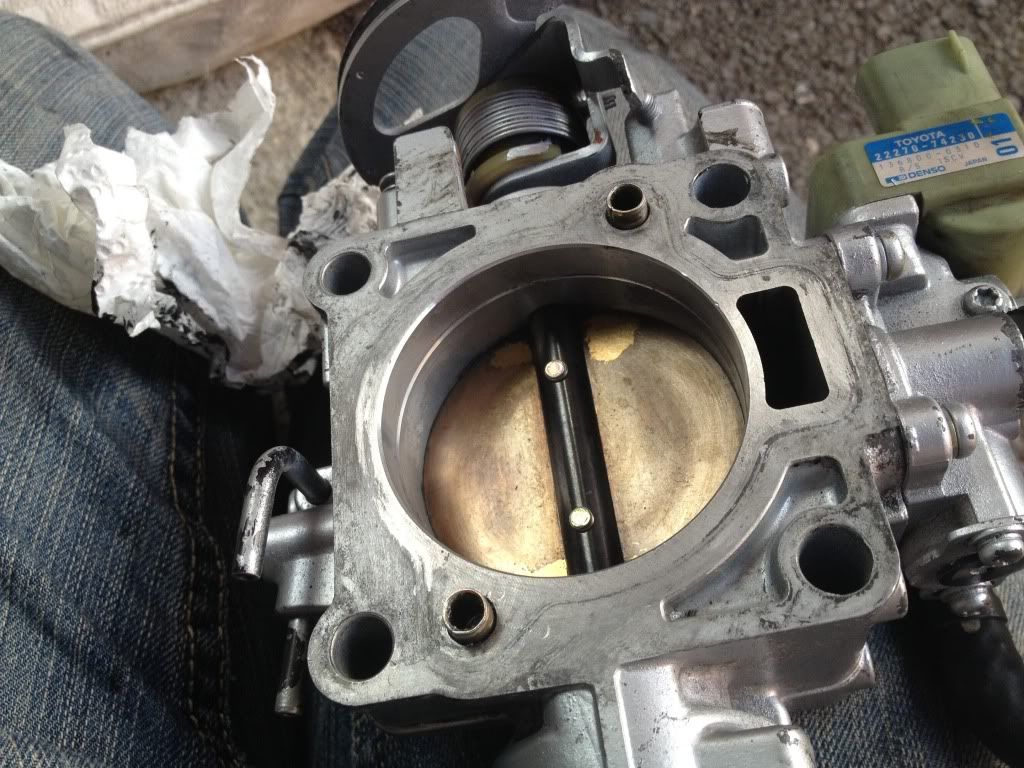
Clean up of throttle body, removed idle control valve and it was filthy!! Now nice and clean!
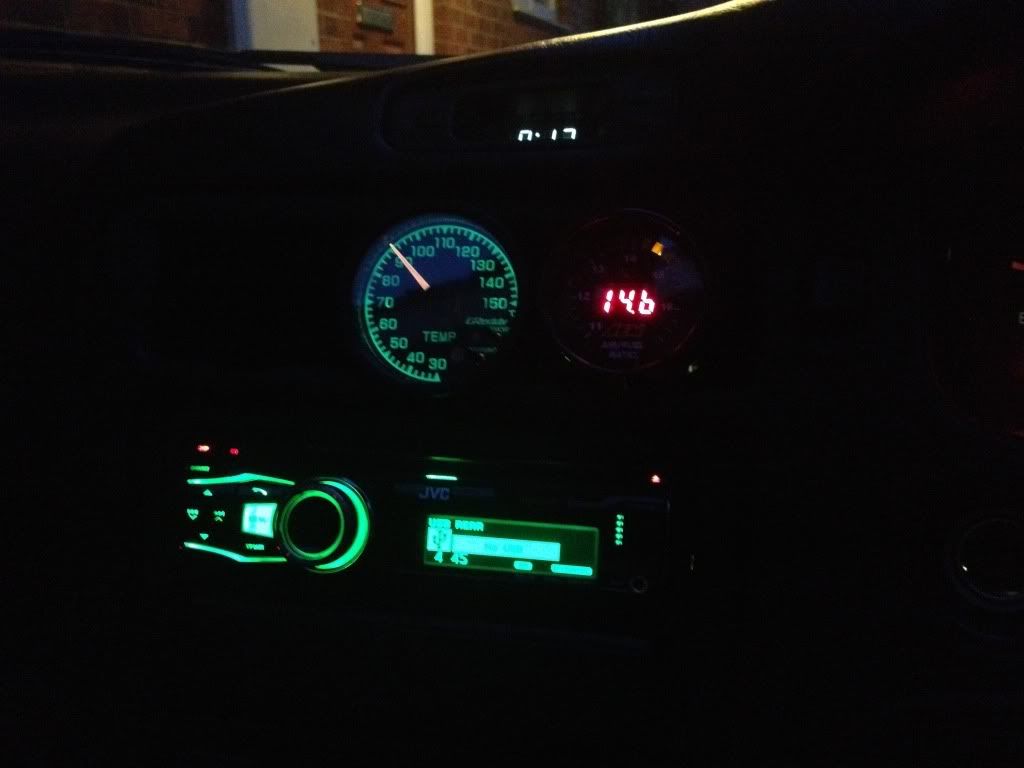
I suggest everyone checks there's out, it sorted my very slightly low idle to a now solid 850rpm
(every now and then it used to idle at 700rpm ish)
Unfortunately I didn't get a pic of the idle control valve!!!
Charcoal canister

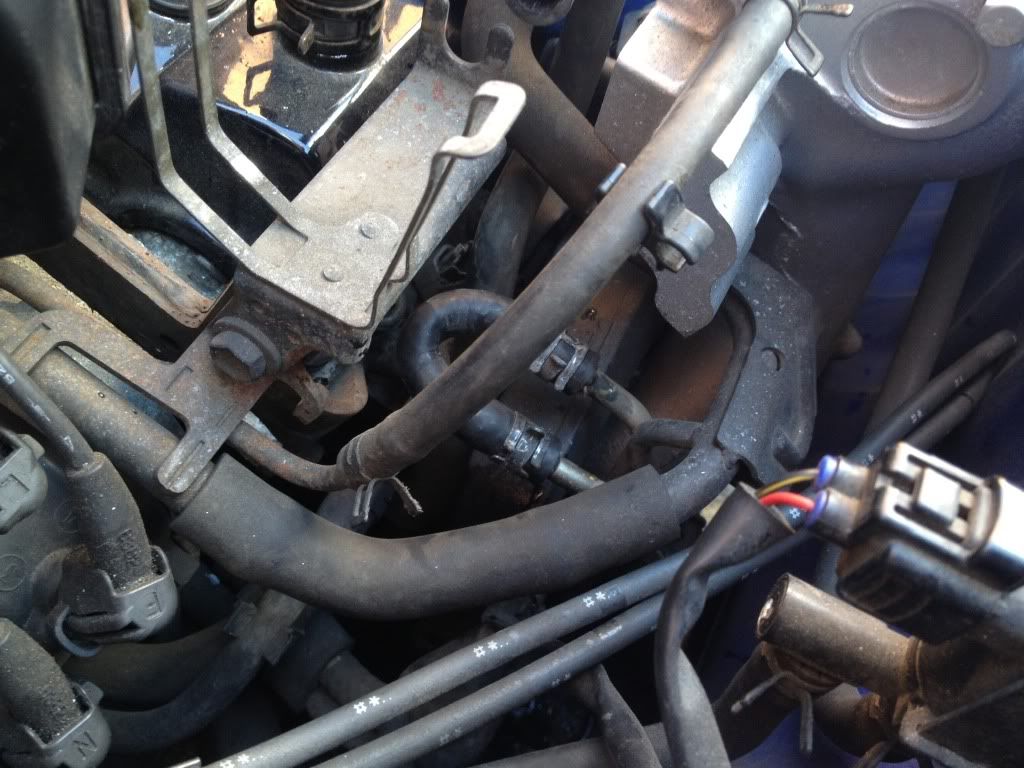
Rear plenum ports.
Stock.
One is plugged, one goes to a/c idle up valve.
Now I have one going to my boost controller as a boost source, and the other plugged
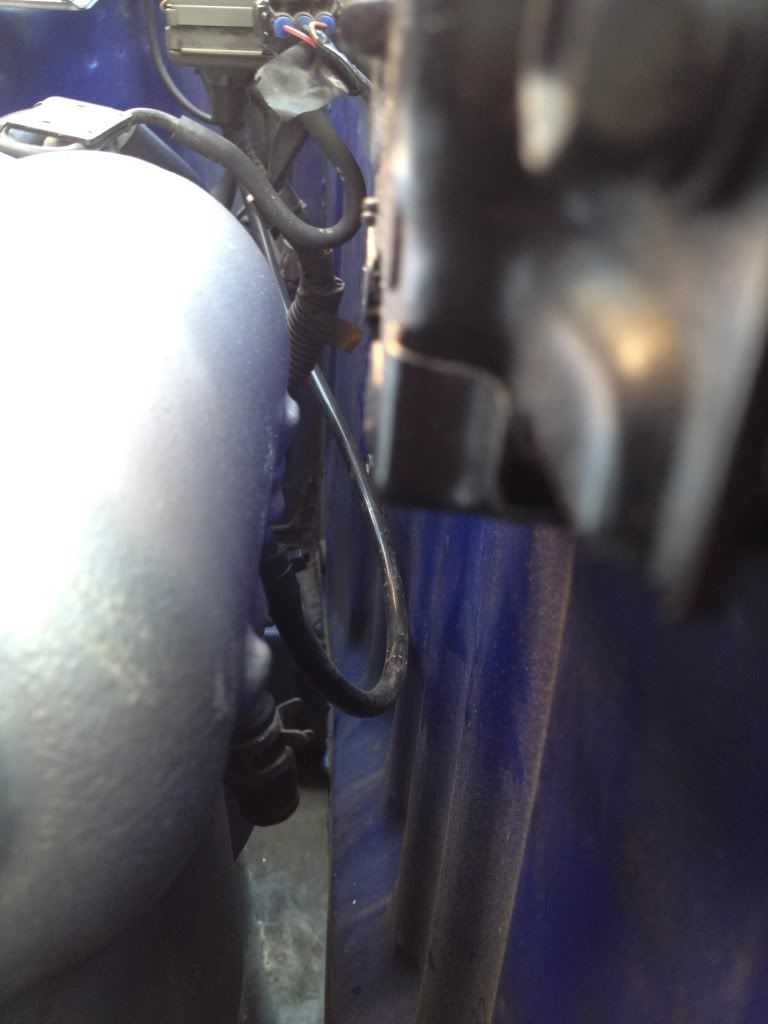
Charcoal canister removed, new hose hooking top and bottom ports left over

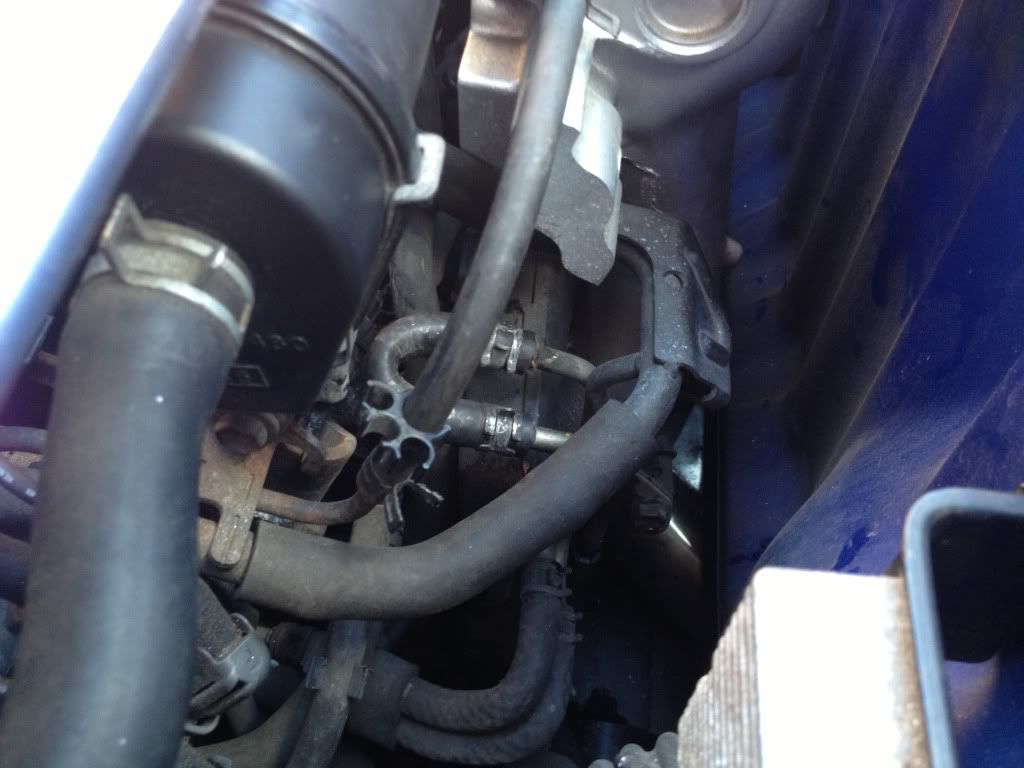
A/c idle up piping and valve removed
Throttle body coolant lines looped
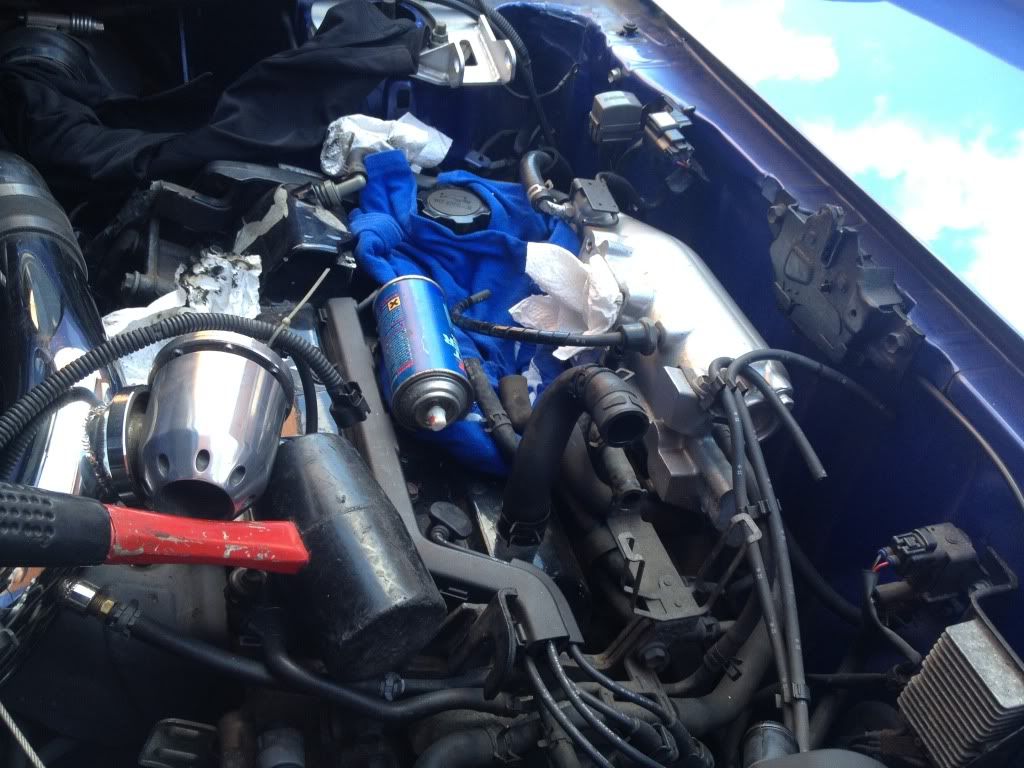
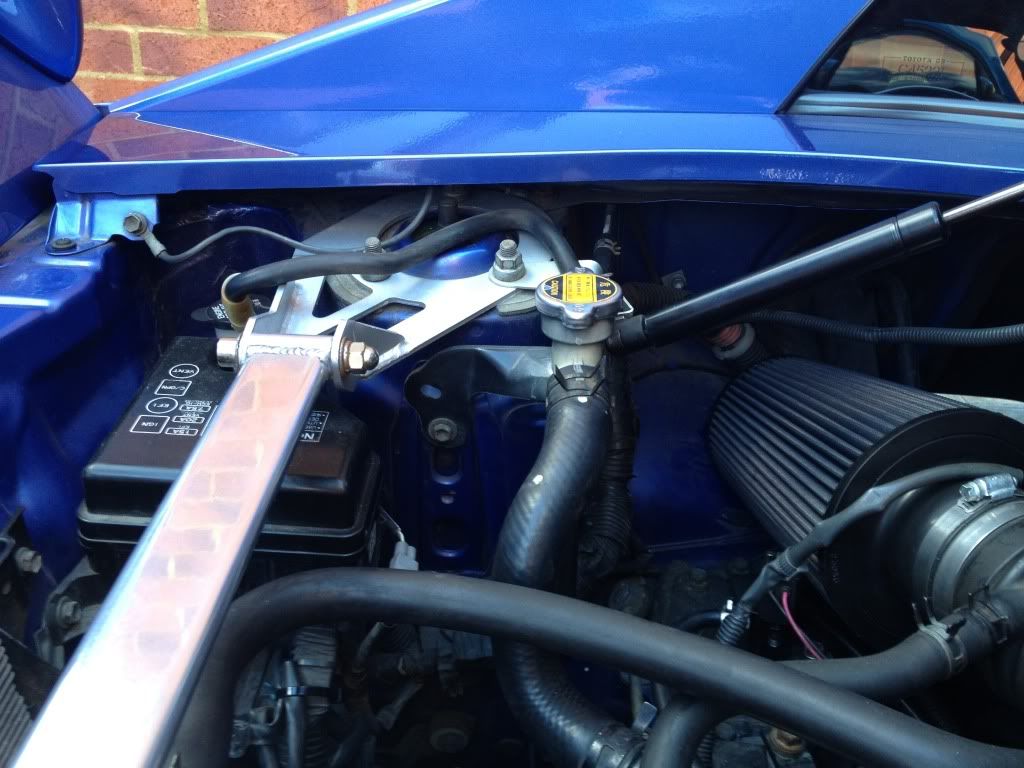
Current bay
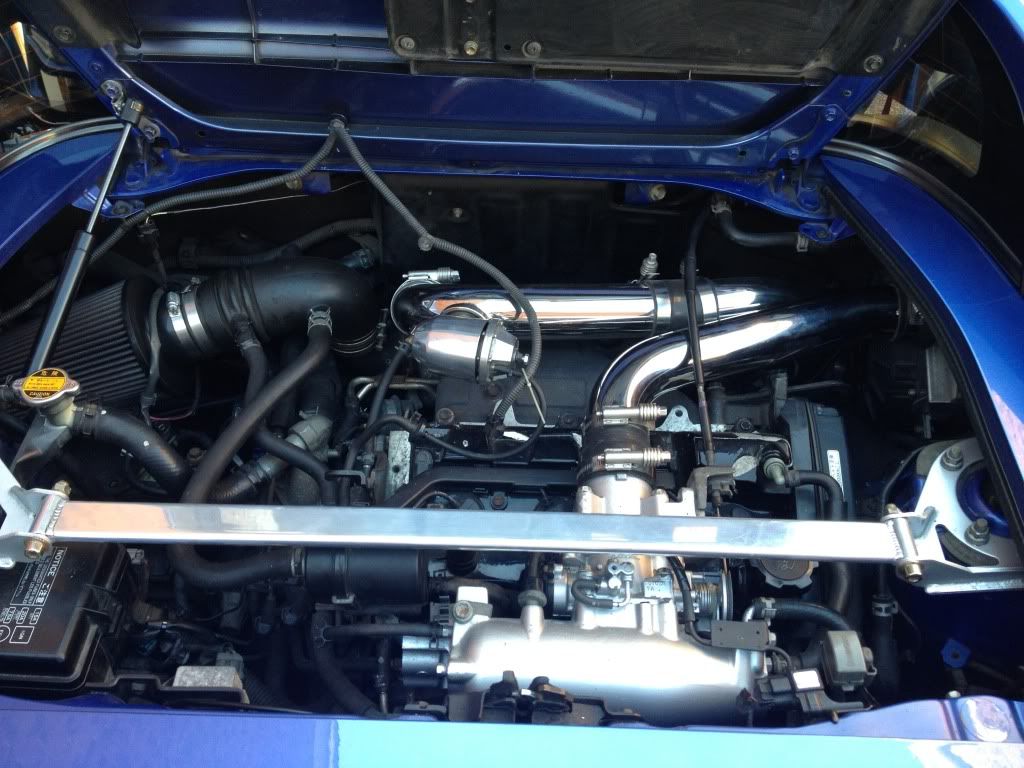
Bits removed