I don't mind doing it to be honest, as it's much easier given the lights, new bolts and Border bumper.
![](./images/smilies/spacer.gif)
Stock bumpers which have never been off on the other hand.
![](./images/smilies/spacer.gif)
.
![](./images/smilies/spacer.gif)
.
![](./images/smilies/spacer.gif)
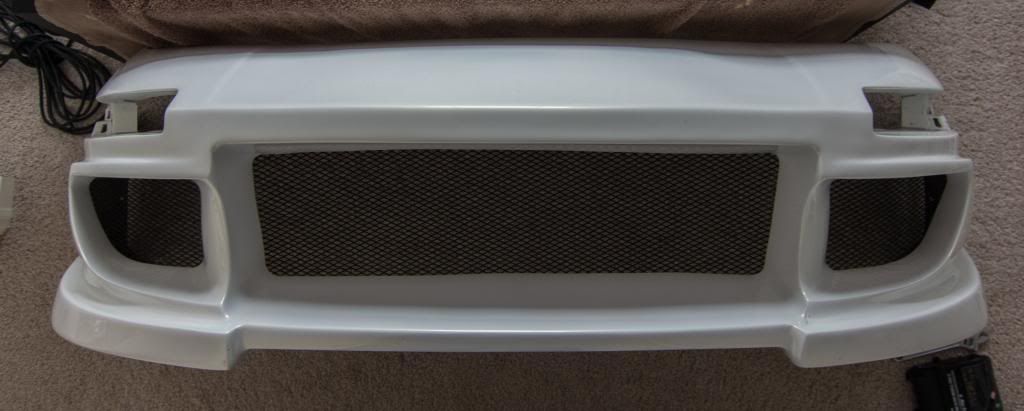
Yep, it's the Rogue Radtec kit.
![](./images/smilies/spacer.gif)
Works really well and is well built
![](./images/smilies/spacer.gif)
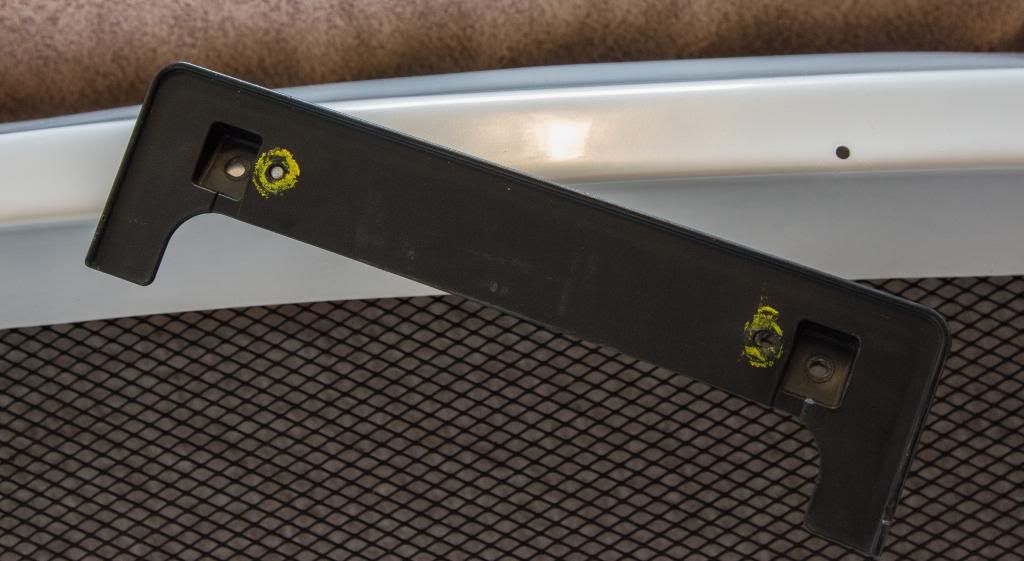
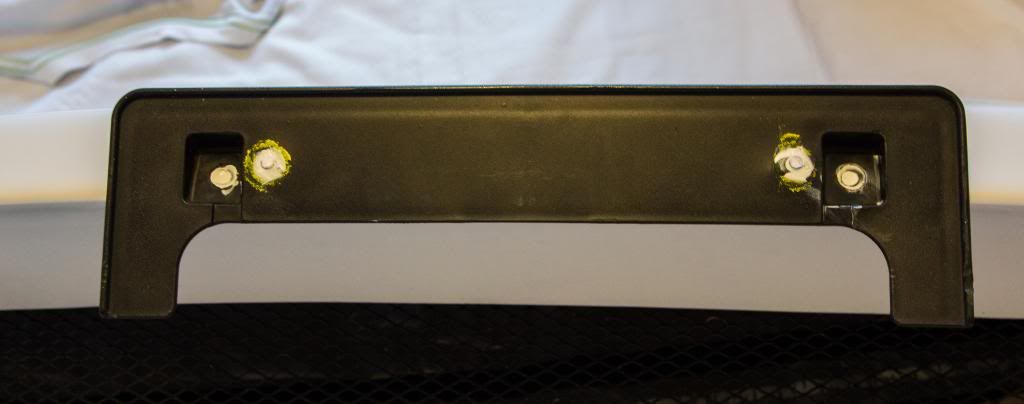
Tonight's job was fitting the license plate holder while the bumper off.
![](./images/smilies/spacer.gif)
I wanted to keep the holes nice and clean and to avoid having to use fixings which might come loose, or some other dramas.
![](./images/smilies/spacer.gif)
So I thought it made sense to use the existing threaded holes in the holder, which the plate normally screws into, however reversed.
![](./images/smilies/spacer.gif)
Before that I glued the threads in place, just in case they decide to come loose and spin once it's mounted.
![](./images/smilies/spacer.gif)
![Image](http://i1072.photobucket.com/albums/w373/Magic__Beans/The%20Mule%20v2/IMG_4466_zps5d275d55.jpg)
![](./images/smilies/spacer.gif)
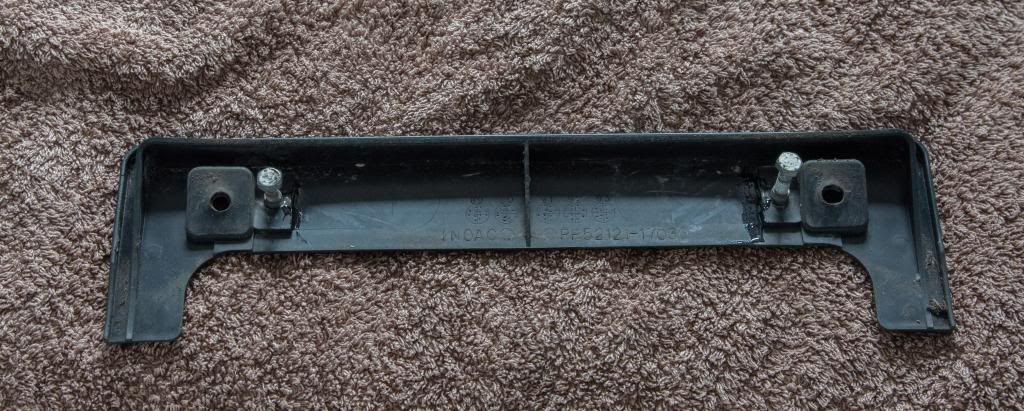
The holder then get thoroughly cleaned, ready for mounting.
![](./images/smilies/spacer.gif)
Let's hope this goes well.
![](./images/smilies/spacer.gif)
.
![](./images/smilies/spacer.gif)
.
![](./images/smilies/spacer.gif)
![Image](http://i1072.photobucket.com/albums/w373/Magic__Beans/The%20Mule%20v2/IMG_4469_zps9d151d55.jpg)
![](./images/smilies/spacer.gif)
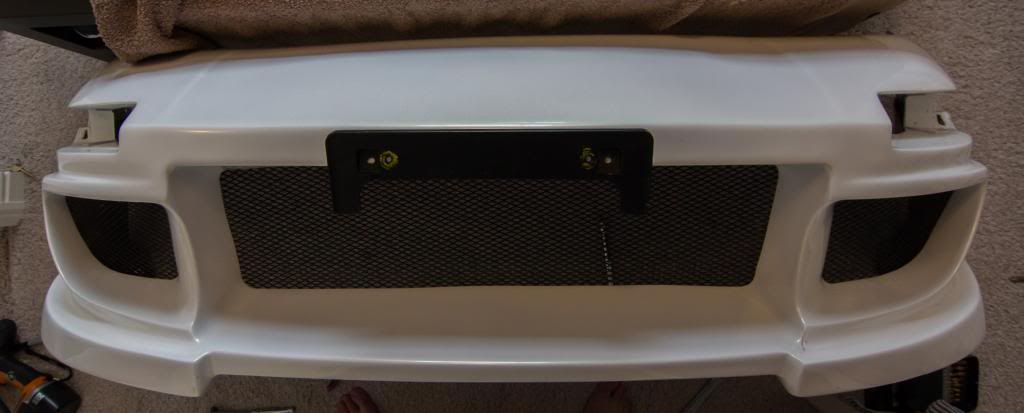
Measurements taken five times the first hole was drilled.
![](./images/smilies/spacer.gif)
No going back now
![](./images/smilies/spacer.gif)
![Image](http://i1072.photobucket.com/albums/w373/Magic__Beans/The%20Mule%20v2/IMG_4470_zpsa5f63678.jpg)
![](./images/smilies/spacer.gif)
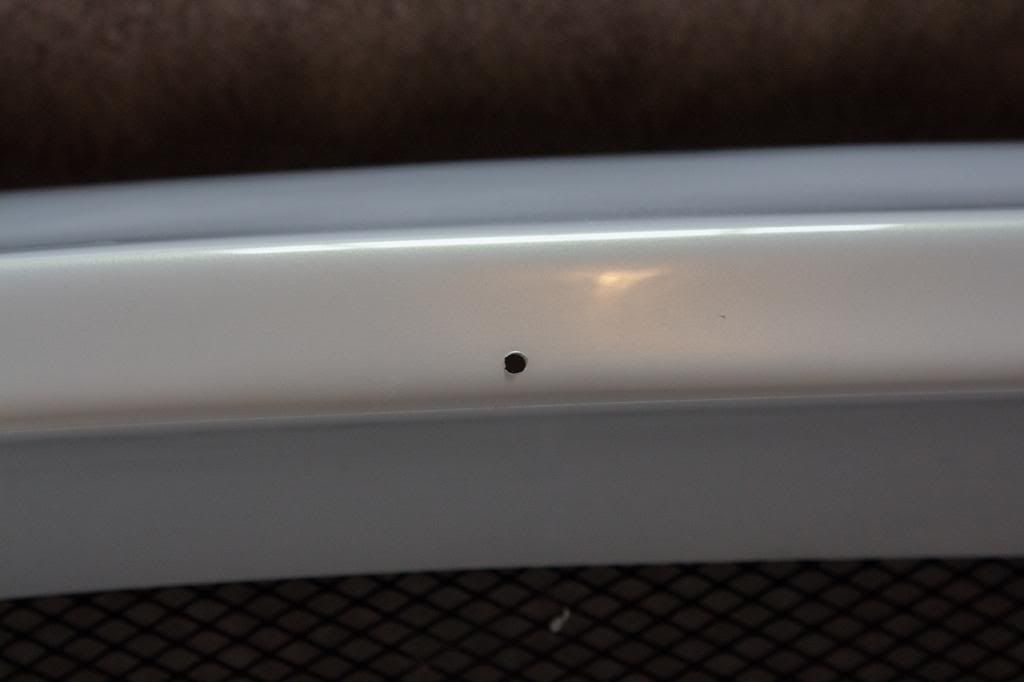
Second hole drilled.
![](./images/smilies/spacer.gif)
![Image](http://i1072.photobucket.com/albums/w373/Magic__Beans/The%20Mule%20v2/IMG_4472_zpsa376f6a8.jpg)
![](./images/smilies/spacer.gif)
It's on and centred to a tolerance of
![](./images/smilies/spacer.gif)
<0.5mm, which is my allowed limit on things
![](./images/smilies/spacer.gif)
![Image](http://i1072.photobucket.com/albums/w373/Magic__Beans/The%20Mule%20v2/IMG_4473_zps9c52024b.jpg)
![](./images/smilies/spacer.gif)
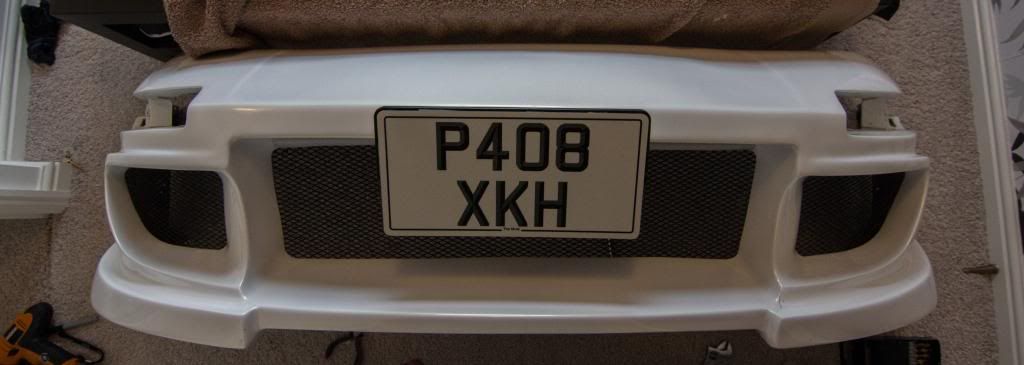
Mock-up of the finished article, however without Mule v1's plate of course
![](./images/smilies/spacer.gif)
![Image](http://i1072.photobucket.com/albums/w373/Magic__Beans/The%20Mule%20v2/IMG_4474_zpsb16d8e11.jpg)
![](./images/smilies/spacer.gif)
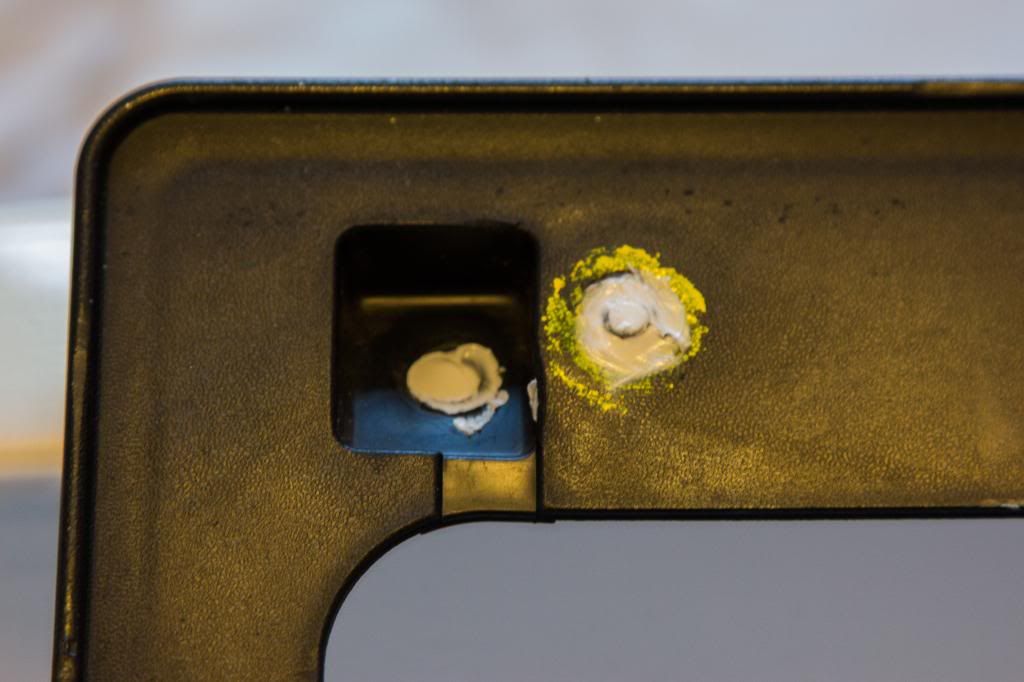
Silicone sealant around the bolt heads and any holes, to avoid a build up of dirt/rust in the future.
![](./images/smilies/spacer.gif)
Hopefully
![](./images/smilies/spacer.gif)
![Image](http://i1072.photobucket.com/albums/w373/Magic__Beans/The%20Mule%20v2/IMG_4480_zps3b4081ff.jpg)
![](./images/smilies/spacer.gif)
![Image](http://i1072.photobucket.com/albums/w373/Magic__Beans/The%20Mule%20v2/IMG_4481_zpsa387e0d4.jpg)
![](./images/smilies/spacer.gif)
I've also ordered the aly sheet for the undertray, which should be with me in the next few days.
![](./images/smilies/spacer.gif)
It's partially cut to size, meaning the outer edge will be a true line and I don't have to worry about cutting as straight
![Laughing :lol:](./images/smilies/icon_lol.gif)