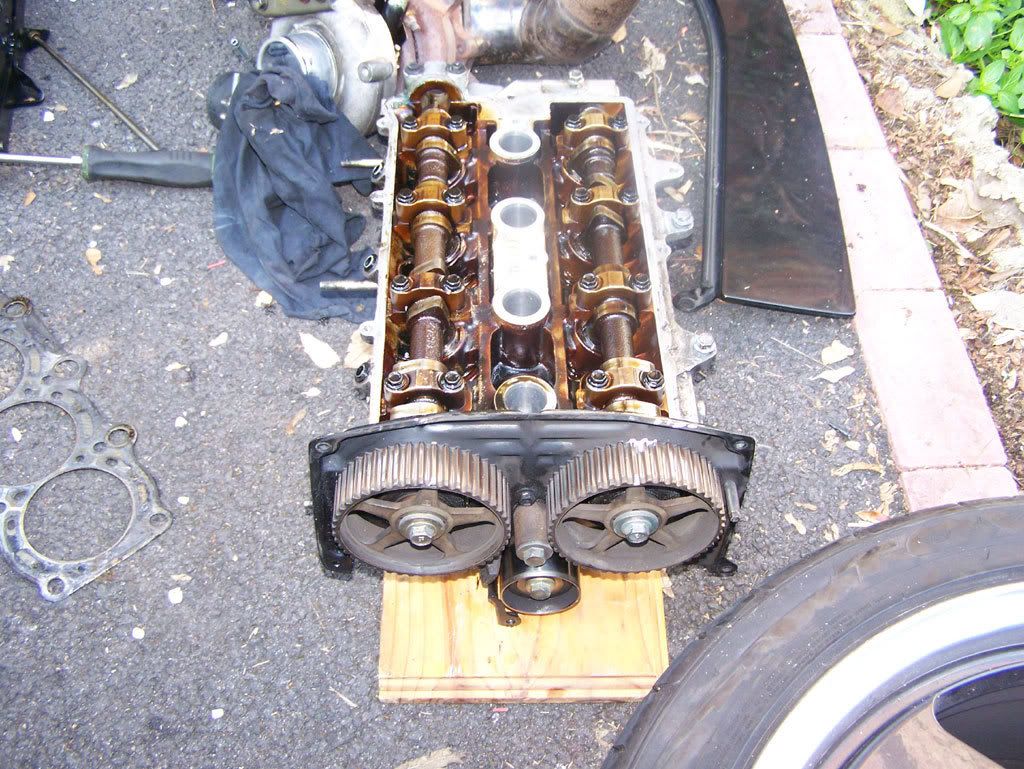
today, had a couple of hours free and made a start as the car will be off the road.
i may have questions along the way to.
my present plans are.
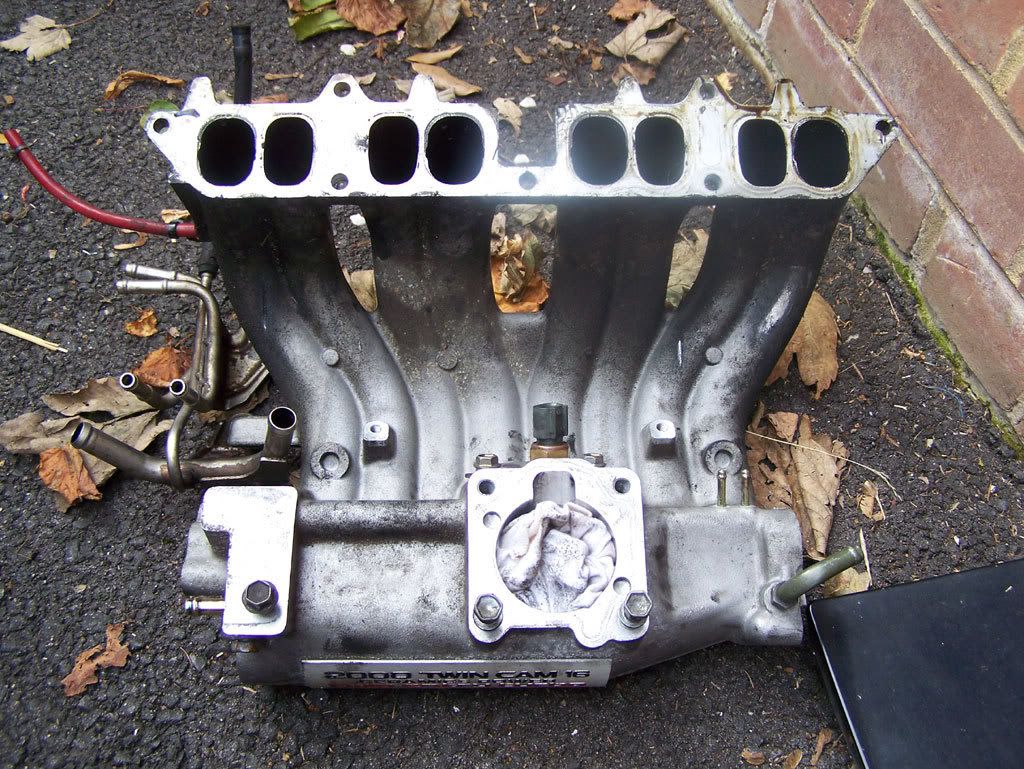
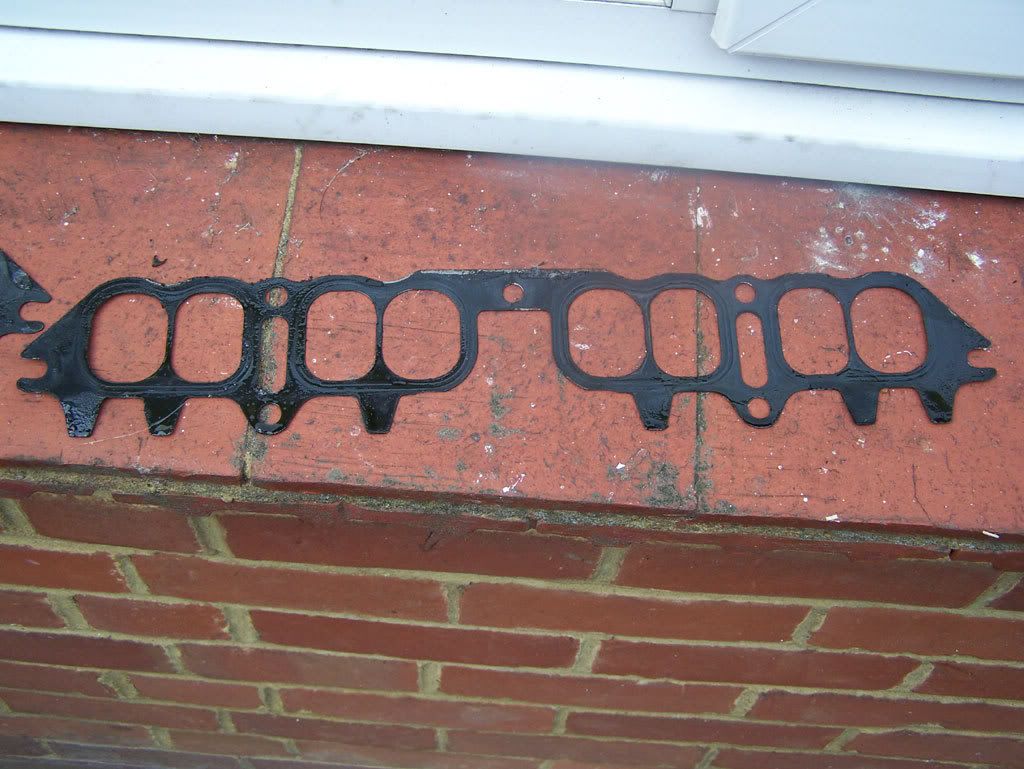
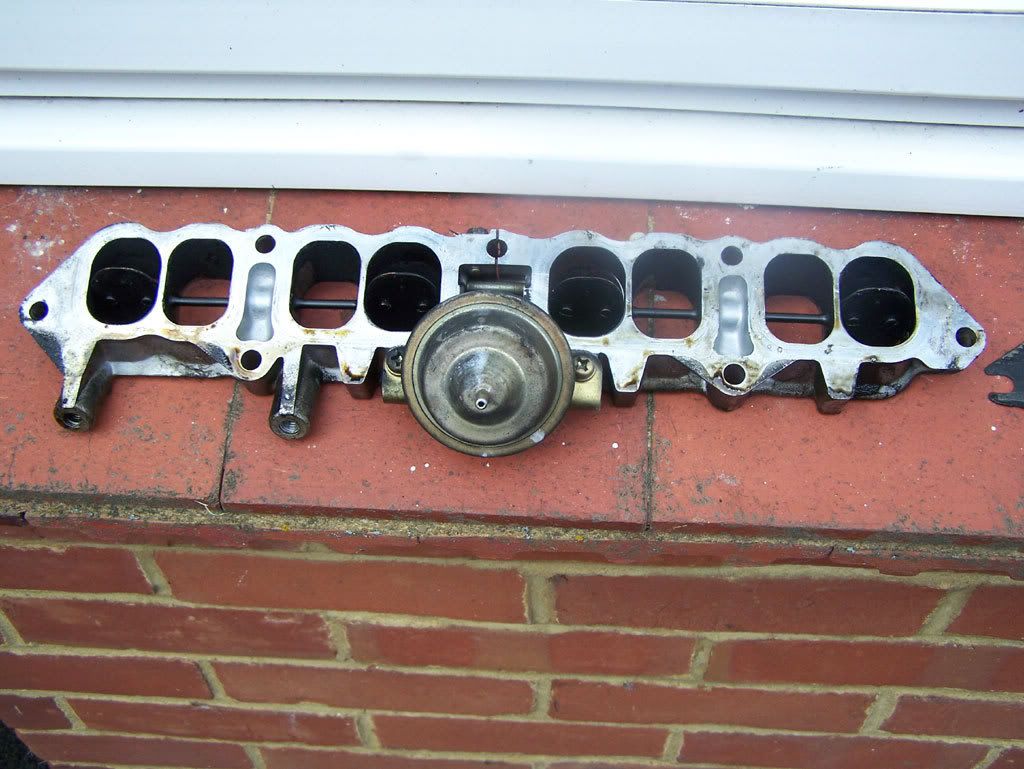
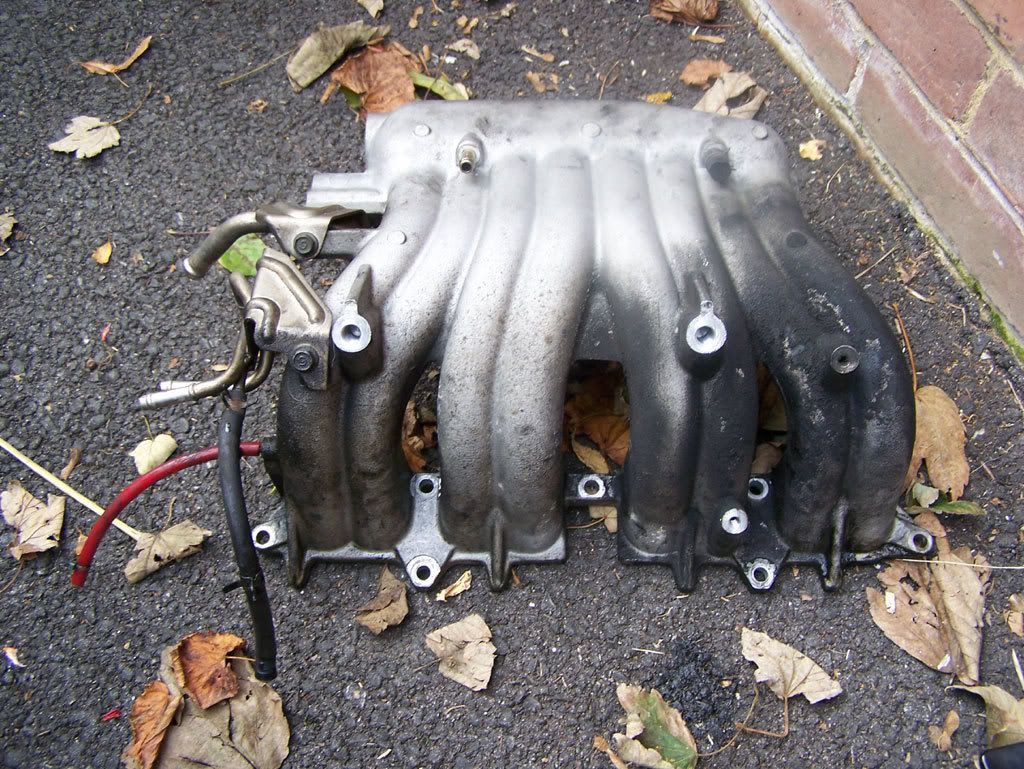
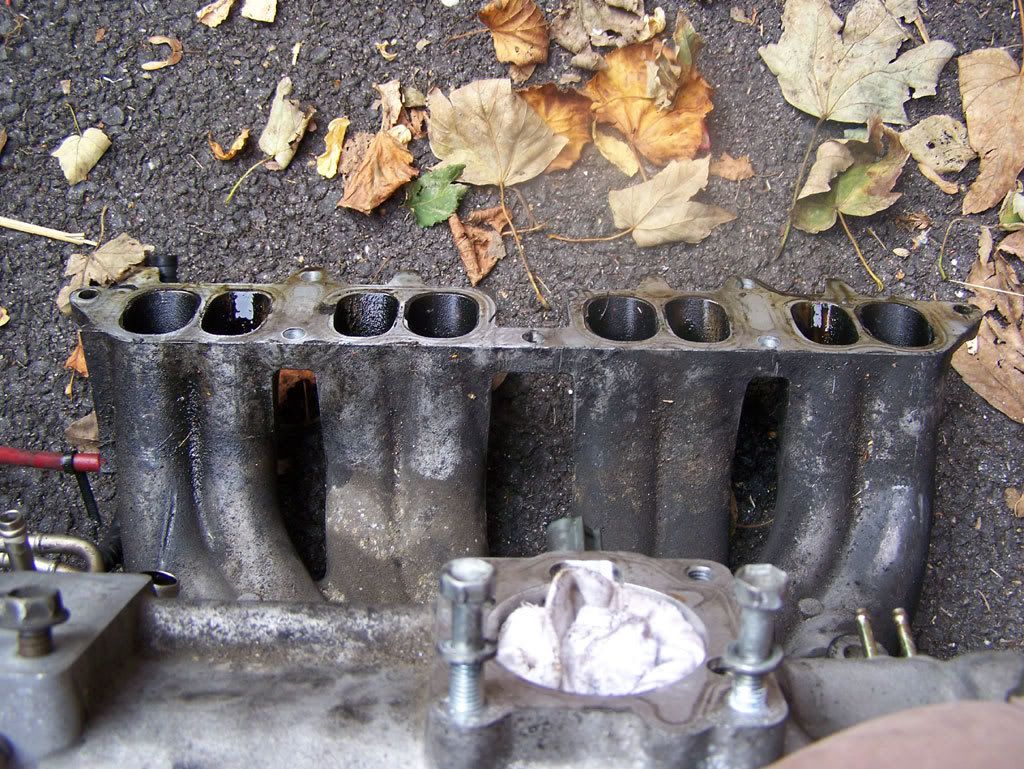
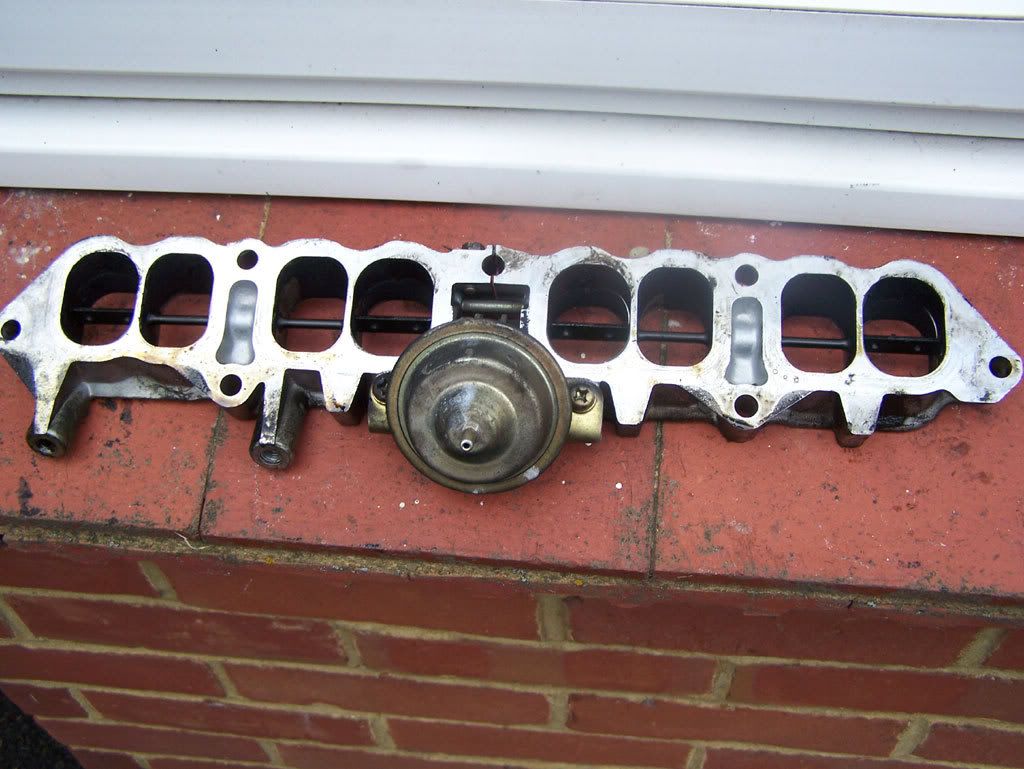
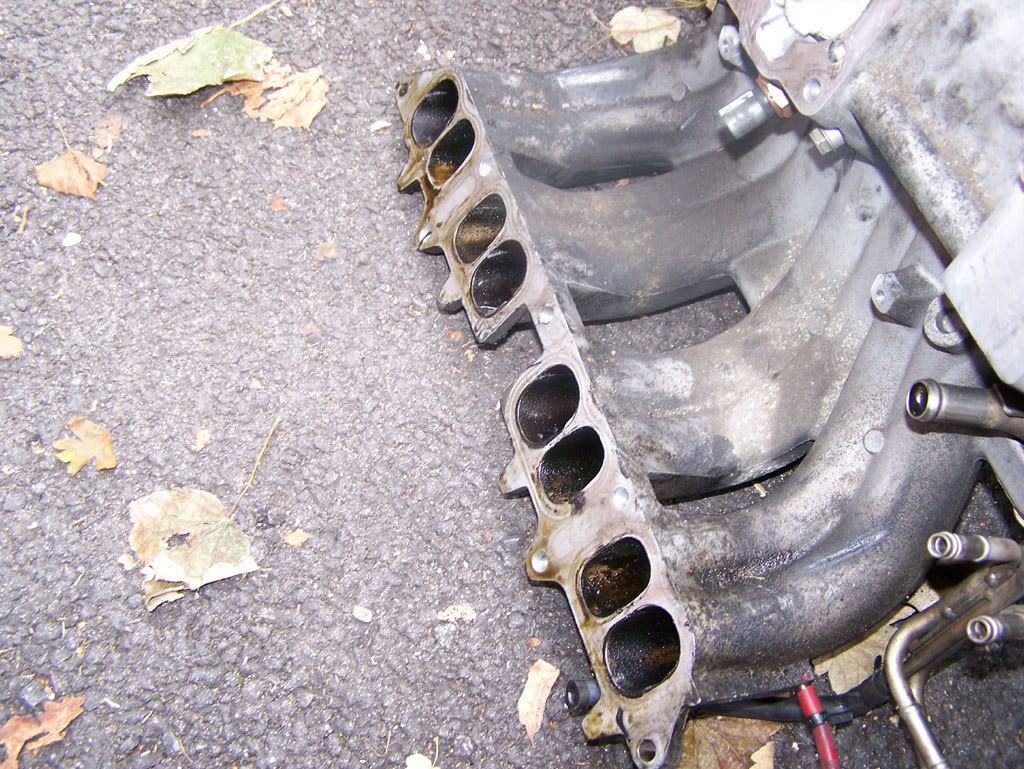
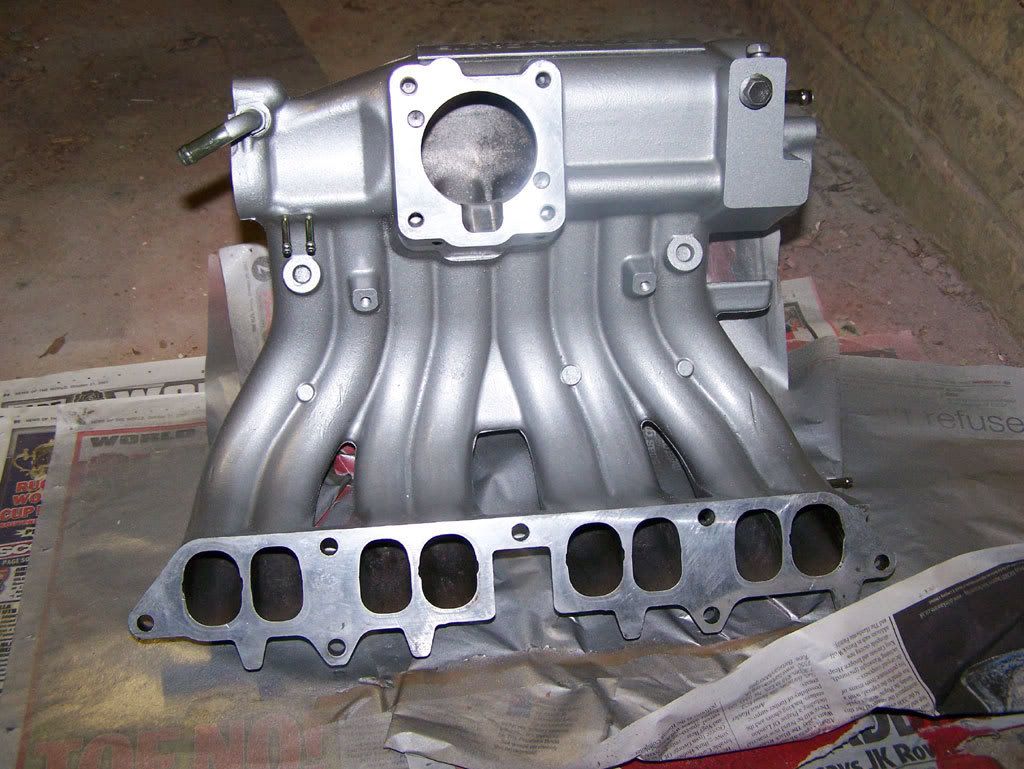
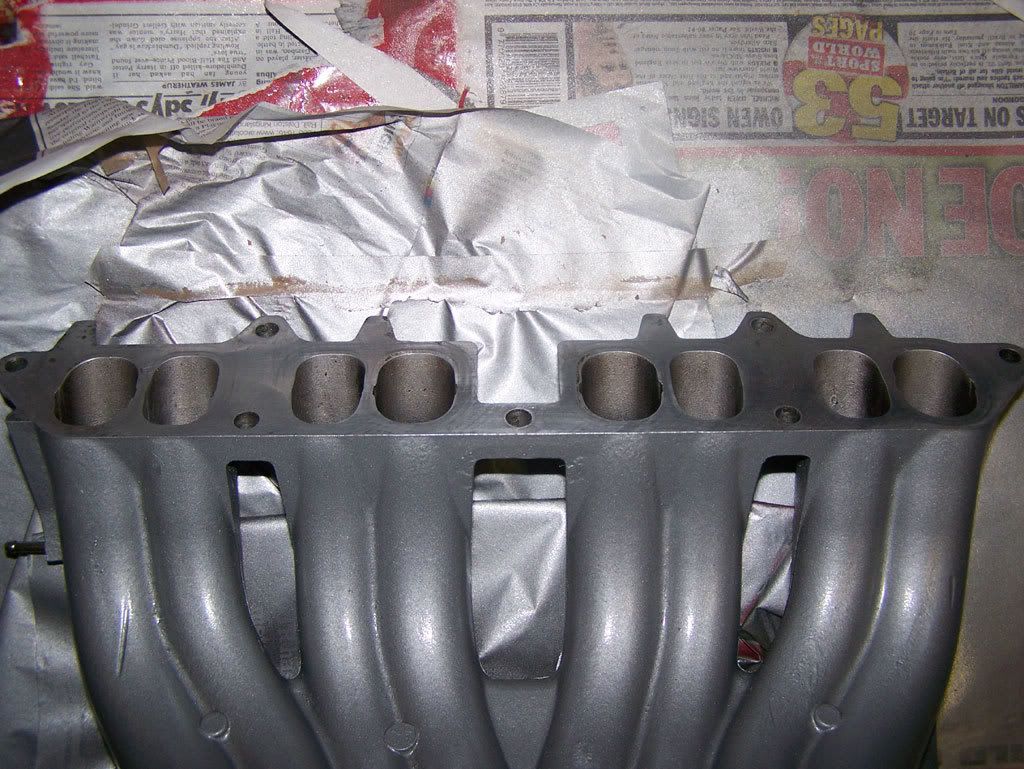
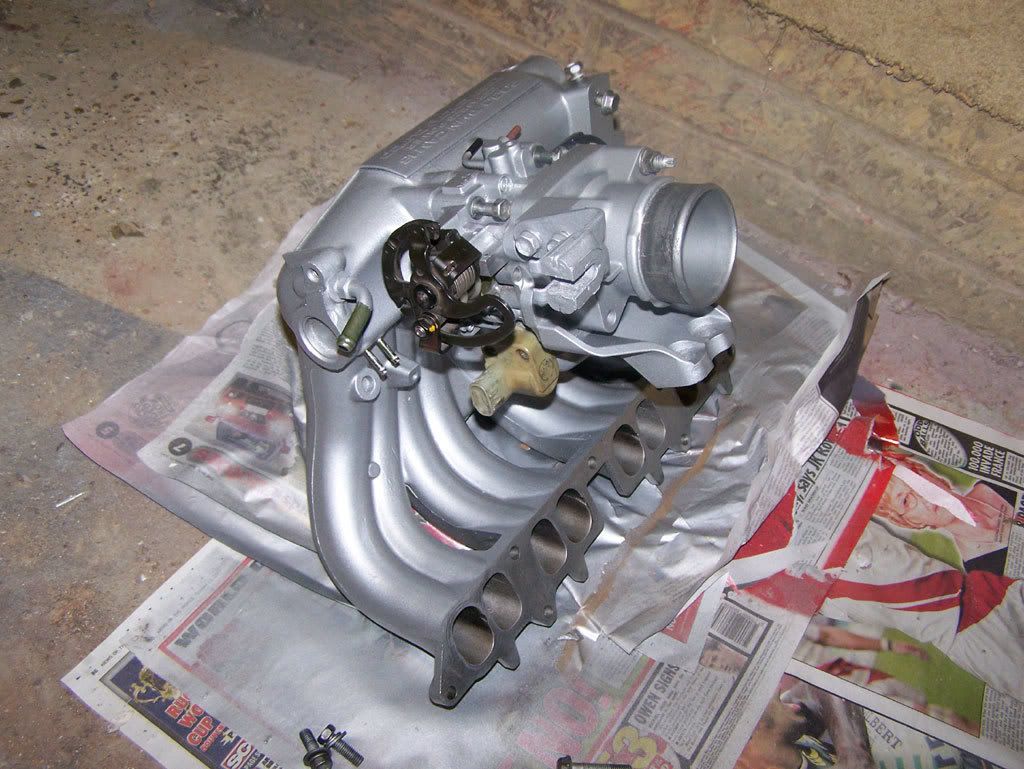
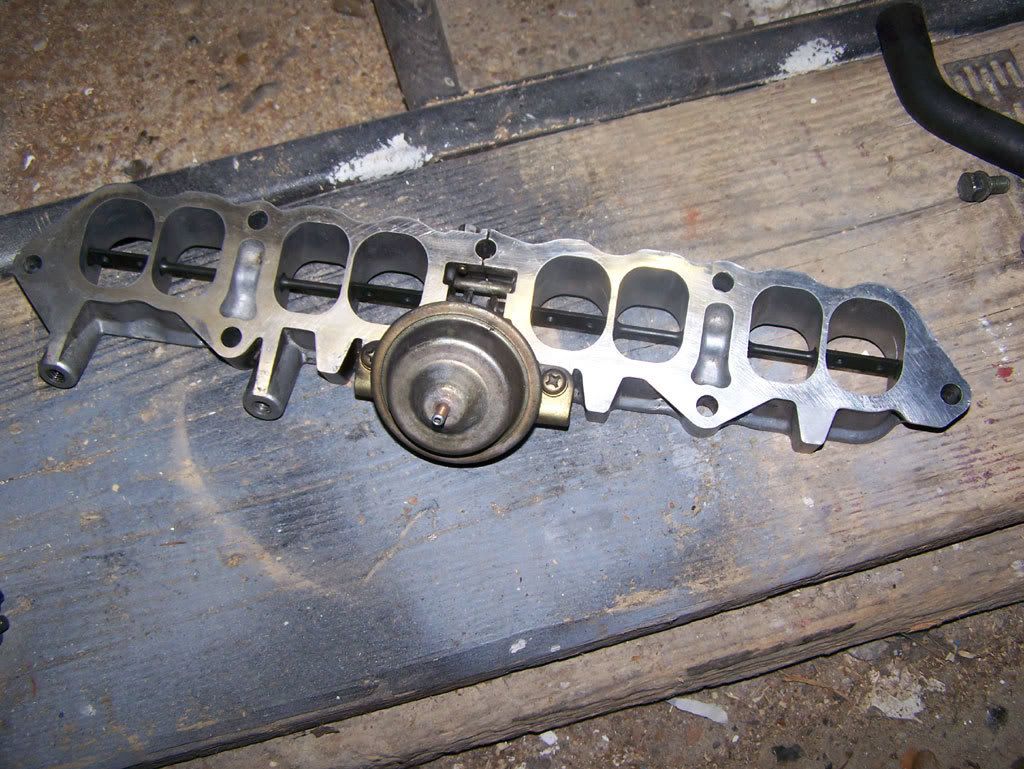
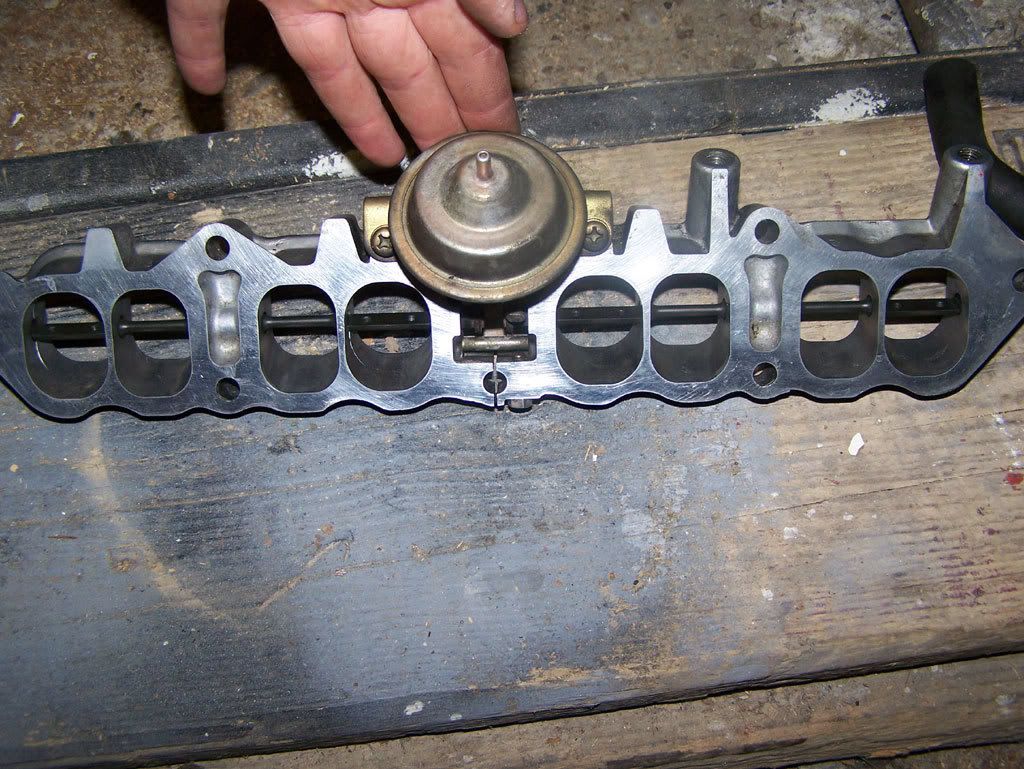
plan to get the inlet manifold out, so theyll be how to on this as well to show how to remove the TVIS butterflies.
im going to completely remove all TVIS and TVSV components
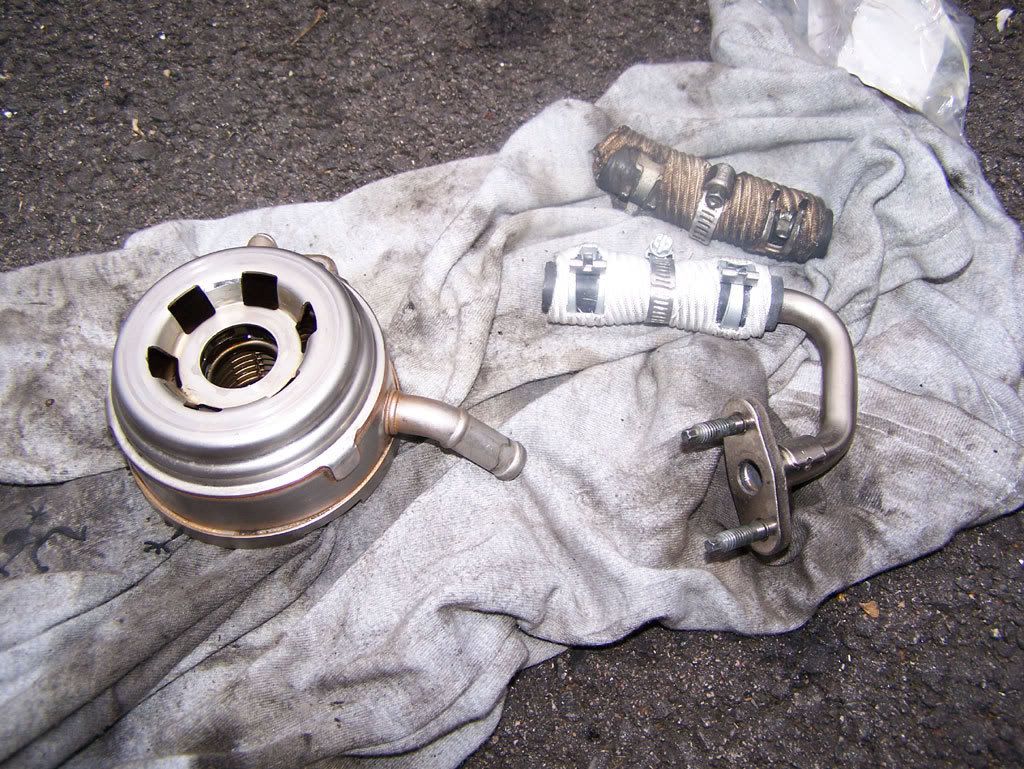
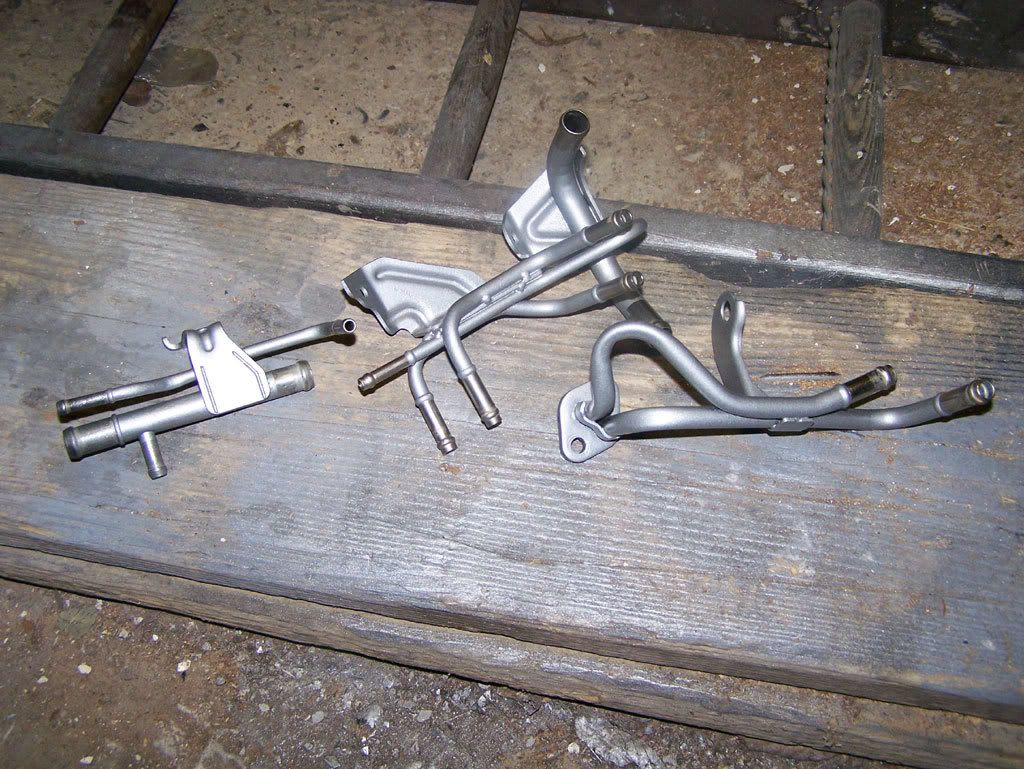
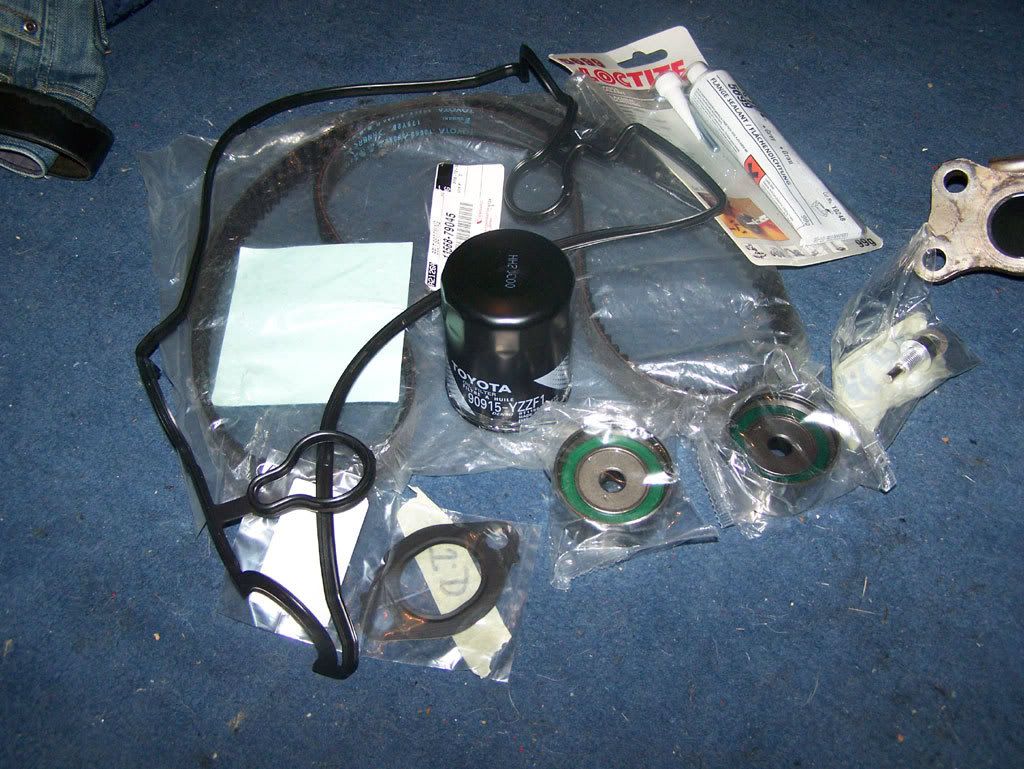
replace the HFH pipes,
also going to change in the distributor seal
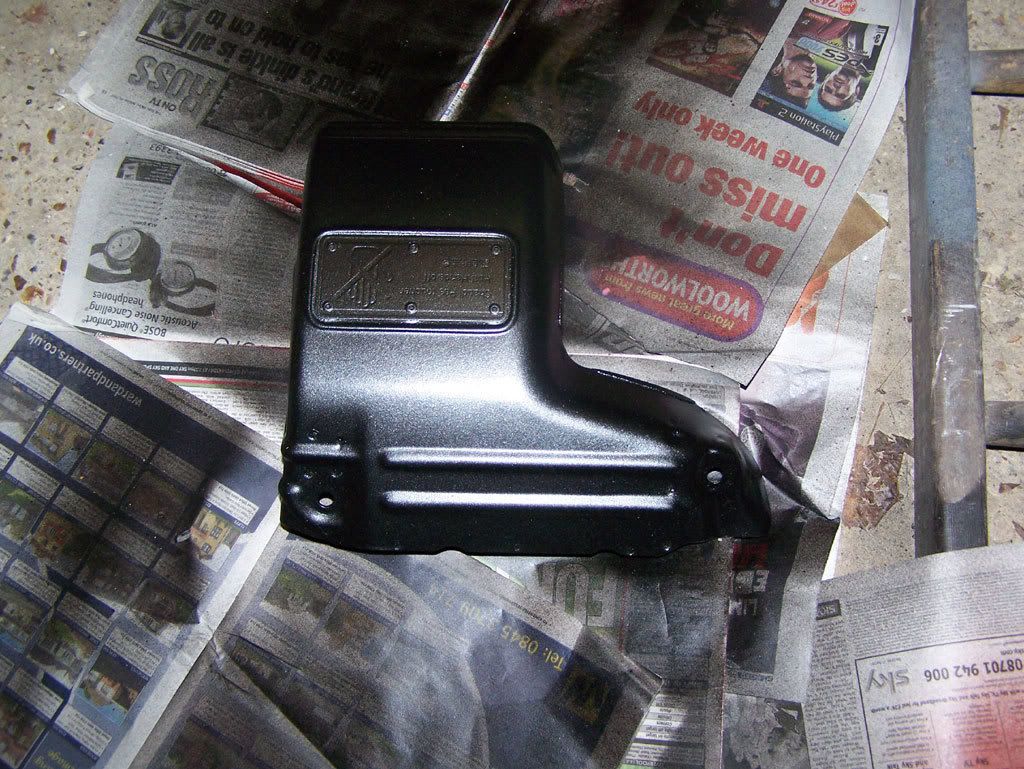
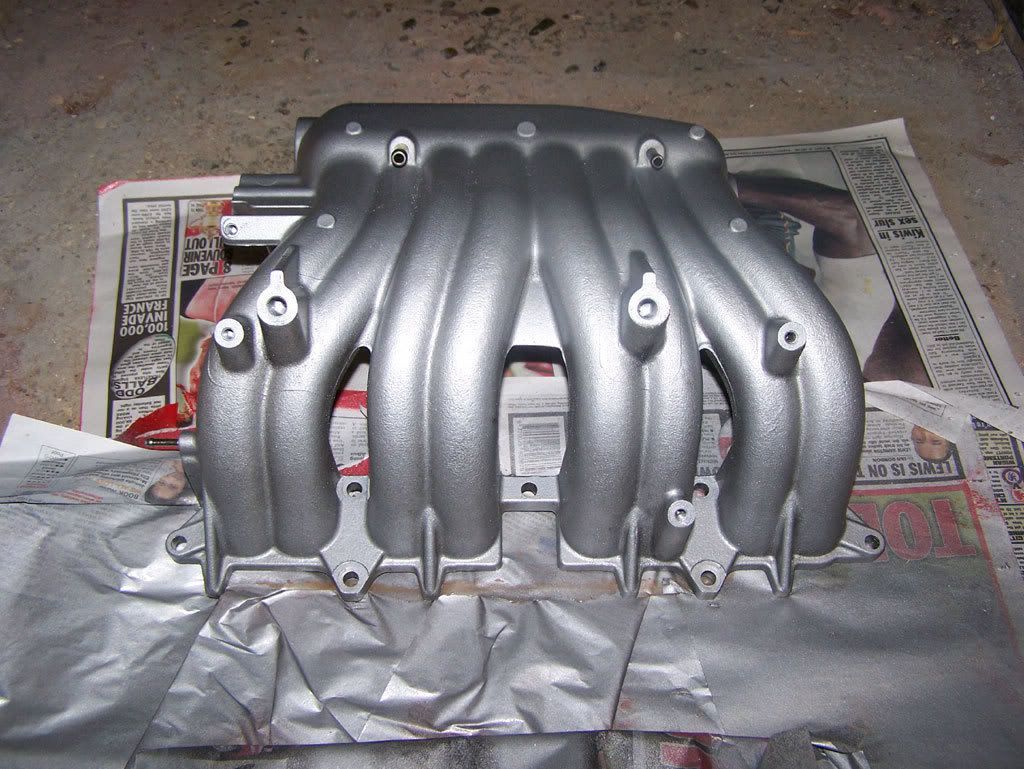
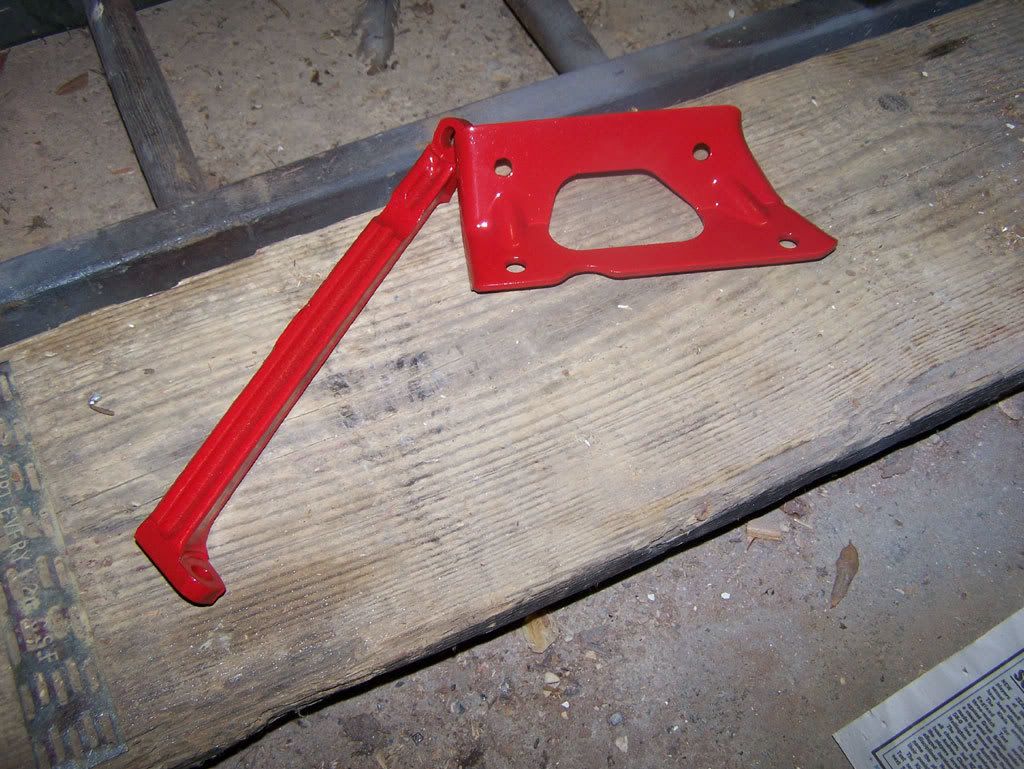
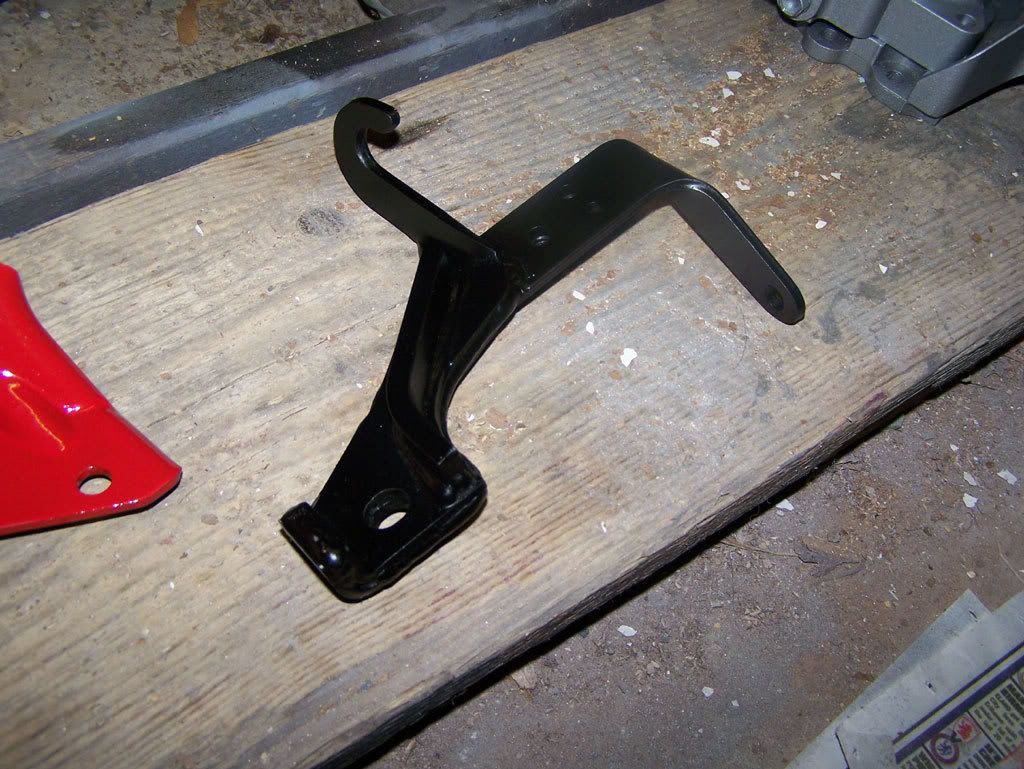
AND finally while all of these metal components are off im going to clean and be spraying them a combination of red, black and hammered silver.
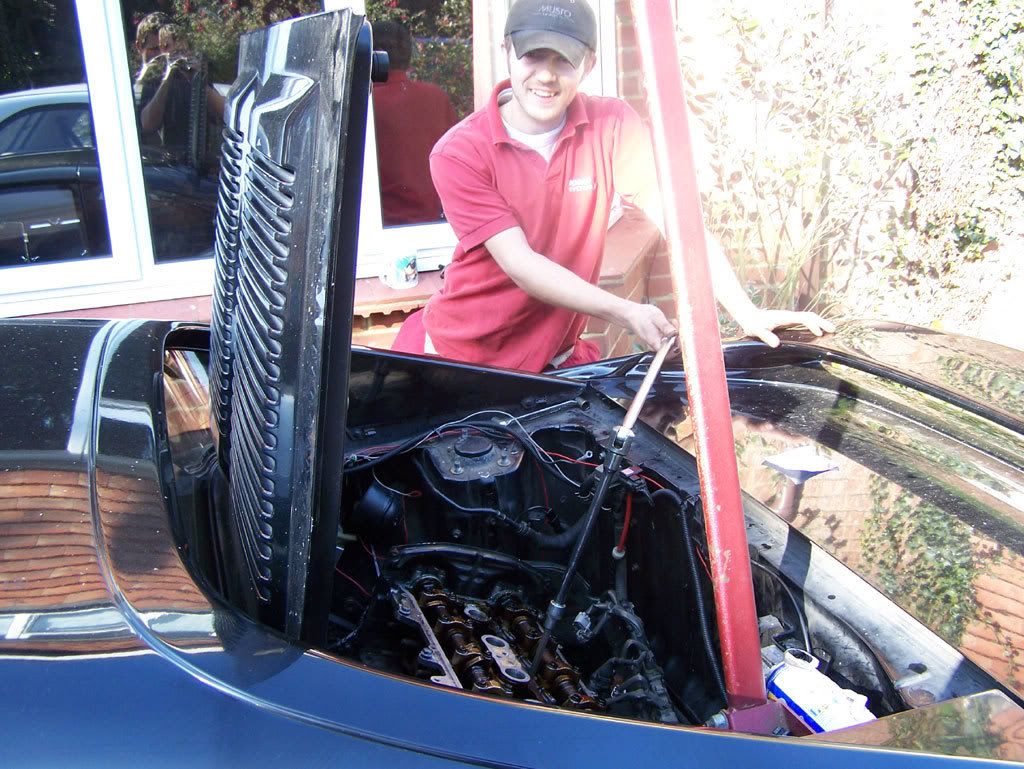
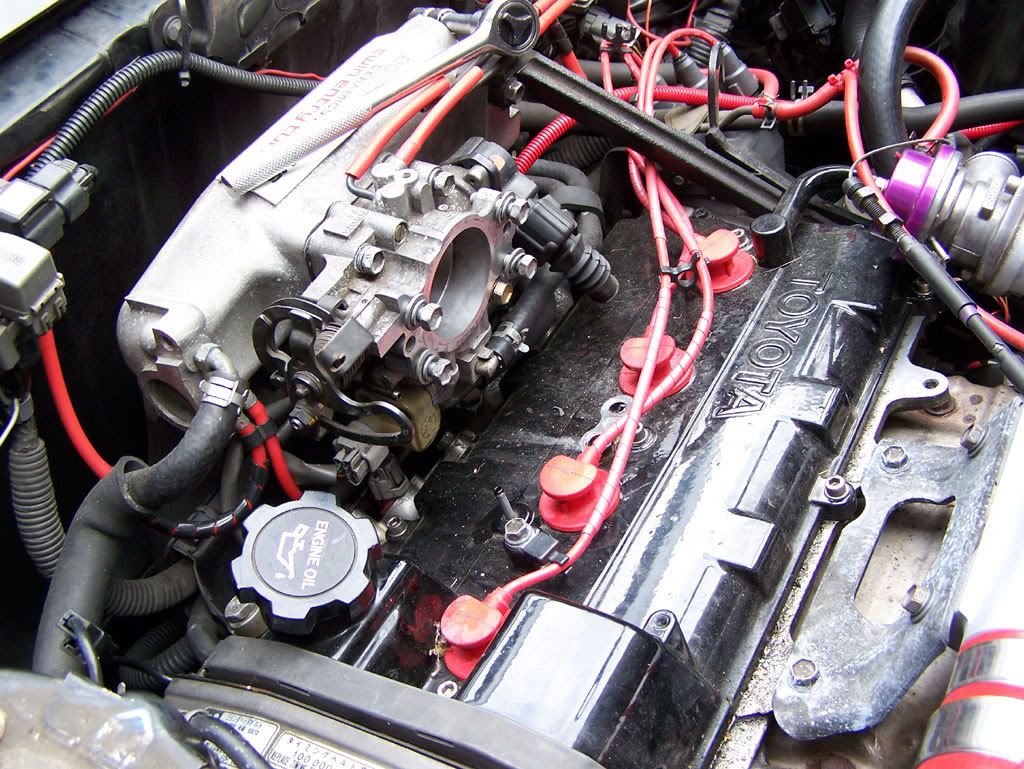
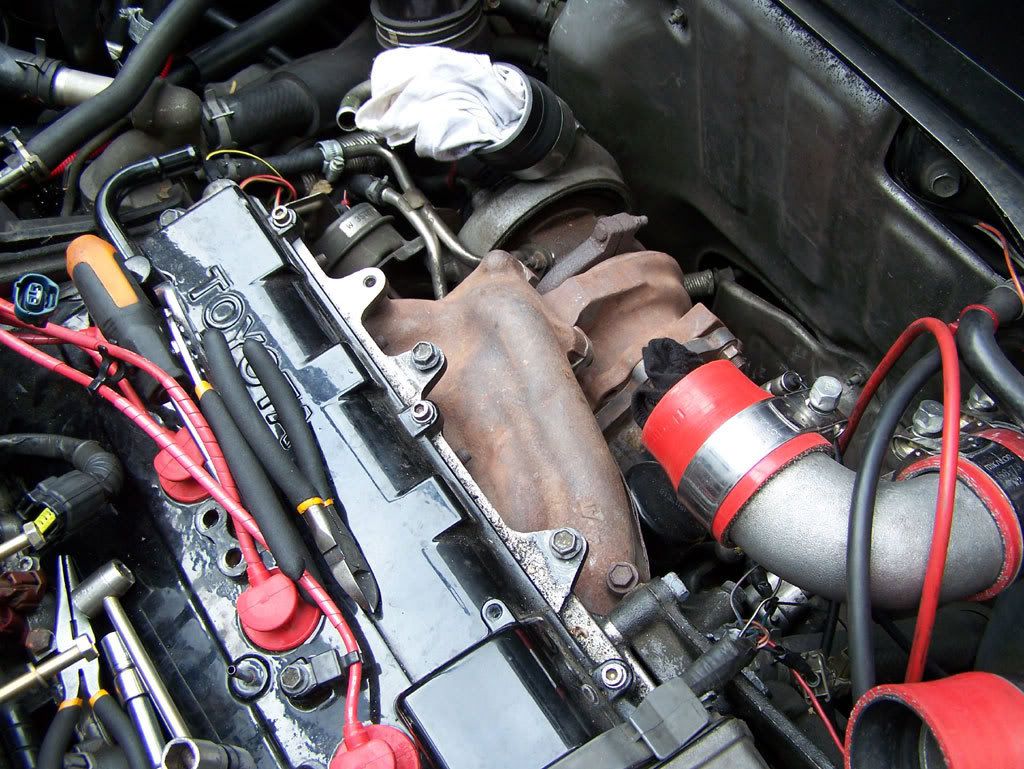
here we go, let the games begin!
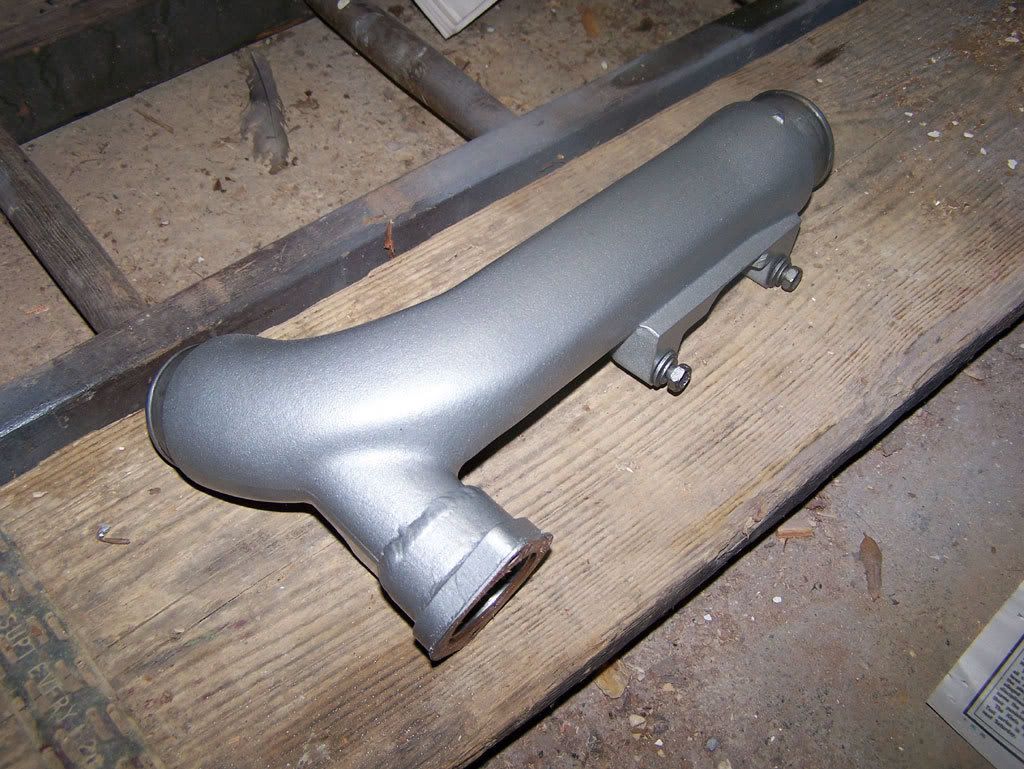
ic to throttle body pipe off, and throttle/manifold body stay and throttle body ic join pipe off
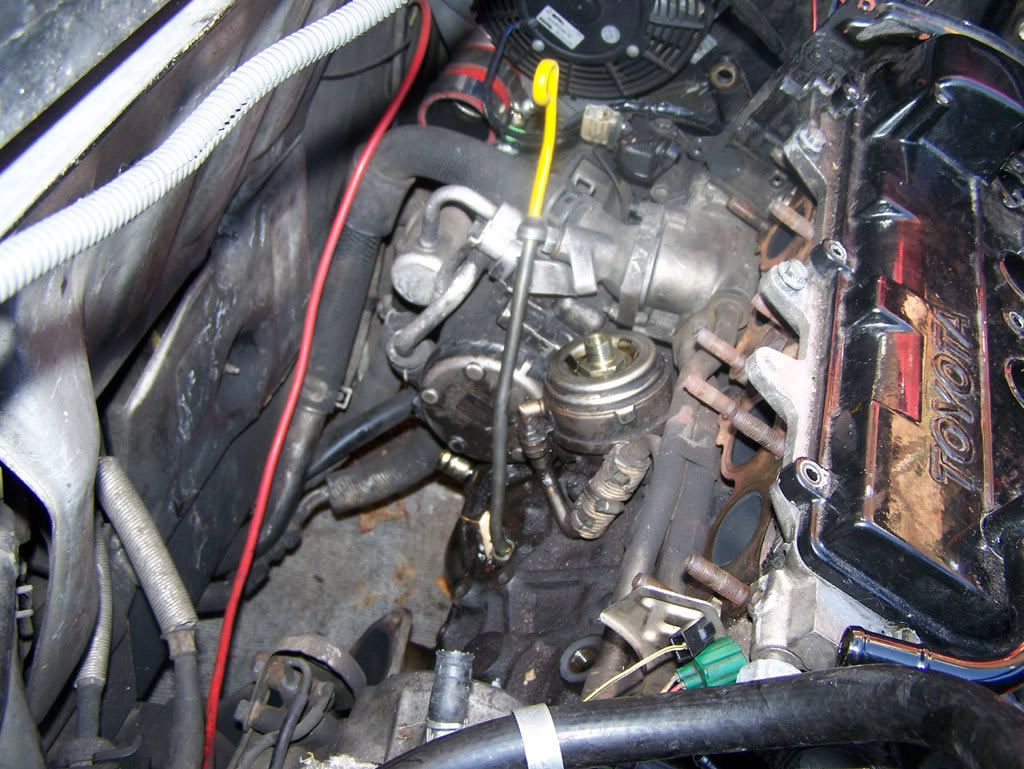
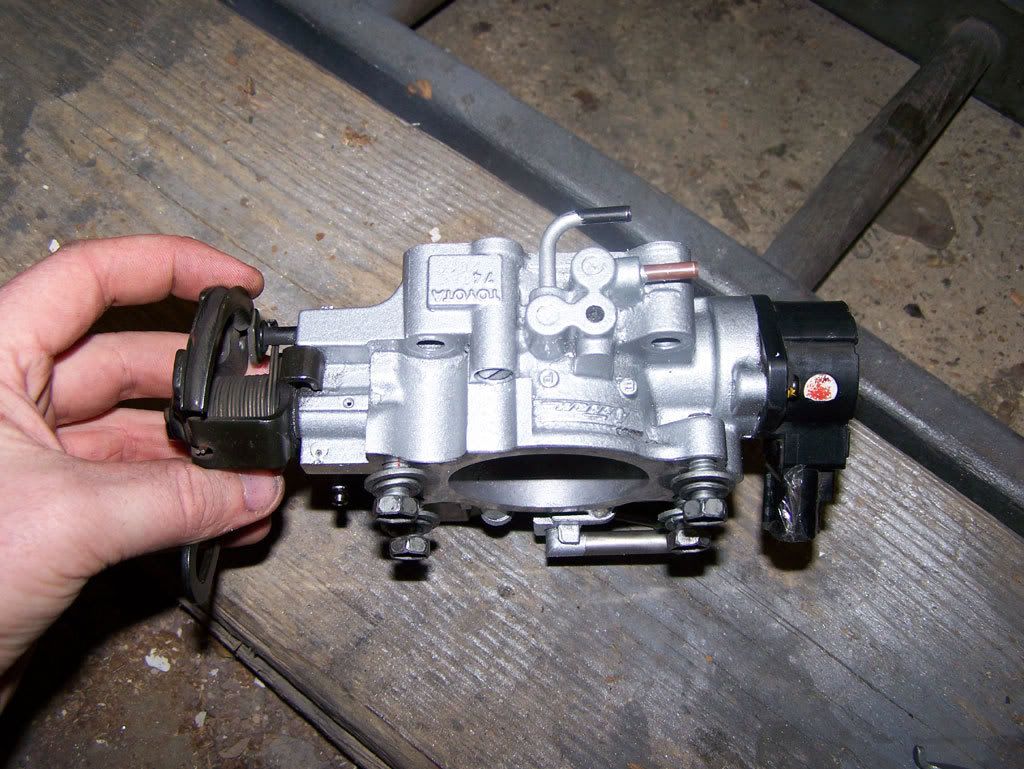
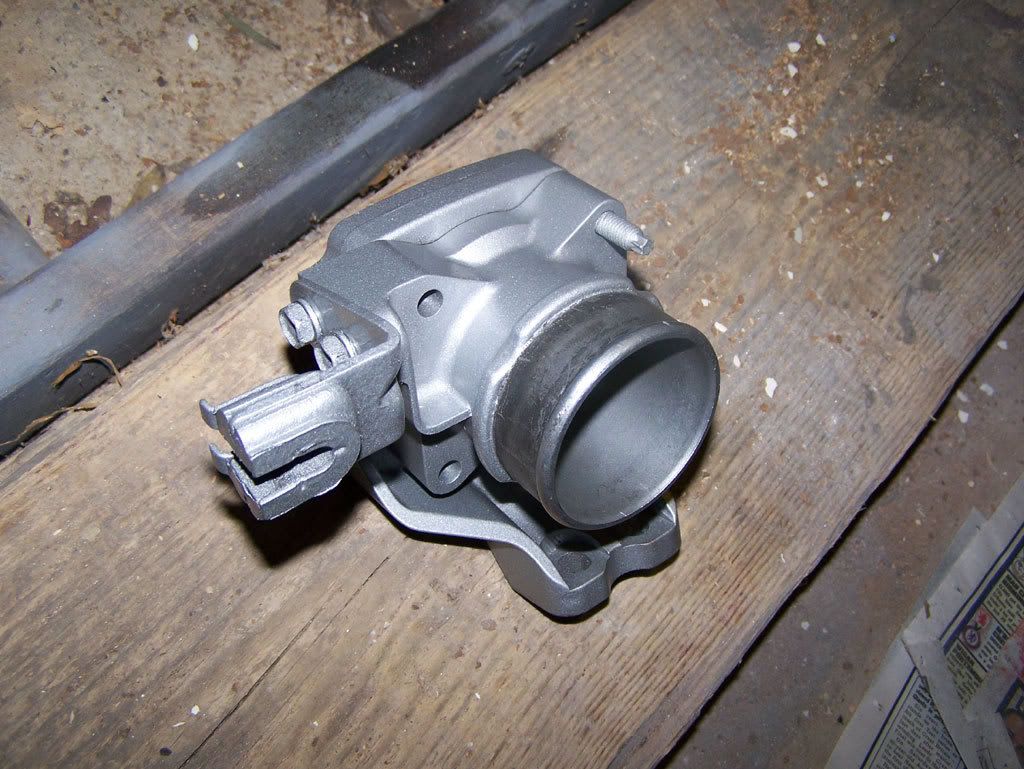
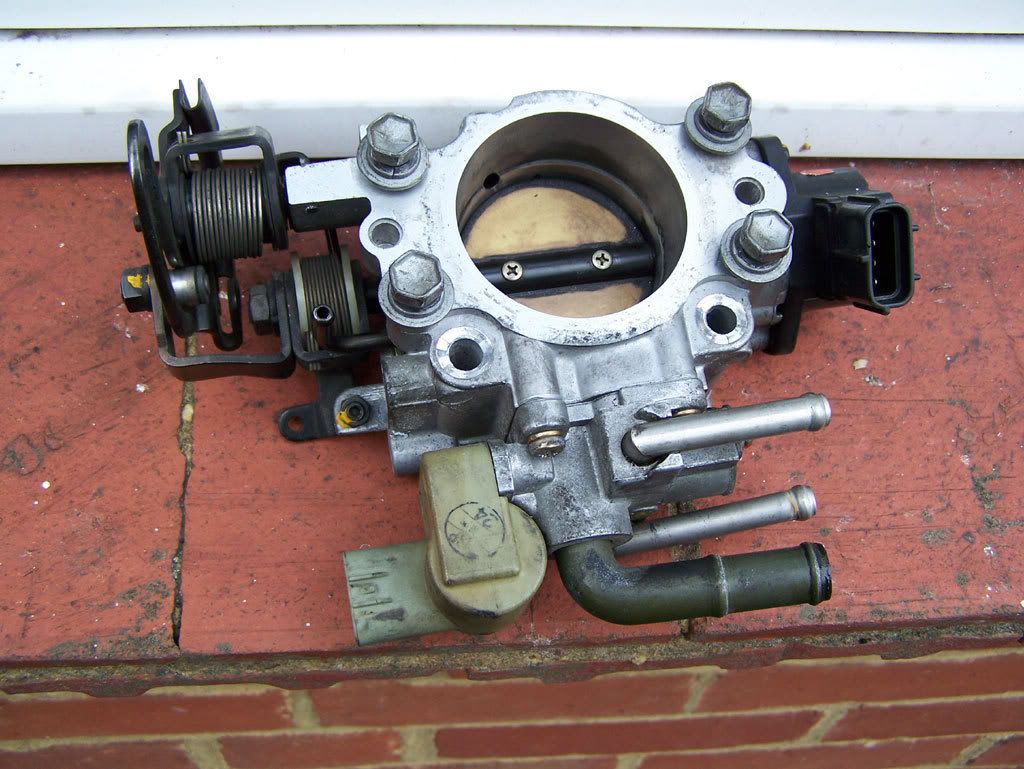
throttle body off
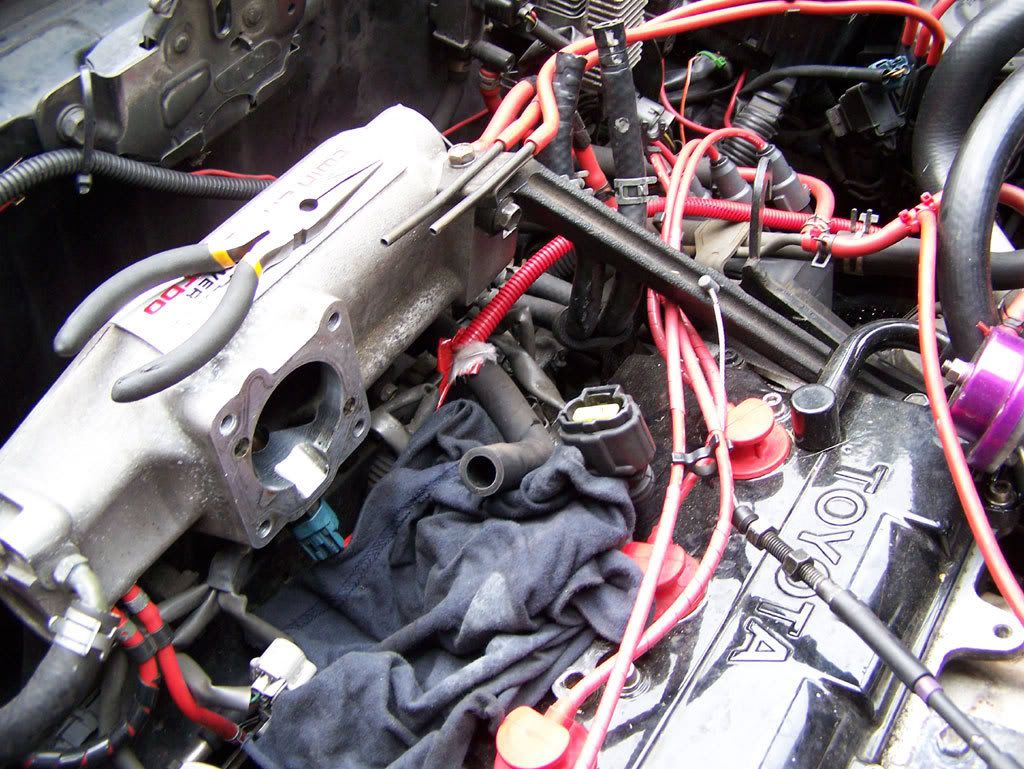
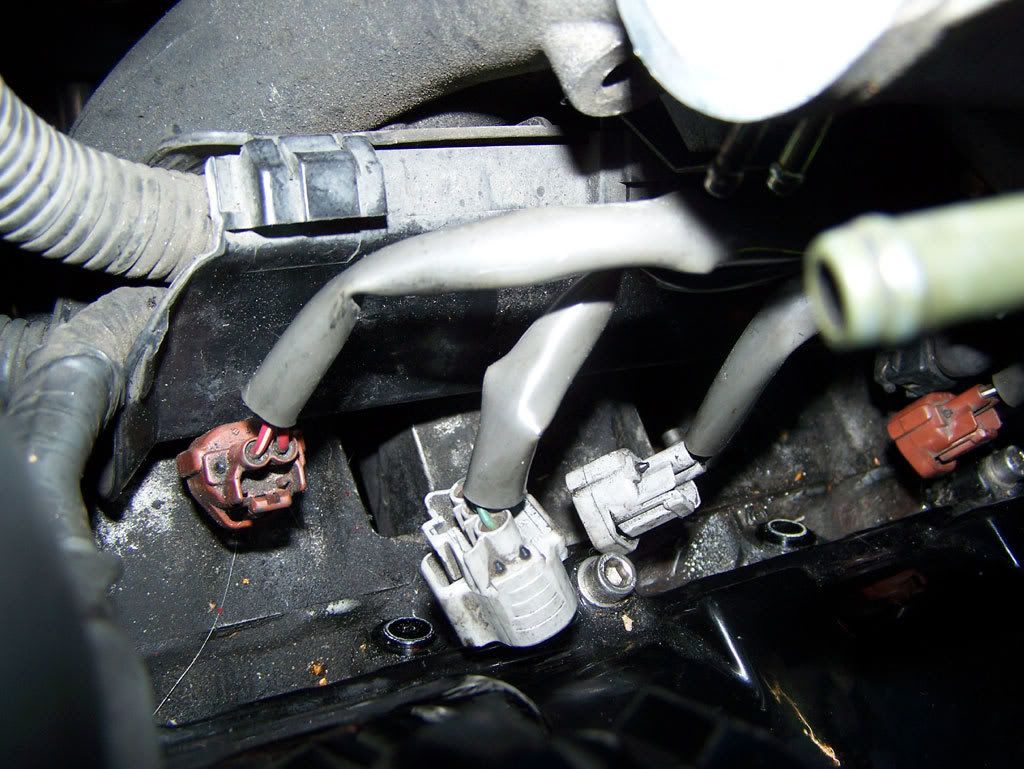
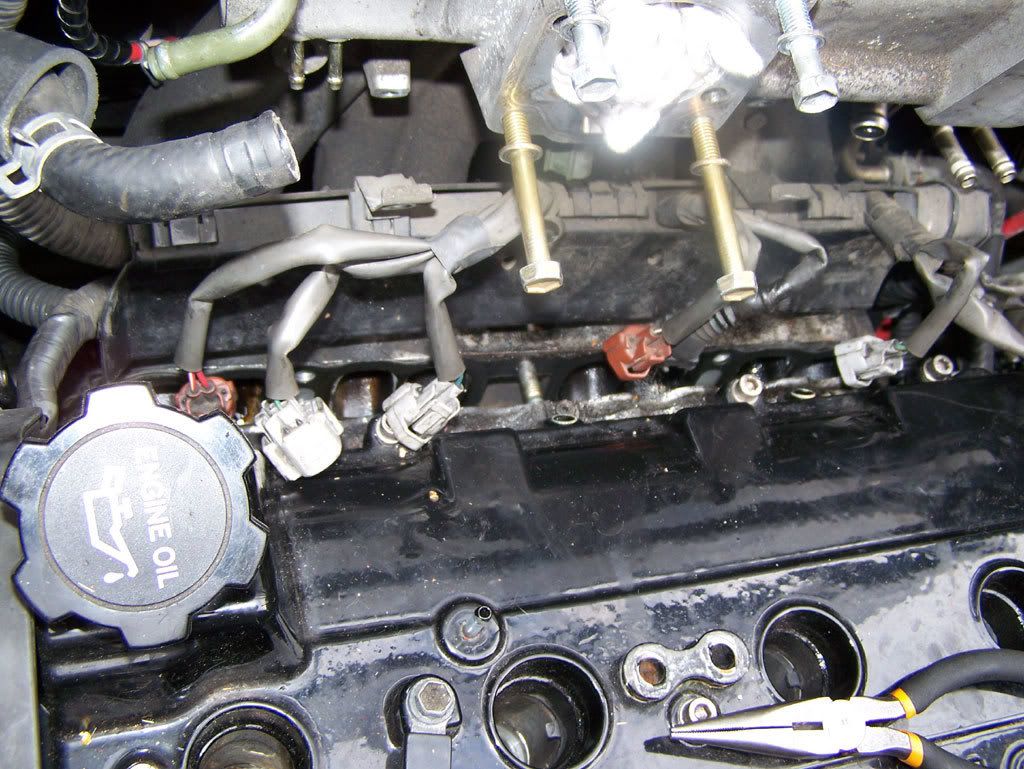
disconenct injector connectors and remove some of the vaacum hosing to MAP sensor and fuel rail, move TB
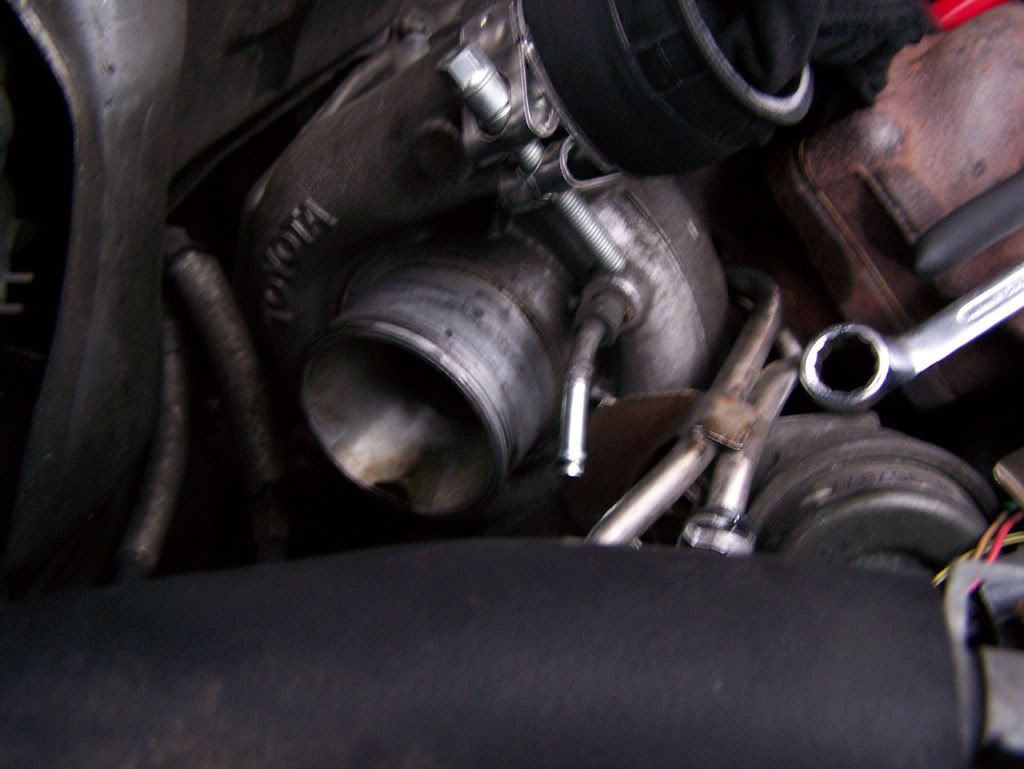
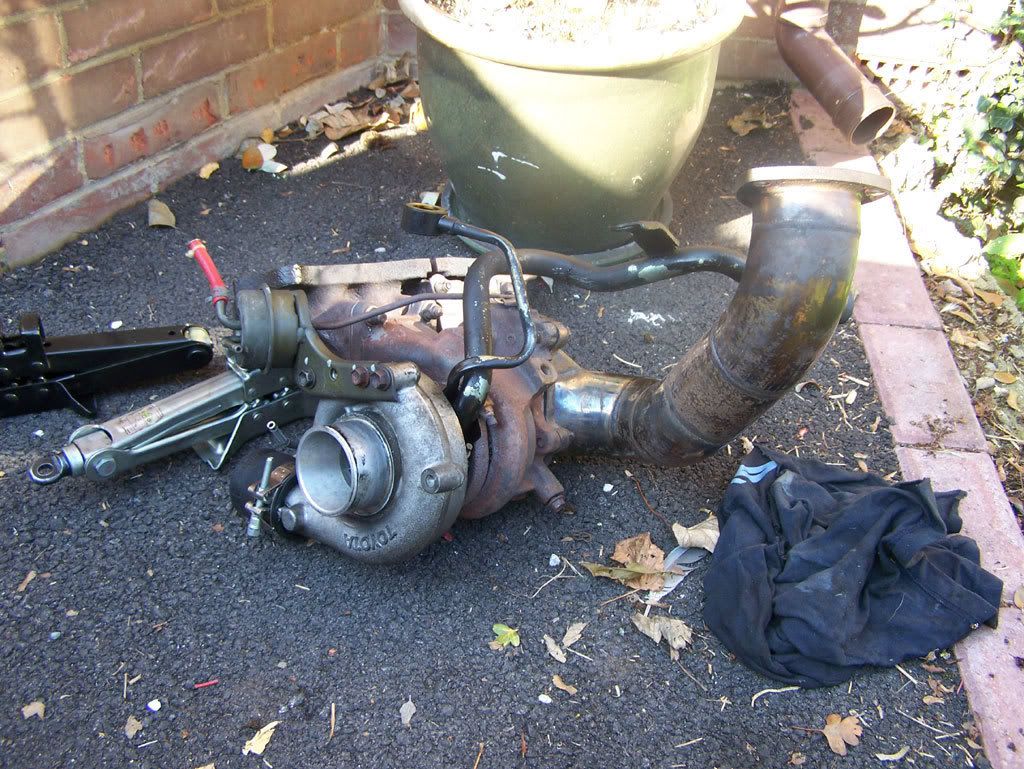
turbo headshield removed
turbo the intercooler hardpipe removed
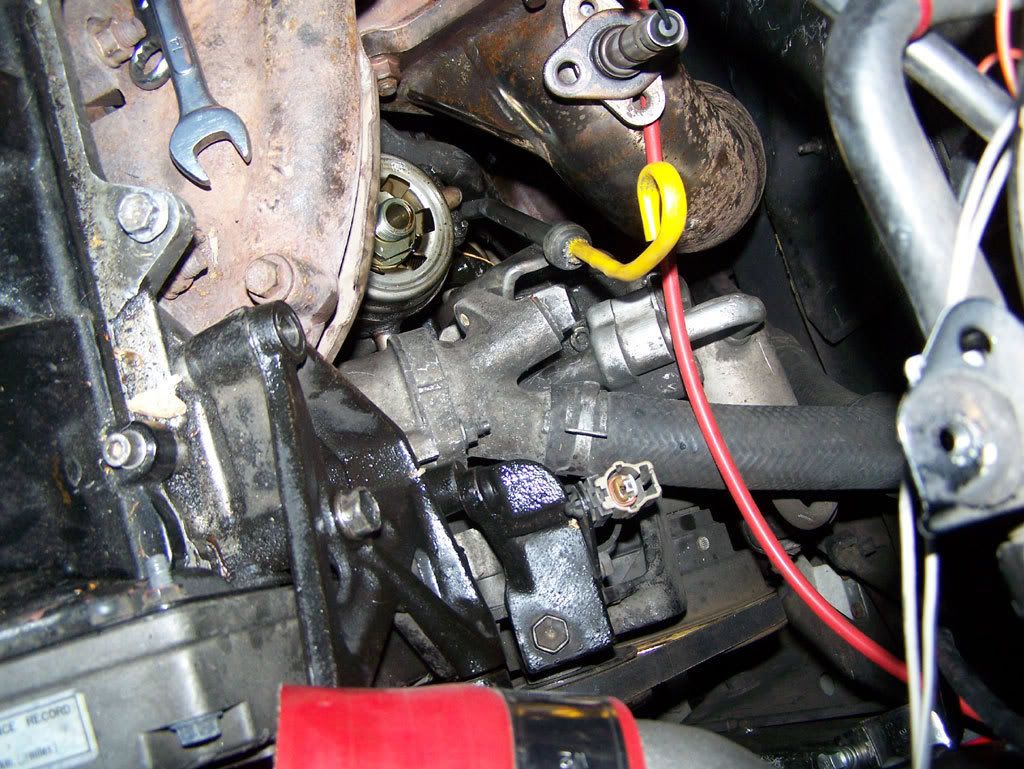
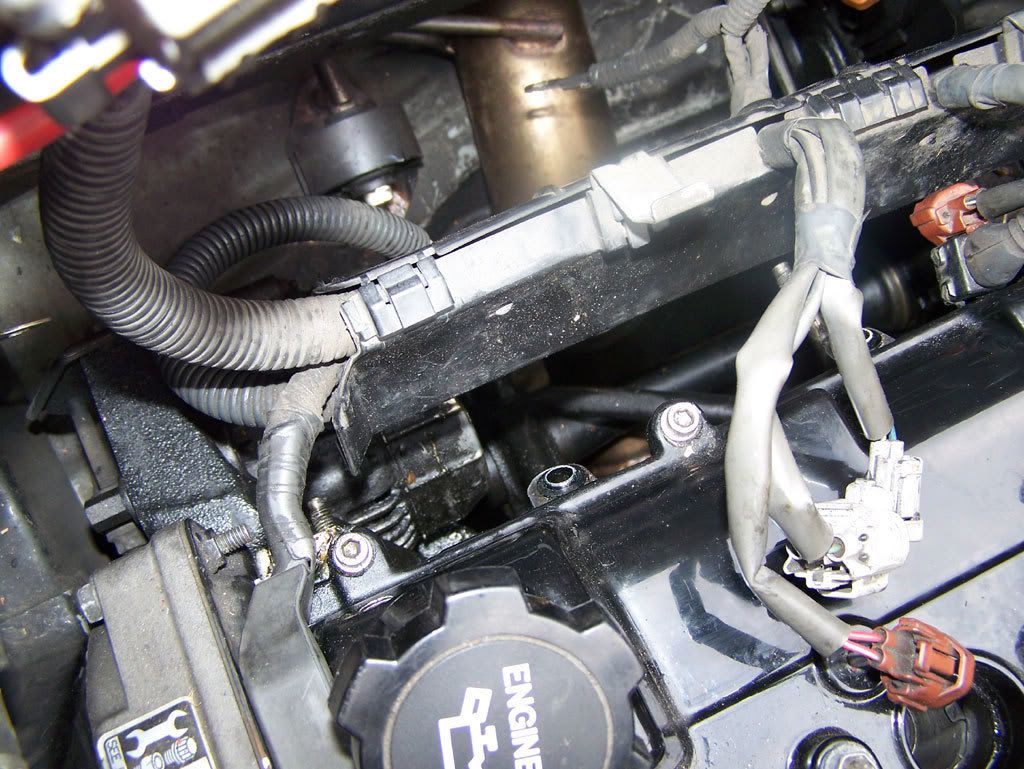
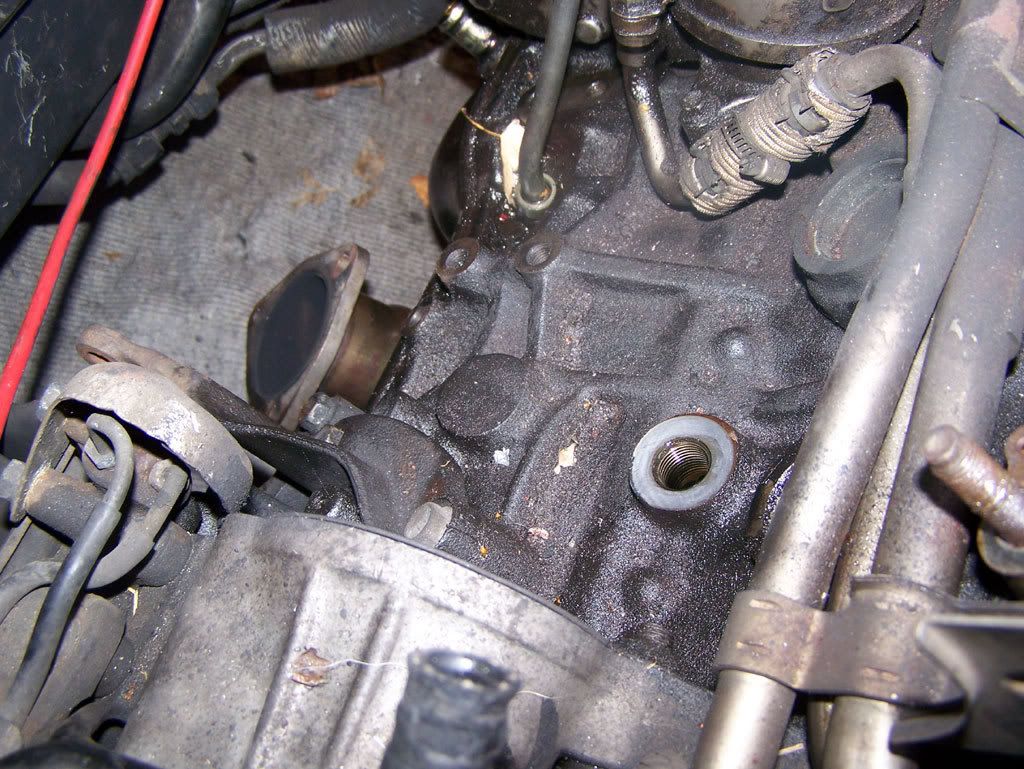
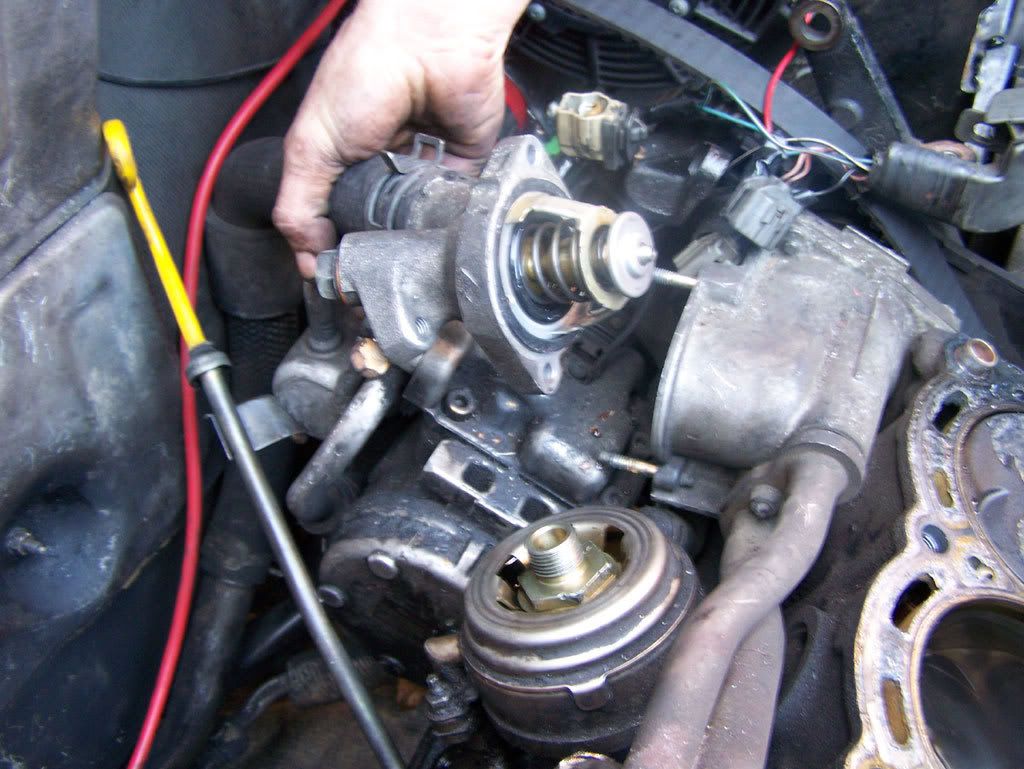
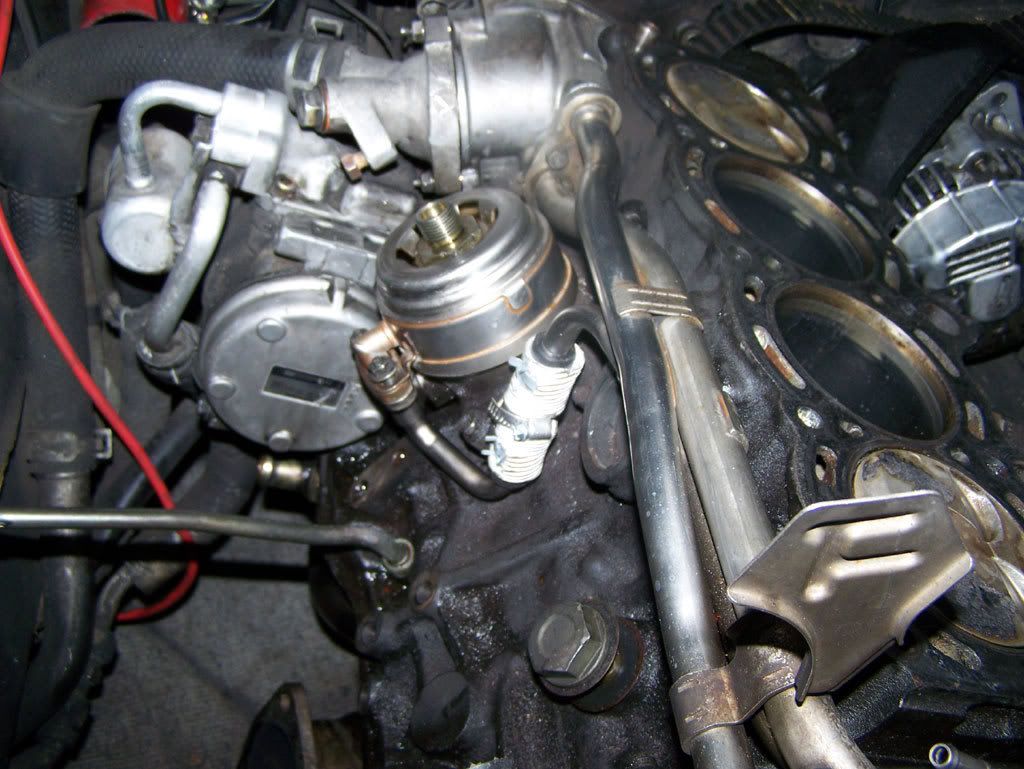
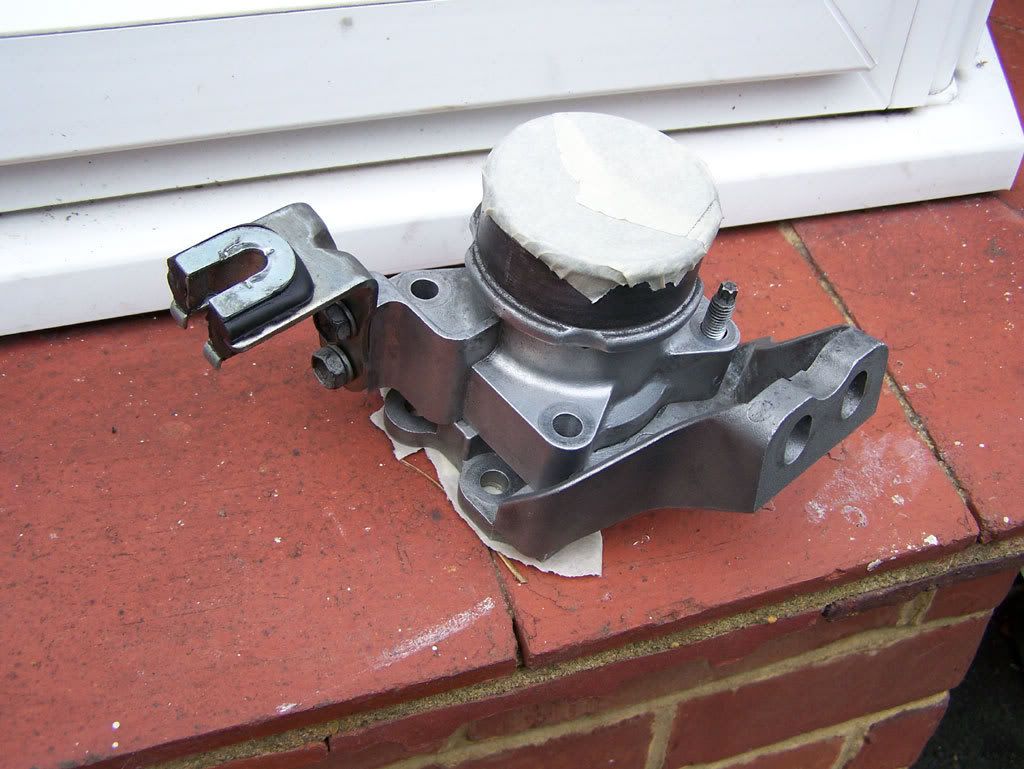
remove engine stay, remove distributor cap and igntion leads, and the throttle body pipes
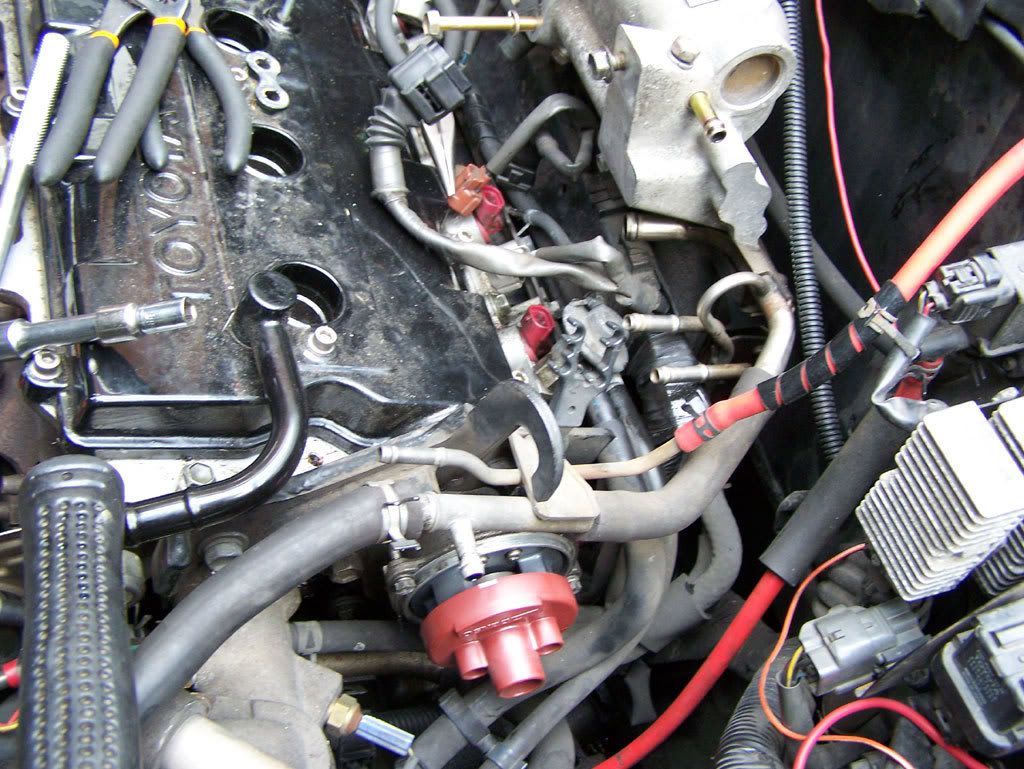
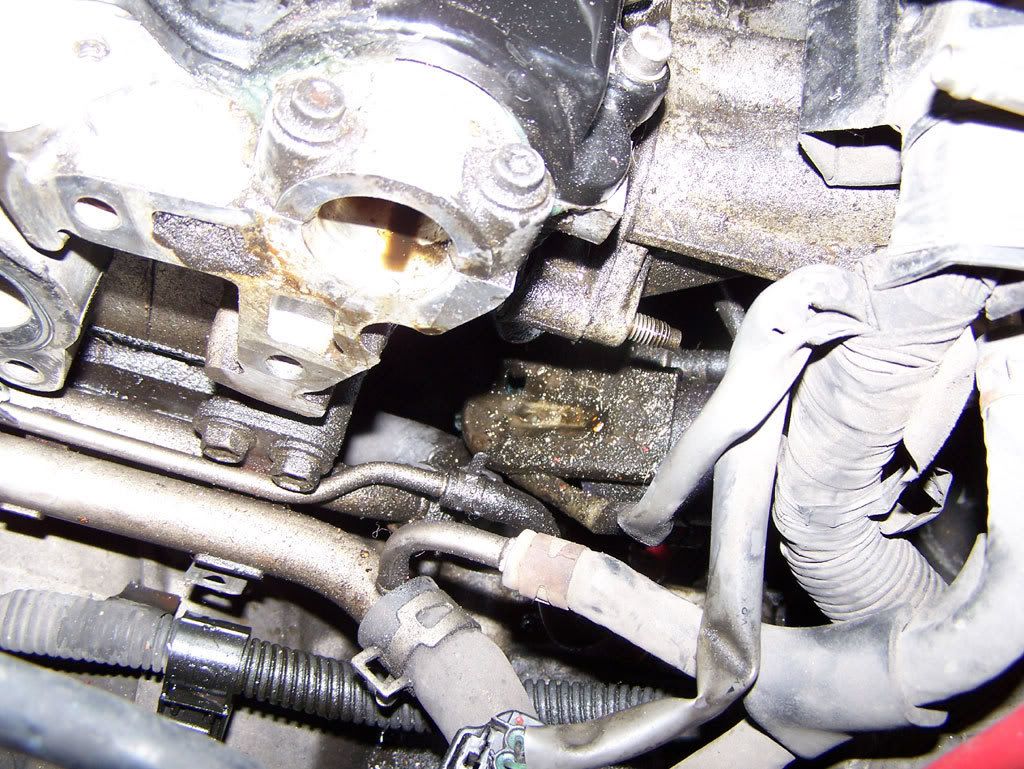
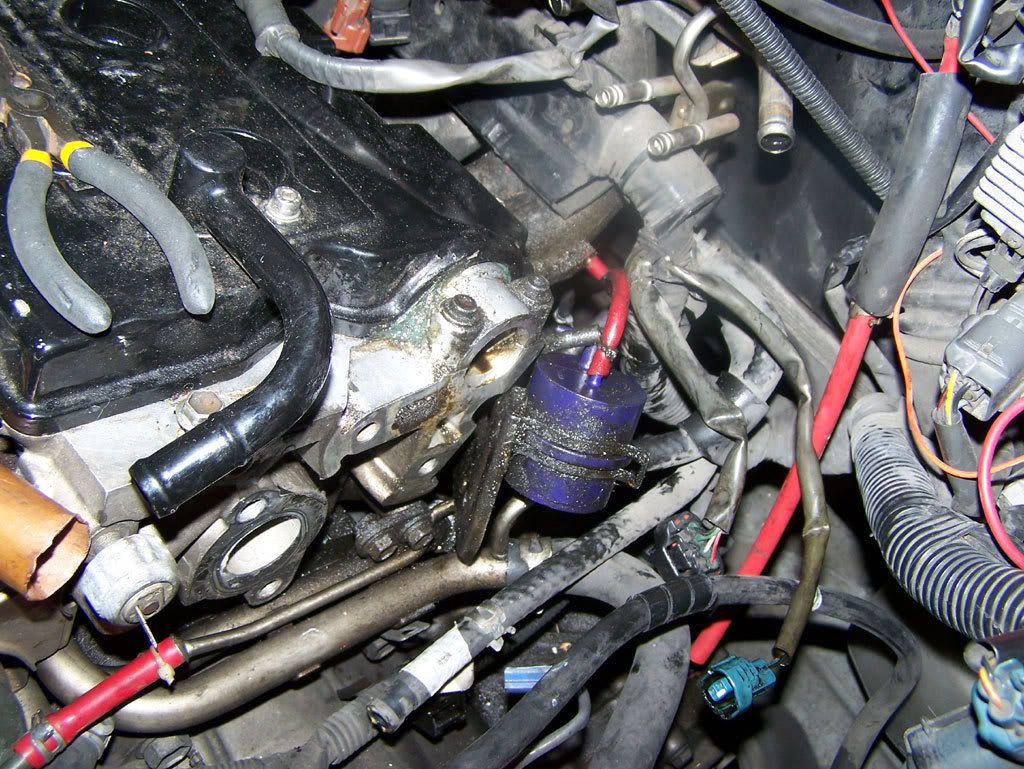
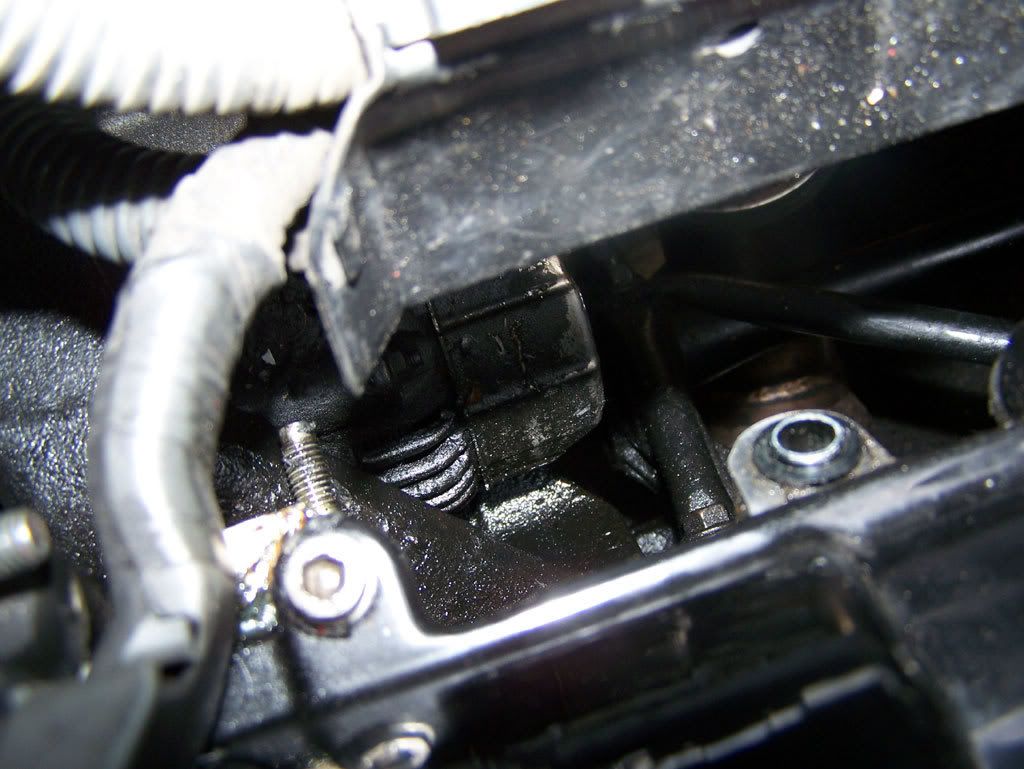
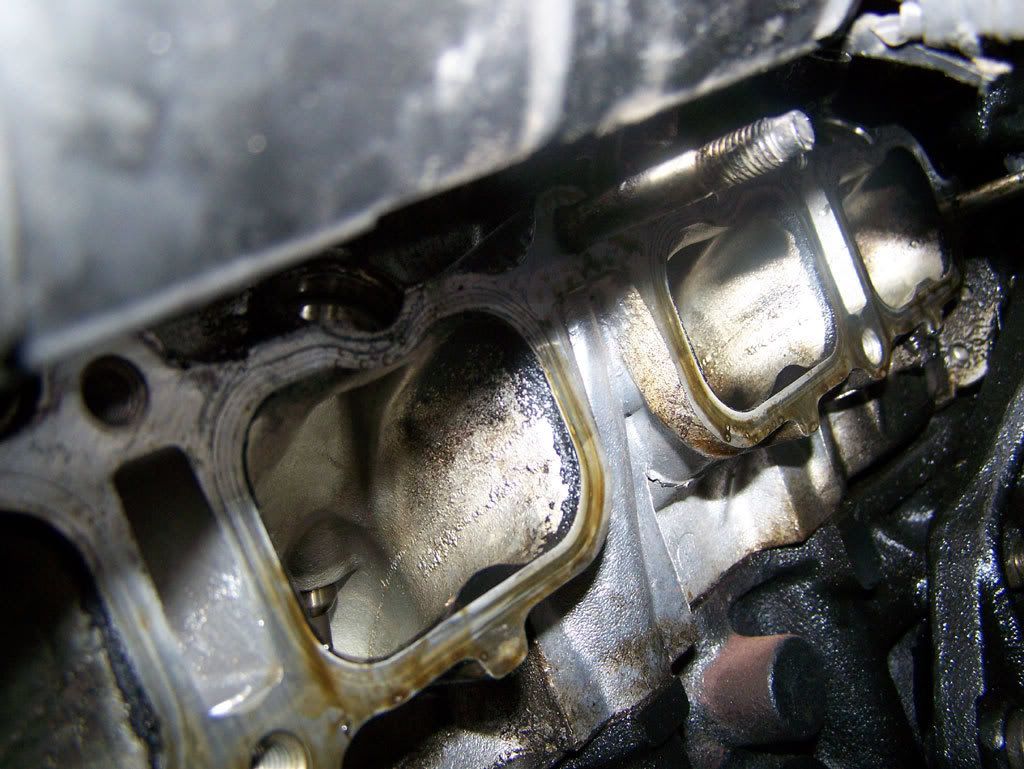
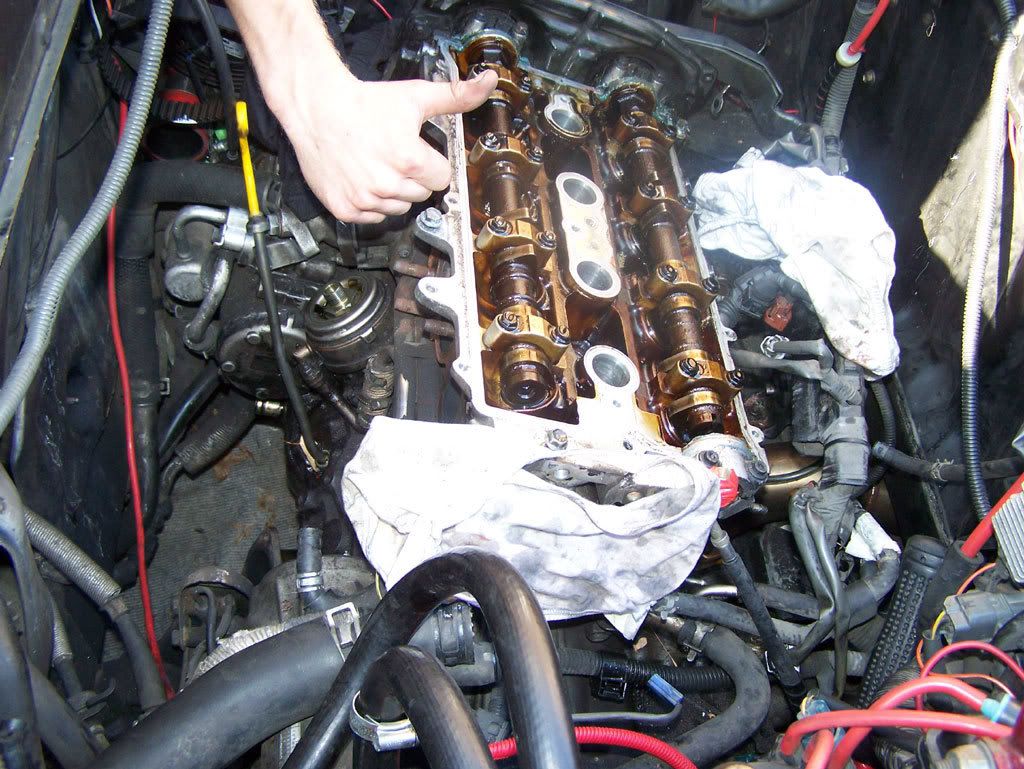
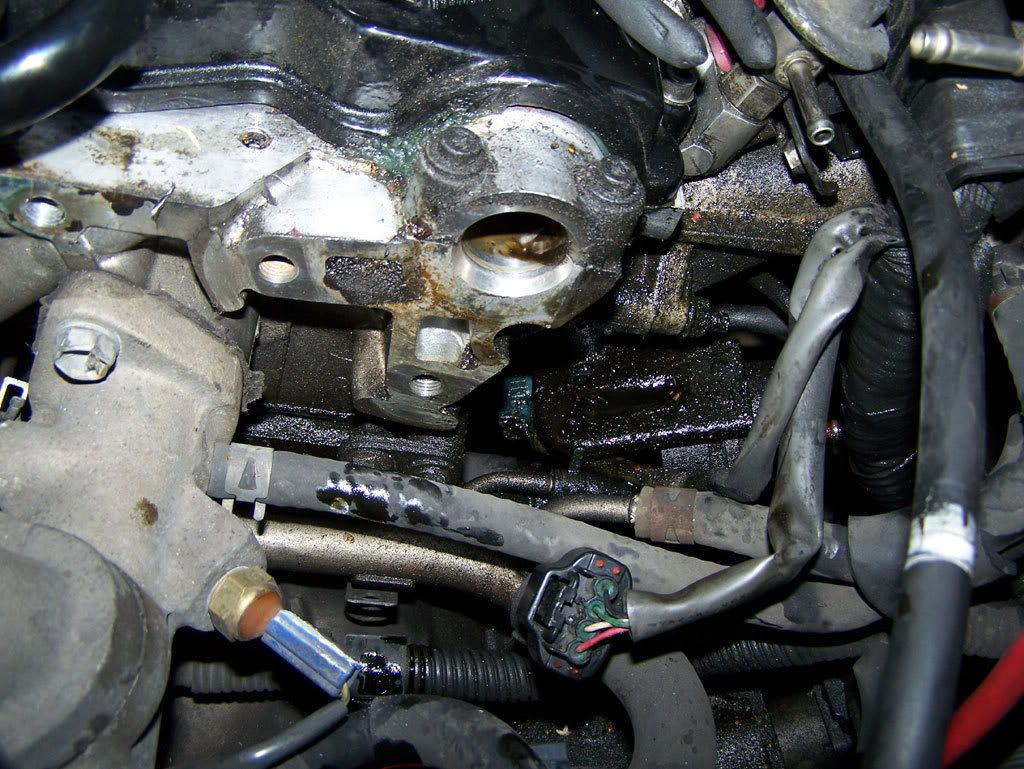
remove distributor itself and where is all this crap coming from????
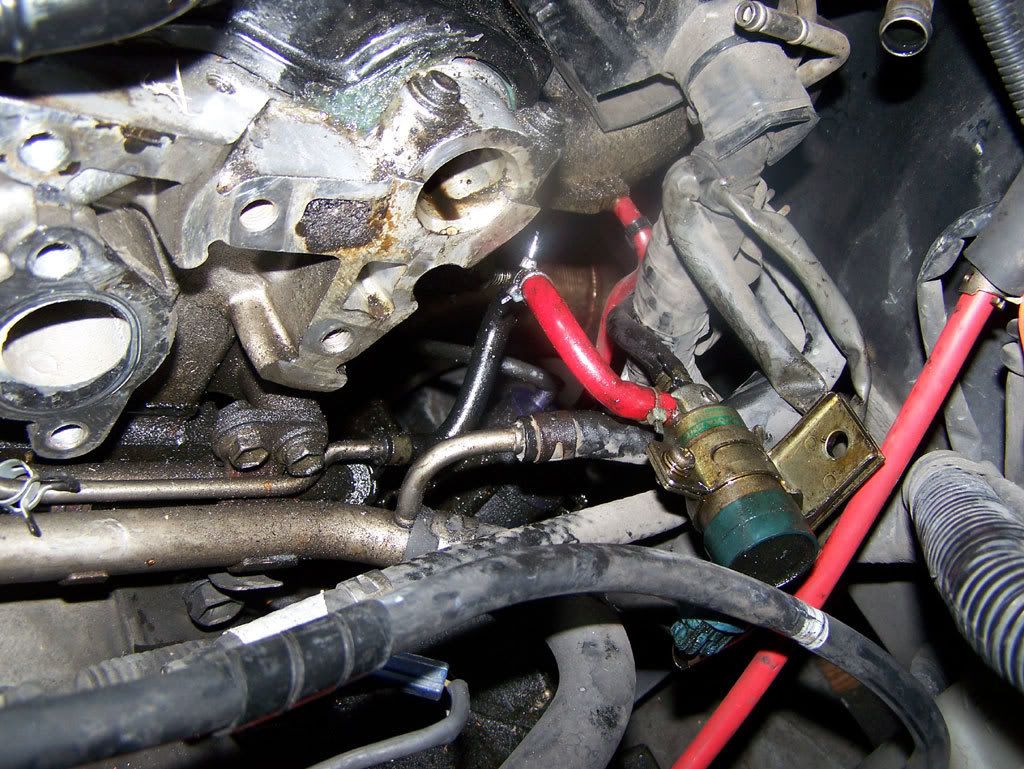
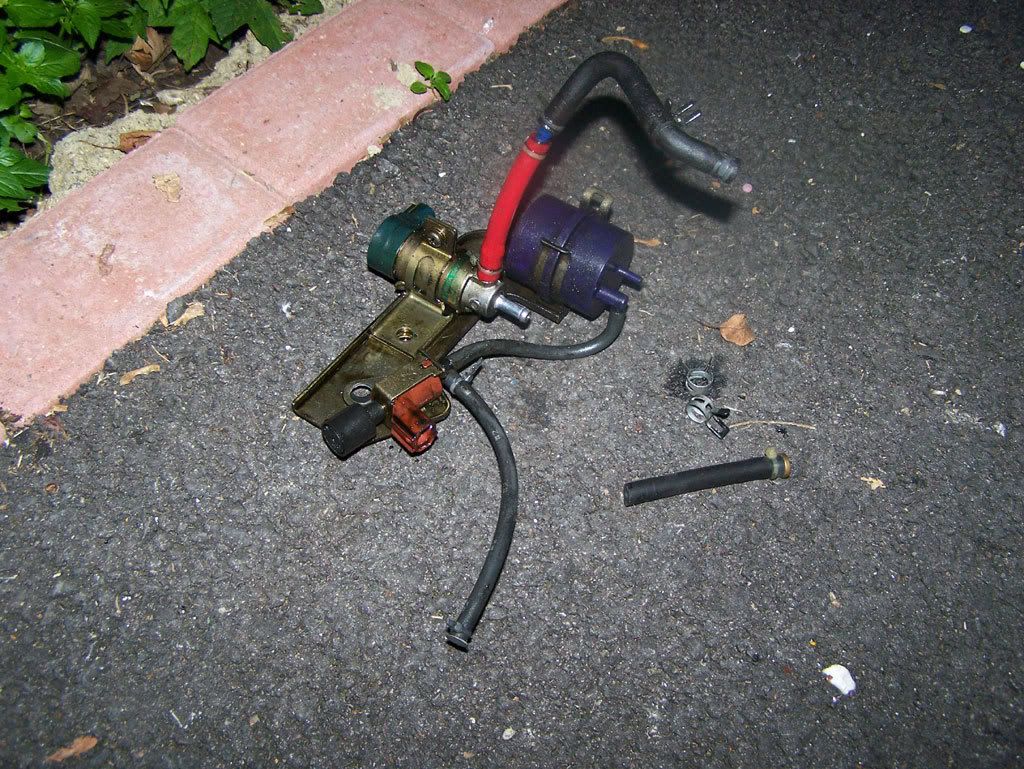
removed bov to manifold vaacum line stay
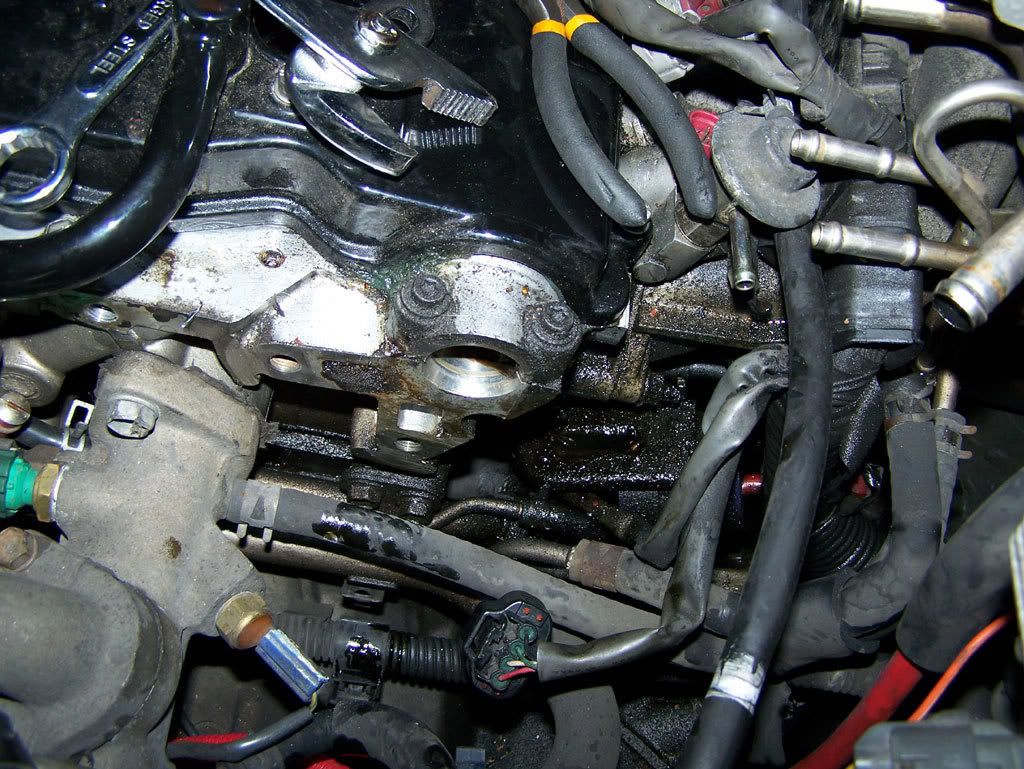
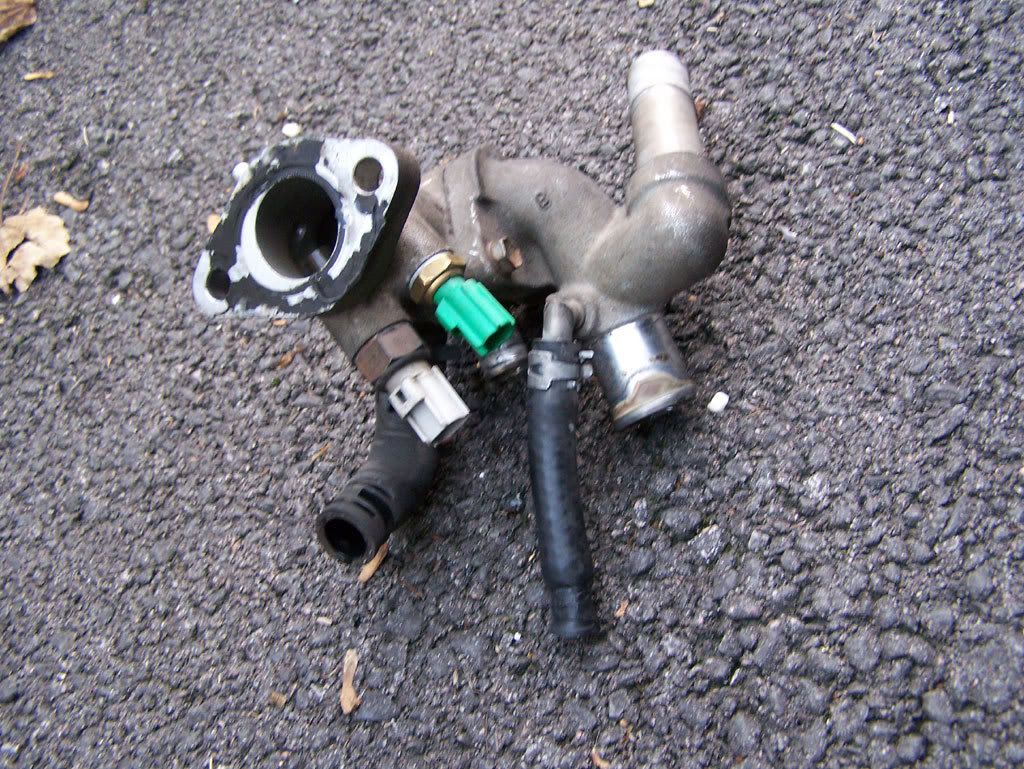
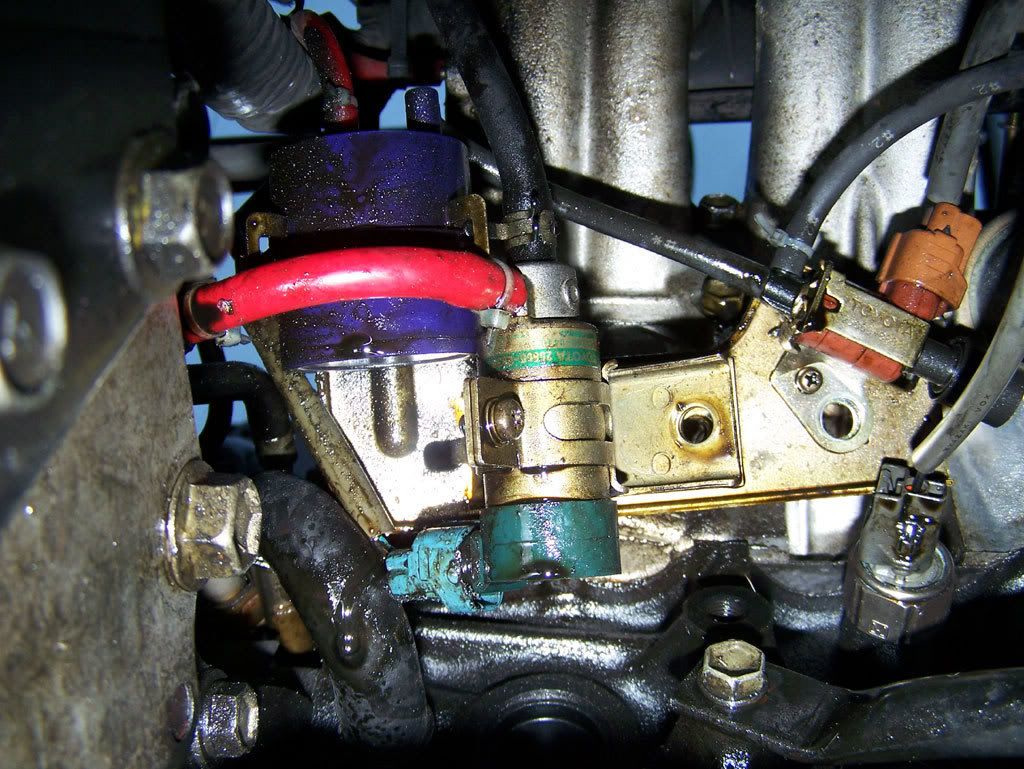
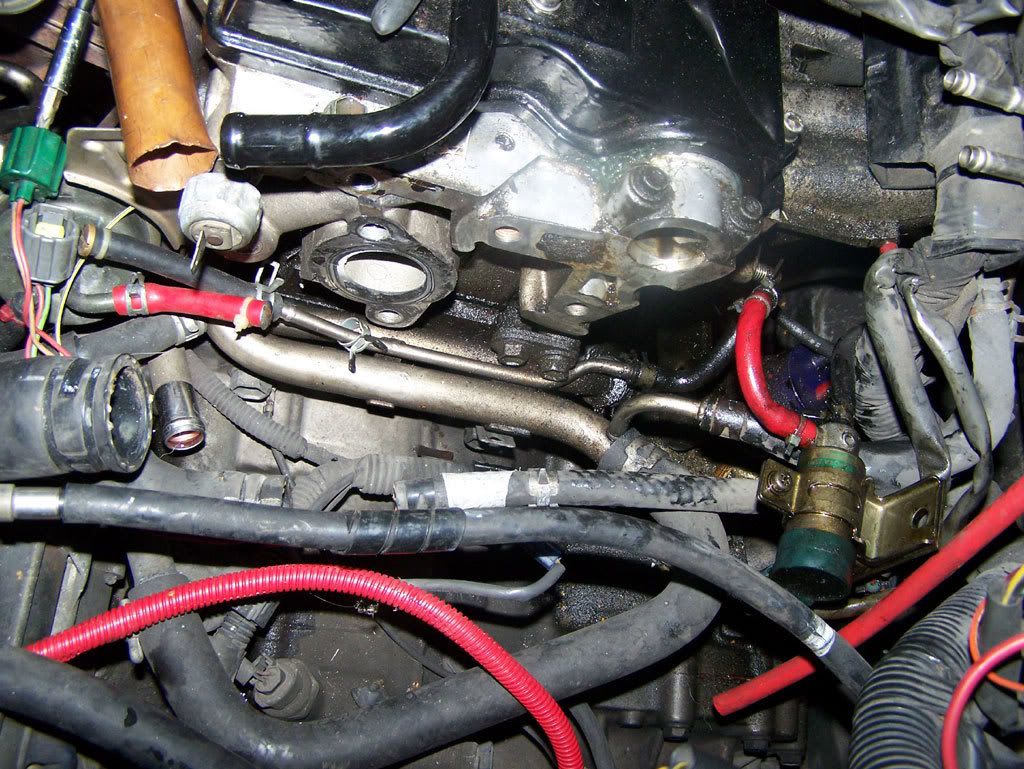
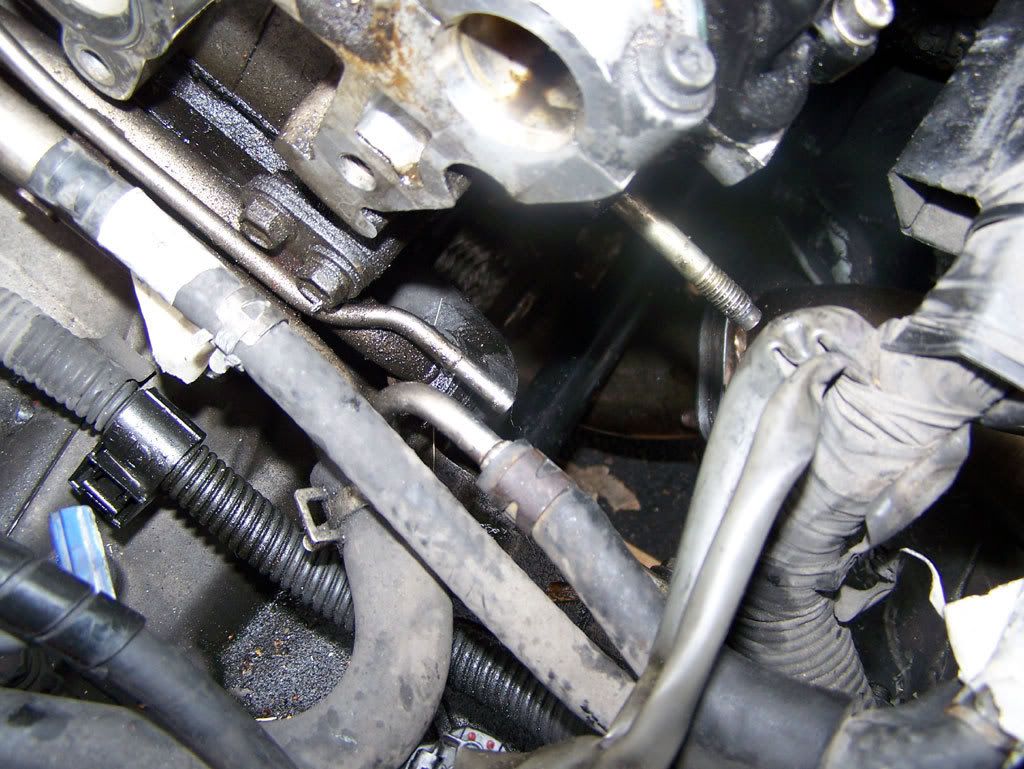
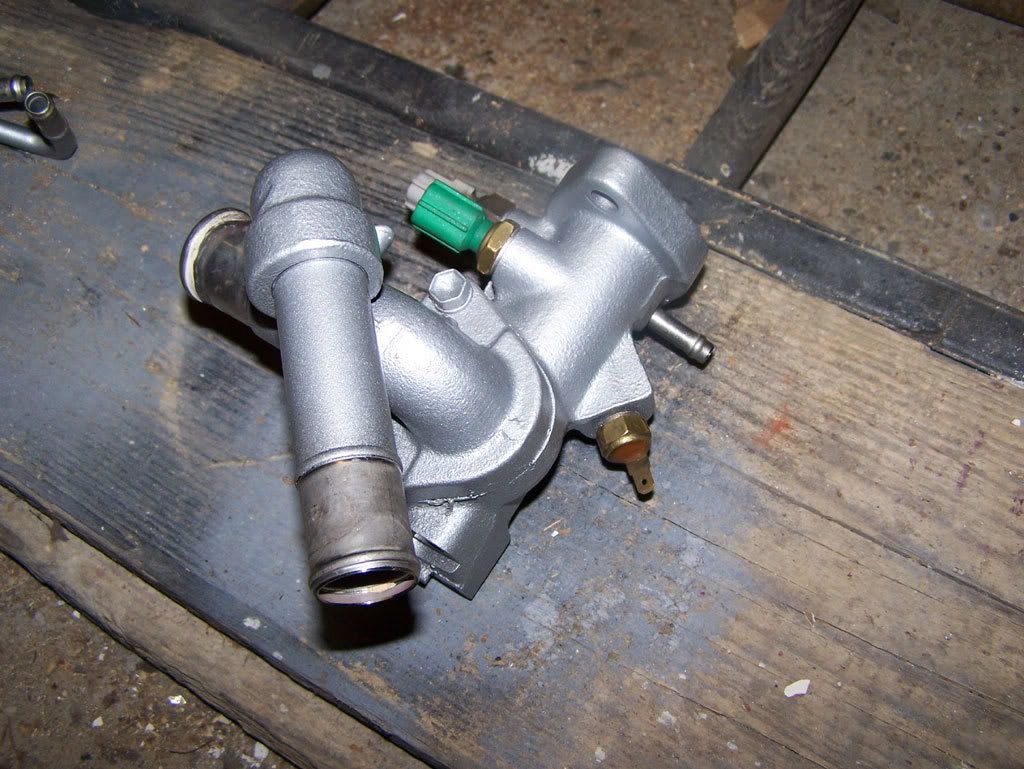
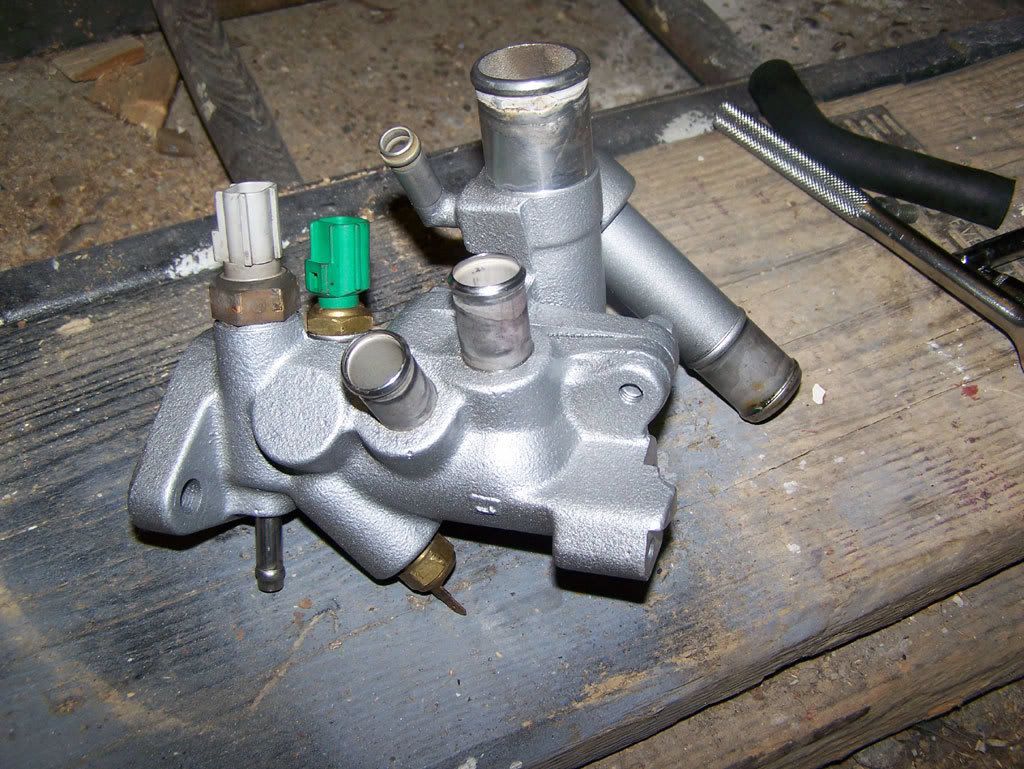
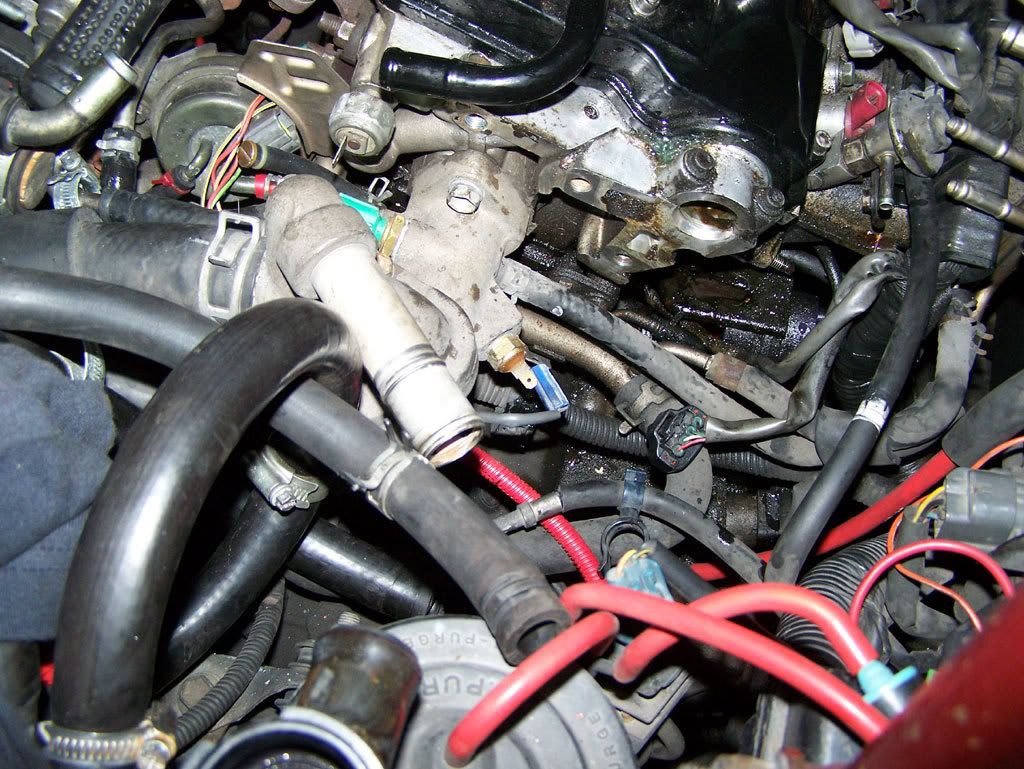
coolent matrix hoses/lines and connenctors starting to be removed, coolent matrix fuel line stay removed
removed bov to manifold vaacum line stay
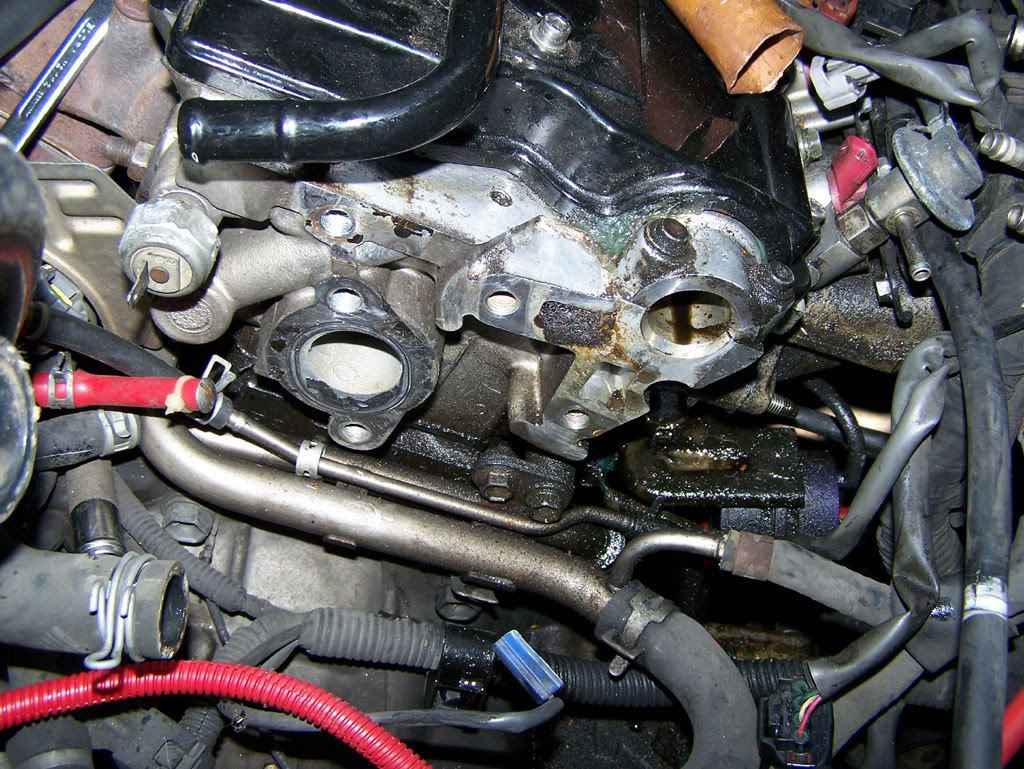
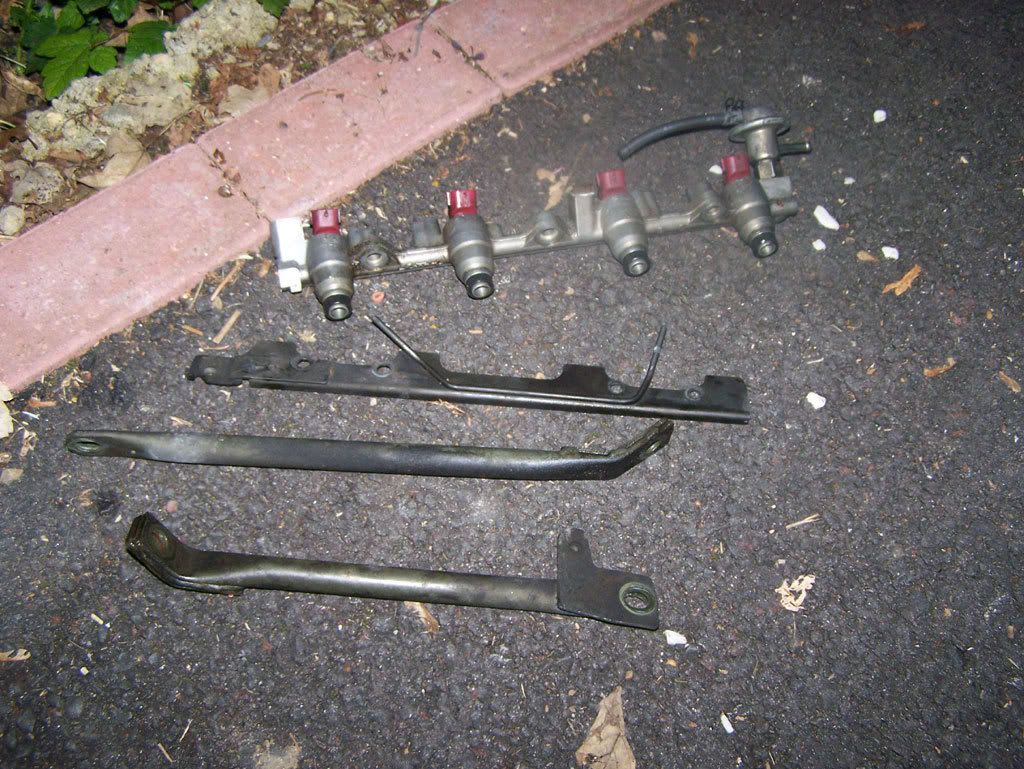
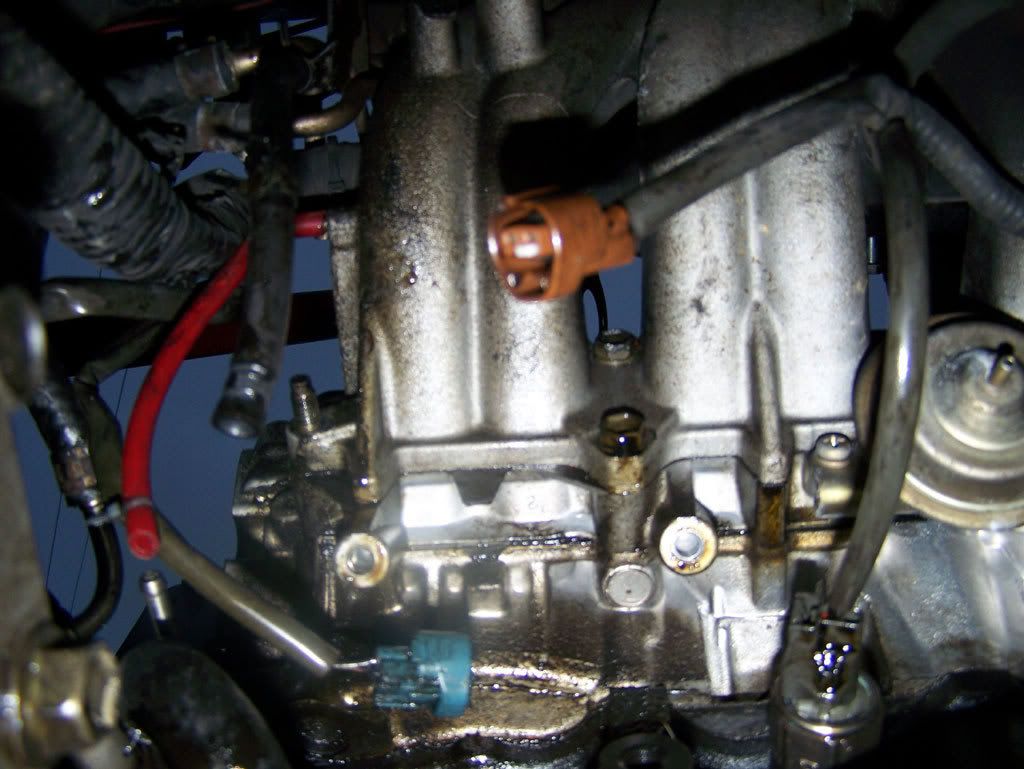
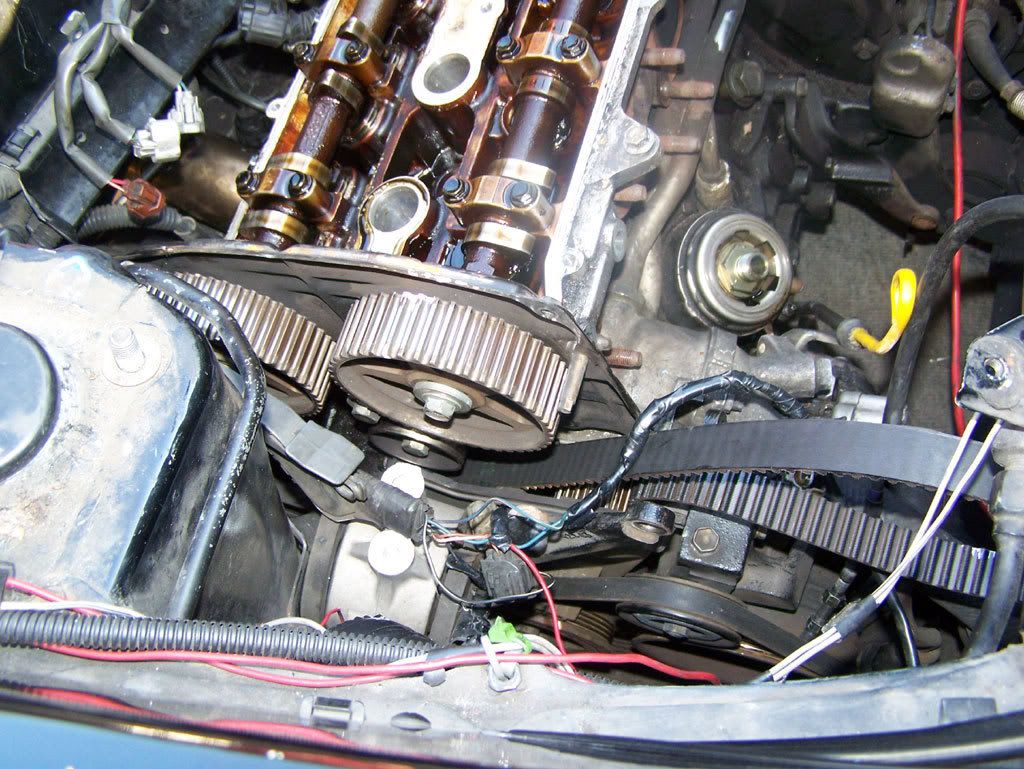
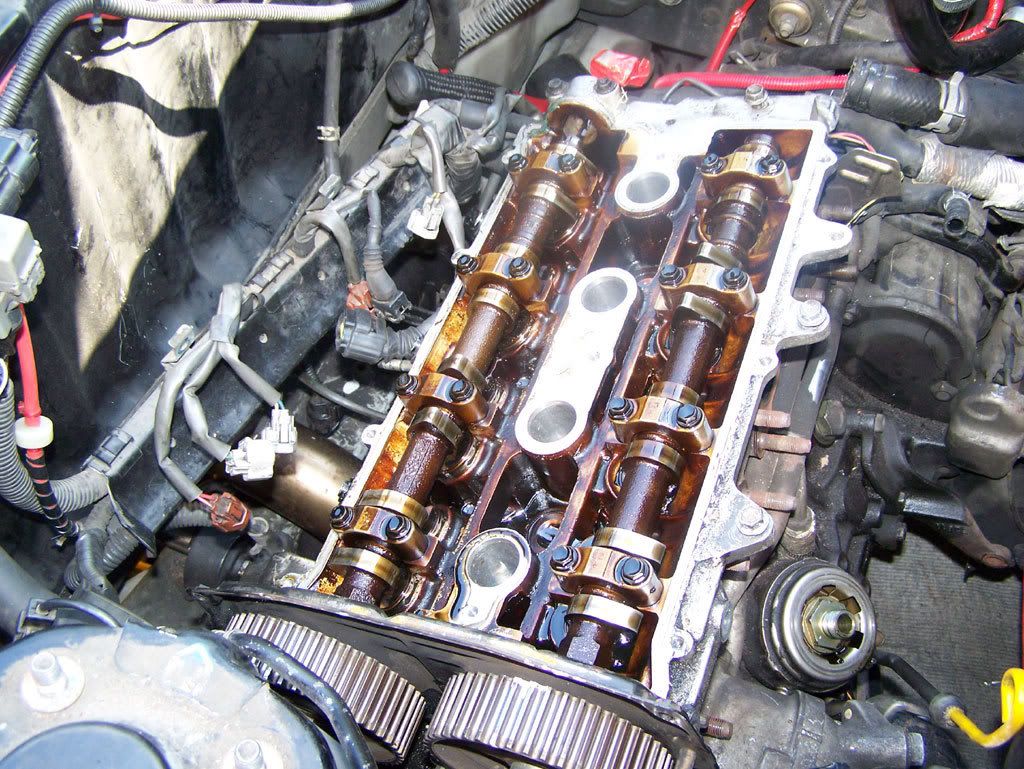
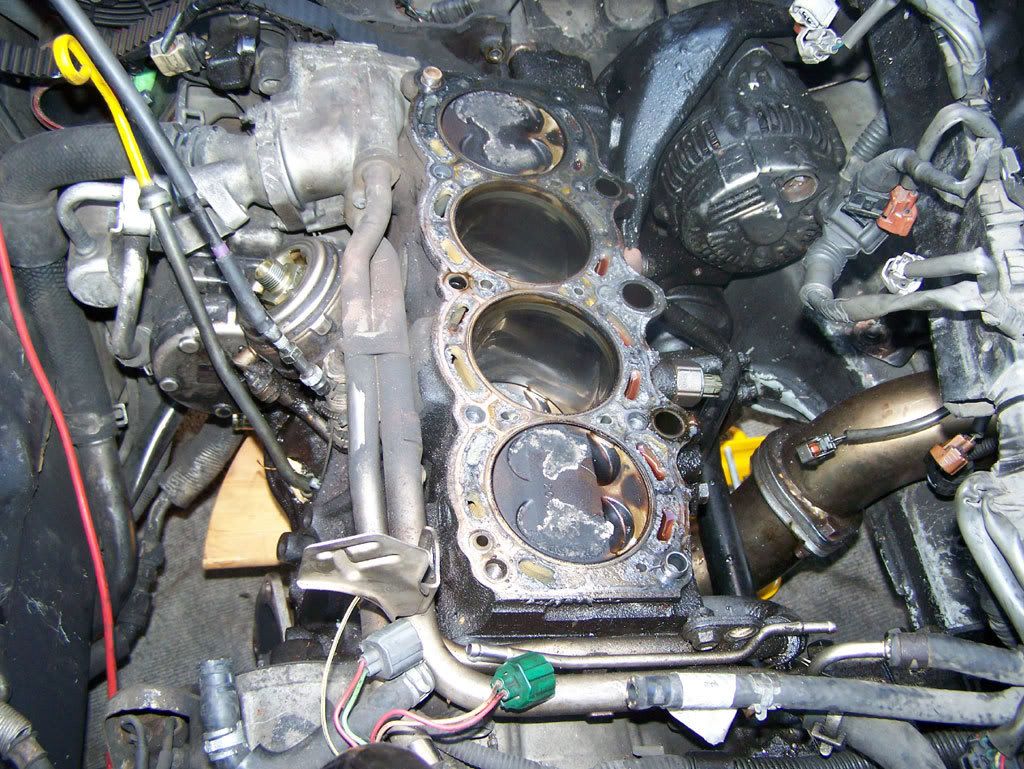
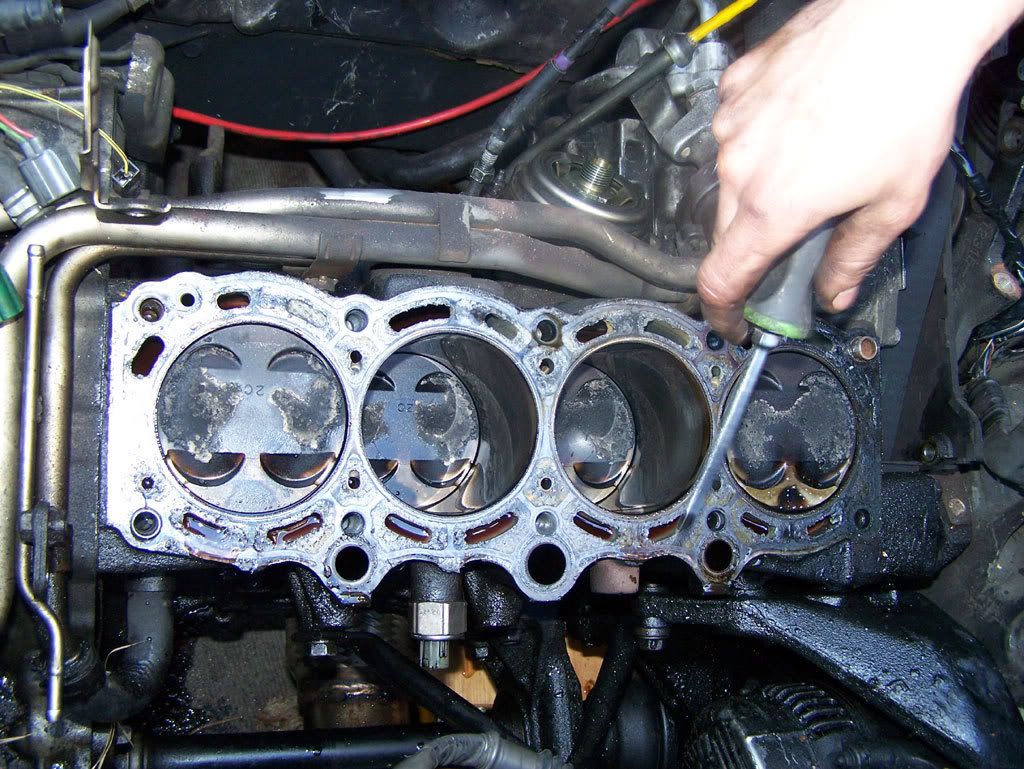
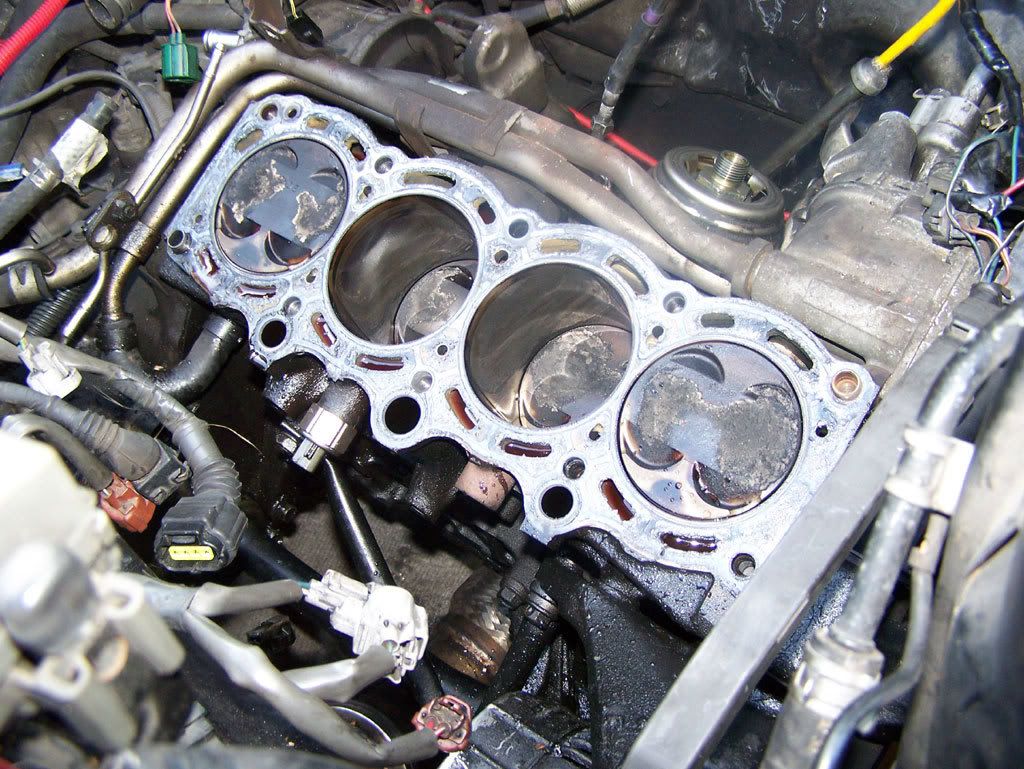
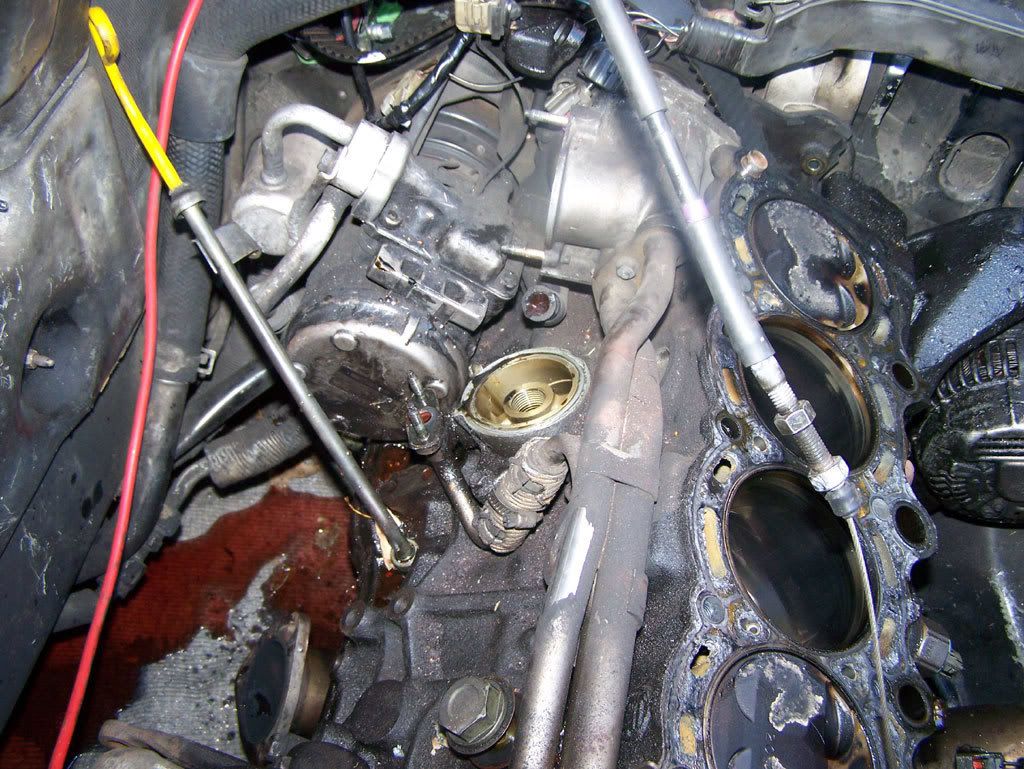
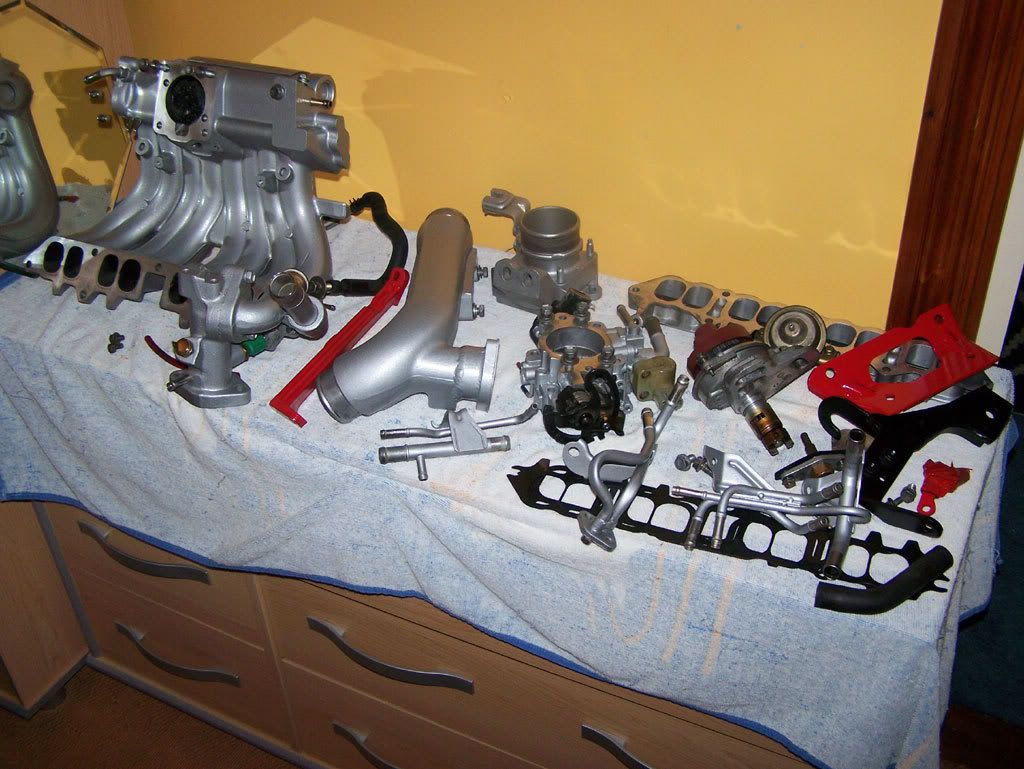
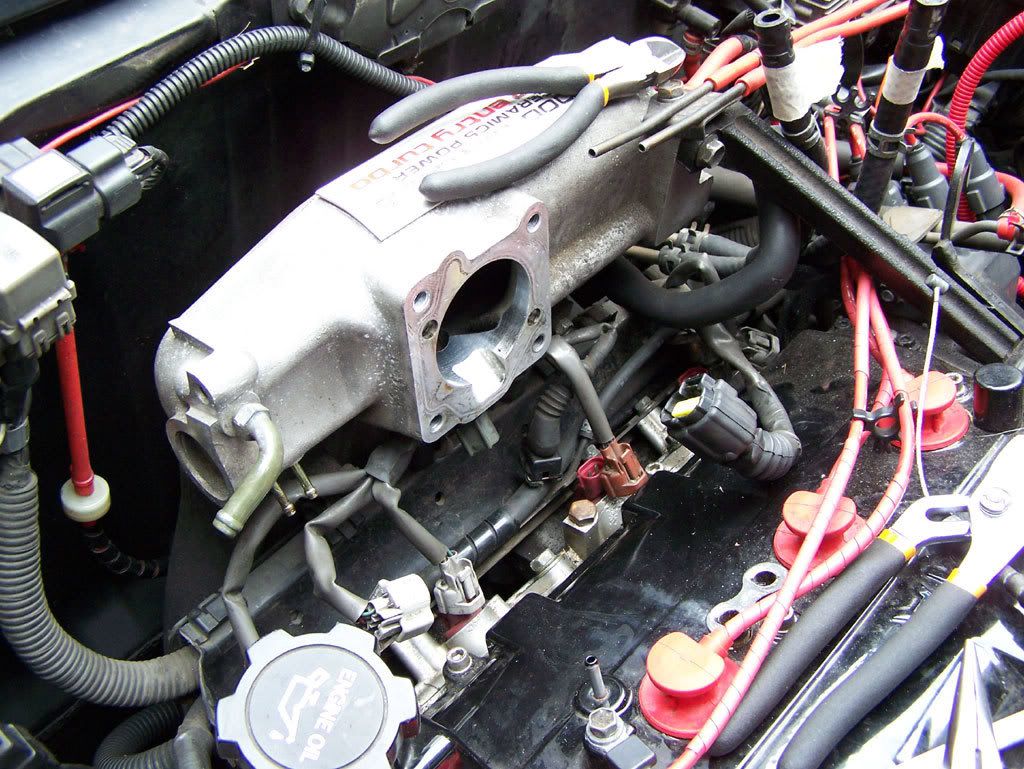
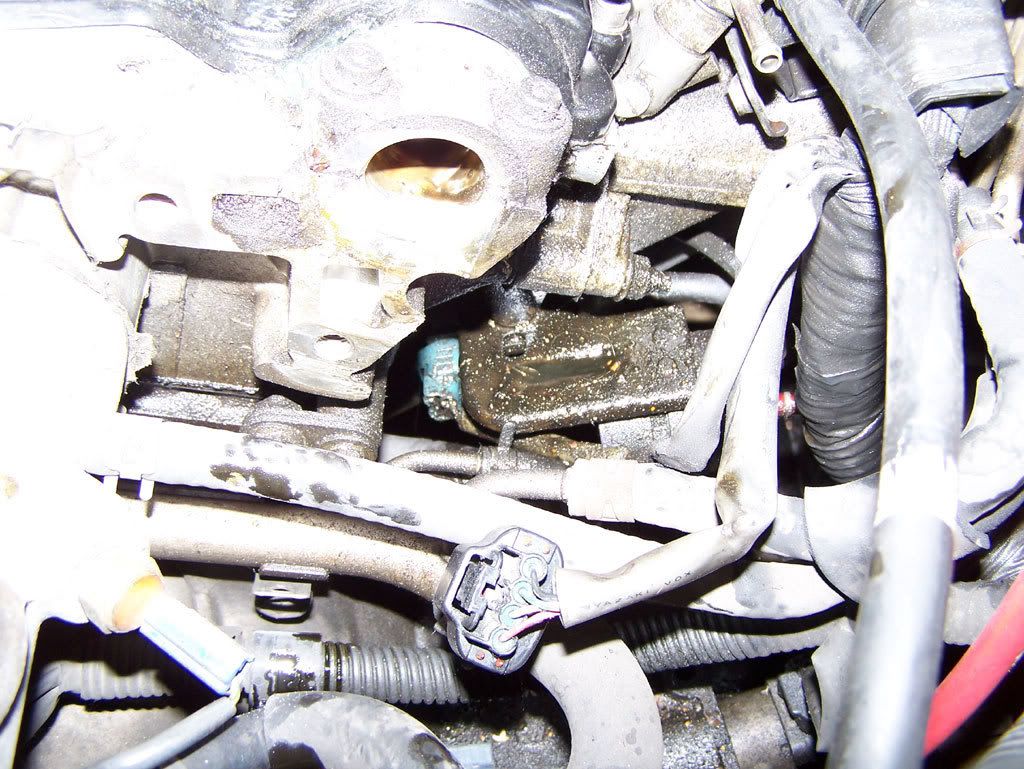
majority of the things removed minus all the vac lines and bolts so far.
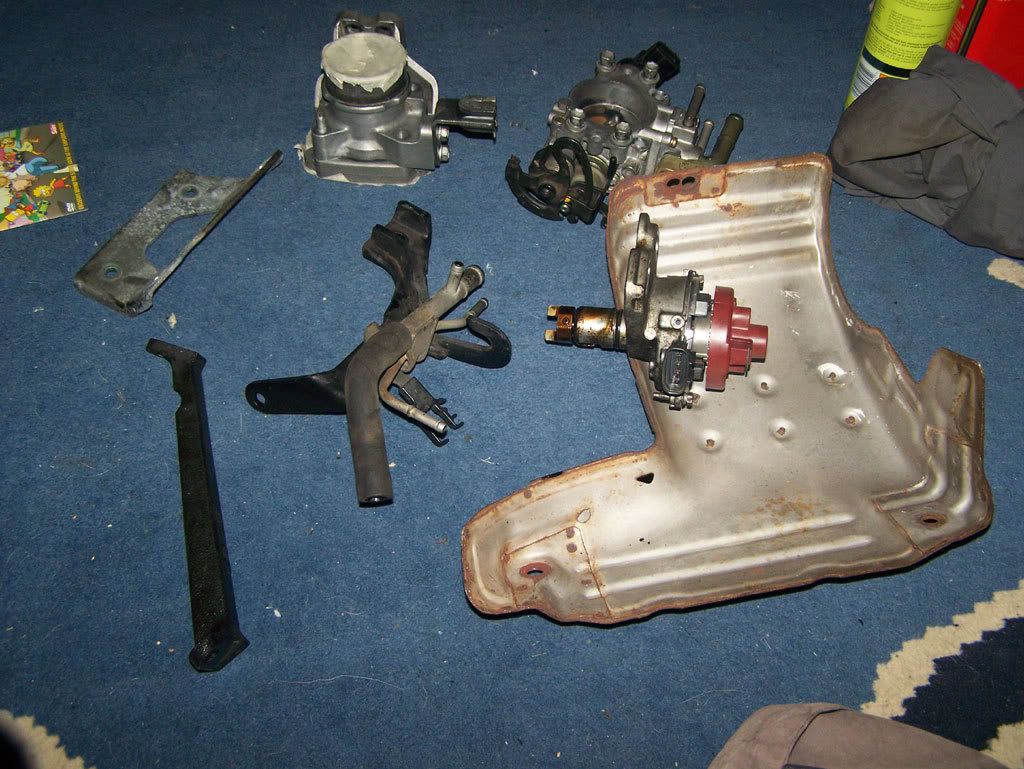
more to come.