So if you want to have a crack at building your own 6 speed gearbox with LSD this will be a pretty good guide for you.
This gearbox will be a direct replacement for your 5 speed, there is nothing to modify on the car itself, but you will need to use Mk2 NA driveshafts with the LSD, but don't worry it's still all plug and play.
Hope some of you find it useful, enjoy!
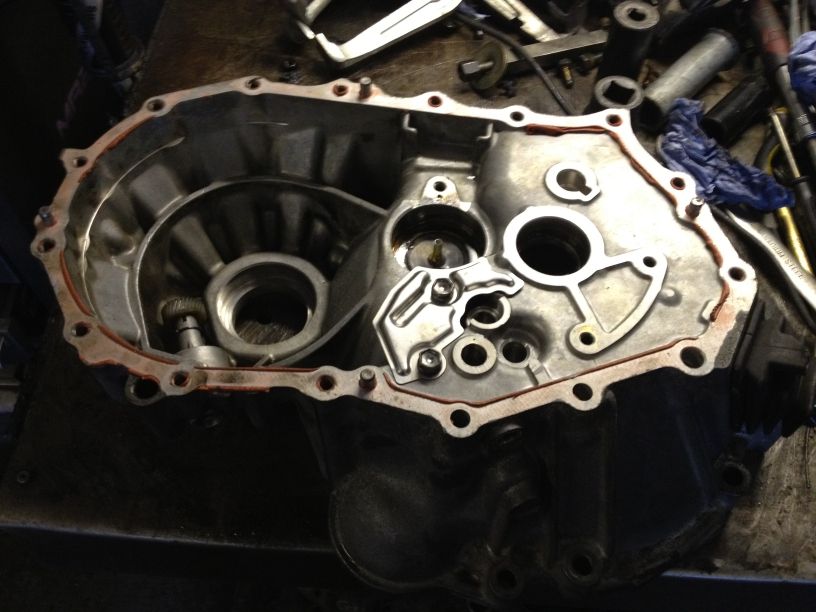
So we start with our Mk1b bellhousing, this has to be a Mk1b item, a Mk1a housing is not compatable with this conversion, you can identify a Mk1b gearbox because it has two starter motor locations on it, a Mk1a only has one.
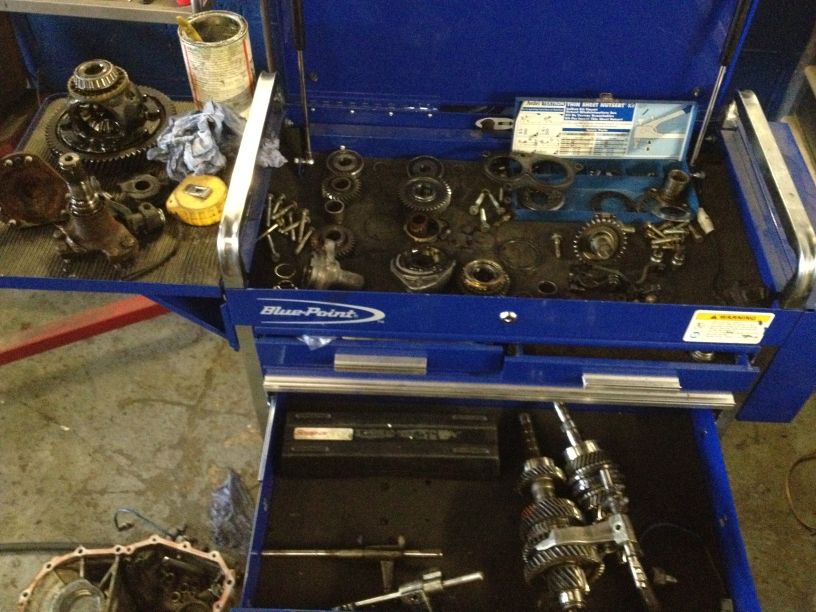
This is all of the 6 speed internal parts from the donor C60 gearbox.
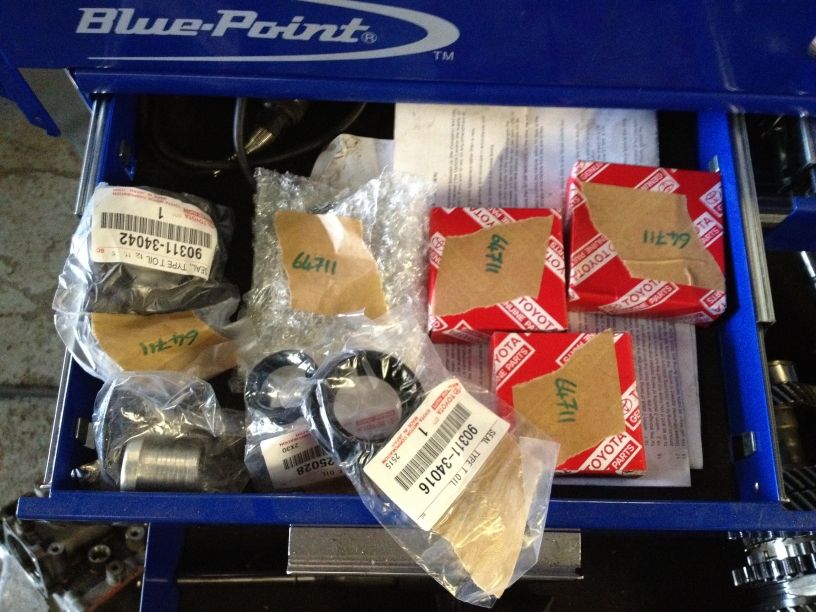
Here are all of the new bearings and seals from Toyota, nearly
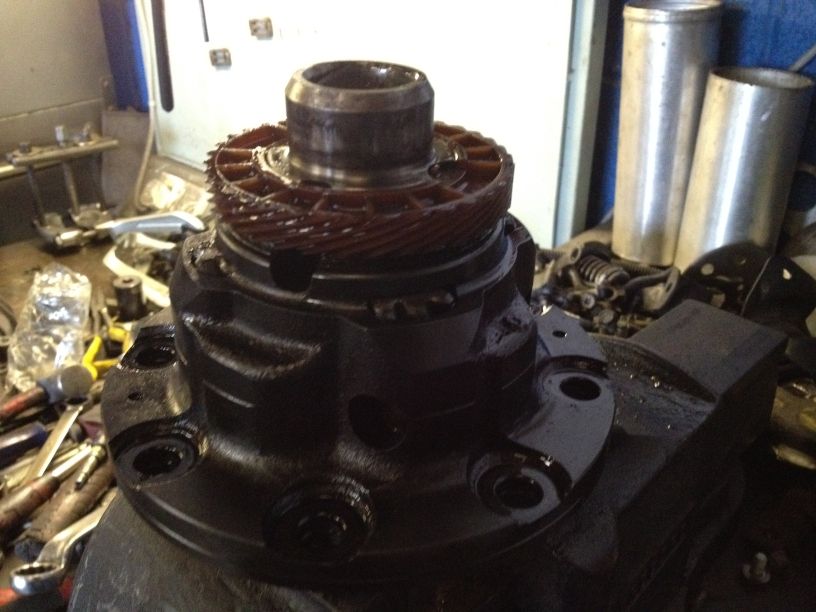
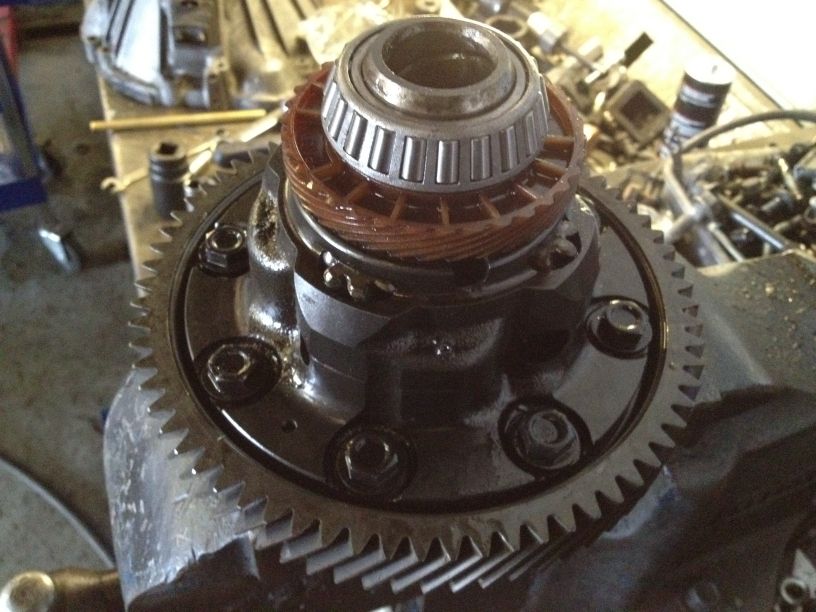
This gearbox is getting the Mk3 LSD unit, so the first step is to remove the old bearings from the Mk3 LSD.
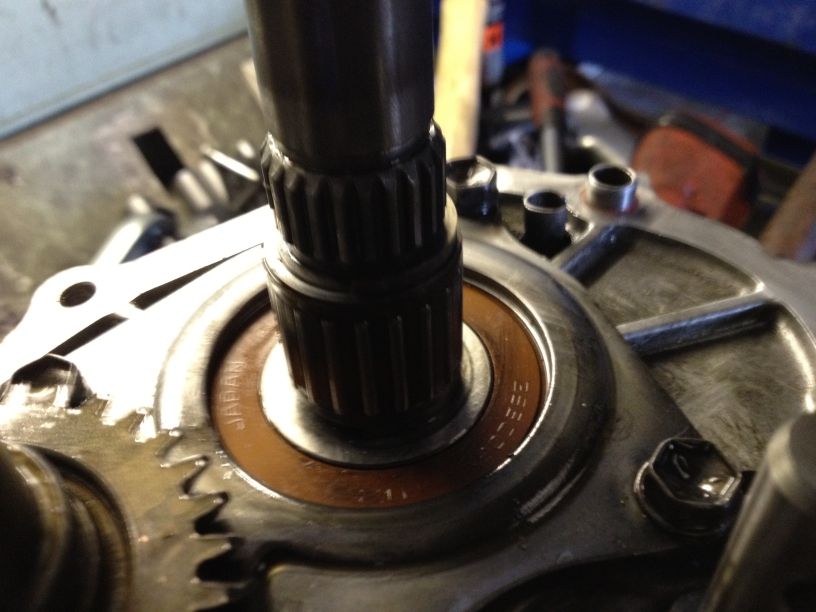
The Mk3 speedo cog is the same as a Mk1 cog, so the speedo will work as before.
Now install the new bearings onto the diff.
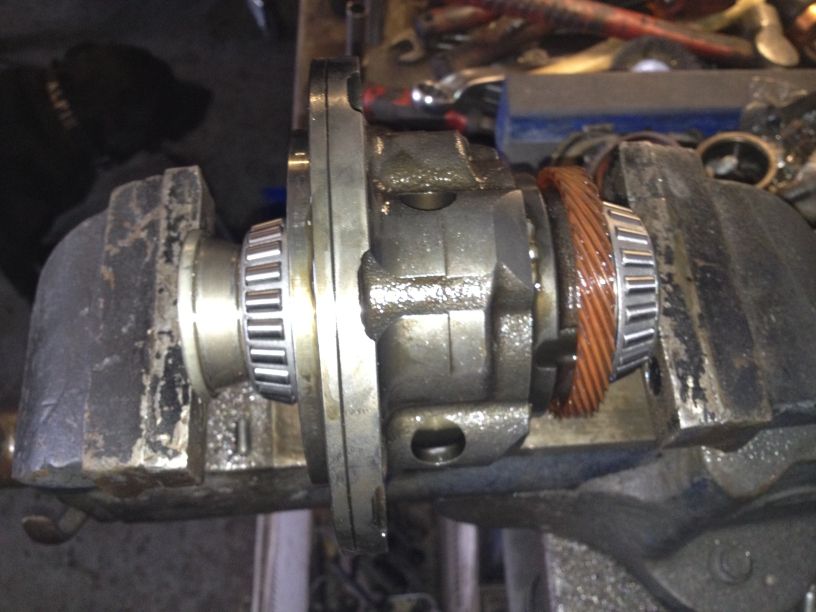
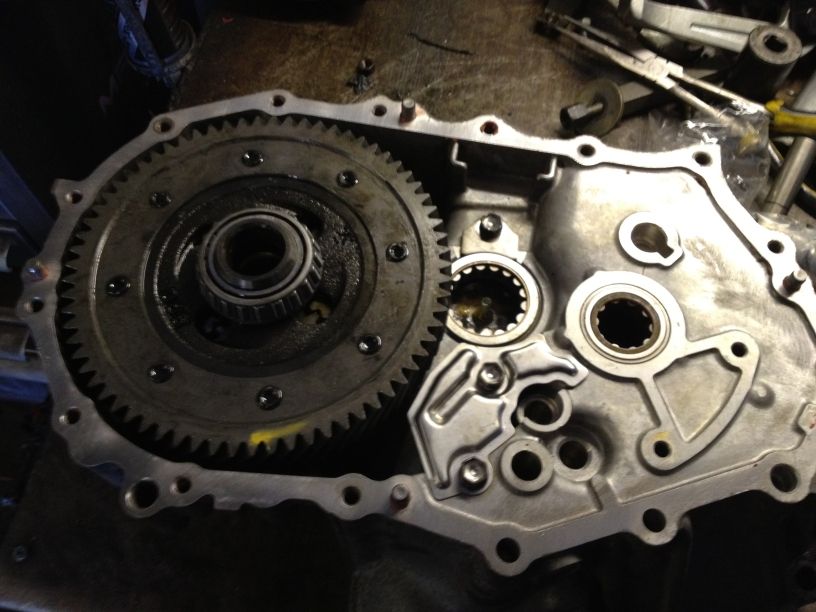
Now fit the 6 speed crownwheel onto the LSD, for the non LSD version you use the MK1 diff and Mk1 crownwheel which is also the same gear size but a different bolt PCD.
Now we fit the original diff washer into the case, this one is a fixed 2mm width, we adjust the preload on the diff by changing the thickness of the opposing shim in the other half of the case.
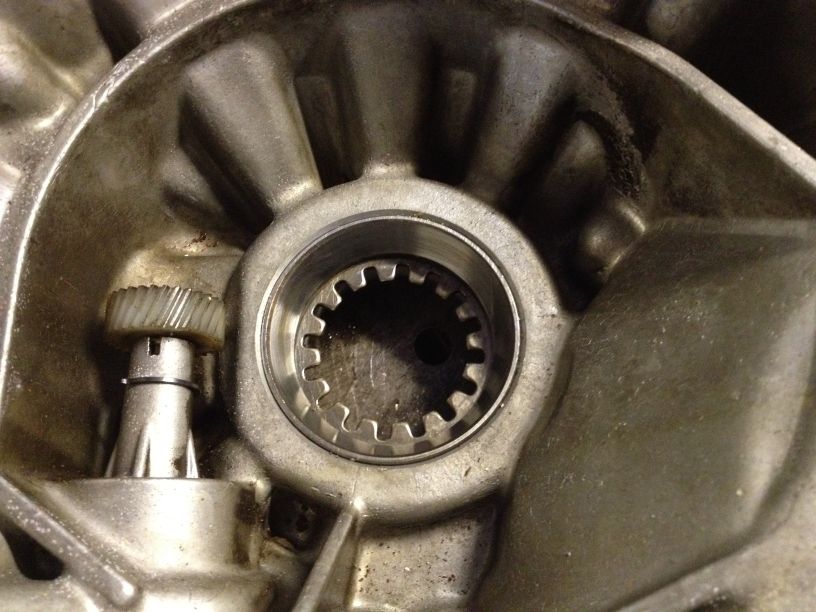
The new bearing race is then fitted.
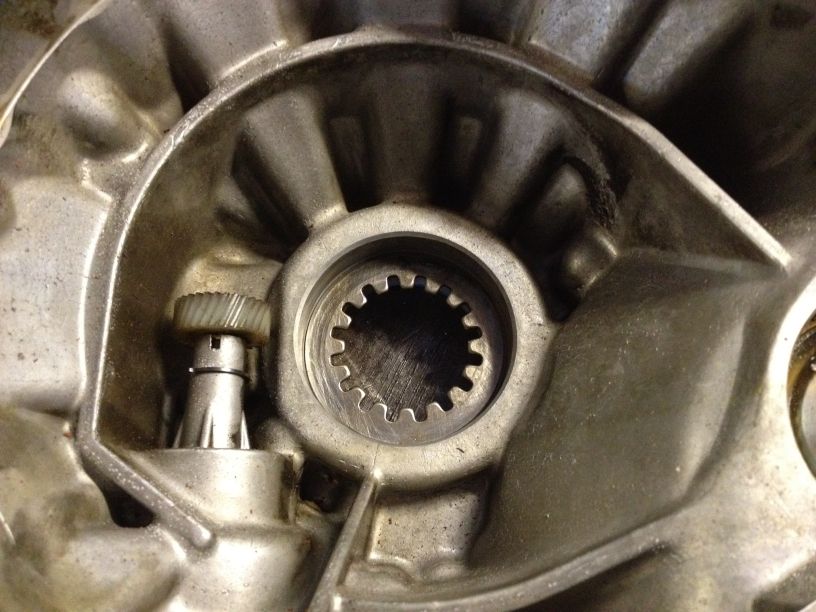
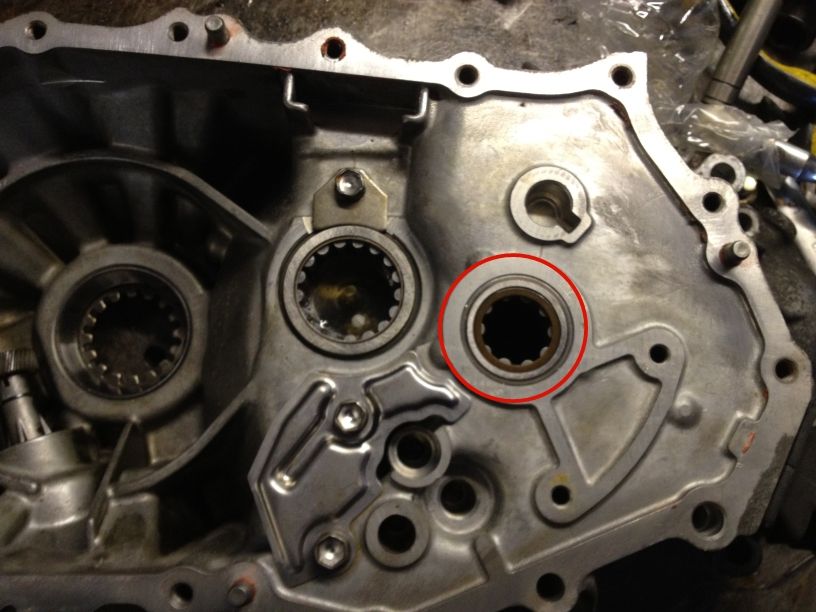
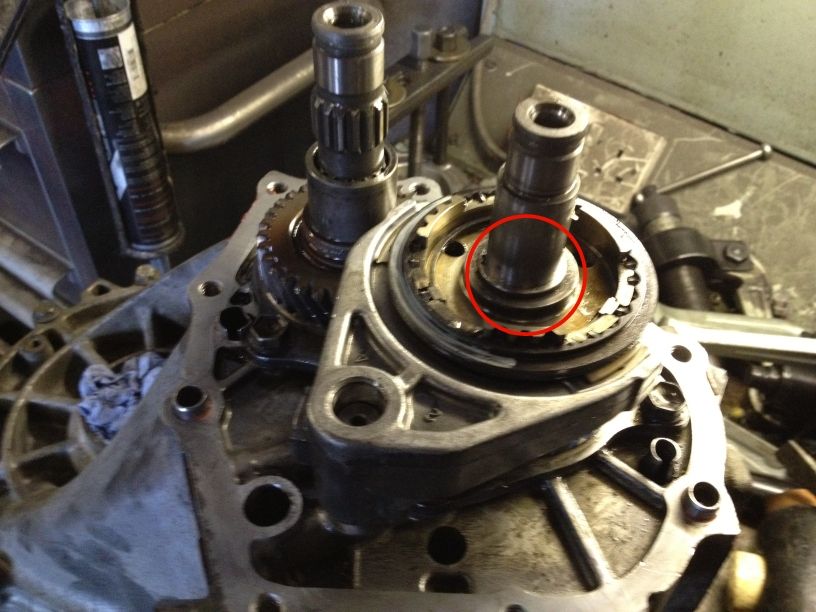
Now we install the new output shaft bearing.
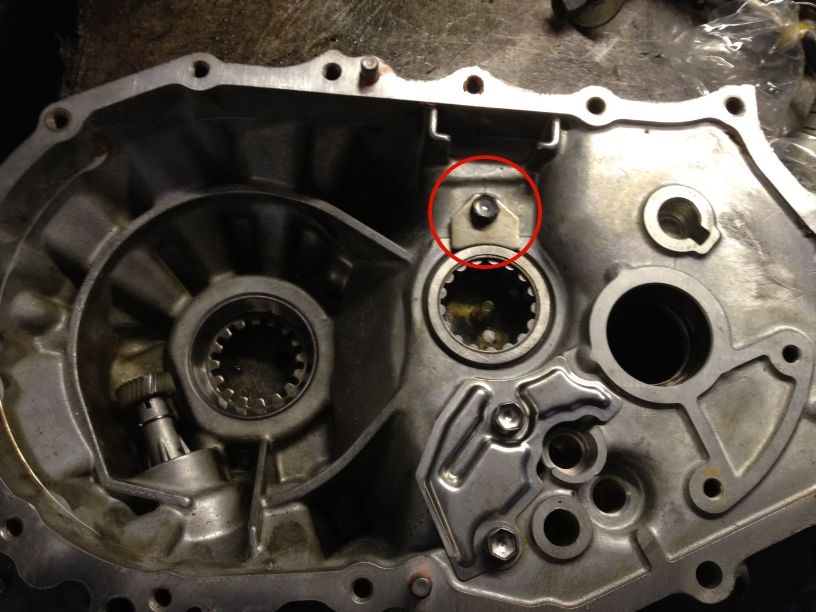
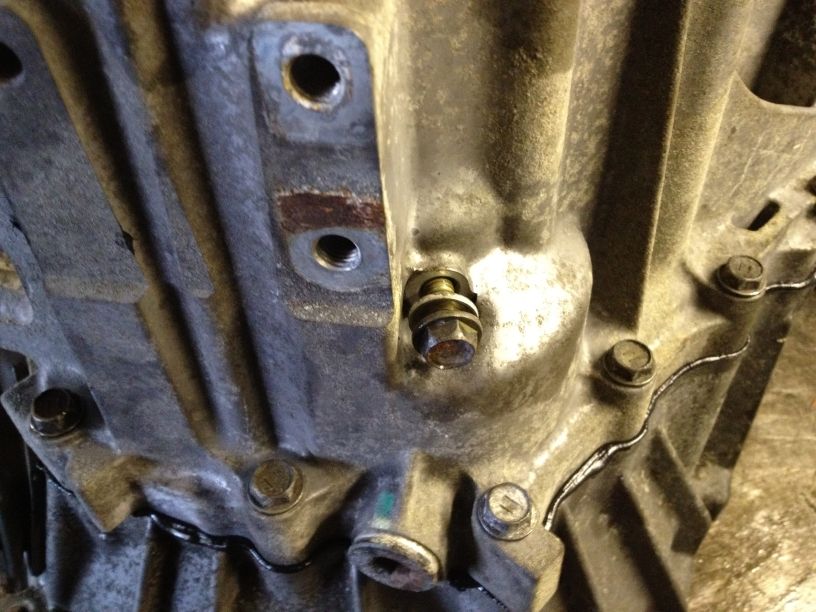
Not forgetting the retainer and bolt.
Now we fit the new input shaft bearing.
The adjustment shim is fitted to the middle case, this shim is what affects the load on the diff.
And the new race fitted over that.
This shim will need to come back out if the preload is not correct.
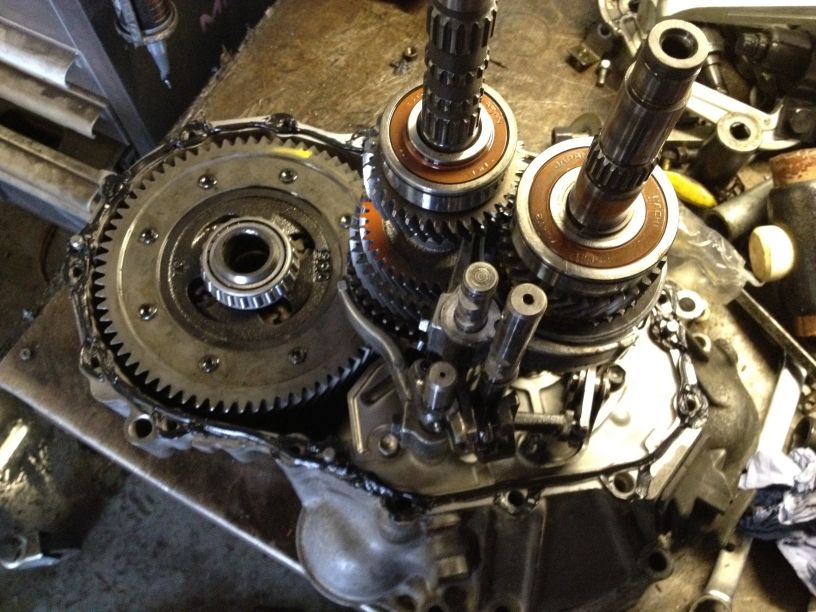
Now to adjust the preload we need to install both the diff and output shaft into the case.
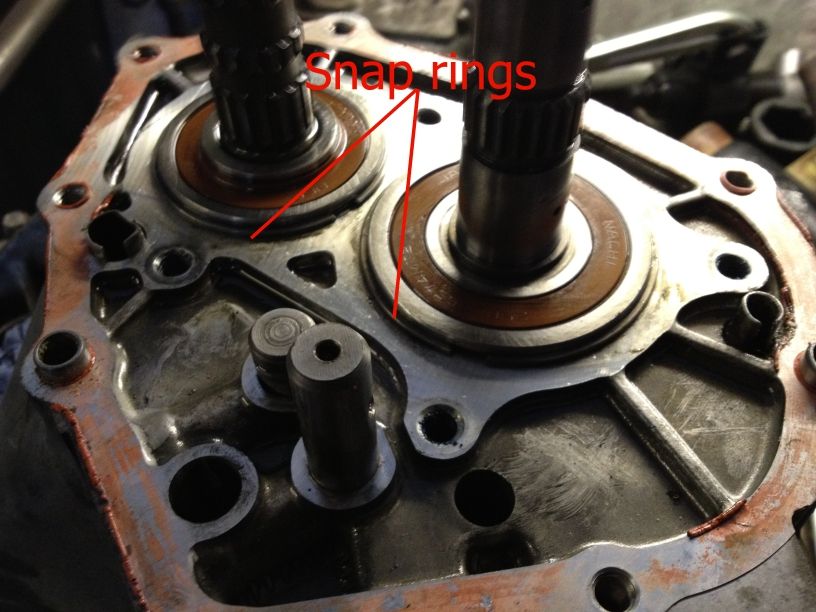
The mid case is then dummy fitted and all bolts torqued down as it would be on the finished box, the top snap ring is also fitted.
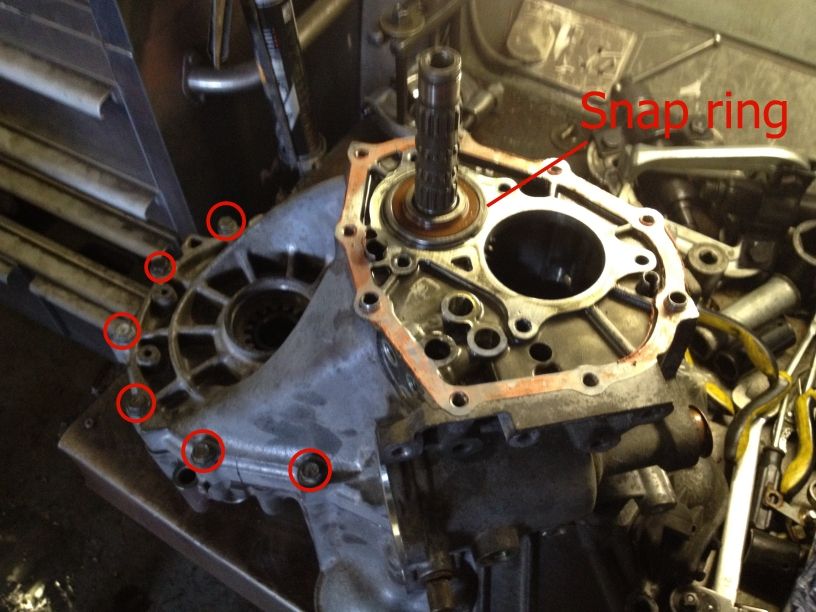
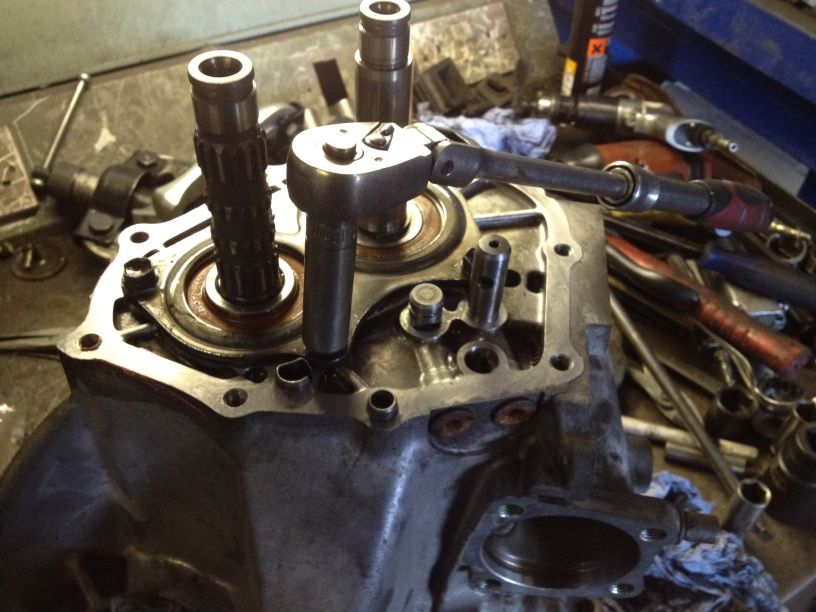
A 14mm headed M10x1.25 bolt is screwed into the top of the output shaft so my torque meter can be used.
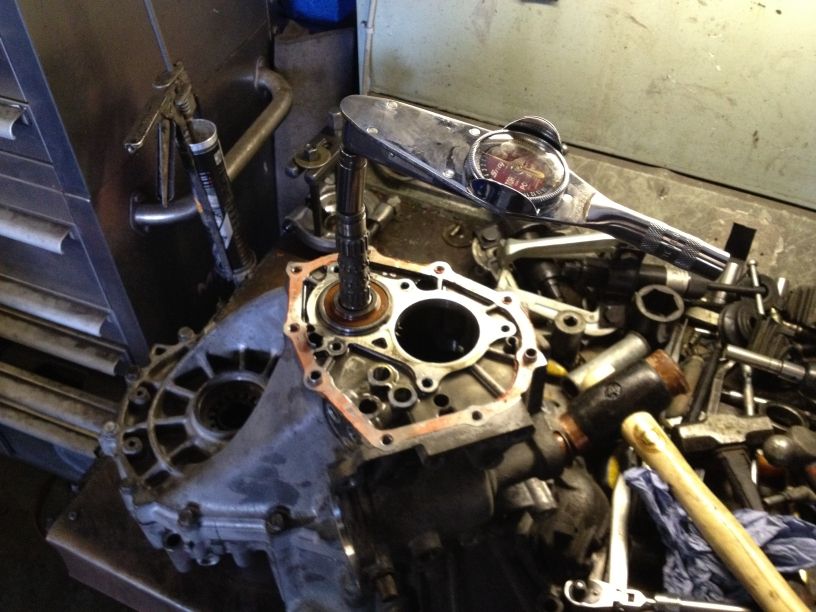
Rotating the meter reveals how much resistance there is on the new diff bearings, if it is too much then the case comes apart again, top shim replaced for a slightly thinner one and the case refitted again, this process is repeated until the correct diff preload is obtained.
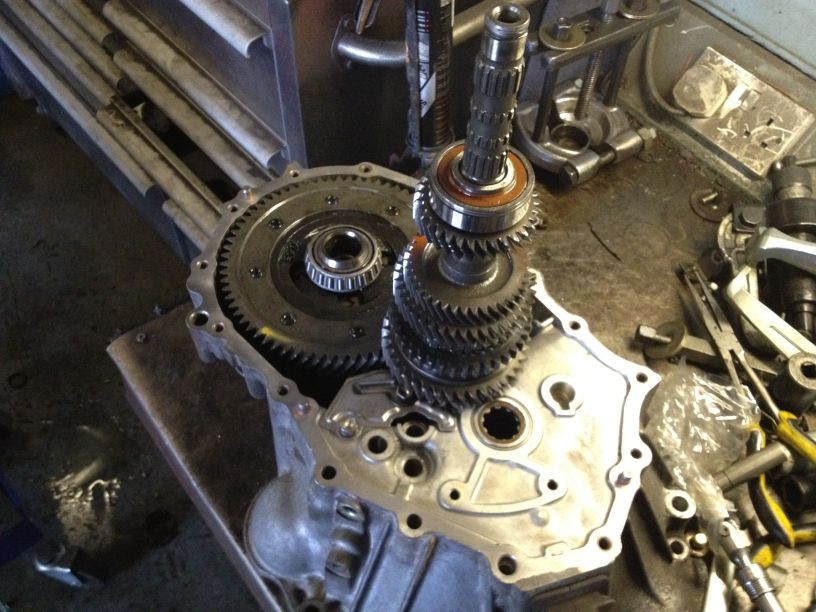
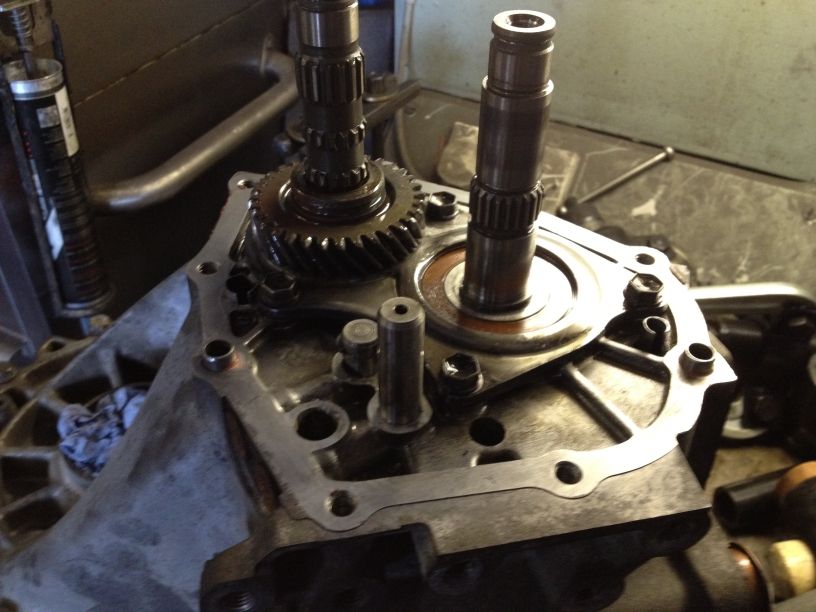
Now that the preload is correct we can start to build the gearbox up properly starting with the input shaft and one of the selectors.
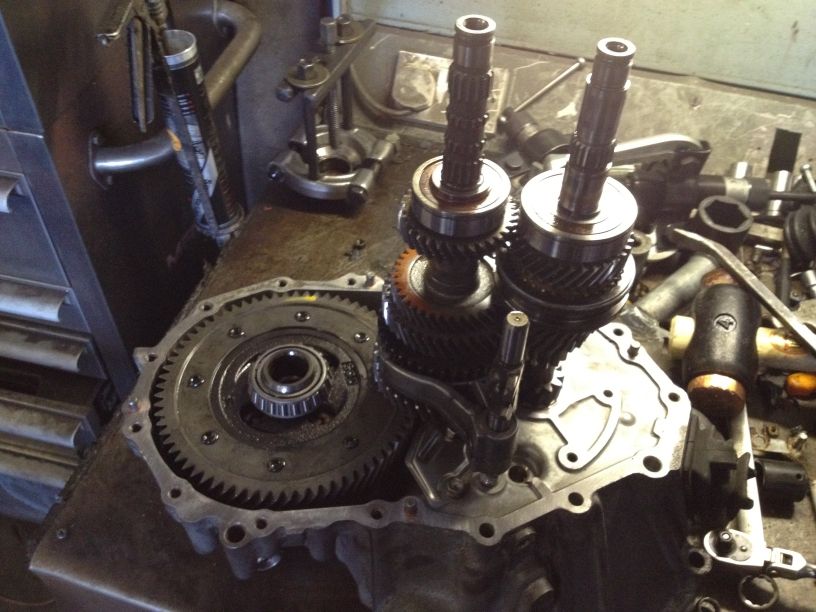
The rest of the selectors are then refitted.
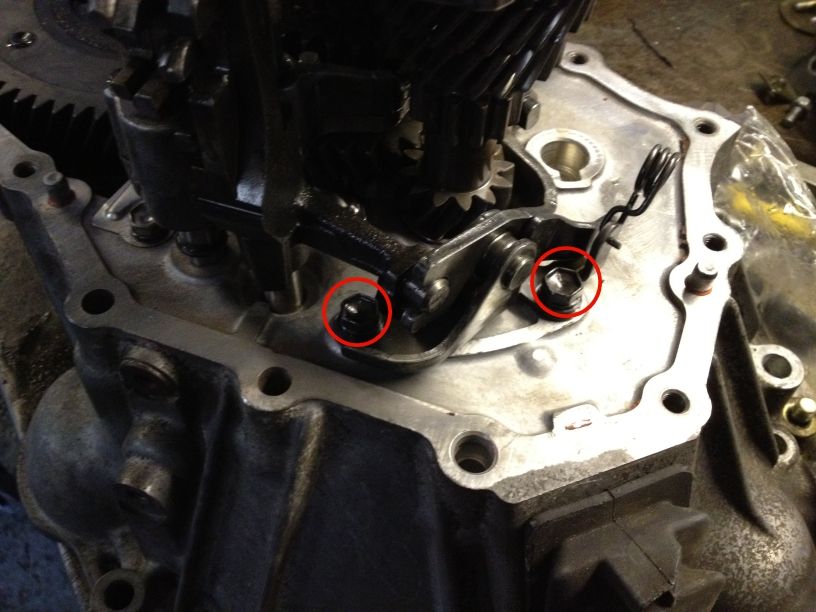
Then three selector retaining bolts are fitted.
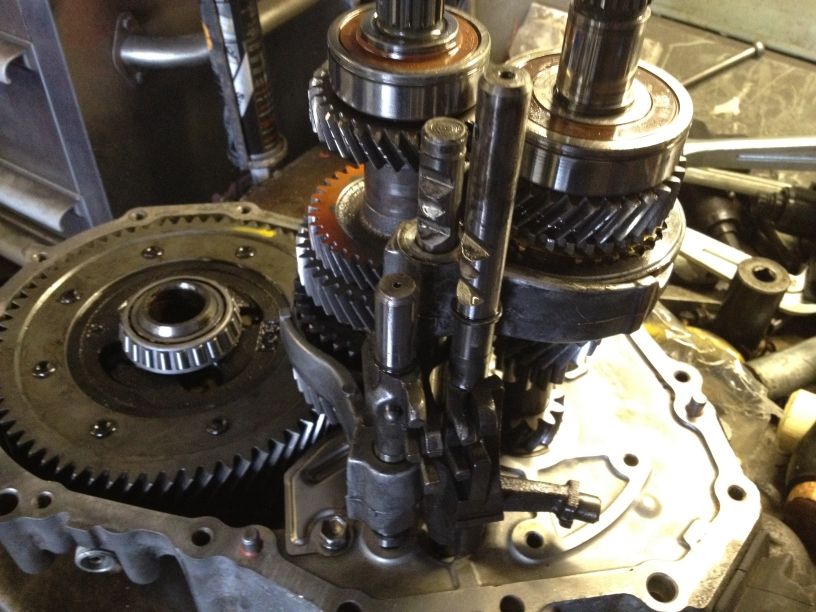
The lower selector detent ball and spring are now fitted.
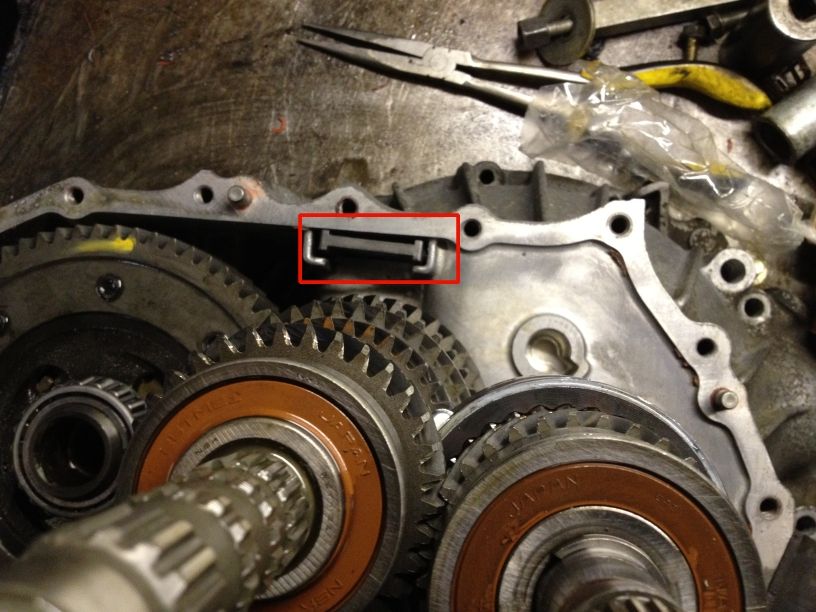
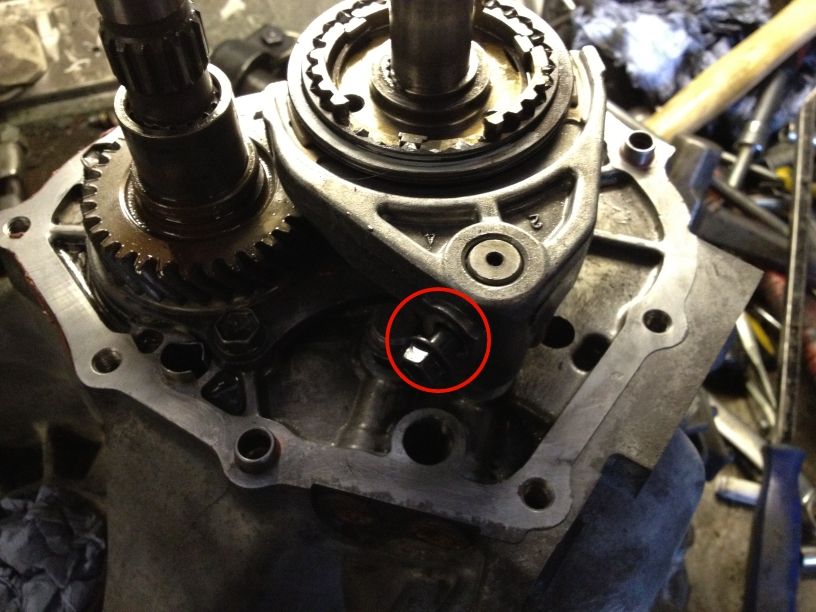
Fit the case magnet.
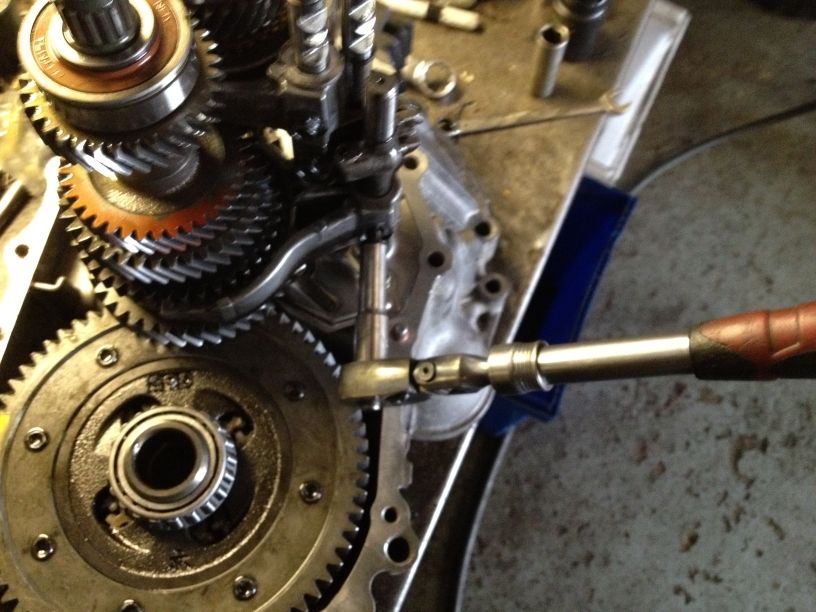
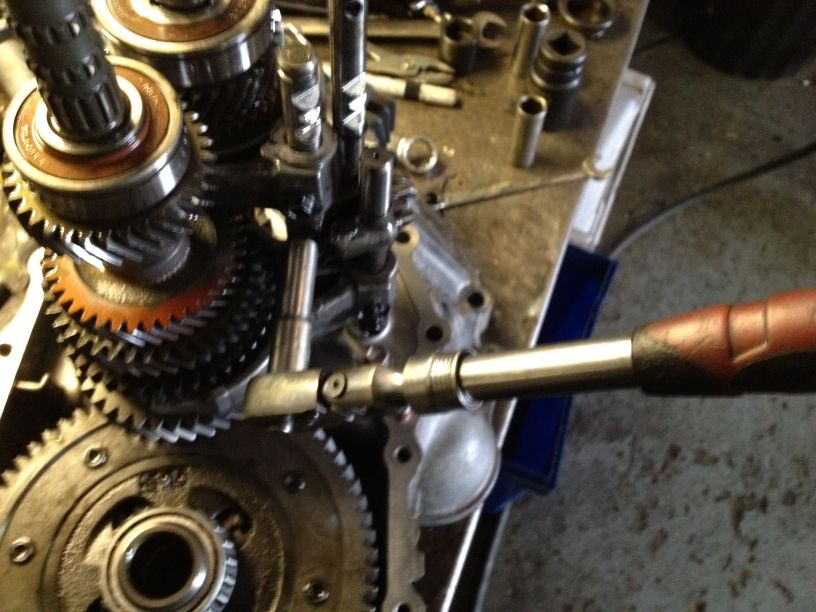
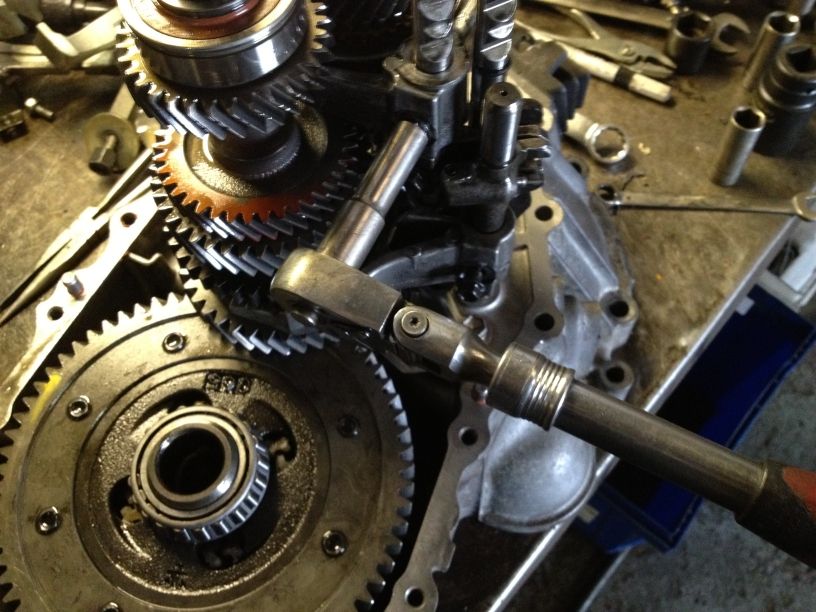
Now time for the reverse selector.
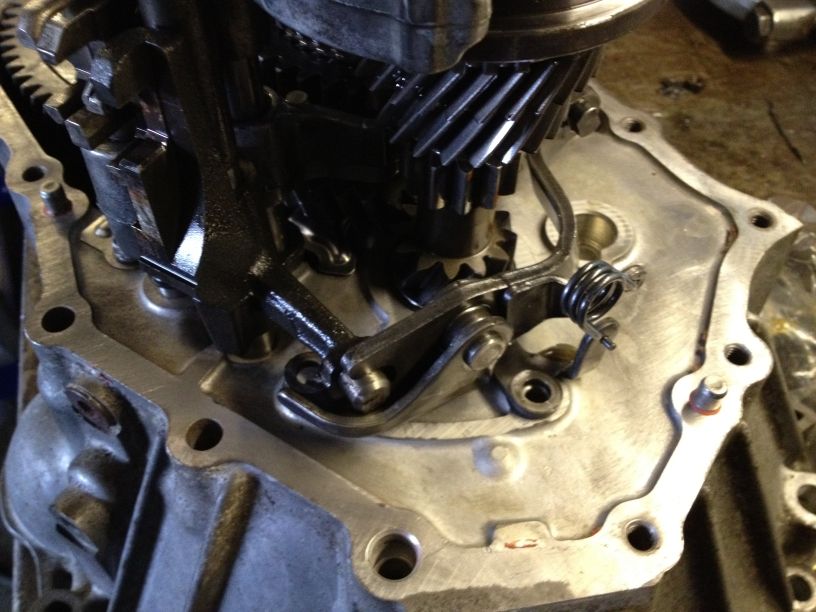
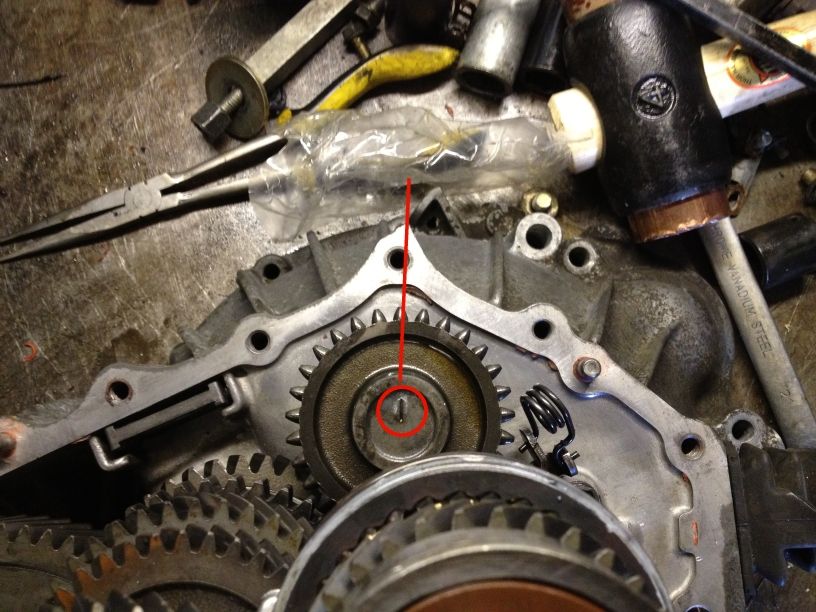
The reverse idler is now added.
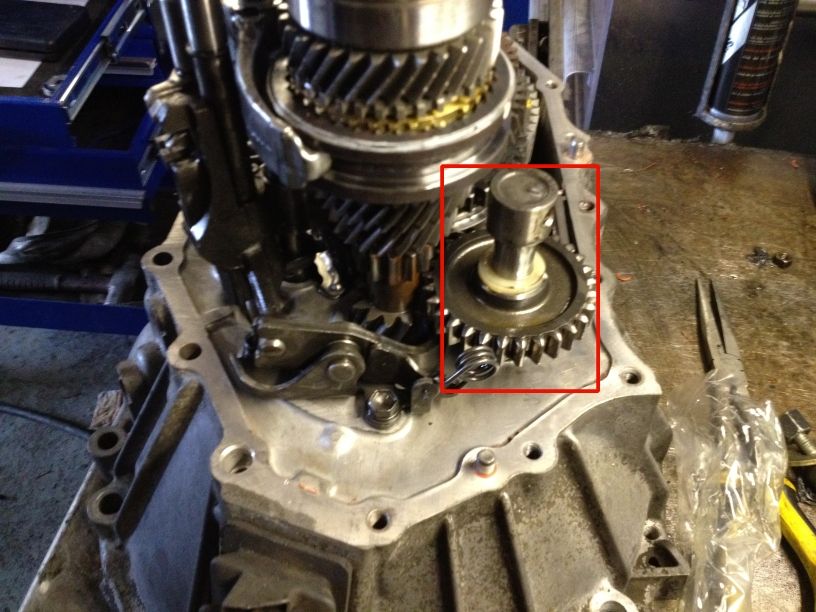
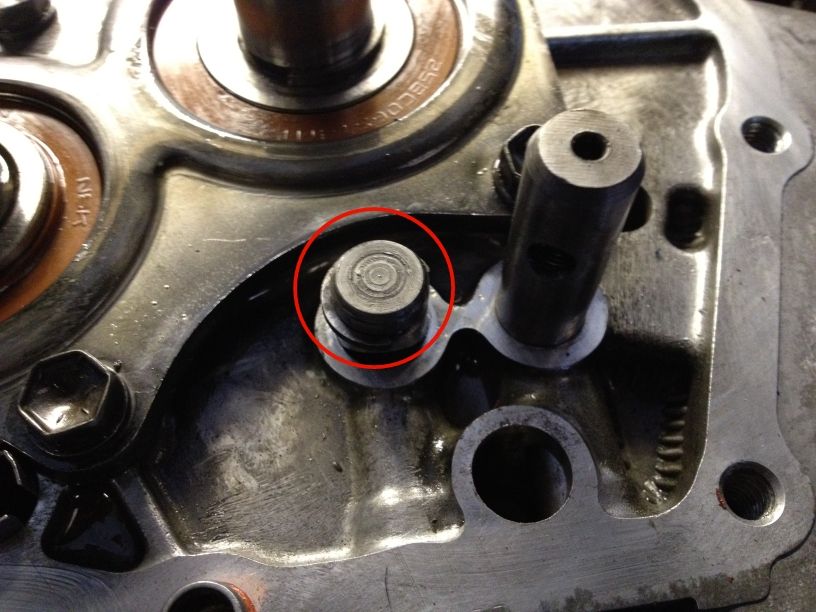
The shaft on this needs to be orientated correctly to the case or the retaining bolt on the outside won't line up.
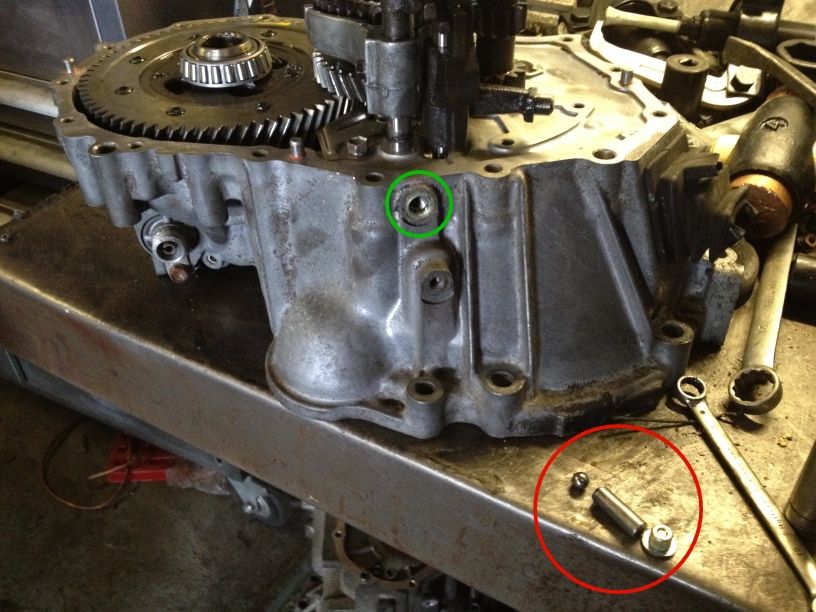
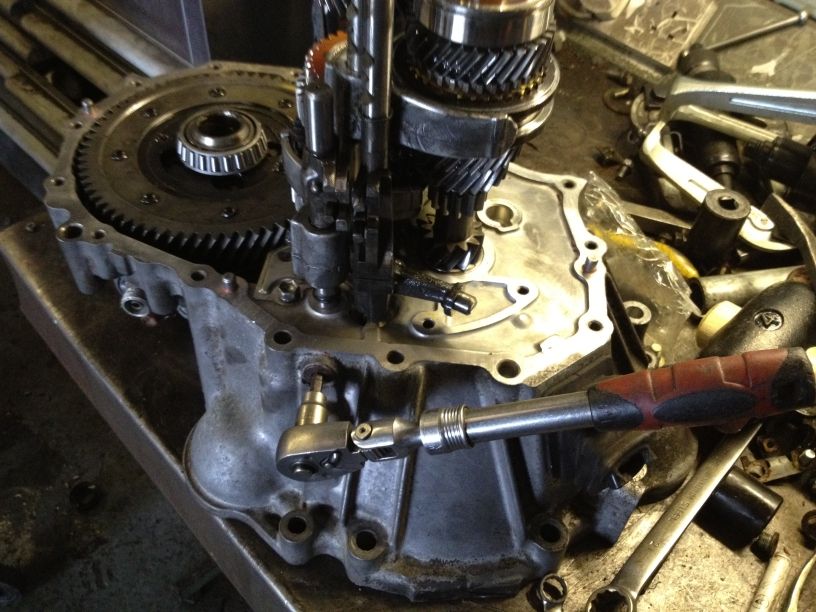
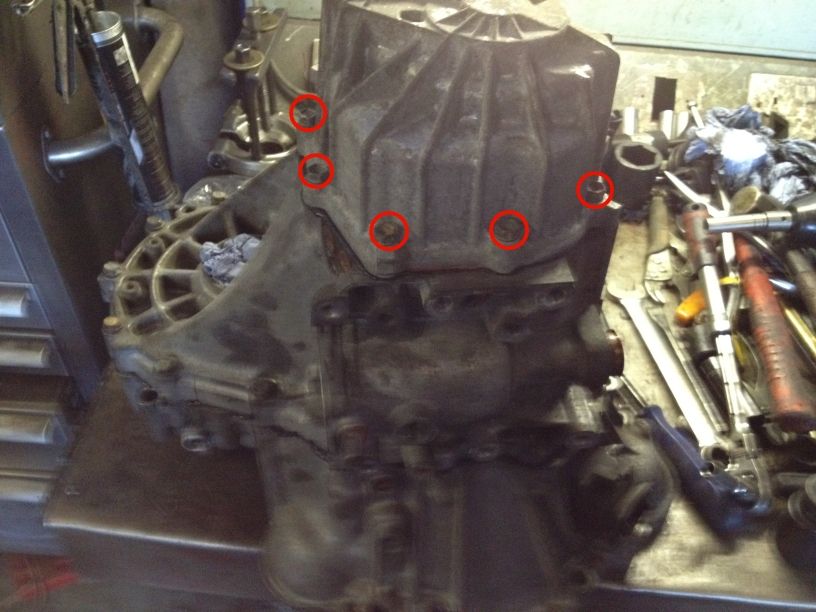
Now the case is ready for sealant.
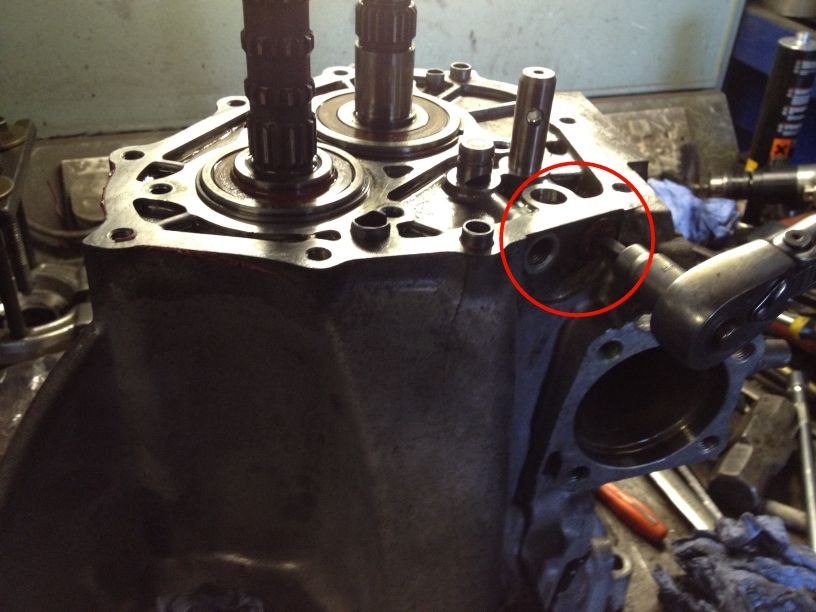
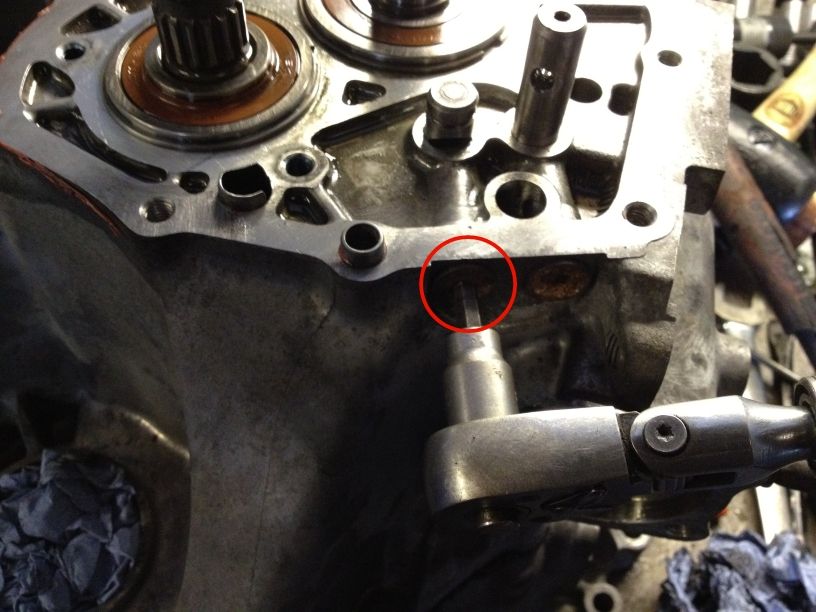
With the middle case fitted and all bolts torqued down for the final time, the reverse idler bolt can be fitted.
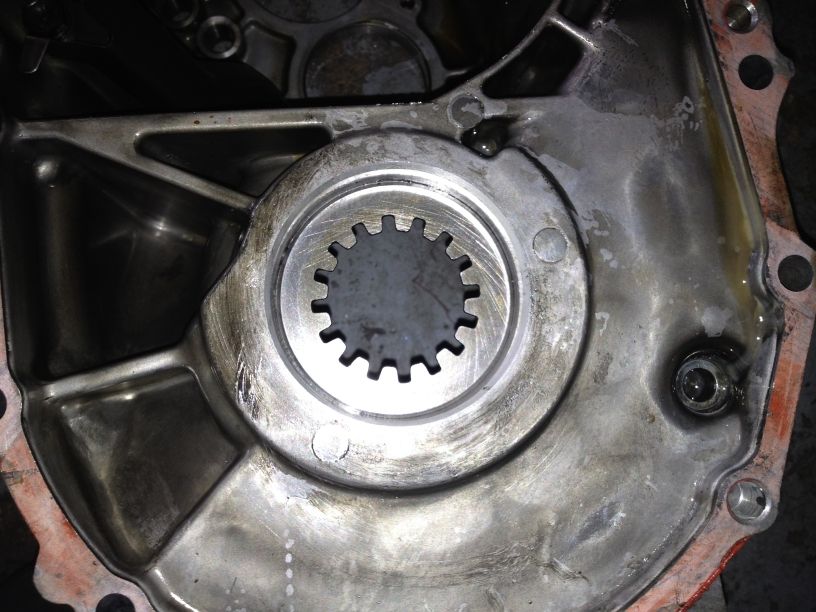
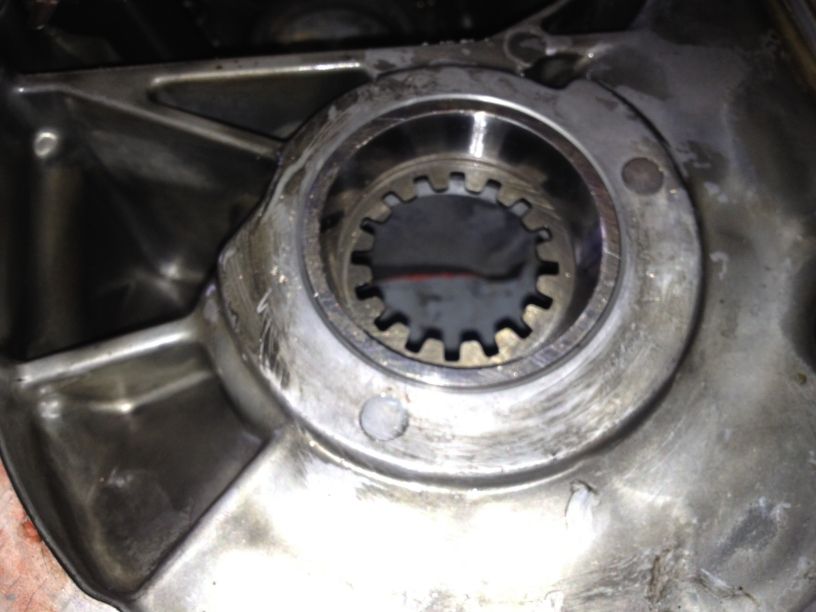
Now both snap rings are fitted to input and output shafts.
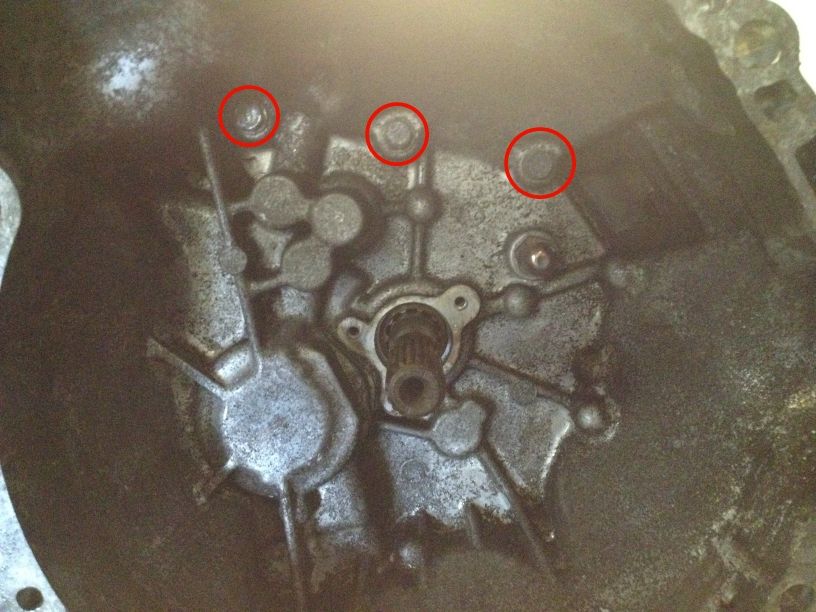
Add the shaft retainer plate and bolts.
Fit the selector circlip.
Install both upper selector detent balls/springs.
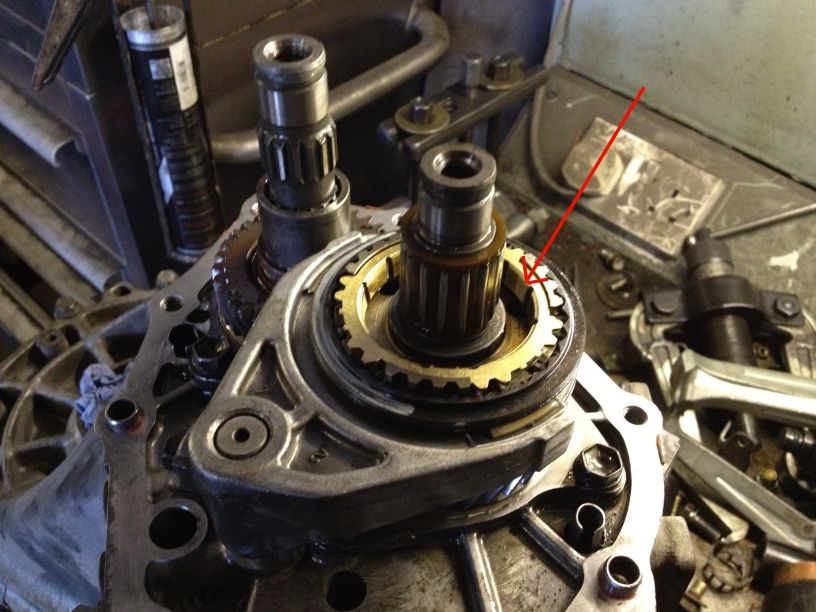
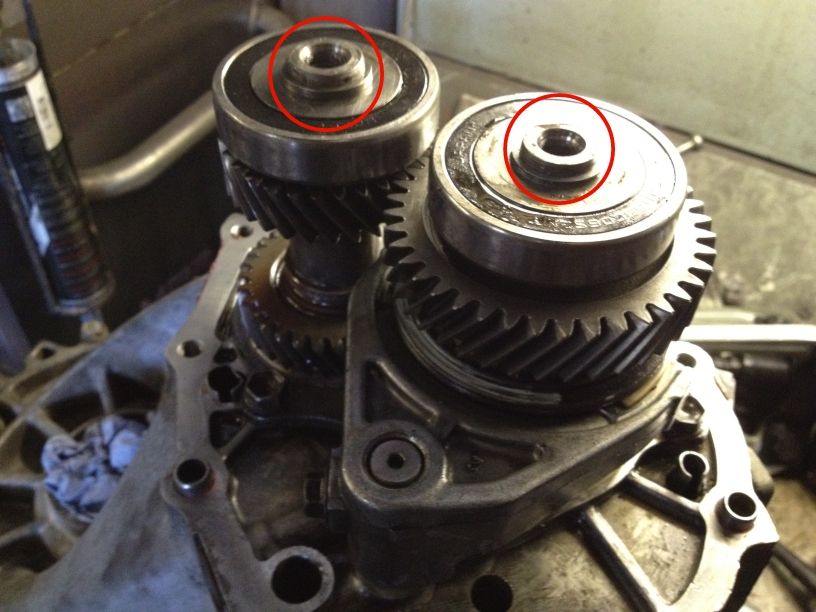
Now add 5th driven gear.
The roller bearing for 5th.
Refit the 5th/6th selector fork and synchro hub along with circlip.
Fit selector fork bolt.
Fit roller bearing and synchro ring.
Refit 6th gears, top bearings and circlips.
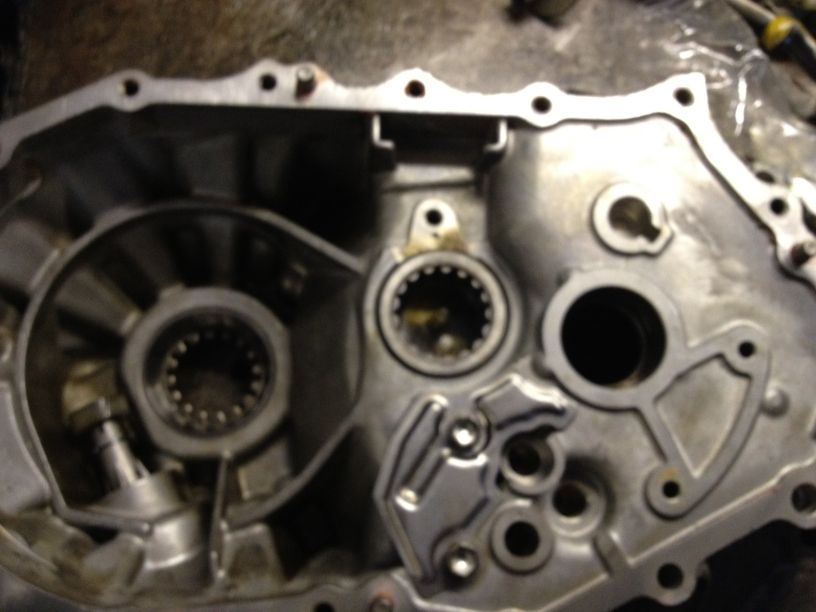
Refit end casing.
Turn the gearbox over and install the inner bellhousing bolts, input shaft oil seal and release bearing trumpet.
The outer selector assembly then slides back in, add the Mk1 reverse light switch and that's it!