Author BenF Date Sun Aug 12, 2007 5:54 pm Type Picture How-To
Category Exterior
Views 17075
http://www.imoc.co.uk/forums/viewtopic.php't=76681
--------------------------------------------------------------------------------
I bought panels from Montmoss LTD Bolton
www.body-panels.co.uk The sills are off an escort mark 3-4
Sills no. near side 252500-5 = '10
Off side = 252500-6 = '10
Rear wheel arches
near side no. 2015507 = '10
Off side no. 2015506 = '10
Delivery approx. '8 UK mainland ' next day delivery +VAT to all.
Tel: 01204 393506 Fax: 01204 522114
E-mail: [email protected]
Tools I have used
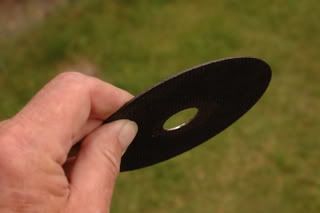

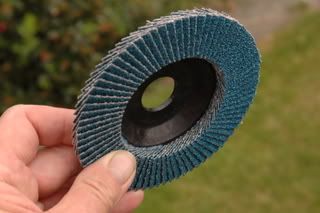
Angle Grinder. Nibbler. cutting disc. emery disc very good for cleaning up your weld.and safety goggles.
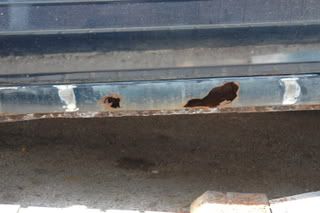
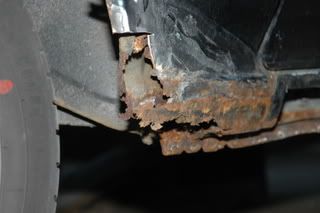
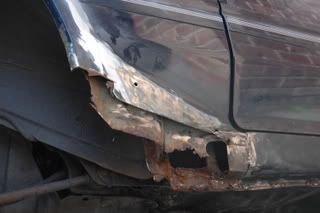
This is the damaged section of the sill cut away, normally the top section of the sill is not rusty you will be welding the top of the sill to this section prepare by cleaning off all the paint off the top for the weld to take.
[IMG]http://i208.photobucket.com/albums/bb157/dodgerbillie/repairtosillandrearwheelarch015.jpg[/IM
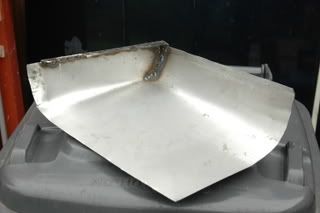
Ford Escort 3 or 4 type 2door sill
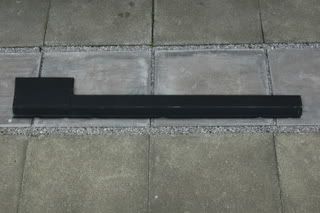
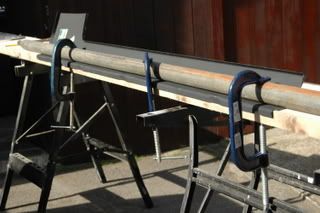
Use scaffold pole and clamps to increase the bend to approximately 90 degrees
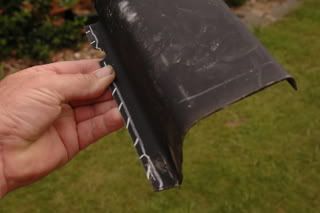
This shows a small piece of the sill, as an example. Cut off the full length of the bottom off the sill leaving approximately 10mm from the radius. The chalk mark is a guide line where to cut.
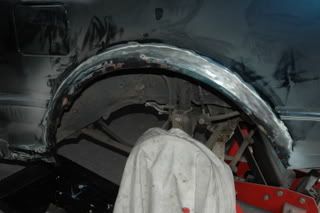
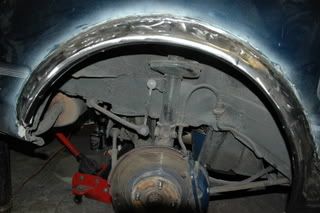
Section for repair at the bottom corner of the wheel arch
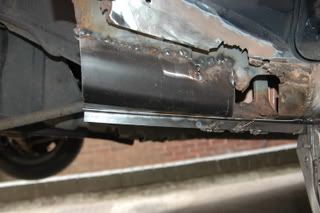
Inner and outer wing sections cleaned up ready for welding, you can see the new sill section in the bottom right hand corner that is welded in place.
This is the inner wing shaped and welded to the angle iron
make and weld a new outer section to the outer body, shaped and welded to the angle iron

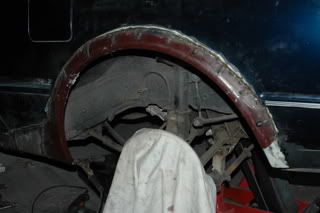
A few views of the inner section repair that was made using a piece of the angle iron (Please note this is for the near side)
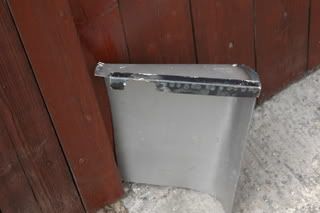
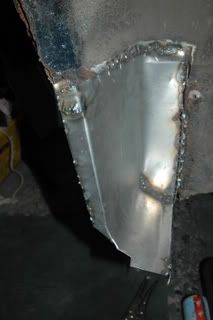
Note: this is it welded to the nearside wing.
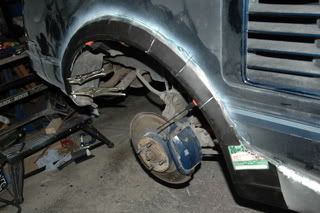
Datsun Cherry Wheel Arch, this is the offside arch, I bought this from montmoss LTD
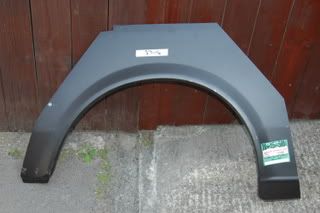
This is the wing cut out from just below the radius and slotted to allow the radius to mate with the MR2 inner wing and keep slotting as needed also the bottom left hand corner has to be cut to shape.(see next picture)
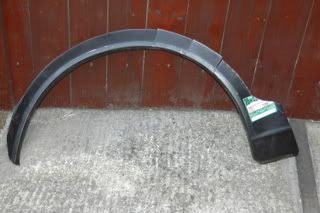
Cut and follow the chalk line to remove the excess so it tucks into the wing
Grind and Polish up the wheel arch ready for welding the new section when glued in place on the bottom radius
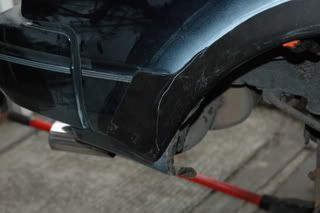
Apply plenty of liquid metal glue (from Halfords) to the bottom radius of the wheel arch and clamp in position every 6 inches and leave for 24Hrs
Clamp the wing at the top with long nose pliers and tack every '' all the way around once it has been tacked all welds should be joined together
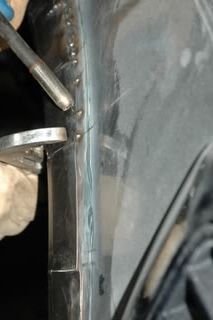
This is how it should look when it is welded this is the near side
All the welds ground down ready for filling
use filler to make the radius and smooth the body line
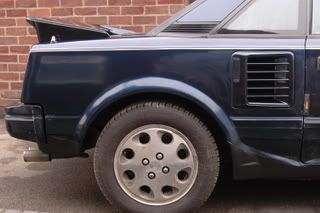
This is the finished wing ready for painting after filling

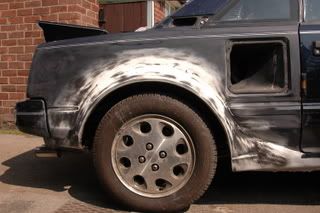
Wing masked off and sprayed
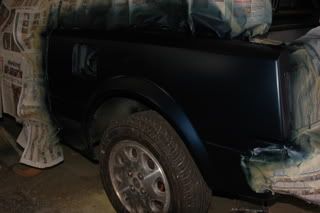
Wing t-cut and polished sill, sprayed with underseal and ready for fitting the spoilers
' Presentation and Work by Bill Hulme
I did this work in may 2006 and have been trying to get it to load since!
the only thing you get in a hurry is babys.
' The work I have done is to save the car from being scrapped, its just passed its MOT, the finish might not be to everybody's liking, I don't know whether I will be able to use my side skirt one seems to have a slight gap!
' I have only put this information on the site as a guide to help others to keep there cars on the road. Bill.
ps thanks to paul woods for all his advice and help on the work I did.