Guide To Replacing T-Bar Seals
Description:
Categories: MR2 Mk2 Articles
Link to this article: Select all
[url=https://www.imoc.co.uk/app.php/kb/viewarticle?a=130&sid=95f13ed5f2a566afd1e2a38dd053fc2f]Knowledge Base - Guide To Replacing T-Bar Seals[/url]
Today I began the process of replacing my 18 year old and leaking t-bar seals.
If anyone has any tips or hints they feel would be useful, again just add them below.
___________________________________________________________
Firstly, replacement t-bar seals can be purchased from a Toyota parts dealer in Dallas, USA.
63627-17022
63628-17022
62381-17051
62382-17051
http://www.toyotapartsales.com/partloca ... eid=214074
All in, mine came to about
When the seals arrived, I hung them up in the shower and sprayed half a can of Halfords silicone sealant over them and left them to dry for two days.
Ok, here’s what I did.
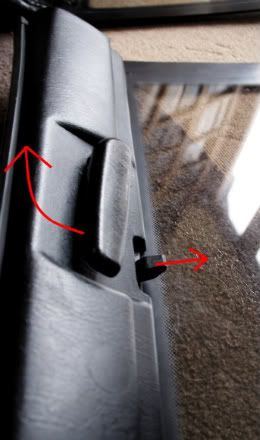
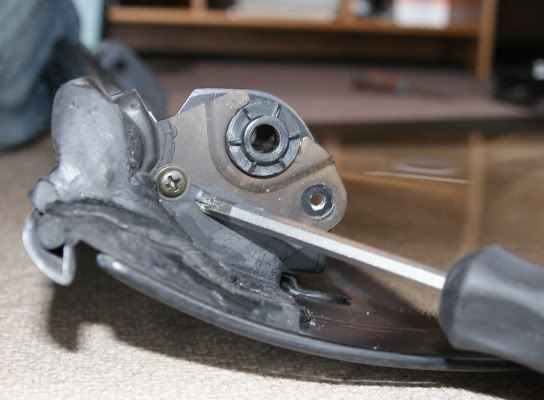
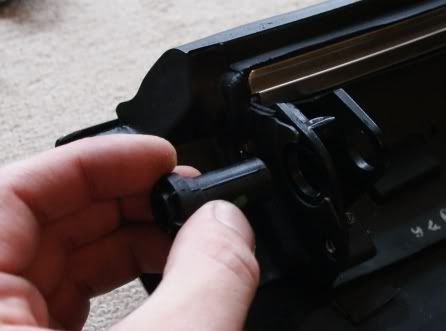
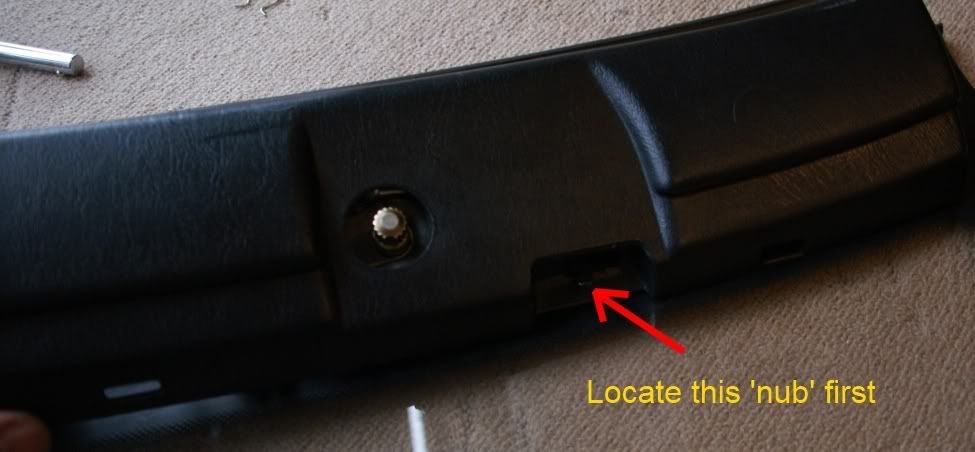
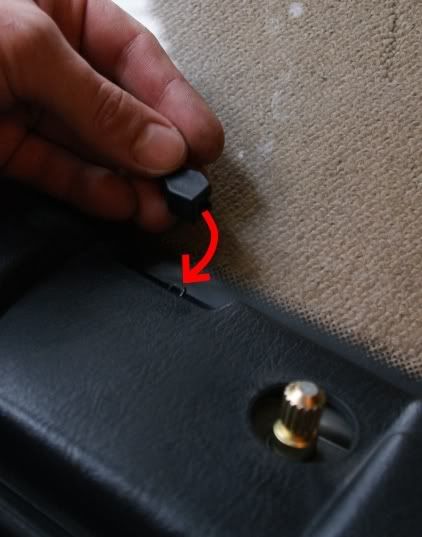
Firstly, pull the handle down and remove the little
The next fit is a bit fiddly.
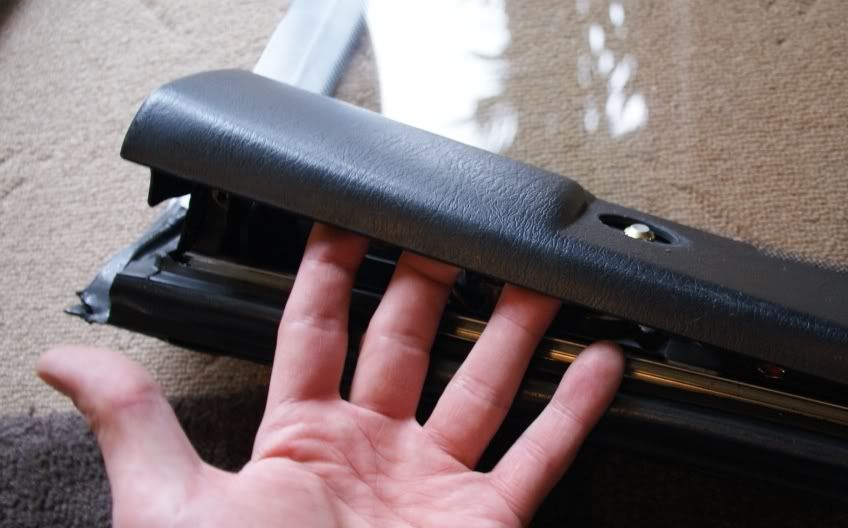
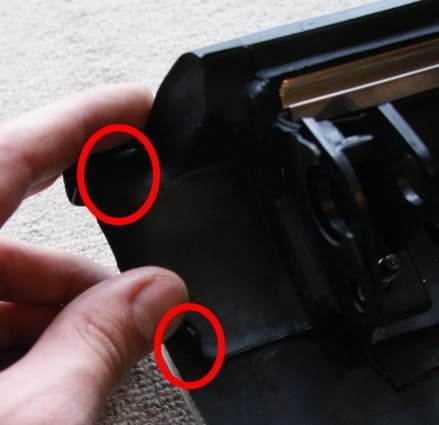
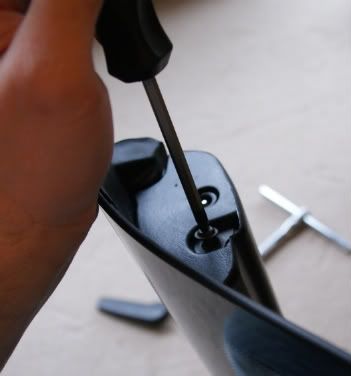
Remove the screw from both ends of the panel.
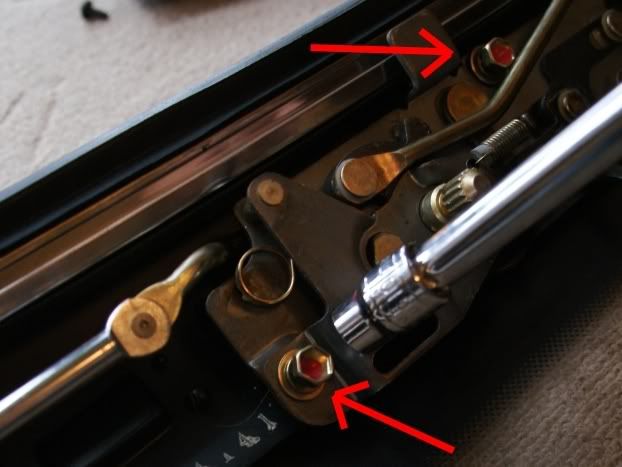
Next, remove the three red bolts using a 10mm socket.
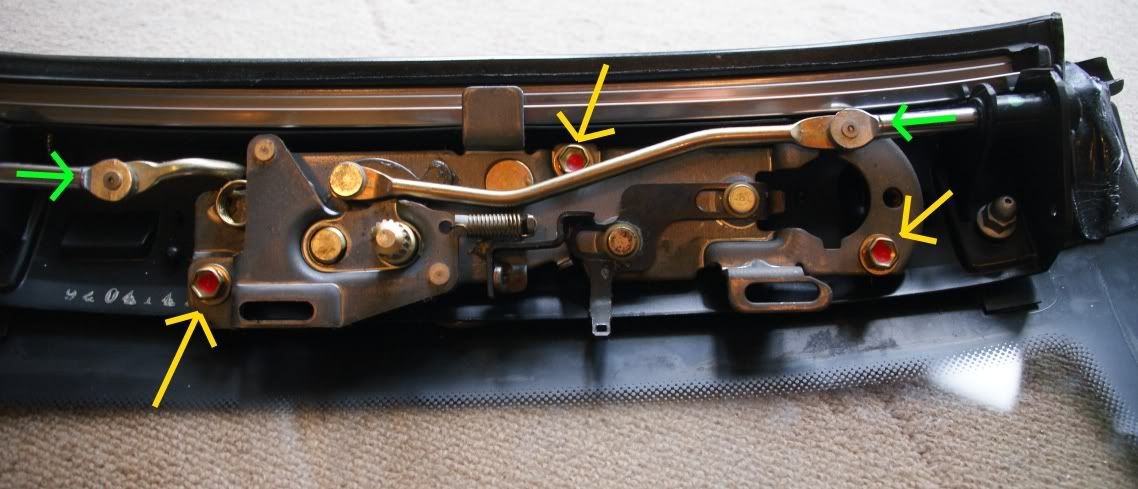

Remove this screw from both ends of the t-bar panel.
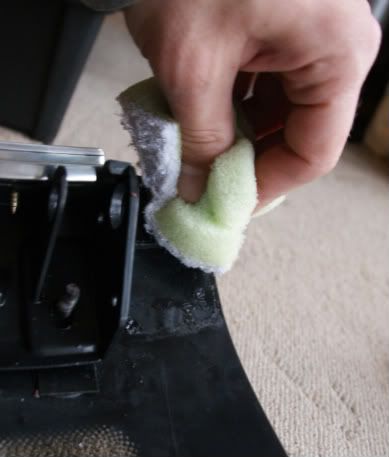
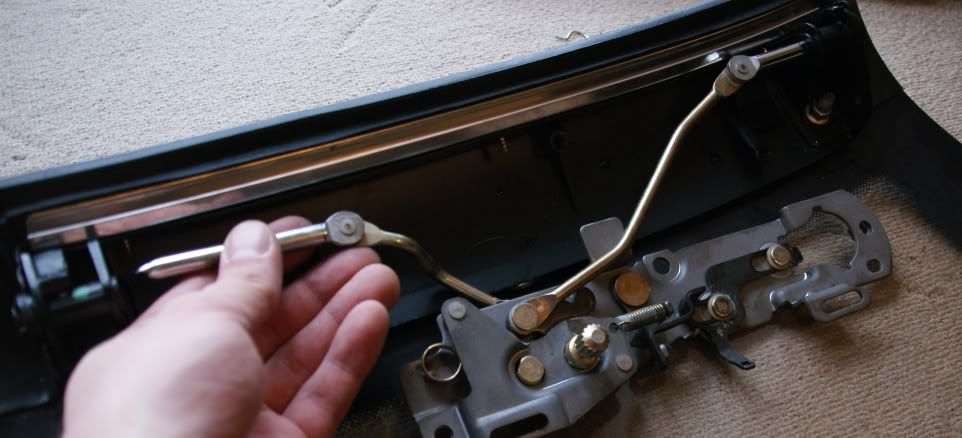
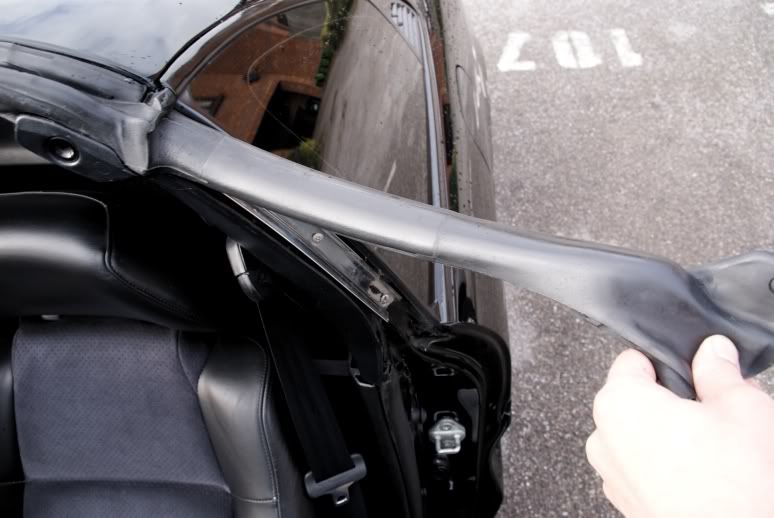
Next is the removal of the old t-bar rubber.
Then with an abrasive cloth or similar, clean up the surface.
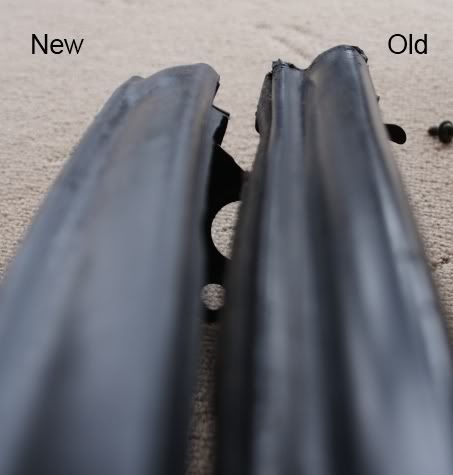
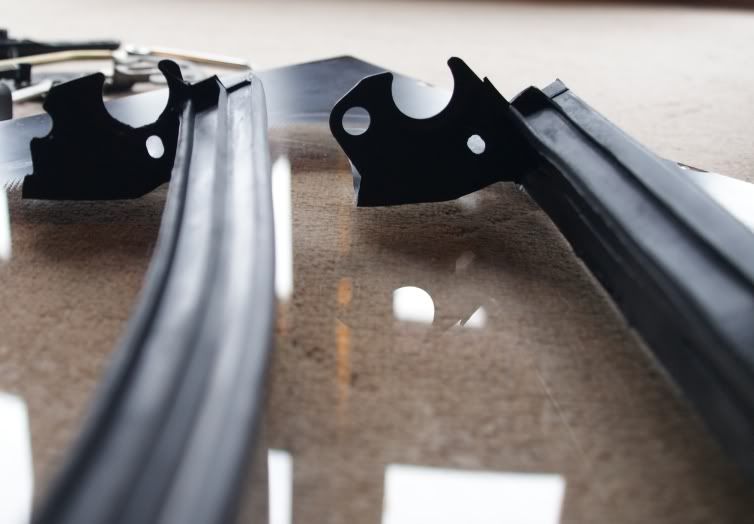
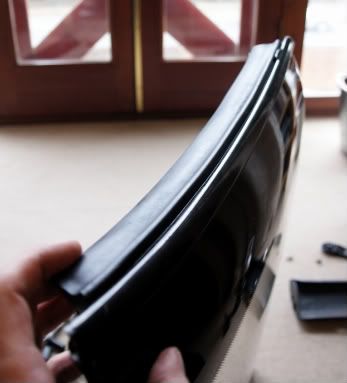
Here’s a comparison between the old, worn rubber and the plump new one.
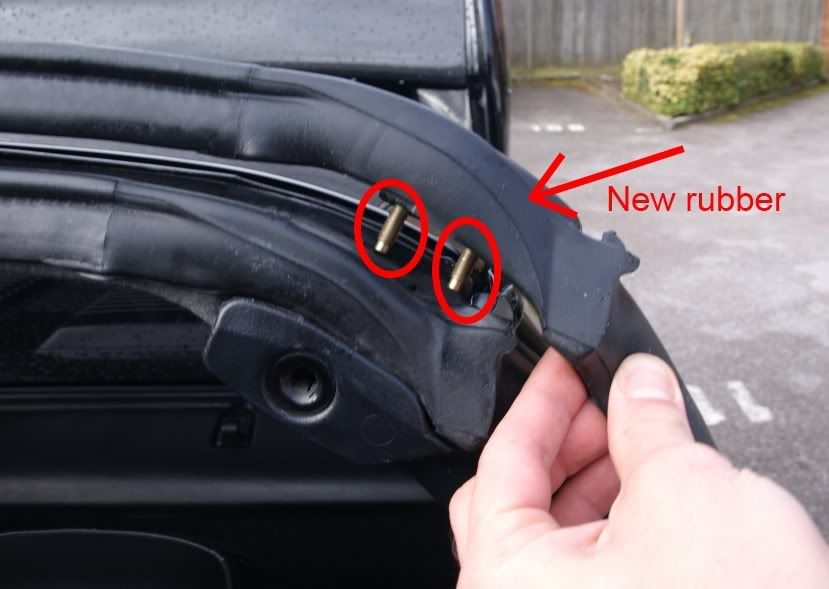
Next, take your new t-bar rubber.
The new rubber will have paper protecting the pre-applied adhesive.
At this point, with the paper still attached, I laid the rubber in situ so that I could see how it fitted to the panel itself.
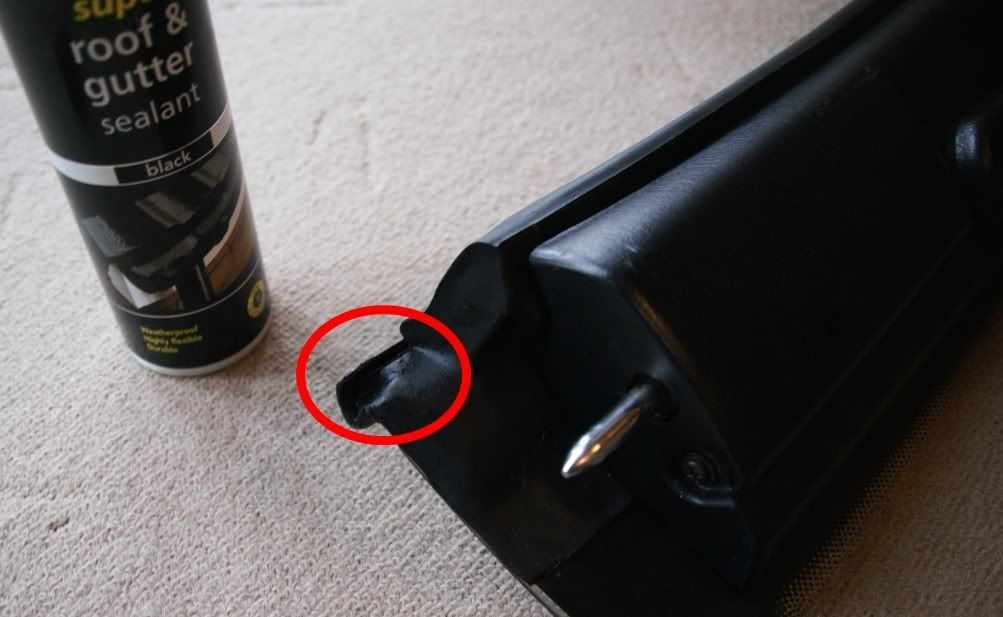
Once I was happy with how it fitted together, I grabbed myself a can of silicone-based adhesive:

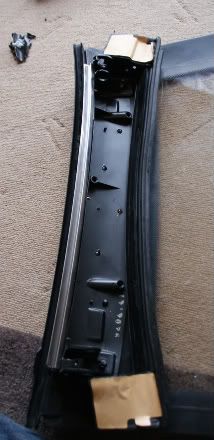
Now it’s time to fix the new rubber to the panel.
Ensure the screw holes at both ends line up.
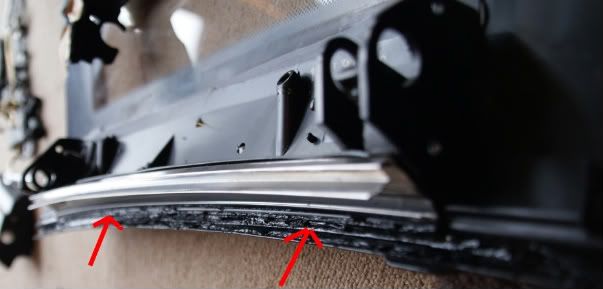
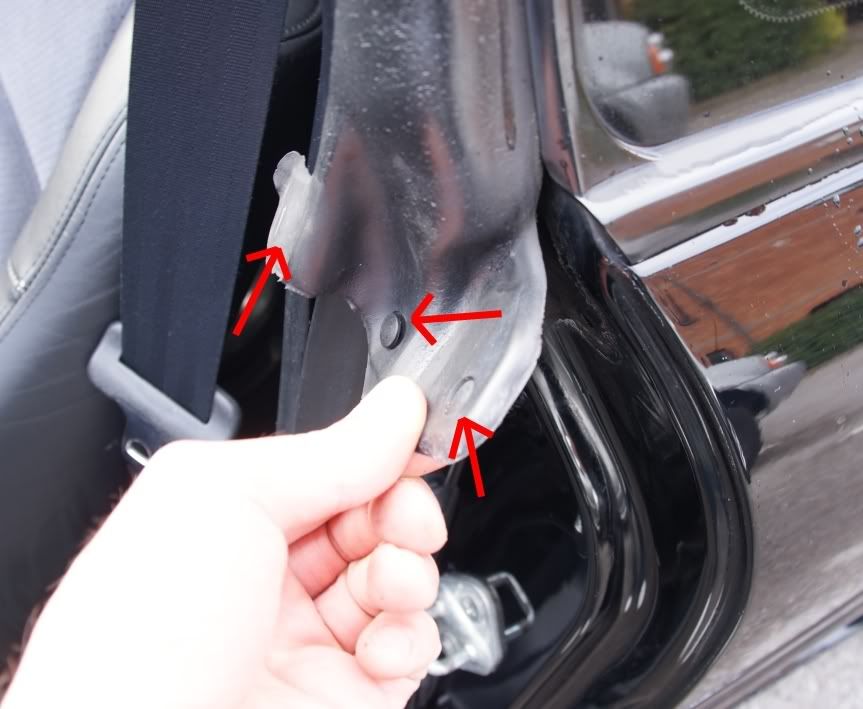
I noticed the following parts of rubber were not very well secured to the glass panel, so added a small amount of adhesive underneath:
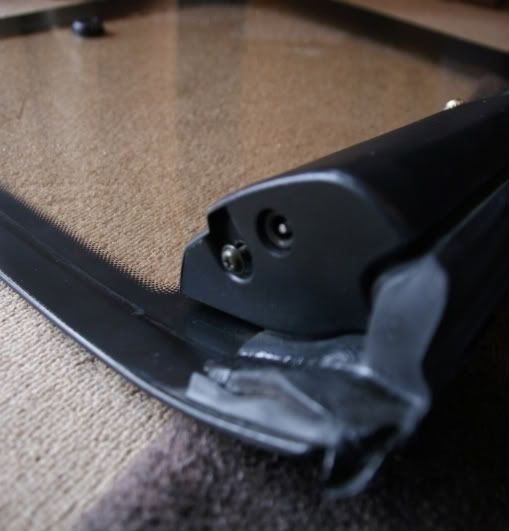
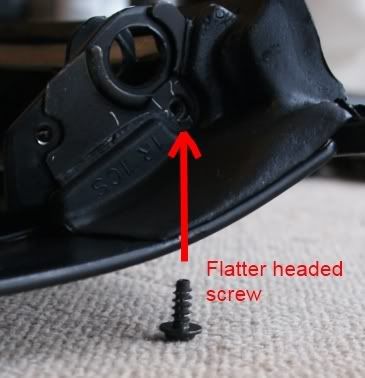
Once you’re happy with the fit, re-fit the rod guides followed by the flatter-headed of the screws:
Reattach the mechanism and fasten the red bolts.
Attach the plastic covering.
Fasten the remaining two screws, one at either end:
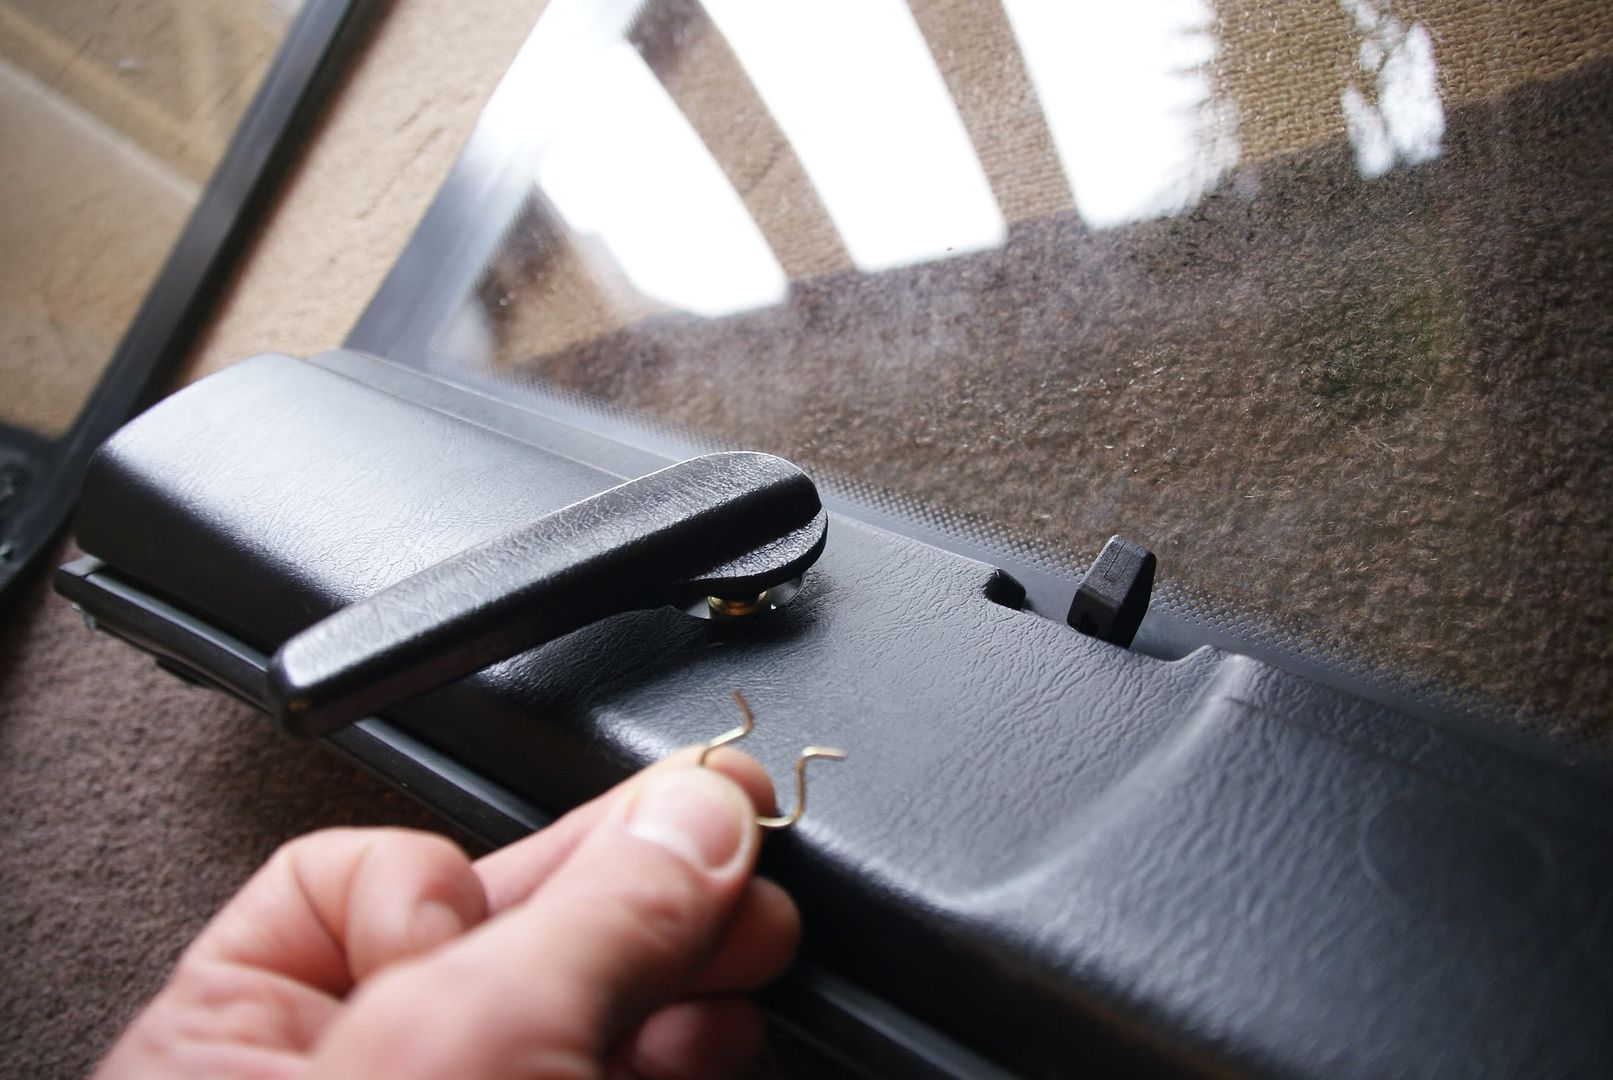
Attach the nub:
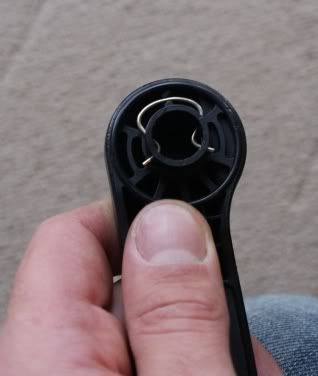
With the cir-clip in situ, attach the handle as shown.

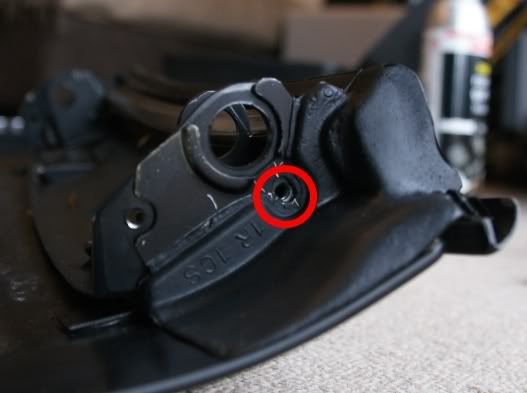
The finishing touch for me was applying an additional small dab of adhesive to the indicated area to ensure a secure fit and finish.
Now do the same on the other panel.
___________________________________________________________
Ok, now for replacing the rubber t-bar seals that fix to the car itself.
The following is for the passenger side.
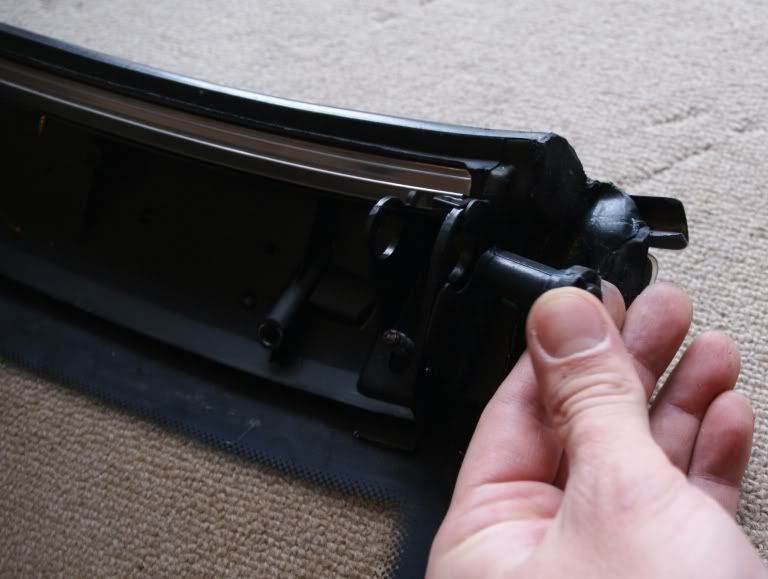
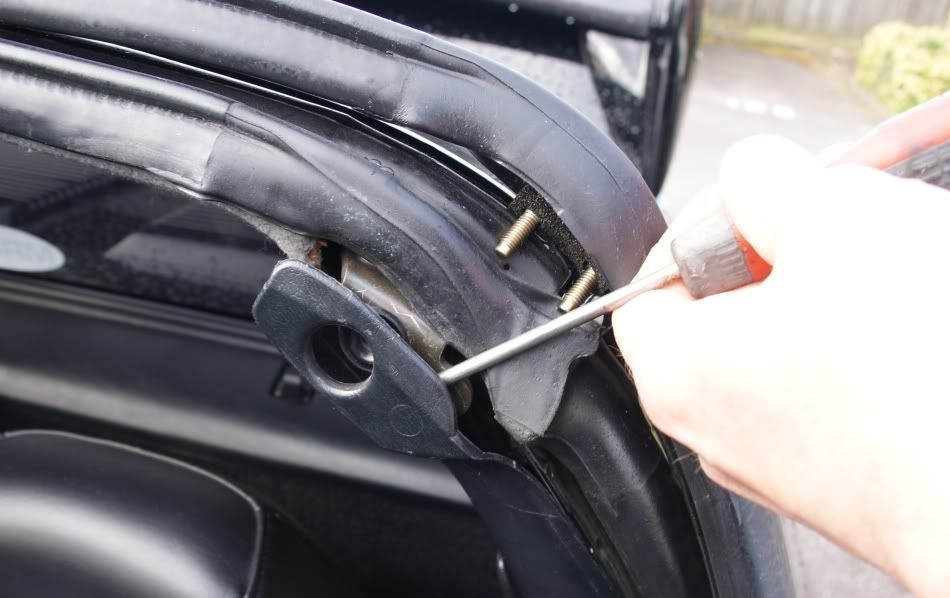
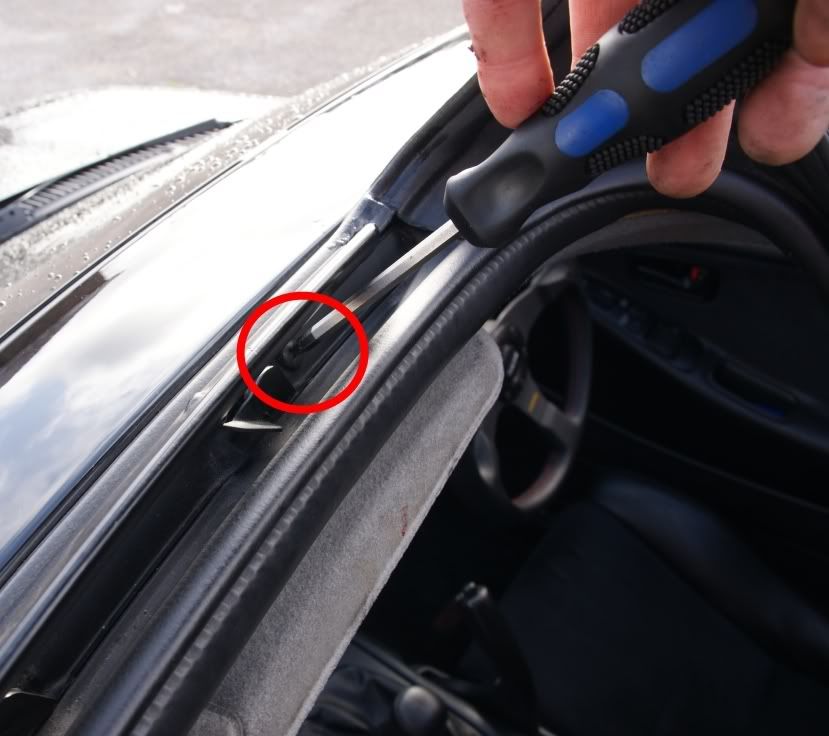
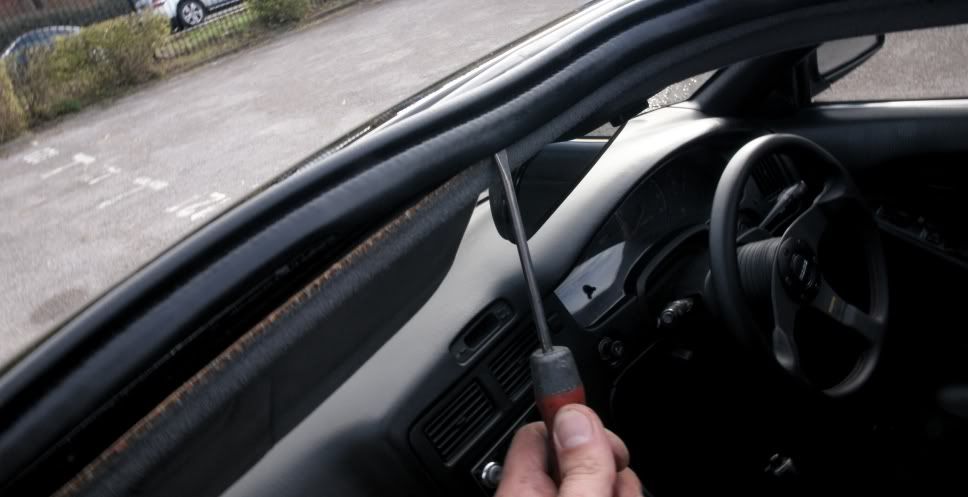
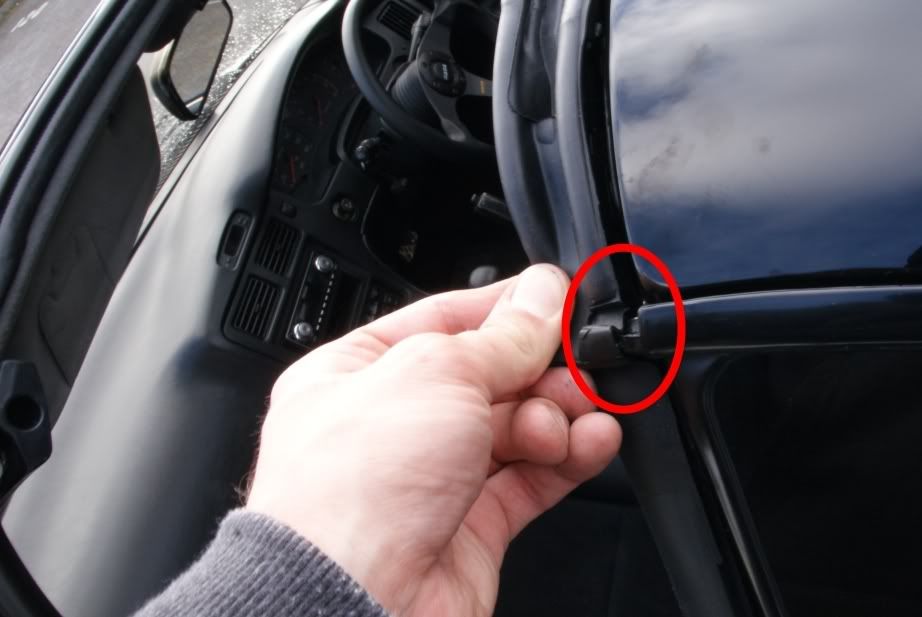
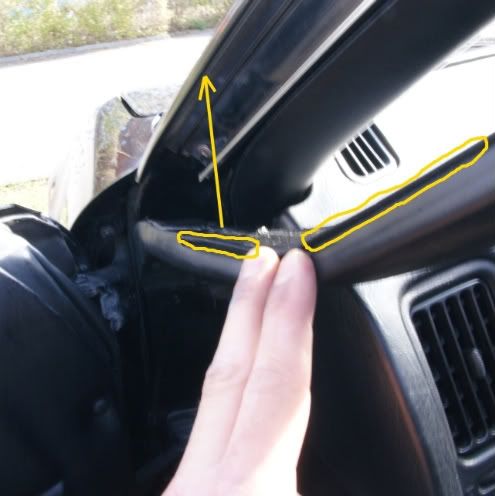
Firstly, starting at the back section of the seal, using a flat-head screwdriver, pop out the two studs/poppers, and free the small metal
You should then be able to pull the seal away from the body.
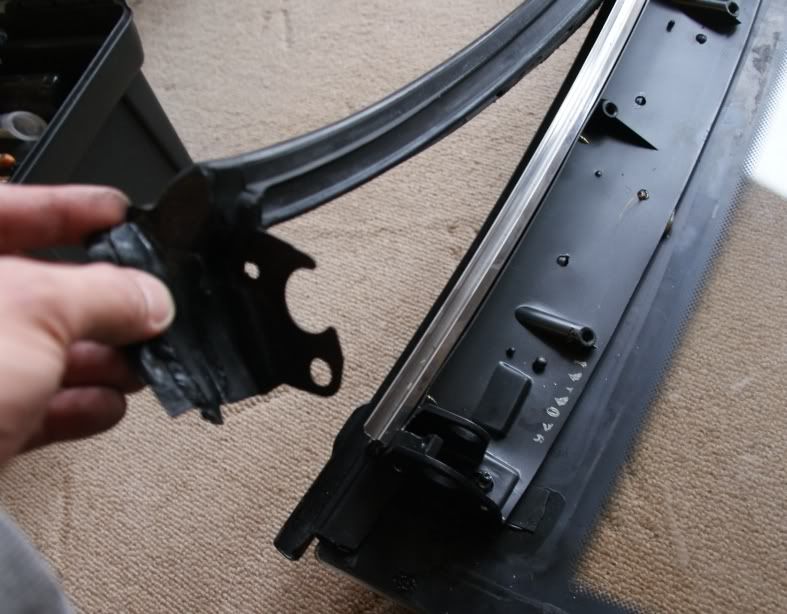
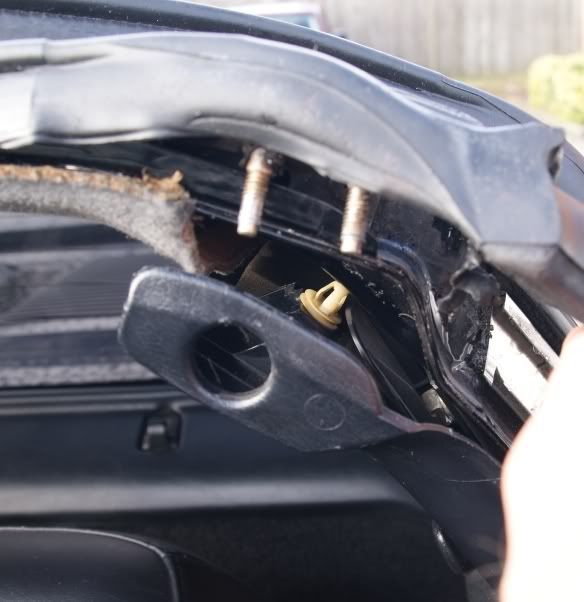
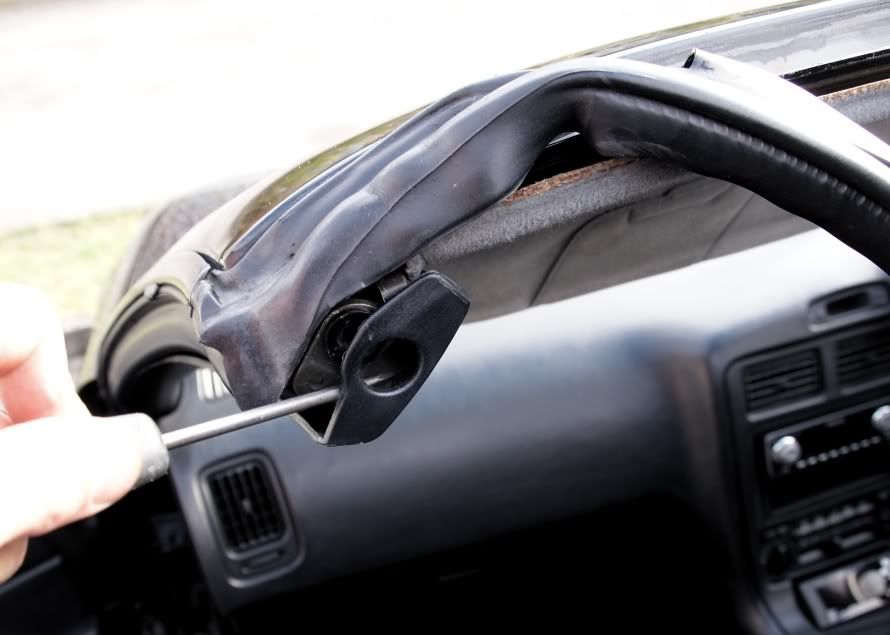
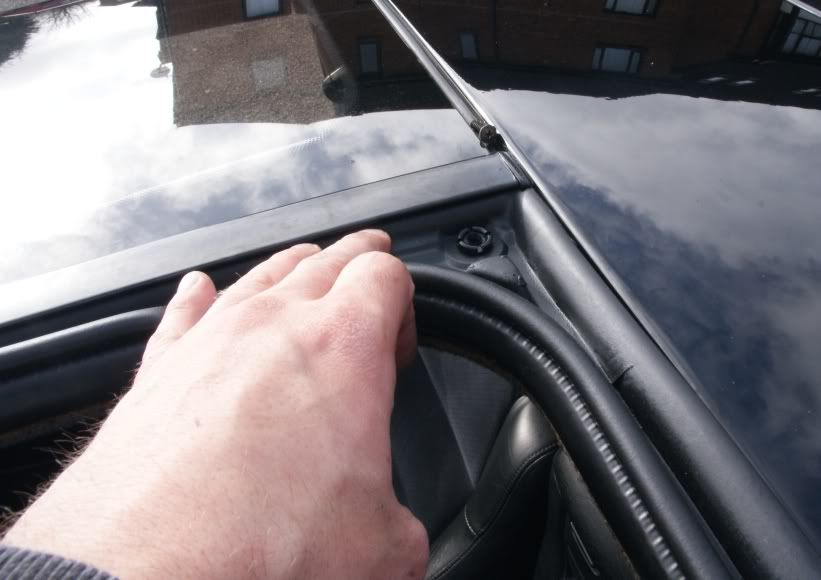
The next section of the seal is bolted to the body of the car.
With a flat-head screwdriver, bring the plastic moulding forwards so that it passed over and in front of the bracket.
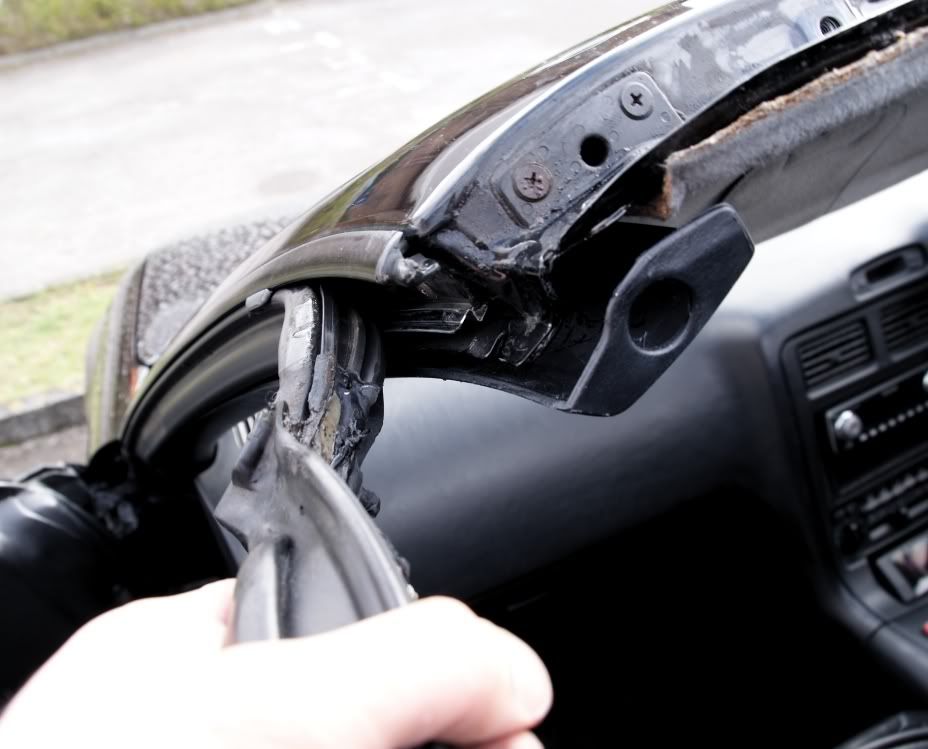
You need to remove the bracket by unscrewing two bolts using a 10mm socket.
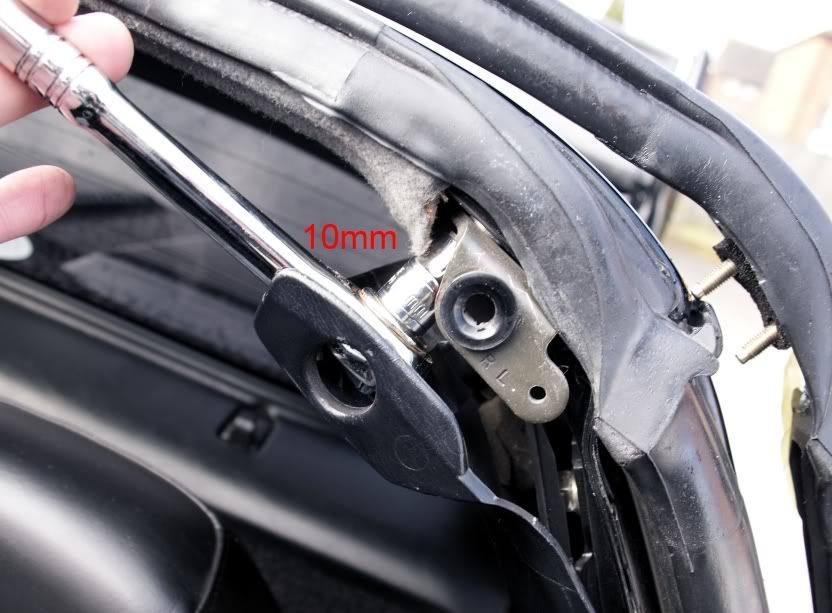
With the bolts removed, a bit of force will free the seal.
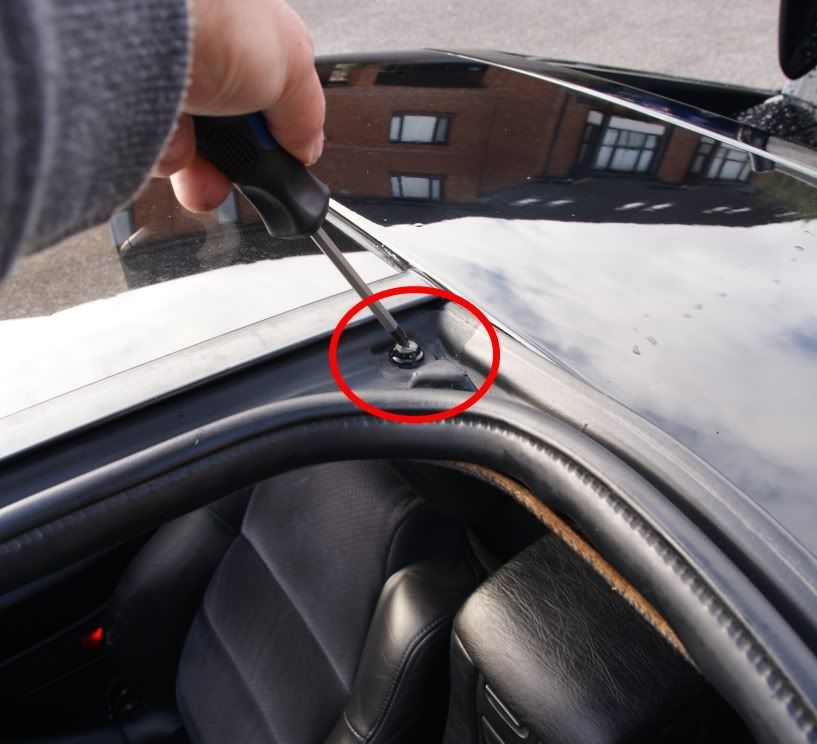
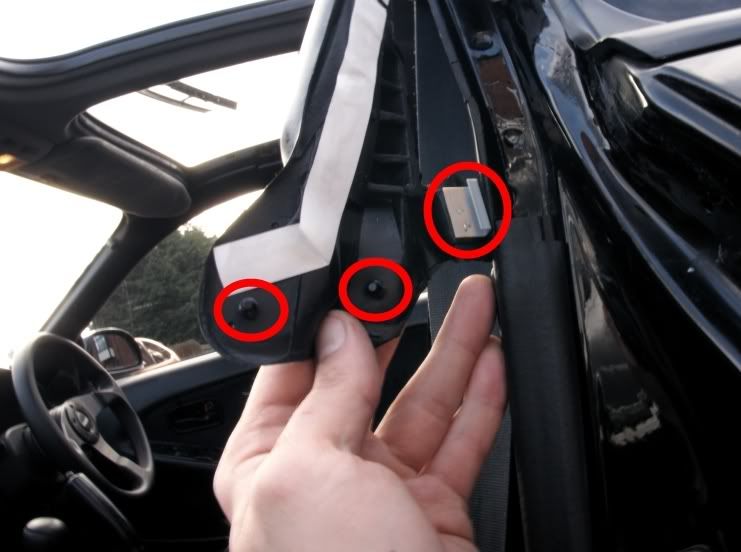
Working your way towards the centre of the roof, remove the two screws.
You now need to remove the front bracket in the same way you removed the rear one.
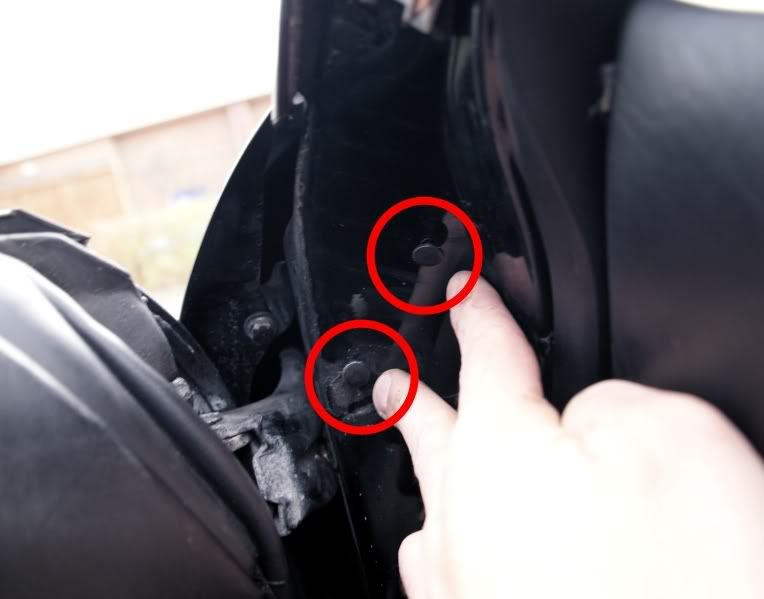
Pull the seal away from its location until you reach the door hinge section.
Here, you need to remove the two studs/poppers like you did at the rear.
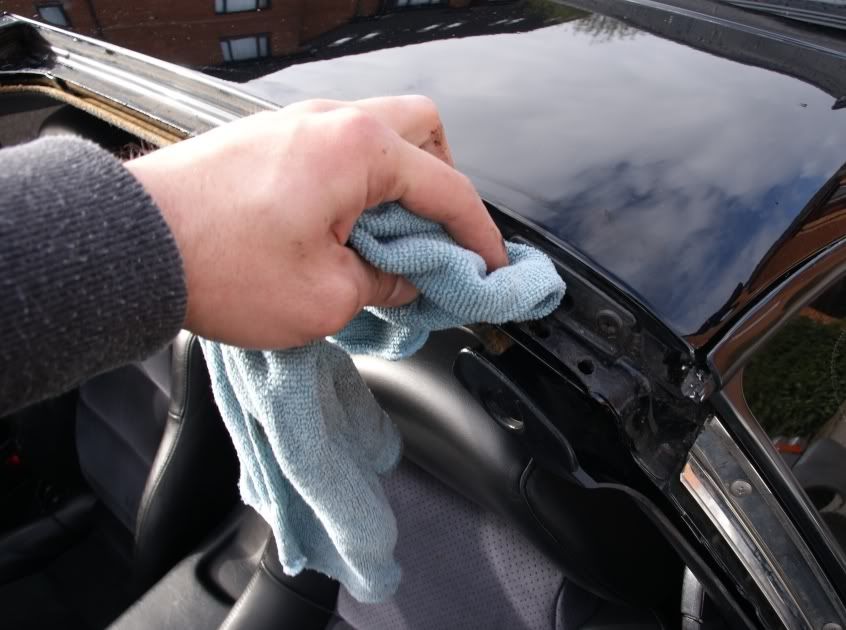
With the old t-bar seal fully removed, go around with a damp cloth and thoroughly clean all the newly exposed paintwork of moss, grime and general crud.
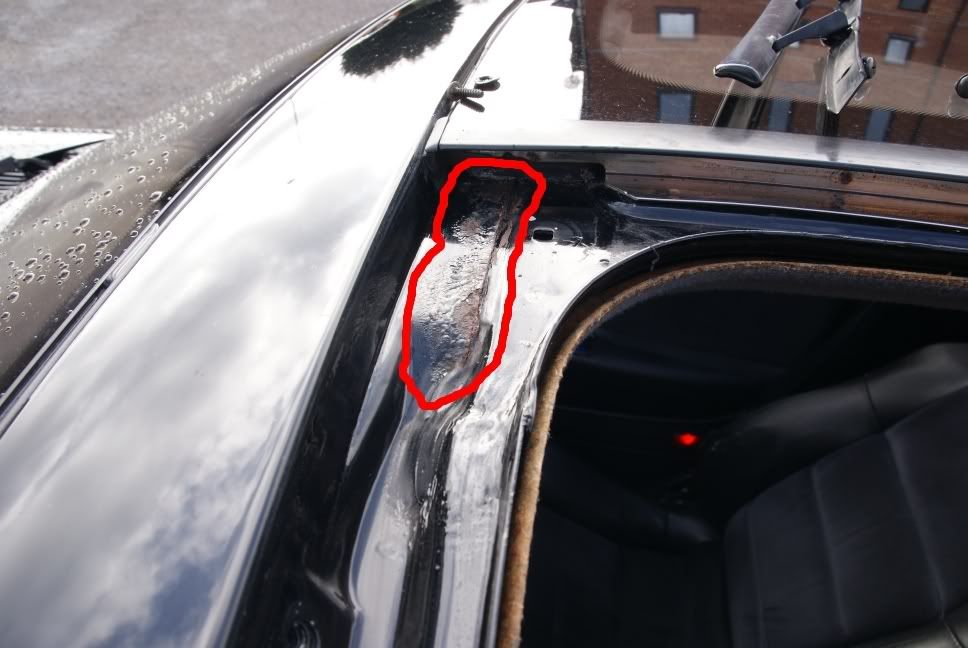
As is commonly the case, removing the 15-20 year old seals is likely to reveal some rust spots.
Attach the new seal starting at the centre of the roof.
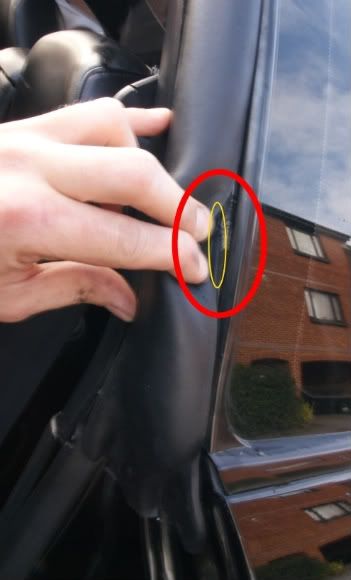
With a flat-head screwdriver, go along and ensure the seal overlaps the roof lining as shown:
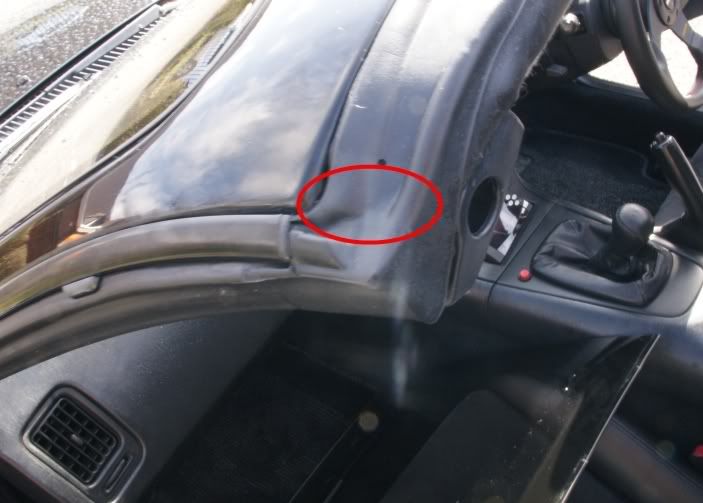
Now, ensure the corner lines up with the body work as shown.
I added some additional sealant under the rubber as shown in red to ensure a better seal.
Remove the tape covering the adhesive on the new seal, relocate the metal
Again, armed with your flat-head screwdriver, run along the edge of the seal
Do the same with the front section also.
Your passenger side t-bar seal is now fitted.
I did notice that the roof panel sits a bit higher than it did previously.