Thankyou for the feedback chaps


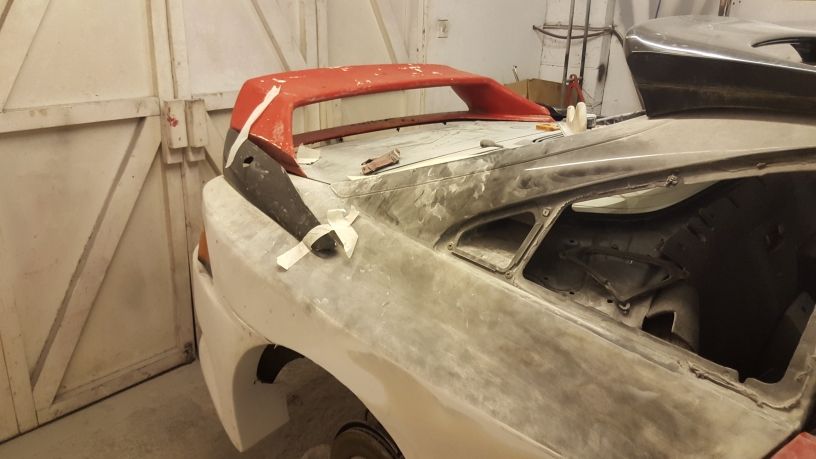
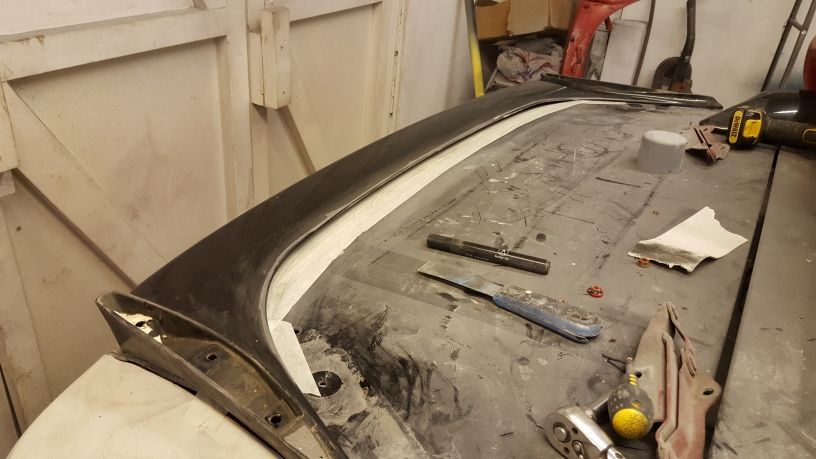
Today the panel gaps and levels got sorted around the front end, it's a personal bugbear of mine when i see a car with horrible gaps between panels or panels that overlap etc, for me the whole secret to getting a car to look factory fitted is to spend a lot of time on the gaps and levels.
After several painstaking hours of adjusting, filling, and in some spots cutting the gap true i now have this.
.
.
.
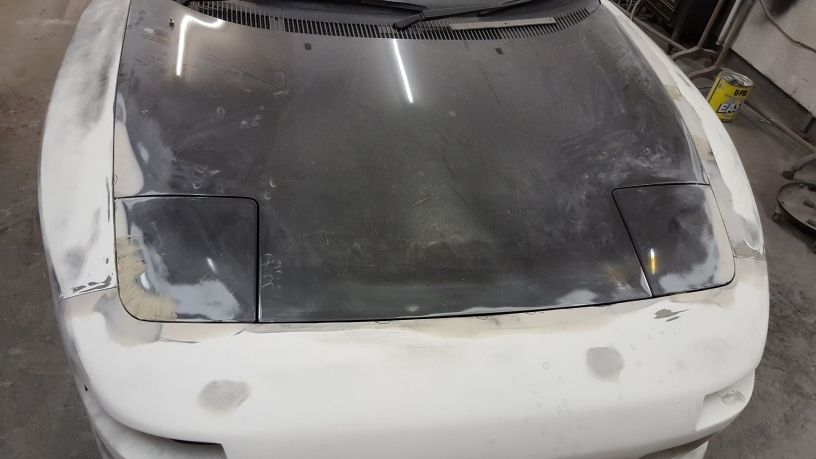
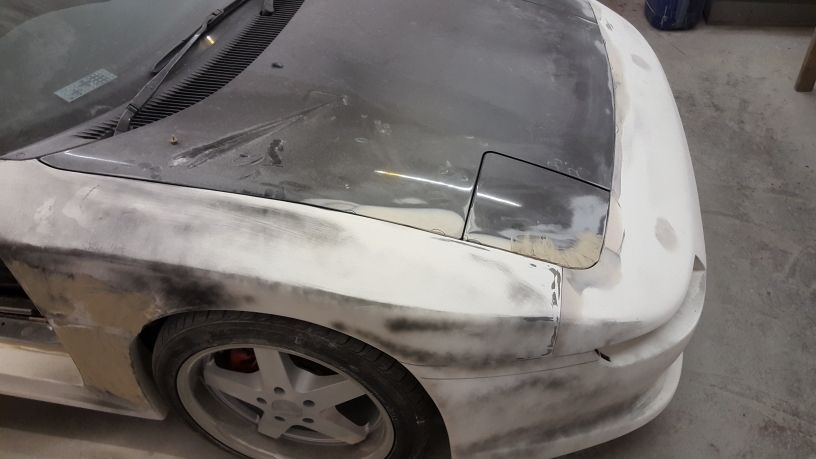
The gaps around the lights and bonnet edges are now perfect to within 1mm, normally when i see someones effort at a TRD kit the gaps are all over the place.
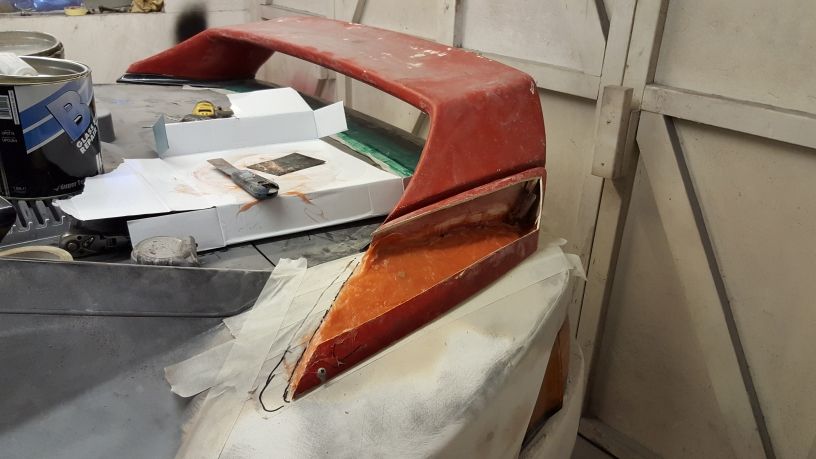
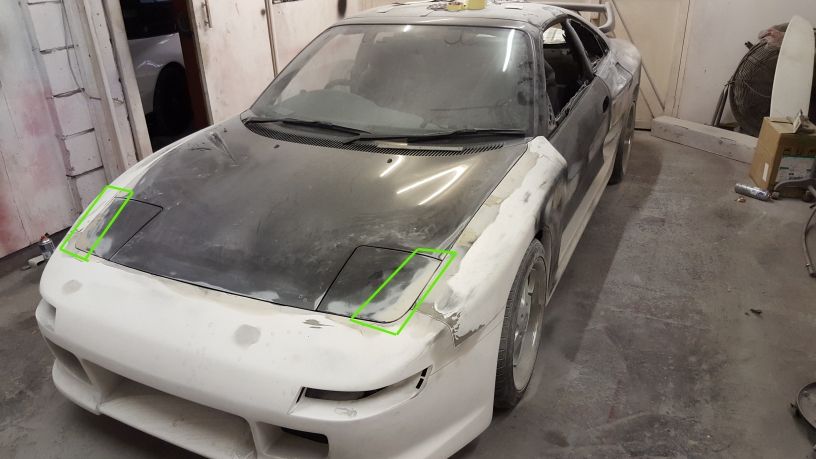
Another area i needed to address, was the headlight covers, their profile and level to the wings/bumper were awful.
If i may explain, normal Mk2 wings are rounded and start to curve away at the bonnet edge almost immediately, this curve actually starts in the edge of the headlight cover.
Now when you fit a TRD kit which has a flatter top edge to it the headlight covers no longer flow into the wing, instead they dive down behind it.
There are a few possible explanations.
.
.
.
1.
I have a terrible kit and the OEM TRD panels normally sit below the headlight level.
2.
There is an actual difference in TRD headlight covers that nobody has picked up on before and they redesigned them to have the correct contour.
3.
It's a problem on OEM TRD cars too which is just not noticed or addressed.
Either way there was no chance i was leaving this detail unchecked, so both headlight covers have been reprofiled on their edges to flow into the wings and bumper properly.
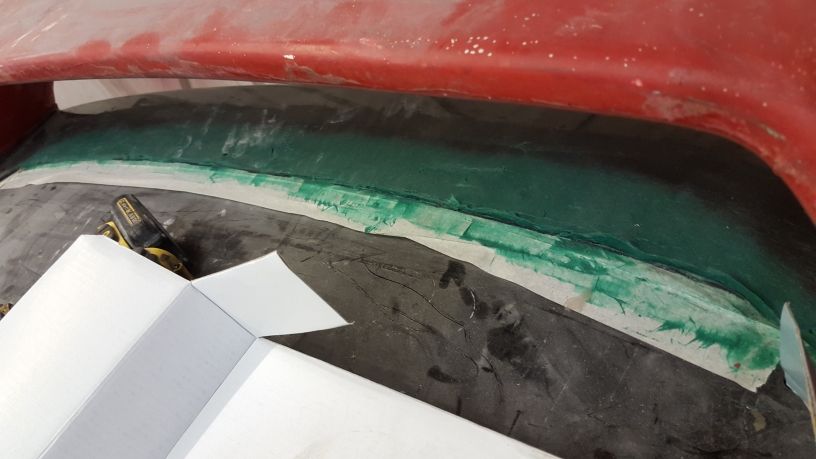
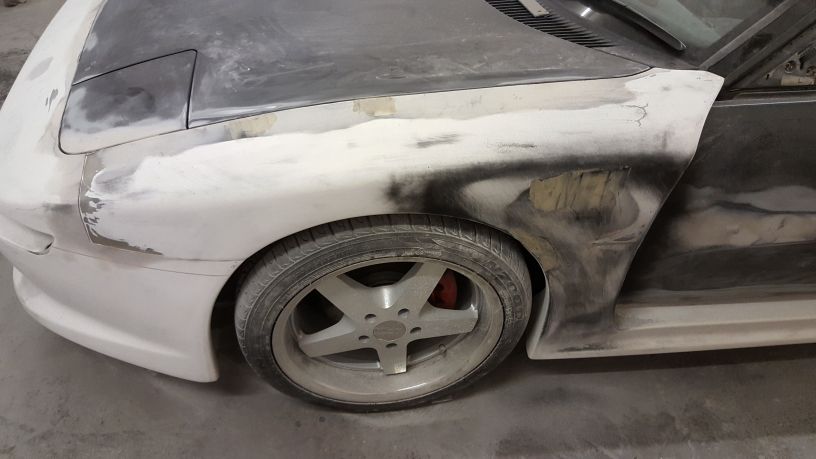
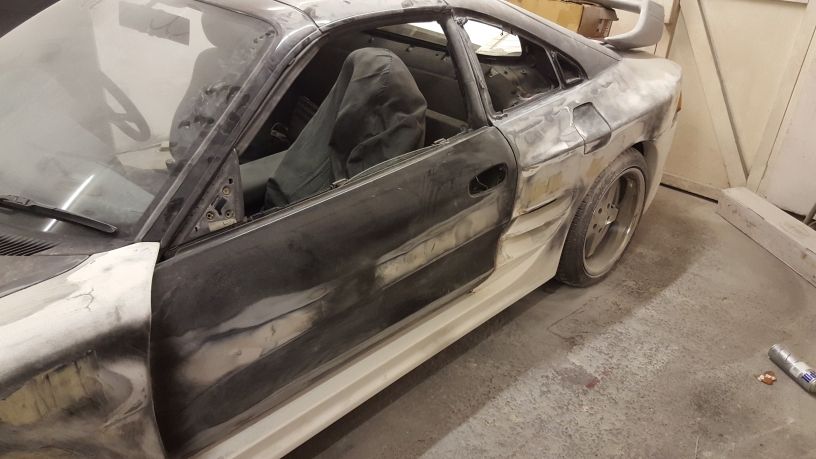
OSR quarter blend almost finished, the guide coat rubs off almost uniformally each time now, just a few areas to stopper paste before the high build goes on.
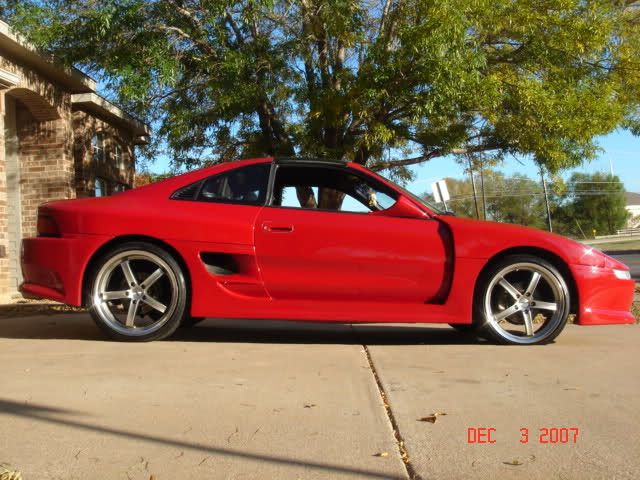
I have also decided to blend out the join between the skirt and quarter, but leave the joins between bumper and wings, it looks much cleaner this way and because i am blending out the door bump strips it doesn't leave a line going nowhere as it hits the door.
The plan is to have this very clean bodied, no bump strips and as uncluttered as possible.
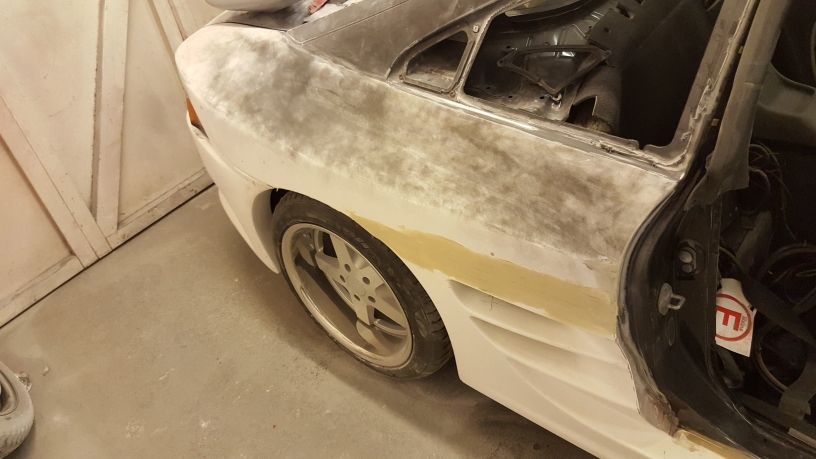
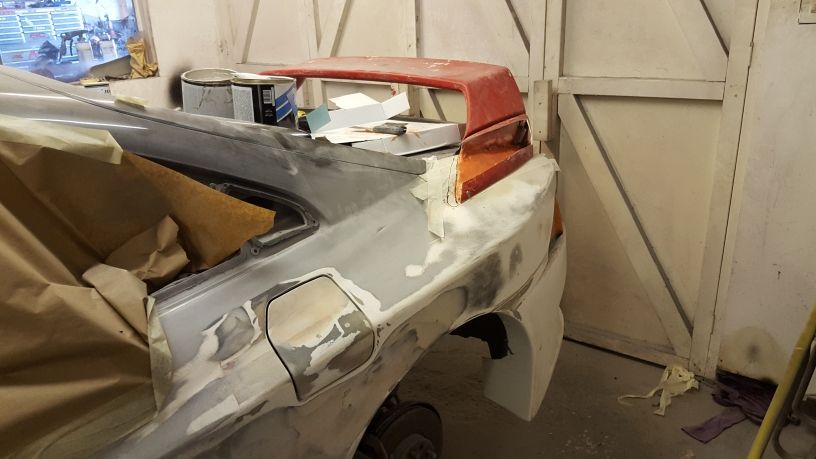
Blend out progress on the wing to skirt area, still needs a bit more work before i am happy, you can also see how much attention the NSF wing has needed where it meets the bonnet, i put that down to a poor kit molding.
NS is a lot further on than the OS.
.
.
.
I have rectified the slanted panel under the fuel filler cap area, that is now perfectly straight, the fuel cap itself still needs levelling and of course mm perfect gapping.
I have even filled the bonnet edge a little to get the levels perfect, all of this attention to detail at this stage should result in a car that is visually flawless.
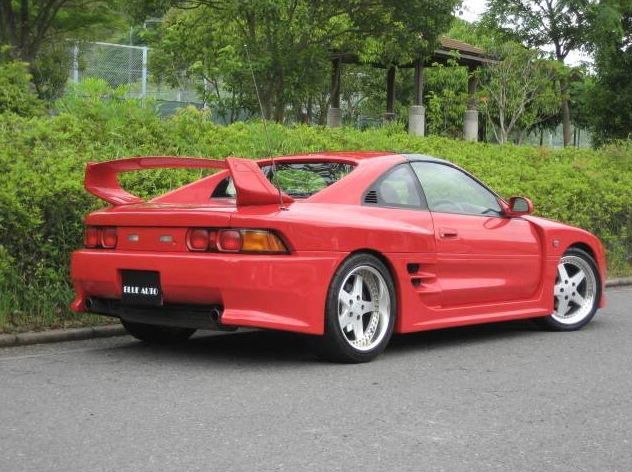
I am keeping the spar in the sideskirt now, but still haven't made a decision on the rear spoiler, which is looking like either.
.
.
1.
TRD
2.
None
3.
Rev1/2 spoiler modified into a widebody style
4.
Ducktail
In unrelated mechanical news, i am now retro fitting the Evora ABS module and pump instead of the Mr2 ABS system, this along with the SAS and YAW modules from the Evora will not only give me full sport mode functionality, but as an added bonus i will instantly gain factory Lotus traction control, which controls slip via the brakes instead of cutting fuelling/spark etc.
.
.
.
this really is turning into an Evora in Mr2 clothes.