Here are a couple of pictures how I fixed the sagging doors

.
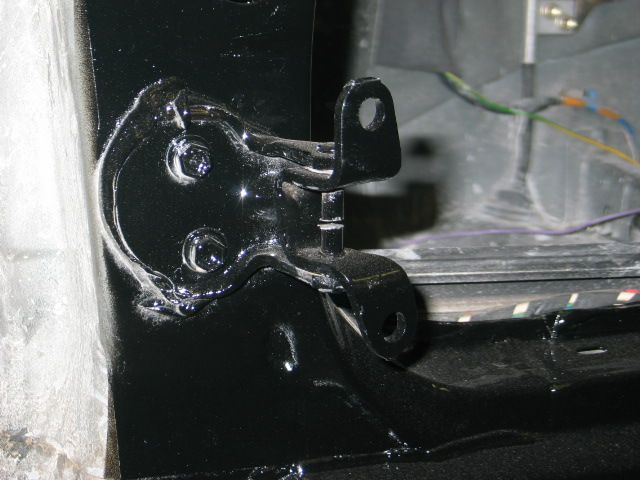
Started by removing the old hinges with an angle grinder
.
Didn't want to touch the part that is bolted to the body
, as it still is nicely sealed
.
The hinge pin in pressed and rivetted
, si I just ground it away completely
.
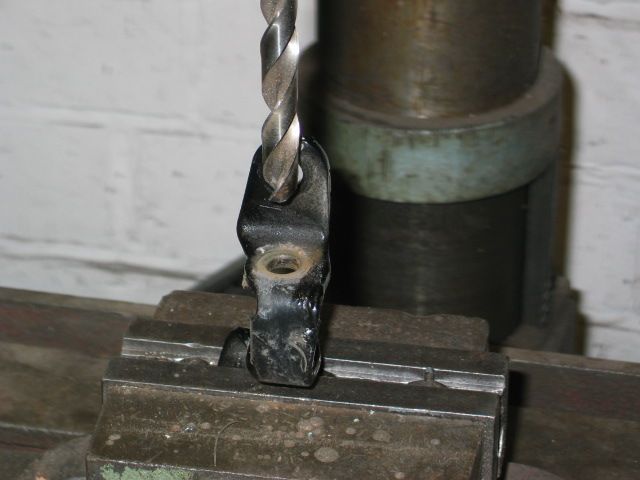
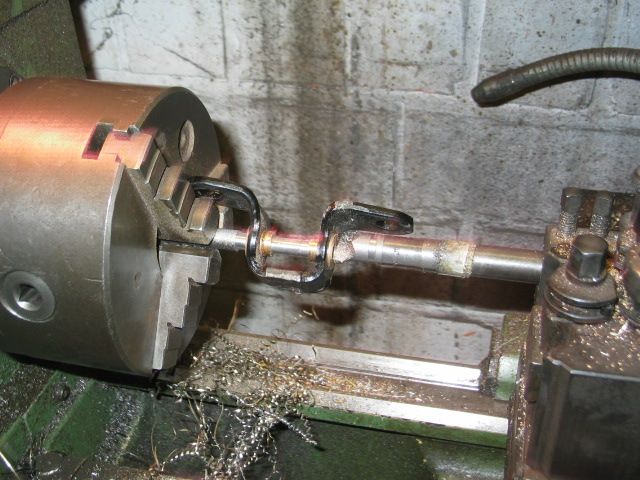
The moving part was bored and reamed to a bigger size
.
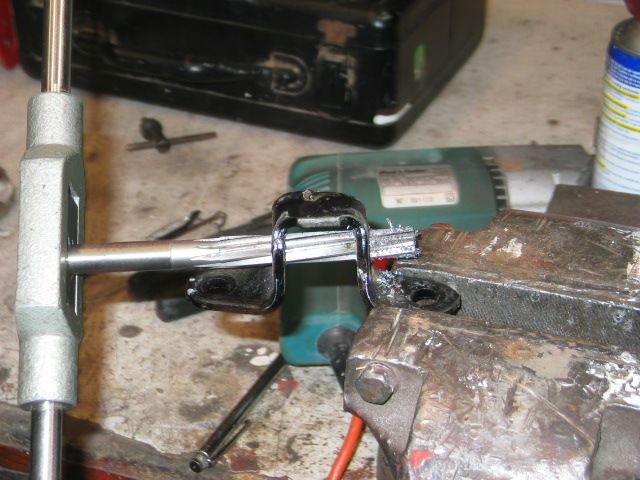
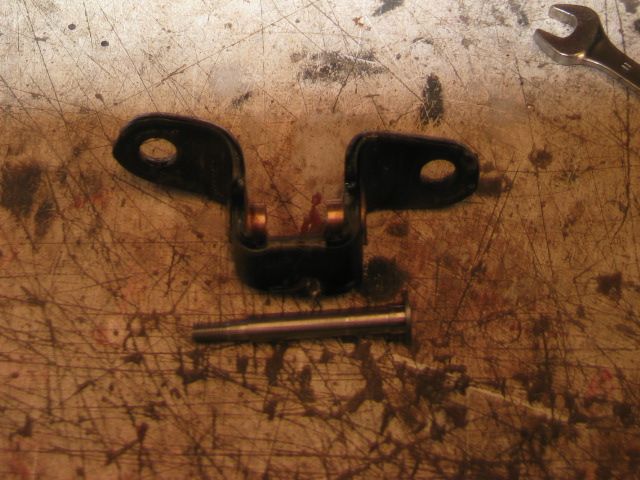
Phosfor bronze bushings
, interference fit pressed in and reamed to size
.
Bushings have a larger contact area then the originals
, so should last a little longer
, I hope
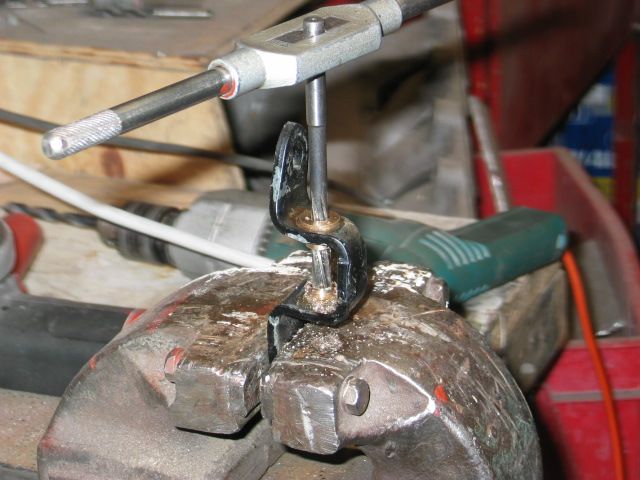
The entire assembly was trimmed to the right length on the lathe
.
And a new hinge pin completes the job
.
In an ideal world
, this pin would be heat treated and ground to size
.
Don't
have that equippement
, so I used a good quality bolt as a blank
, and polished the pin
.
The result is a rock solid door that has no play whatsoever
, and hopefully will last longer then the original
.
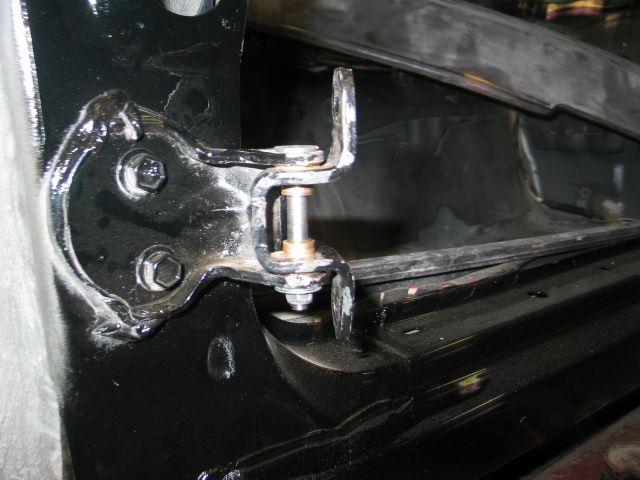
4 hinges took almost a full day's work
, but it's well worth the effort
.


